
Nginx is a leading web server choice renowned for its efficiency, versatility, and stability. By leveraging Nginx’s ability to handle high-traffic loads and act as a reverse proxy, you can significantly enhance website performance and scalability. We’ll cover the essential steps, from installing Nginx and organizing website files to configuring server blocks for different domains or subdomains. This guide will walk you through setting up multiple websites on a single Ubuntu 24.04 server using Nginx server blocks.
Let’s dive into the process of building a robust Nginx web server environment.
Prerequisite: Installing Nginx on Ubuntu 24.04
Setting Up Nginx Server Blocks on Ubuntu 24.04
Prerequisite: Installing Nginx on Ubuntu 24.04
For those running Ubuntu and seeking a robust web server solution, Nginx is an excellent option. Follow these steps to install it:
Step 1: Update Package Lists
Start by synchronizing your package lists with the most current repository data:
sudo apt update
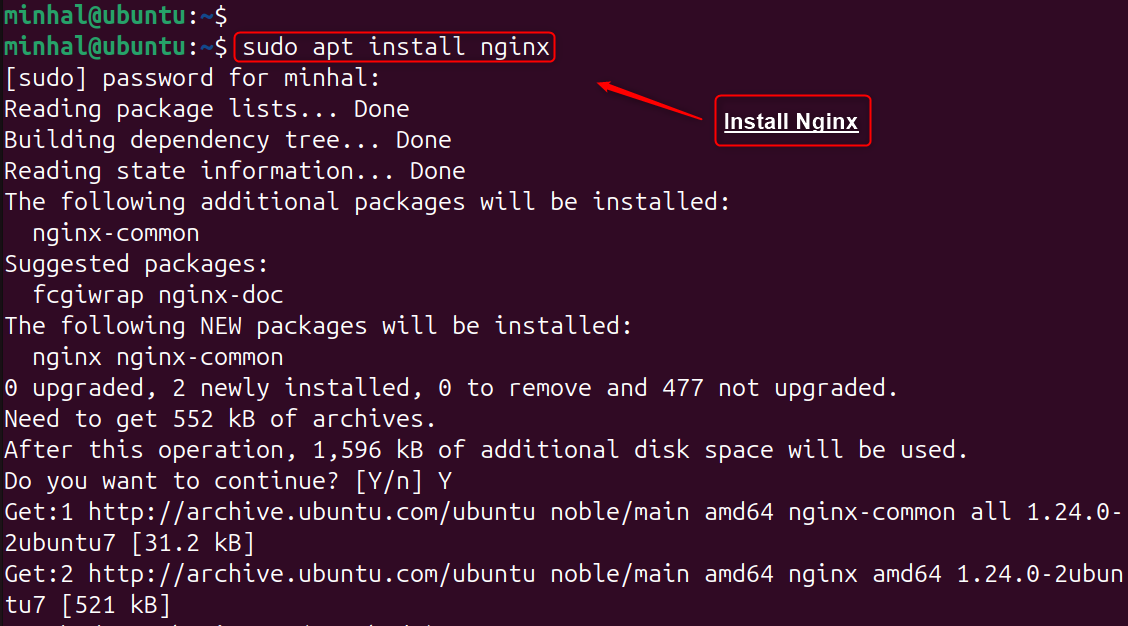
Step 2: Install Nginx
Nginx can be obtained through the apt package manager by running the appropriate command as superuser if it’s not already installed on the system:
sudo apt install nginx
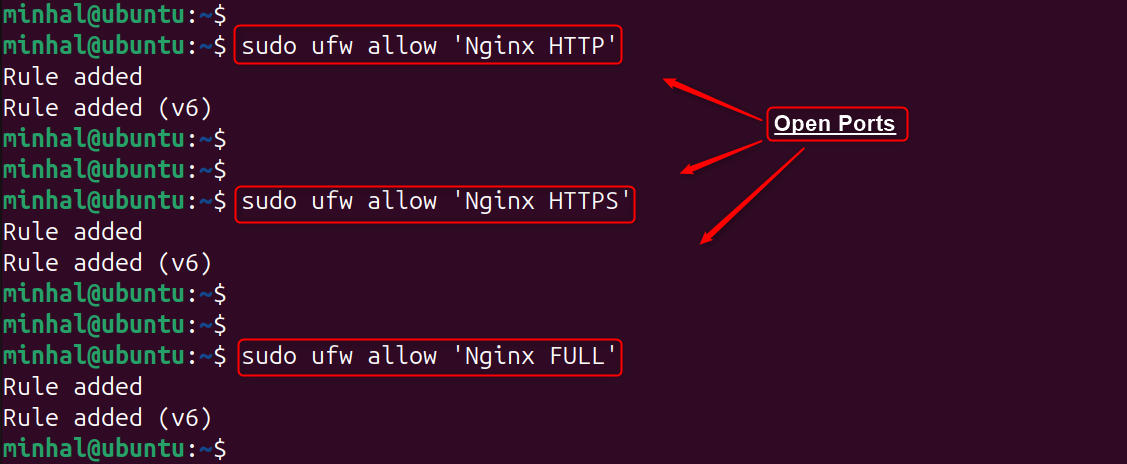
Step 3: Adjust the Firewall
To ensure the website is accessible, users need to configure the firewall. It allows traffic to the Nginx web server. If you’re using UFW, you can easily do this.
Nginx offers three primary settings to manage incoming web traffic:
Full Access: Permits both standard (HTTP) and secure (HTTPS) connections on ports 80 and 443, respectively.
HTTP Only: Allows only standard web traffic on port 80.
HTTPS Only: Enables secure web traffic exclusively on port 443.
Choose the setting that best suits your website’s requirements. To activate your chosen configuration, use the following command:
sudo ufw allow 'Nginx HTTP'
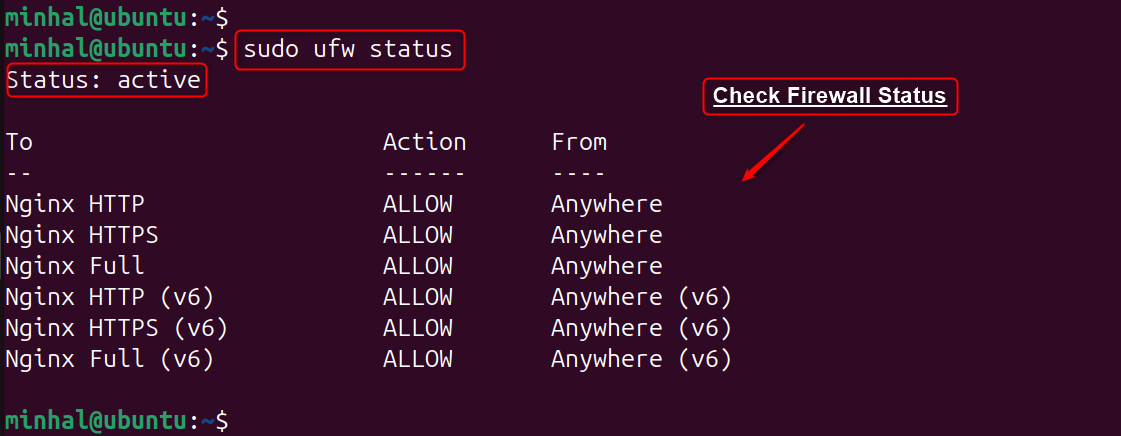
To authenticate the status of the Firewall, users can utilize the “ufw” tool:
sudo ufw status
Step 4: Managing Nginx (Optional)
As a widely popular choice for hosting websites, Nginx can be efficiently managed using these commands:
|
Managing Nginx Services |
Commands |
|---|---|
|
For Enabling Nginx to Start on the Boot |
sudo systemctl enable nginx |
|
For Enabling Firewall |
sudo ufw enable |
|
For Enlisting Installed Applications |
sudo ufw app list |
|
For Starting the Nginx Service |
sudo systemctl start nginx |
|
For Stopping Nginx Service |
sudo systemctl stop nginx |
|
For Restarting the Nginx Service |
sudo systemctl restart nginx |
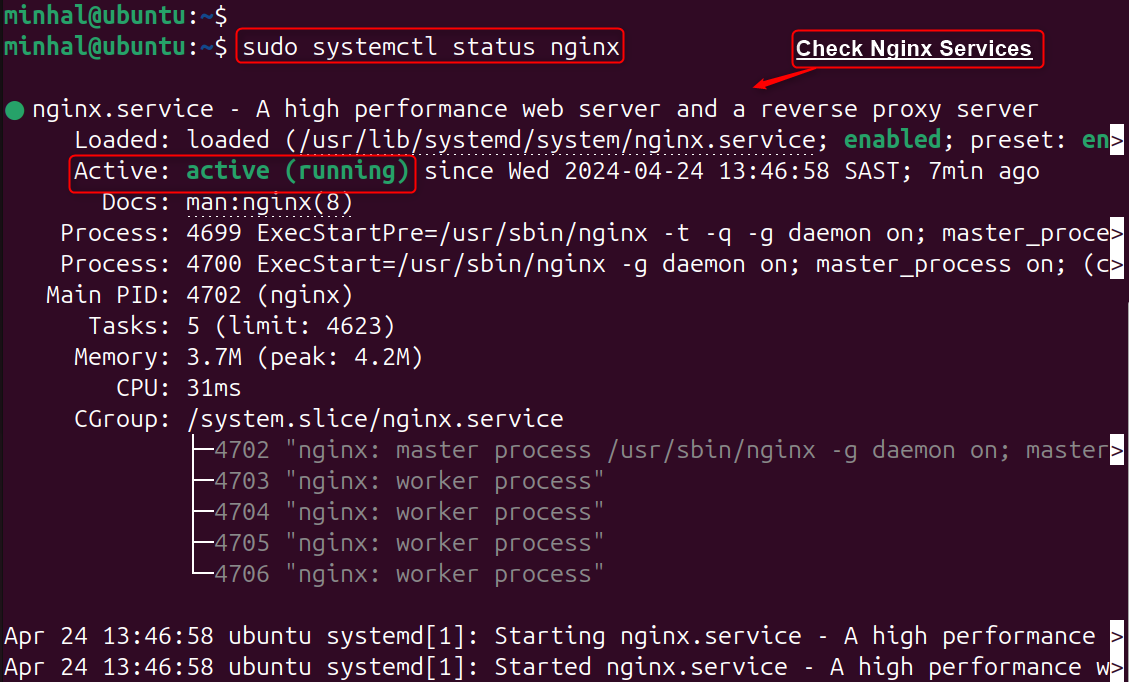
Step 5: Verify the Installation
To verify Nginx is operational following installation, execute the command:
sudo systemctl status nginx
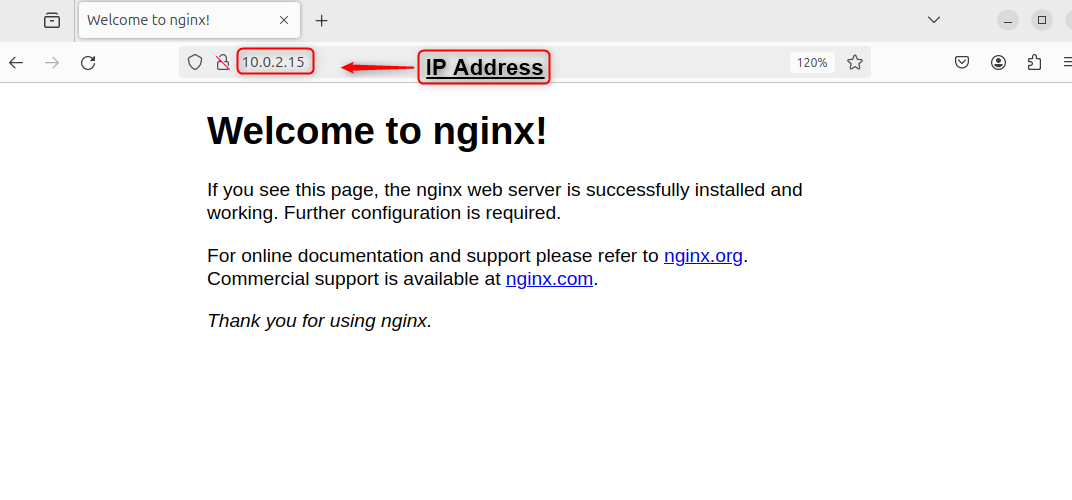
Step 6: Access Nginx Page
To access the Nginx web page, users can either input “localhost” or the specific IP address of the Ubuntu server, which is currently 10.0.2.15:
That is all from the installation of Nginx on Ubuntu 24.04.
Setting Up Nginx Server Blocks on Ubuntu 24.04
Configuring Nginx server blocks on Ubuntu 24.04 is a multi-step process that establishes distinct environments for each hosted domain. Follow these steps to set up your Nginx server blocks:
Step 1: Create Directory Structure
Each hosted website requires its own dedicated folder to store its files. For optimal organization, create separate folders within the “/var/www/” directory for each domain.
When setting up Nginx, establish a folder structure under “/var/www/” for your websites. Each domain should have its own “html” subdirectory designated as the document root:
sudo mkdir -p /var/www/linux.com/html

Important: Users can replace “linux.com” with the domain name.
Step 2: Assign Ownership
Assigning ownership of the directory to the Nginx user (usually ‘www-data’) is crucial for avoiding permission-related errors:
sudo chown -R $USER:$USER /var/www/linux.com/html

Step 3: Set File Permission
To set permissions, users should employ the chmod -R command on the desired path:
sudo chmod -R 755 /var/www/linux.com

Step 4: Create an HTML file
Once file permissions are set, create an HTML page (e.g., “index.html“) in the “/var/www/linux.com/html/” directory:
sudo nano /var/www/linux.com/html/index.html
Users need to paste the HTML code in the configuration file:
<!DOCTYPE html>
<html lang="en" dir="ltr">
<head>
<meta charset="utf-8">
<title>Linux empowers the Ubuntu Users</title>
</head>
<body>
<h1> Setting Up Nginx Server Blocks on Ubuntu 24.04 </h1>
</body>
</html>

In the end, save and exit the file.
Step 5: Create Server Blocks
Just like Apache’s virtual hosts, Nginx employs server blocks to define specific settings for different domains or subdomains hosted on the same server:
sudo nano /etc/nginx/sites-available/linux.com
This script configures your web server to handle requests for the website “linux.com”. It listens on the standard port 80 and delivers files from the directory you specify:
server {
listen 80;
listen [::]:80;
root /var/www/linux.com/html;
index index.html index.htm index.nginx-debian.html;
server_name linux.com www.linux.com;
location / {
try_files $uri $uri/ =404;
}
}

So, save and exit the configuration file.
Note: These configuration files define the specific settings for each domain, such as the server’s identity, primary content directory, and paths to access and error logs.
Step 6: Enable Server Blocks
After creating server block configurations, users need to enable them by linking the files to the ‘sites-enabled‘ folder:
sudo ln -s /etc/nginx/sites-available/linux.com /etc/nginx/sites-enabled/

Important: Users can perform this step for each server block.
Step 7: Test and Restart Nginx
To prevent potential issues, it’s crucial to check the recently modified Nginx configuration for accuracy before initiating the service. This can be easily accomplished by executing the ‘nginx -t’ command:
sudo nginx -t

Step 8: Restart Nginx
Now, the configuration changes can be activated by restarting Nginx with the ‘systemctl’ command:
sudo systemctl restart nginx

Note: To access your Nginx server, your firewall must be configured to permit incoming connections on ports 80 for HTTP and 443 for HTTPS.
Step 9: Verify Nginx Setup
To complete the process, ensure your websites are accessible by opening a web browser and entering localhost/domain_names/IP_address in the address bar:

In this way, Nginx server blocks have been set up on the Ubuntu 24.04 server.
Conclusion
Configuring Nginx server blocks on Ubuntu involves several essential steps. Begin by establishing dedicated directories within /var/www for each website, ensuring proper permissions. Next, craft detailed server block configurations within the /etc/nginx/sites-available directory, outlining how Nginx should handle requests for each domain.
To activate these configurations, create symbolic links in the /etc/nginx/sites-enabled folder. Before deploying changes, it’s crucial to thoroughly test the configuration for errors to guarantee optimal performance.
Frequently Asked Questions
sudo apt update and then sudo apt install nginx. Once installed, Nginx can be started with sudo systemctl start nginx. /etc/nginx/sites-available/ directory and then create a symbolic link in /etc/nginx/sites-enabled/ to activate it. /etc/nginx/sites-available/yourdomain.com with the correct server name, root directory, and other settings, then create a symbolic link in sites-enabled. sudo nginx -t to check for syntax errors in the configuration files before reloading Nginx. 


Leave feedback about this