
If you want to automate your workflows simply and powerfully without relying on third-party solutions, then n8n will be the ideal self-hosted option. N8n is an open source workflow automation tool that connects apps, APIs, and services to automate repetitive tasks. Installing n8n onto your Ubuntu 24.04 Virtual Private Server in just minutes gives you complete control, flexibility, and privacy.
This guide will walk you step-by-step through the installation of n8n on Ubuntu 24.04 VPS, including Docker, and NPM.
Table of Contents
What is n8n?
n8n, a self-hosted automation tool, allows you to connect services and apps without having to write complex code. It has over 500 integrations, including Google Sheets and Slack.
Key Features:
- Self-hosted, full control over your data
- Connect APIs, databases, and apps with ease
- Custom nodes and scripts are available to extend the functionality
- Workflow management web-based interface
- Secure your environment with authentication variables
How to Install N8n on Ubuntu 24.04 VPS
Installing n8n takes only a few moments, regardless of whether you are using Docker or NPM. n8n is a flexible and private automation platform that allows you to connect hundreds of services. Secure your setup using HTTPS to ensure secure, encrypted access from anywhere.
Method 1: Install n8n via npm (Node.js)
From sending emails to automating DevOps and social media tasks. Automation is now your superpower with n8n. Install n8n in a few minutes on Ubuntu 24.04 using npm.
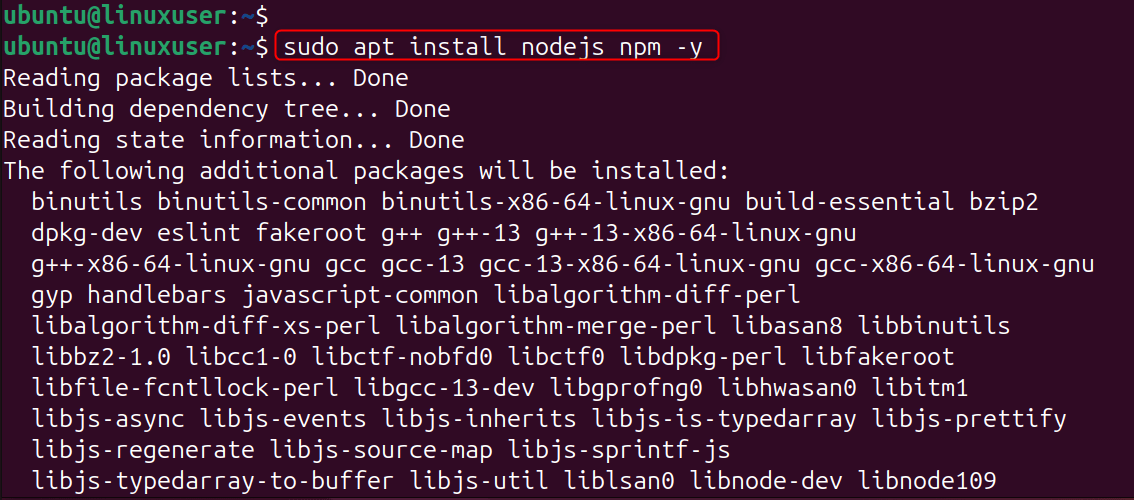
Step 1: Install Node.js and npm
Node.js is the basis of n8n, so it’s essential to install Node.js and npm for a manual installation.
|
sudo apt install nodejs npm -y |
|---|
Verify installation:
|
node -v npm -v |
|---|

Step 2: Install n8n Globally
This will install n8n on your computer globally, so you can run it anywhere by using the n8n command.
|
sudo npm install n8n -g |
|---|

Step 3: Start n8n
By default, n8n listens and starts on port 5678. In the browser, you can use your server’s address. Run:
|
n8n |
|---|

Step 4: Run n8n as a Background Service
Use PM2, or a process manager, to ensure that n8n continues to run even after you log out.
|
sudo npm install pm2 -g pm2 start n8n |
|---|
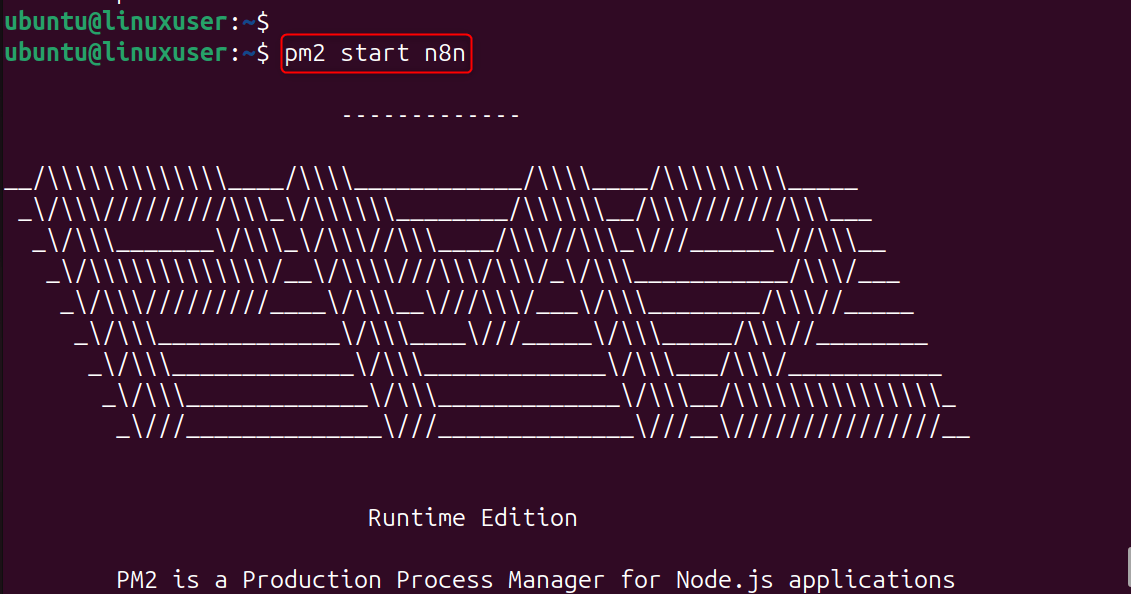
The PM2 software ensures that n8n remains active even after reboots, and restarts automatically in the event of a crash.
Step 5: Access n8n
Navigate to the following URL in your browser:
|
http://your-server-ip:5678 |
|---|

Method 2: Install n8n Using Docker
Installing n8n onto your Ubuntu 24.04 Virtual Private Server gives you the flexibility and customization of cloud automation tools, but also privacy, cost savings, and customization. Docker is the easiest and most reliable method to install and manage N8n.
Step 1: Install Docker and Docker Compose
Install Docker if you haven’t done so already.
|
sudo apt install docker.io docker-compose sudo systemctl enable docker sudo systemctl start docker |
|---|

Install Docker and Docker compose to run n8n within a containerized environment.
Step 2: Create a Directory for n8n
This directory contains your Docker Compose Configuration and n8n Data files.
|
mkdir ~/n8n-docker && cd ~/n8n-docker |
|---|

Step 3: Create a Docker Compose File
Create the configuration file:
|
nano docker-compose.yml |
|---|
Add the following content:
|
version: “3” services: n8n: image: n8nio/n8n restart: always ports: – “5678:5678” environment: – N8N_BASIC_AUTH_ACTIVE=true – N8N_BASIC_AUTH_USER=admin – N8N_BASIC_AUTH_PASSWORD=strongpassword – N8N_HOST=yourdomain.com – N8N_PORT=5678 – N8N_PROTOCOL=https – NODE_ENV=production volumes: – ~/.n8n:/home/node/.n8n |
|---|
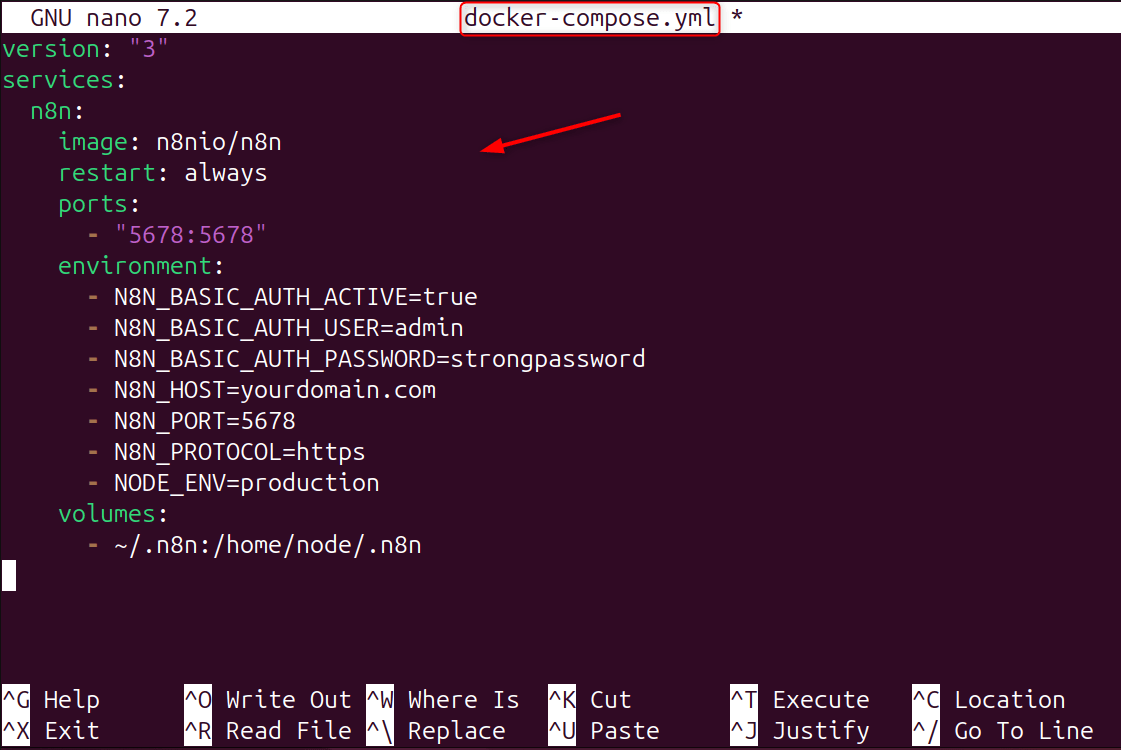
This configuration sets up basic authentication and stores persistent data on the local disk.
Note: Update the username and password to ensure security. Replace yourdomain.com with your domain name or IP address.
Step 4: Start n8n
Start your n8n by running the following command:
|
sudo docker-compose up |
|---|

This will start the container and download the n8n (if it is not already installed).
Step 5: Access n8n
Navigate to the following URL in your browser:
|
http://your-server-ip:5678 |
|---|

Log in using the username and password you have configured. Now you’ll see the n8n Dashboard ready for workflow creation.

Conclusion
Installing n8n is easy on your Ubuntu 24.04 Virtual Private Server. First, update your system with sudo update && sudo upgrade -y. Next, install Docker Compose and Docker.io using sudo install docker.io. Create a directory for the n8n Docker service using mkdir/n8ndocker and cd/n8ndocker. Then create a file called dockercompose.yml that contains the n8n configuration, including authentication variables and host details. Start n8n with sudo docker-compose up -d, and once it’s running, access it in your browser at http://your-server-ip:5678 or https://yourdomain.com:5678. Install Nginx, and then set up SSL with Certbot using sudo certbot –nginx yourdomain.com. Log in with your credentials after setup to begin building automation workflows.


Leave feedback about this