One critical aspect of safeguarding your server is to defend it against brute force attacks, which makes securing your Debian 12 server a necessity. Fail2Ban is an advanced framework for intrusion prevention that monitors log files and bans, for a specified amount of time, IP addresses that are exhibiting hostile behavior.
This comprehensive tutorial will take you through the entire process of installing and configuring Fail2Ban on Debian 12.
What is Fail2Ban?
Fail2Ban is a freely available security application that protects your server from brute force, dictionary, and other automated attacks by changing your firewall settings to block offending addresses based on the activities taking place. It uses a firewall for IP address banning. It scans the logs files for any indication of malicious activities or repeated login attempts, adjusting the traffic filters as needed for a preset duration.
Fail2Ban operates by:
- Monitoring logs for sign indicators of login abuse or other potentially malicious activities
- Employing patterns (filters) in the form of regular expressions to match indicants
- Tracking failures from every unique IP address in a given timeframe
- Temporarily banning offending IPs past the defined limit from accessing network resources by altering firewall rules
- Automatically removing IPs after the expiration of the ban duration
Prerequisites
Before you start the installation, ensure that you have the following:
- A Debian 12 server with root or sudo privileges enabled
- Fundamental understanding of the Linux command line interface
- SSH access to your server
- Vim or nano pre-installed on the machine as a text editor
- Correctly set up system time (critical for Fail2Ban functionality)
- A firewall application (Debian 12 comes with iptables or nftables out of the box).
Installation Steps
As Fail2Ban is configurable, you can tailor its settings to your specific security requirements. It is important to monitor your Fail2Ban logs and check banned IPs regularly. Let’s install Fail2Ban on Debian 12:
1. Update Your System
Make sure that your system is refreshed first, this step is essential while installing new software to make sure every security loophole and dependencies are available.
|
sudo apt update |
|---|
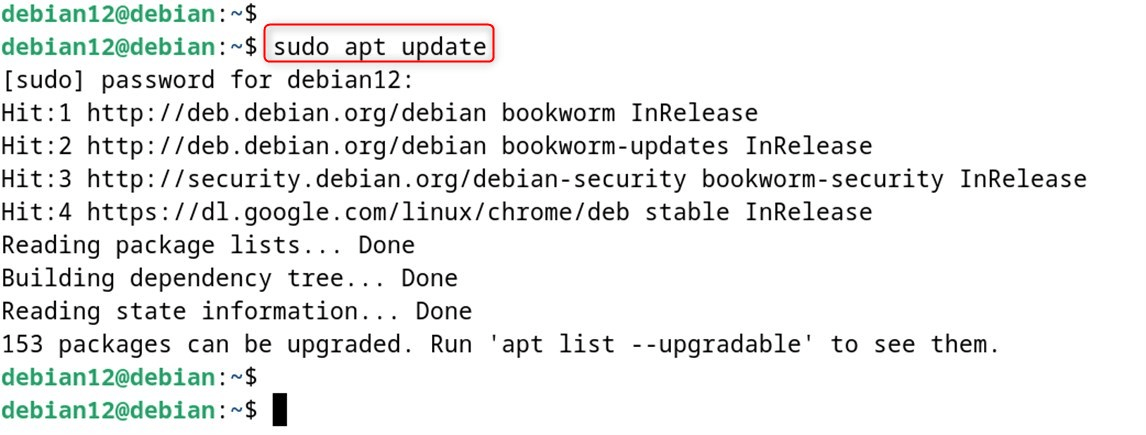
First, apt update refreshes your local package index, while apt upgrade installs all packages to their latest versions.
2. Install fail2ban
Now, it installs Fail2Ban and all its dependencies. The -y flag accepts the installation prompt automatically:
|
sudo apt install fail2ban -y |
|---|
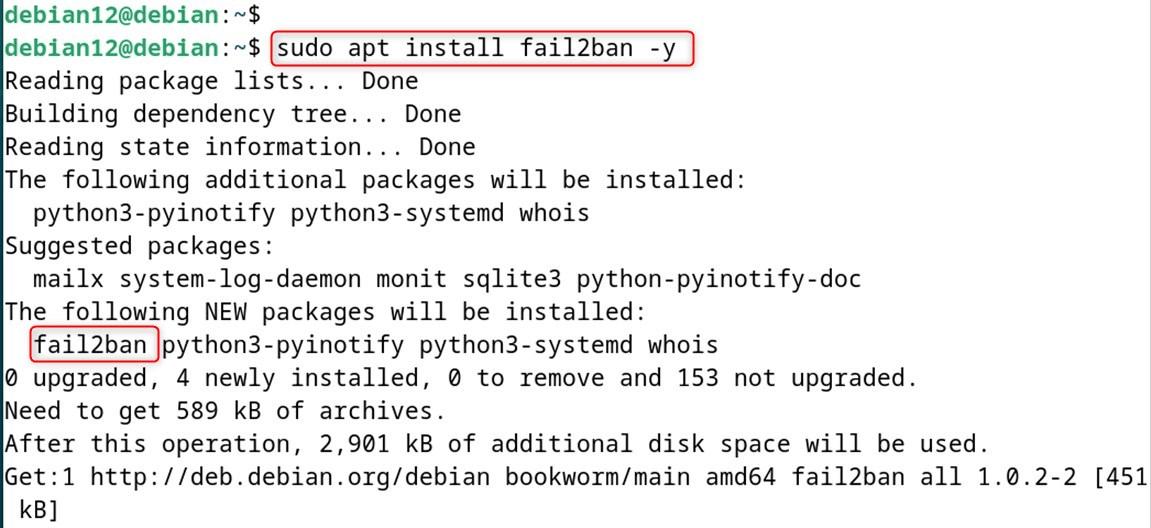
To find out the Fail2Ban version on Debian 12, execute this command:
|
fail2ban-client -V |
|---|

3. Configure Fail2Ban
In the case of Fail2Ban, it comes with an installed default configuration file (jail.conf). However, you should never touch this file as it can lead to problems when updating the system because it will be overwritten. Instead, we will make a local configuration file that will change the defaults under the following command.
|
sudo cp /etc/fail2ban/jail.conf /etc/fail2ban/jail.local |
|---|

It creates a file jail.local based on the configuration file jail.conf.
4. Edit the Configuration File
Using the command below, open the local configuration file with your preferred text editor of choice:
|
sudo nano /etc/fail2ban/jail.local |
|---|
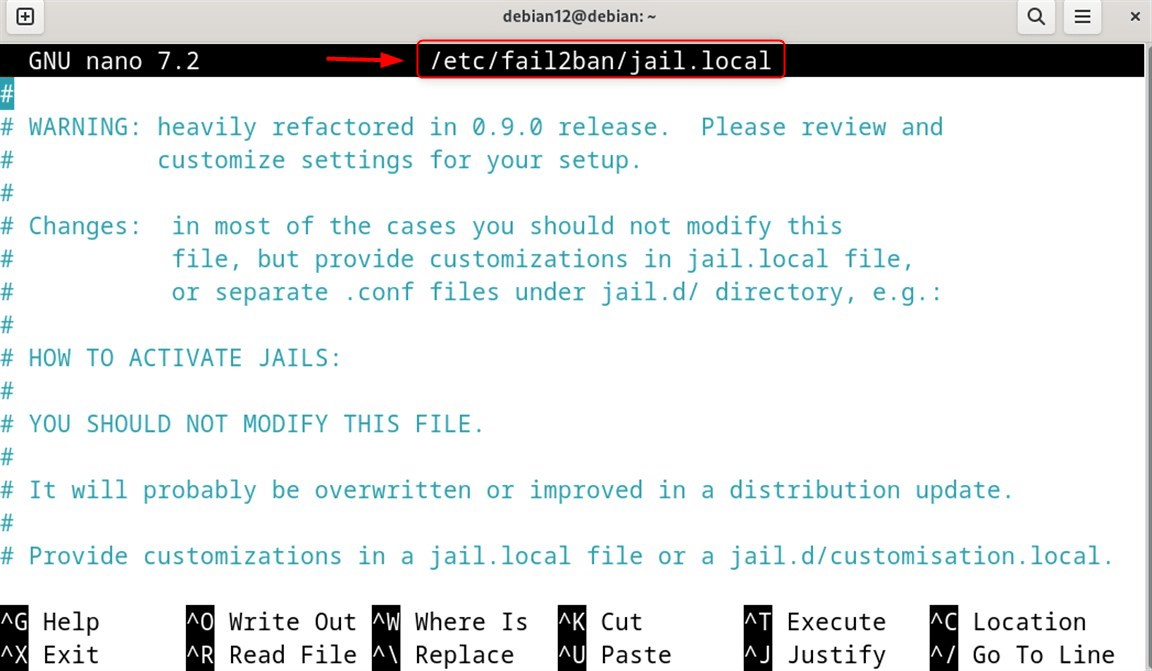
It opens the configuration file through the nano editor. If you prefer using vim, change Nano with your preferred text editor.
5. Customize Basic Settings
In the [DEFAULT] section of the configuration file, global settings that apply to all jails (unless overridden) are listed. Here are some settings to know and modify as per your preferences:
|
# Ban time in seconds (1 hour) bantime = 3600 # Time frame in seconds to count failures (10 minutes) findtime = 600 # Number of failures before a host gets banned maxretry = 5 # IP that will not be banned ignoreip = 127.0.0.1/8 ::1 |
|---|
Here,
- bantime – The basic configuration is 3600 seconds. If you wish to enhance your security, this could be set to a higher value.
- findtime – Refers to the time period during which fail2ban counts failures. If an IP makes more than maxretry failed attempts within this timeframe, it gets banned. The default is 600 seconds (10 minutes).
- maxretry – Number of failures an IP address can have before it gets banned. The default is 5 but this is recommended to be lowered for critical services like SSH.
- ignoreip – Includes IP addresses or CIDR notations that should not be banned permanently. Local IP addresses should be included here to prevent being locked out, especially for SSH connections. To add/remove your address(es) from the list, simply separate them with spaces.
6. Enable SSH Protection
Look for the [sshd] section concerning SSH connection protection. Verify that it is enabled and works as you expect:
[sshd]
enabled = true
port = ssh
filter = sshd
logpath = /var/log/auth.log
maxretry = 3
Here,
- enabled: Set to true to activate this jail.
- port: Specifies which port(s) to monitor. SSH refers to the SSH port defined in your services file (which is usually set to 22). If you’ve altered your SSH port, please enter the actual port or multiple ports separated by commas.
- filter: Defines which filter to use. The sshd filter contains regular expressions that identify failed login attempts in the logs.
- logpath: Specifies which log file to monitor in relation to the associated log files that record failed login attempts.
- maxretry: This value is recommended to be set lower than the default value, like 3, to provide enhanced protection SSH service.
7. Save and Exit
In this step, we will show you how to save the changes that you have done in the file and how to quit the editor. In nano: Ctrl+X, Y to confirm and Enter, in case to confirm the filename.
8. Start and Enable the Fail2Ban Service
After configuring Fail2Ban, starting the service and enabling it to run at boot is the next step:
|
sudo systemctl start fail2ban sudo systemctl enable fail2ban |
|---|

To start fail2ban, execute the command. It will start running immediately. The parameter systemctl enable configures the system to boot fail2ban whenever the server starts. This ensures unrestrictive startup protection.
9. Verify Service Status
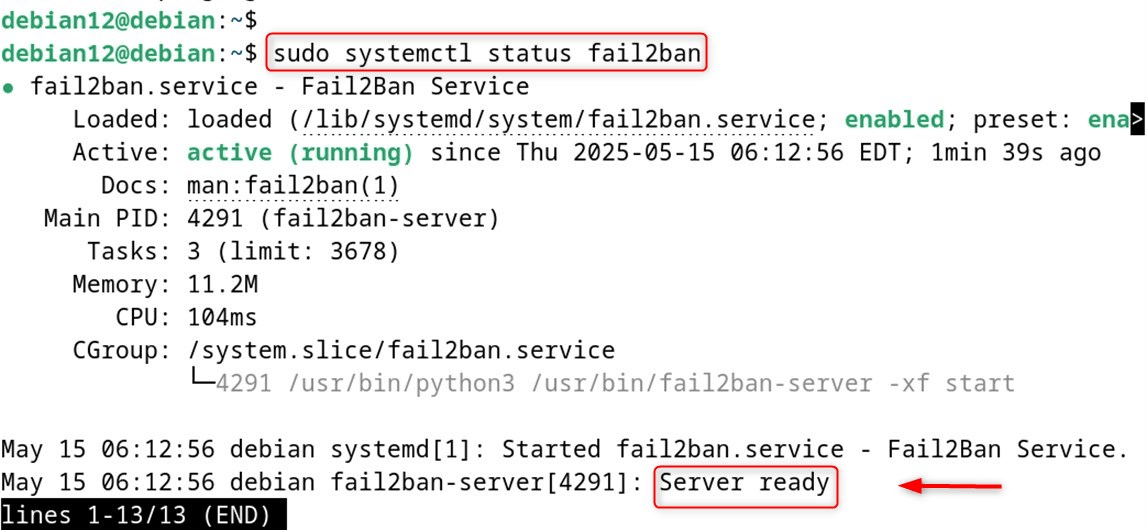
Make sure it is working and that it is operating normally:
|
sudo systemctl status fail2ban |
|---|
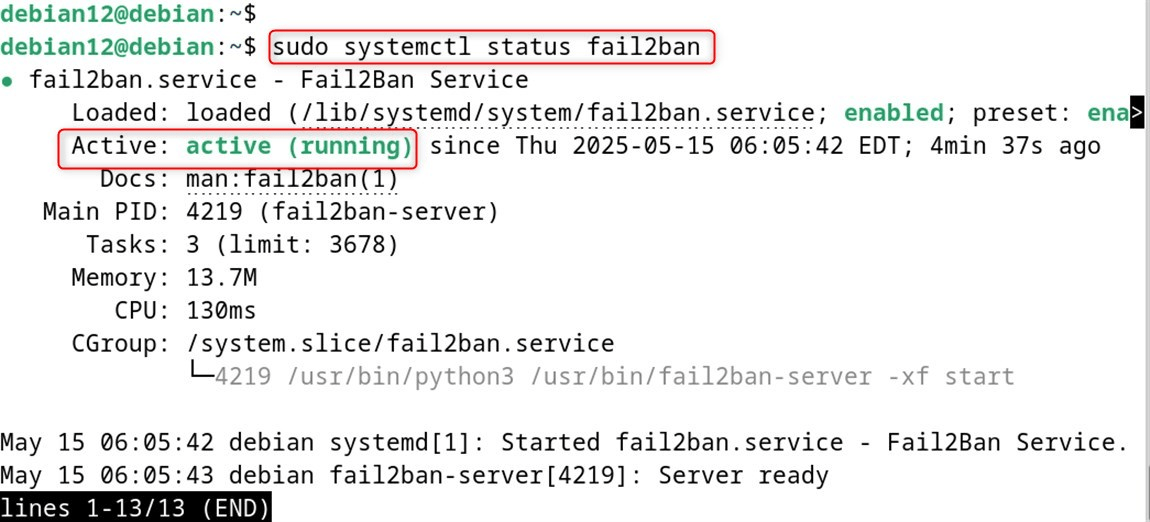
Issue this command to find the state of the fail2ban service. Make sure you spot the word active (running) within the results. That confirms that fail2ban is operational. The output will also return some of the latest logs, which could provide additional help in fixing the possible failures.
10. Basic Fail2Ban Commands
With these commands, you will be able to control how Fail2Ban operates.
Check the status of all jails:
|
sudo fail2ban-client status |
|---|

This command retrieves active Jails and the number of banned IPs per each.
Issues with the designated jail: bans and currently banned IPs.
Unban an IP address:
|
sudo fail2ban-client set sshd unban <IP_Adrress> |
|---|
Use this instruction to unban an IP address you have set a block for or need to unban a legitimate IP for. Change <IP_Adrress> to the IP address you want to unban.
11. View Fail2Ban Logs
Monitoring the Fail2Ban logs can help you understand what’s happening and troubleshoot any issues:
|
sudo tail -f /var/log/fail2ban.log |
|---|
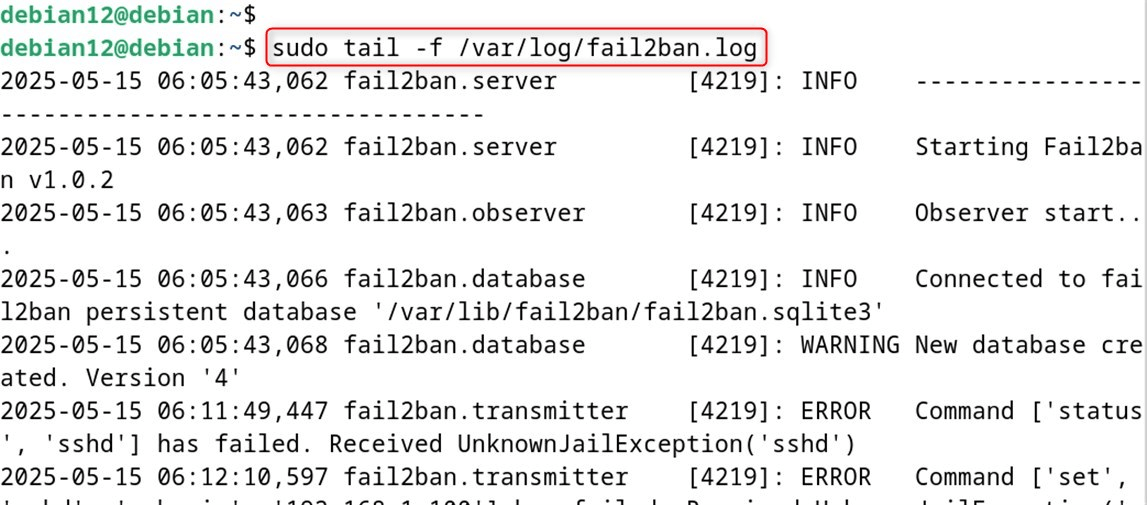
This allows you to view the last added section of the log and continue to receive updates of new log entries in real-time. These logs contain the events of fail2ban starts and stops, as well as when it bans or unbans IP addresses.
12. Create Custom Jails (Optional)
Custom Jails can be created to protect other services such as Apache, Nginx or FTP. You will need to add sections to your jail.local file. So, for an Apache server you want to protect, you would write it like this:
[apache]
enabled = true
port = http,https
filter = apache-auth
logpath = /var/log/apache2/error.log
maxretry = 6
Make sure you restart Fail2Ban every time you add a custom jail to ensure it takes effect.
|
sudo systemctl restart fail2ban |
|---|

Troubleshooting Tips
Check if fail2ban is running:
So, can you check whether fail2ban is currently running its services:
|
sudo systemctl status fail2ban |
|---|
Test your configuration:
With this configuration, you are able to test the settings of your setup:
|
sudo fail2ban-client -d |
|---|

That is all about the installation and configuration of Fail2Ban Debian 12.
Conclusion
You have installed and configured Fail2Ban on your Debian 12 server. This will aid in protecting your server from automated brute force attacks by banning users with abusive behavior. With the installation of Fail2Ban, you have mitigated common attack vectors on your Debian 12 server. Now, your system can withstand countess automated attack attempts without significant damage.
Frequently Asked Questions
sudo apt update && sudo apt install fail2ban to install it from the official Debian repositories. sudo systemctl status fail2ban to check its status. It should show as "active (running)". /etc/fail2ban/jail.conf, but you should create /etc/fail2ban/jail.local for custom settings. jail.local, add [sshd] with enabled = true. This activates the SSH jail. 



Leave feedback about this