
Homebrew, a popular open-source package manager primarily for macOS, simplifies software management through the terminal. It automates dependency installation, eliminating the need for manual package downloads. While Ubuntu 24.04 relies on the apt package manager, this guide will explore how to install and use Homebrew as an alternative on your Ubuntu system.
- How to Install Homebrew on Ubuntu 24.04
- How to Install Homebrew on Ubuntu 24.04 Using Git Clone
- How to Use Homebrew on Ubuntu 24.04
- How to Update Homebrew on Ubuntu 24.04
- How to Remove Homebrew from Ubuntu 24.04
- Conclusion
How to Install Homebrew on Ubuntu 24.04
To install Homebrew on Ubuntu 24.04, use these given steps:
Step 1: Install curl on Ubuntu
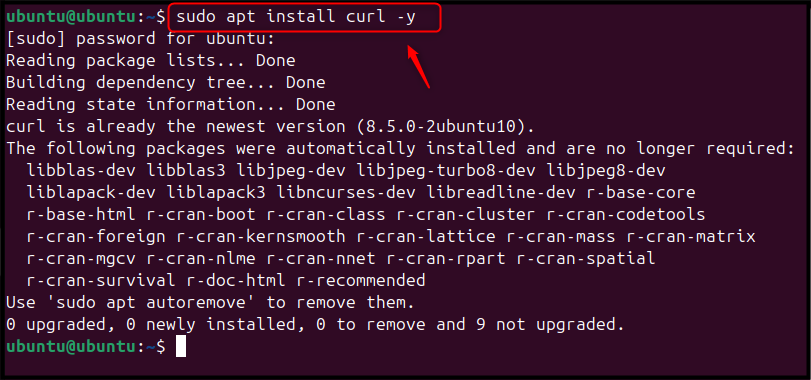
Before installing Homebrew, you’ll need the curl command-line utility. Obtain it on Ubuntu by running:
sudo apt install curl -y
Step 2: Download and Install Brew
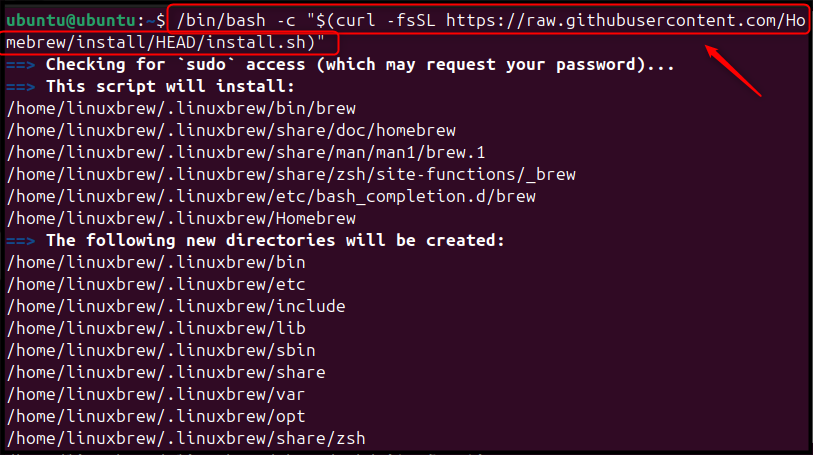
To begin, download the Homebrew setup script for Ubuntu and execute it by running the command below:
/bin/bash -c "$(curl -fsSL https://raw.githubusercontent.com/Homebrew/install/HEAD/install.sh)"
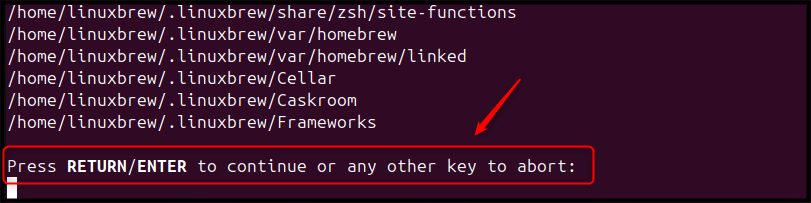
When prompted during the script, hit Enter to install Homebrew on your Ubuntu system:
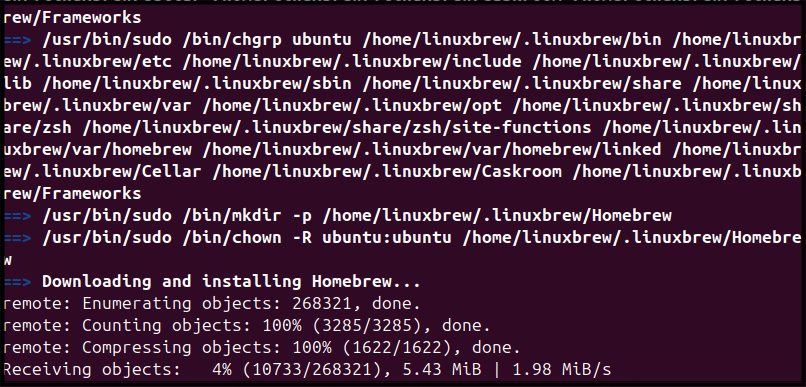
Now, users need to wait sometime for the completion of the Homebrew installation:
Step 3: Finalize the Homebrew Installation
Once the Homebrew installation script finishes running, you’ll be prompted with a series of commands to execute in your terminal. These commands are essential for completing the Homebrew setup on Ubuntu and informing your system about the installation location:
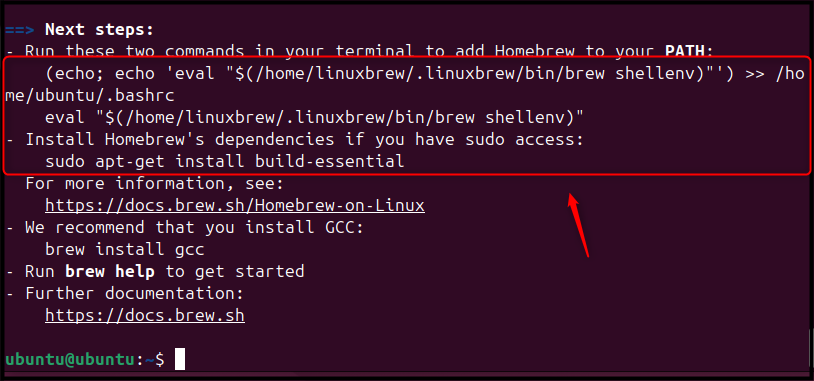
To inform the system about Homebrew’s location, the first command will incorporate the Homebrew PATH into your .bashrc file. This command, obtainable from the previous script’s output, resembles the example below but requires replacing ubuntu with your actual username:
(echo; echo 'eval "$(/home/linuxbrew/.linuxbrew/bin/brew shellenv)"') >> /home/ubuntu/.bashrc
 > /home/ubuntu/.bashrc" class="wp-image-13378 webpexpress-processed" srcset="https://greenwebpage.com/community/wp-content/uploads/2025/02/word-image-13372-6.png 817w, https://greenwebpage.com/community/wp-content/uploads/2025/02/word-image-13372-6-300x32.png 300w, https://greenwebpage.com/community/wp-content/uploads/2025/02/word-image-13372-6-768x83.png 768w" sizes="(max-width: 817px) 100vw, 817px">
To ensure Homebrew operates correctly on your system, you’ll need to define specific environment variables. These are listed below:
eval "$(/home/linuxbrew/.linuxbrew/bin/brew shellenv)"

Step 4: Confirm Homebrew Installation
Once you’ve applied the changes, restart the terminal and run the following command:
brew --version

Or, users can utilize the brew doctor utility to ensure the successful running of Homebrew on Ubuntu:
brew doctor

How to Install Homebrew on Ubuntu 24.04 Using Git Clone
Alternatively, you can manually install Homebrew on Ubuntu 24.04 by obtaining its source code through Git. The process involves the following steps:
Step 1: Clone Homebrew Git Repository
The first step is to download the Homebrew Git repository to your Ubuntu machine. Use the command below:
git clone https://github.com/Homebrew/brew homebrew

Step 2: Add Homebrew Directory to the System PATH
To integrate Homebrew into your system’s command-line environment, execute the provided command to copy its directory to the appropriate location:
eval "$(homebrew/bin/brew shellenv)"

Step 3:Confirm Homebrew Installation
Verify Homebrew’s installation on Ubuntu by executing this command:
brew --version

Step 4: Set Permission for Homebrew
Brew requires write access to the specified directory to store its data. Use the following command to enable this:
chmod -R go-w "$(brew --prefix)/share/zsh"

How to Use Homebrew on Ubuntu 24.04
Users can utilize Homebrew for installing packages on Ubuntu utilizing the below syntax:
brew install package_name
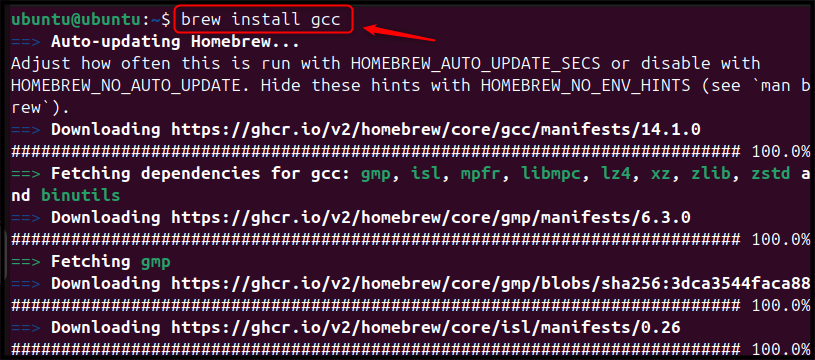
To employ Homebrew to install a specific package on Ubuntu, simply replace “package_name” with the desired package’s title. As a demonstration, the command to install the gcc compiler on Ubuntu 24.04 using Homebrew is:
brew install gcc
Upon successful GCC installation through Brew on your Ubuntu system, execute the command below to confirm:
gcc --version

To update the application or package version, you can utilize brew with the command:
brew upgrade application or package_name
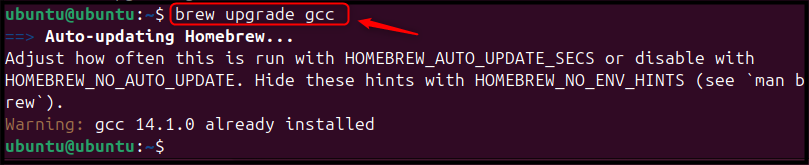
To update the gcc package using brew, execute the following command. This will only install an update if one is available:
brew upgrade gcc
To remove the package or application from brew on the Ubuntu system utilize the given command:
brew uninstall application or package_name
Let’s uninstall the gcc package from brew on the Ubuntu system:
brew uninstall gcc

How to Update Homebrew on Ubuntu 24.04
Keeping your Homebrew package manager up-to-date on Ubuntu is straightforward. Use the command below to upgrade:
brew update

The brew update command searches for available updates to Homebrew and, if found, upgrade it to the newest version.
How to Remove Homebrew from Ubuntu 24.04
To uninstall Homebrew, which was installed on Ubuntu 24.04 using the curl method, begin by downloading the uninstallation script with this command:
curl -fsSL -o uninstall.sh https://raw.githubusercontent.com/Homebrew/install/master/uninstall.sh

For running the script, first, open the terminal and utilize the “bash” followed by the script’s filename:
bash uninstall.sh
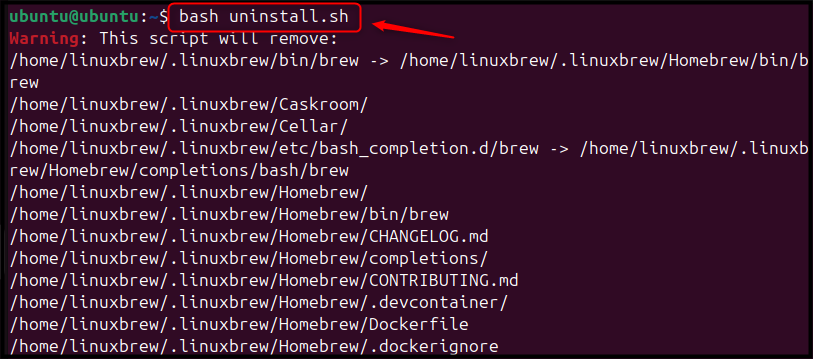
Now, users need to reply with y for uninstalling the Homebrew from Ubuntu:
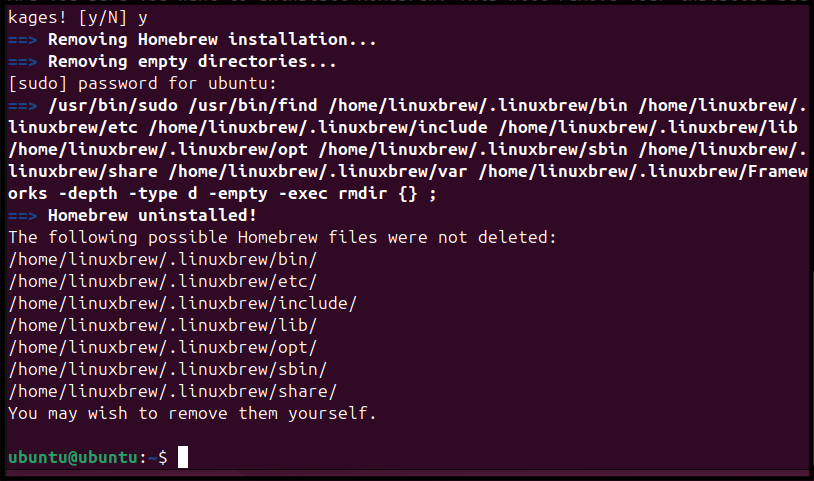
Now, open the .bashrc file in the home directory by utilizing the nano editor. Delete the line that specifies the Homebrew PATH and save the changes:
sudo nano .bashrc
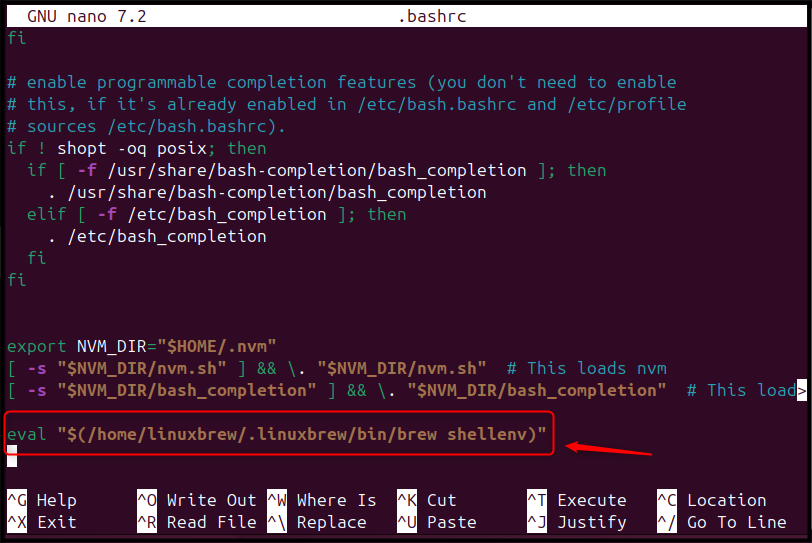
The Homebrew uninstallation process for Ubuntu 24.04 is finished. To ensure Homebrew is completely removed, we’ve deleted the Homebrew path from your .bashrc file.
If users installed Homebrew through the Git clone, delete the Homebrew directory:
sudo rm -rf homebrew

Conclusion
Homebrew, a popular package manager primarily known for its prowess on Mac systems, can also be effectively utilized on Linux distributions like Ubuntu 24.04. This guide offers comprehensive instructions for installing Homebrew on Ubuntu using two primary methods: directly downloading the installation script via curl or cloning the Homebrew Git repository.
Beyond installation, you’ll discover how to efficiently manage Homebrew packages, including updates and removals, streamlining your software management experience.
Frequently Asked Questions
/bin/bash -c "$(curl -fsSL https://raw.githubusercontent.com/Homebrew/install/HEAD/install.sh)" brew --version in the terminal. This will display the Homebrew version if installed correctly. 


Leave feedback about this