Installing CUDA on a Debian system enables you to use the parallel processing power of NVIDIA graphics cards, and that boost can cut the time needed to finish heavy calculations. Once the CUDA toolkit is running, developers have the tools they need to fine-tune their code for NVIDIA’s chip architecture. In this way, programs run faster and with less wasted power.
Setting up CUDA on Debian 12 is not hard, but following reliable steps is still important. The extra libraries and drivers often make a clear difference in everyday workloads, such as scientific models, deep-learning experiments, or large-scale data crunching.
To make the process easier, this guide walks through each installation option, from package managers to the run-file approach, so you can pick the path that matches your system and skill level.
Table of Contents
How to Install CUDA on Debian 12
If you want to install CUDA on your Debian, you have several ways to do it, each with its pros and cons. Pick one method and run through the steps:
Method 1: Install CUDA on Debian 12 Using Nvidia’s Official Website
Another way is to grab the software straight from NVIDIA’s repo. This path works for both Debian 12 and the Ubuntu 24.04 LTS release. Once the setup is installed, your Nvidia GPU can power everything from deep-learning drills to high-energy physics models.
Step 1: Install Required Dependencies
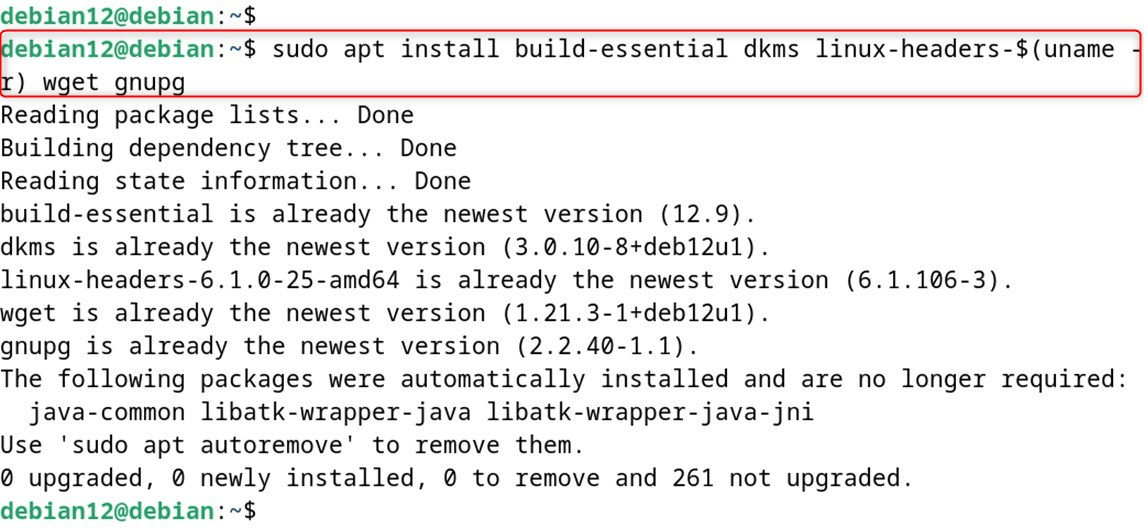
Before installing CUDA on your machine, it’s best to install the required dependencies, so files won’t clash:
sudo apt install build-essential dkms linux-headers-$(uname -r) wget gnupg
Step 2: Update the System
First, refresh your list of available packages to be sure everything on the system is current:
sudo apt update

Step 3: Download and Install the CUDA Toolkit
Go to the Nvidia CUDA Downloads page, and select the Debian 12 installer that matches your computer’s architecture.
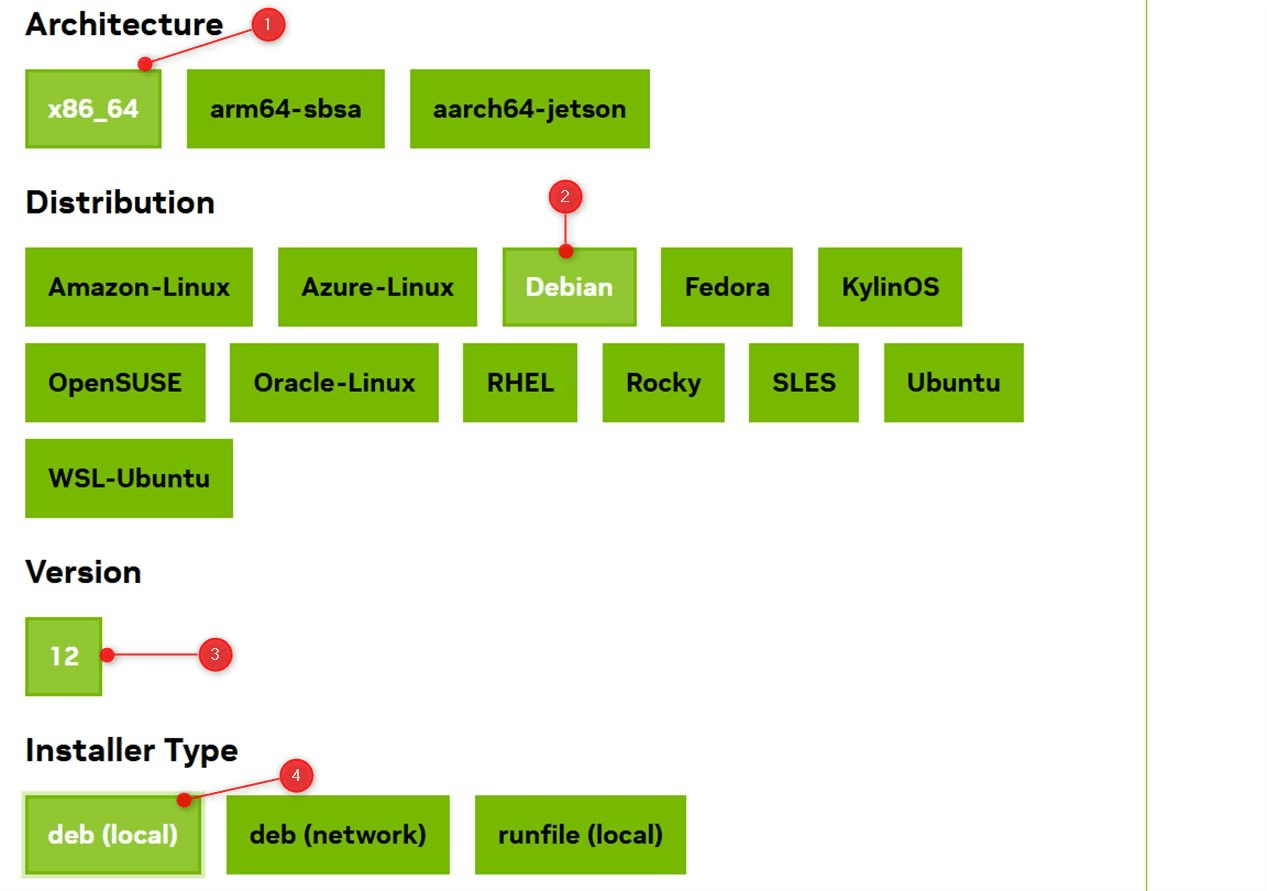
Important: When the page loads, glance at the pop-up bar near the bottom and copy any commands that correspond to the latest release shown there.
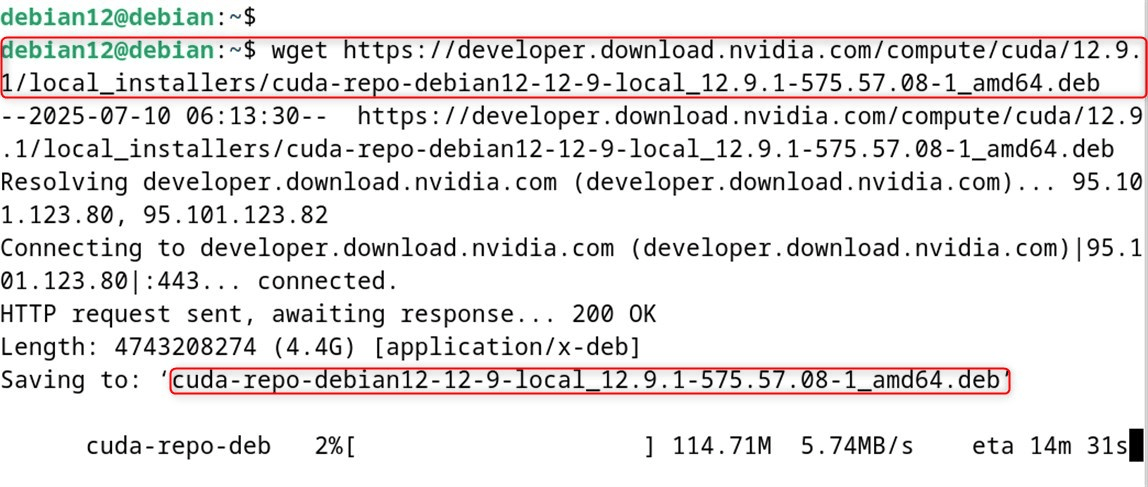
Once the download finishes, run these commands to start the installation:
wget https://developer.download.nvidia.com/compute/cuda/12.9.1/local_installers/cuda-repo-debian12-12-9-local_12.9.1-575.57.08-1_amd64.deb
Now install the package with:
sudo dpkg -i cuda-repo-debian12-12-9-local_12.9.1-575.57.08-1_amd64.deb
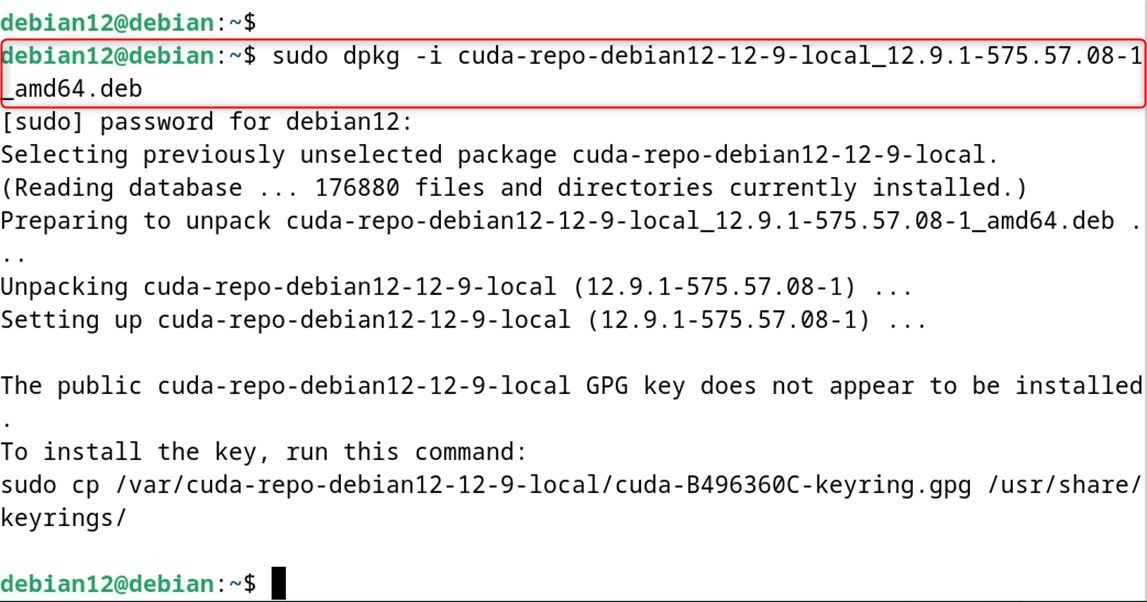
Next, copy the GPG key into the keyring folder:
sudo cp /var/cuda-repo-debian12-12-9-local/cuda-*-keyring.gpg /usr/share/keyrings/

After that, refresh the package cache again:
sudo apt update
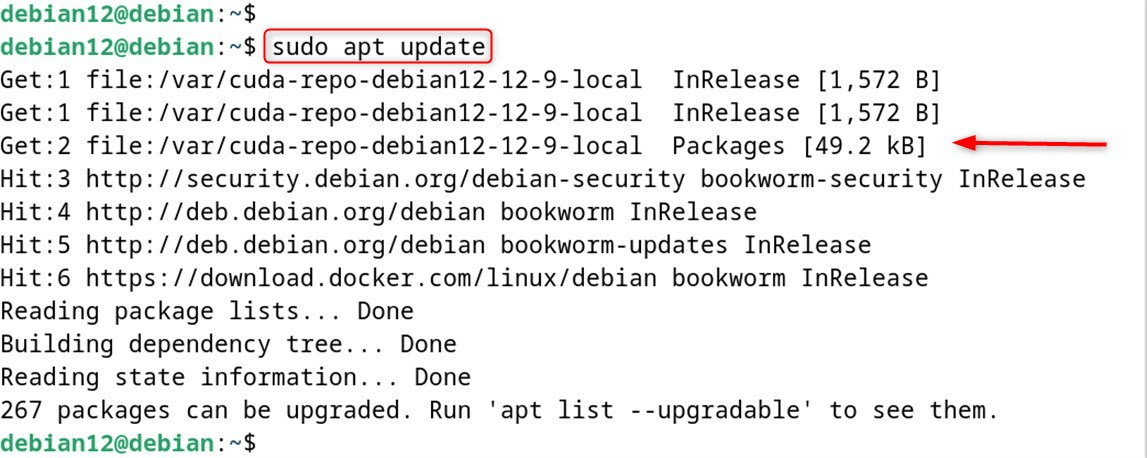
Finally, pull in the CUDA toolkit itself:
sudo apt-get -y install cuda-toolkit-12-9
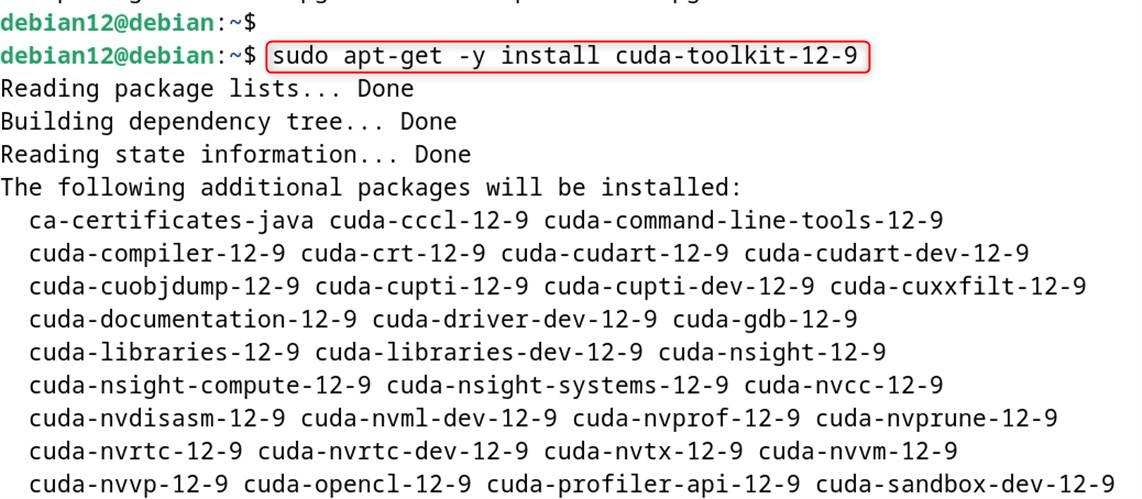
Step 4: Configure PATH
To make the CUDA tools easy to reach, add them to your PATH and then reload the new settings with:
export PATH=/usr/local/cuda/bin:$PATH >> ~/.bashrc
export LD_LIBRARY_PATH=/usr/local/cuda/lib64:$LD_LIBRARY_PATH >> ~/.bashrc
source ~/.bashrc

At this point, you should have a working CUDA install on Debian 12.
Step 5: Verify the Installation
A quick way to check if the install is still working is to run the nvidia-smi command and see if the driver lists your GPU.
nvidia-smi
Check CUDA version:
nvcc --version
Install the CUDA Driver
If you found an error regarding CUDA drivers, install them with the following command:
sudo apt install cuda-drivers
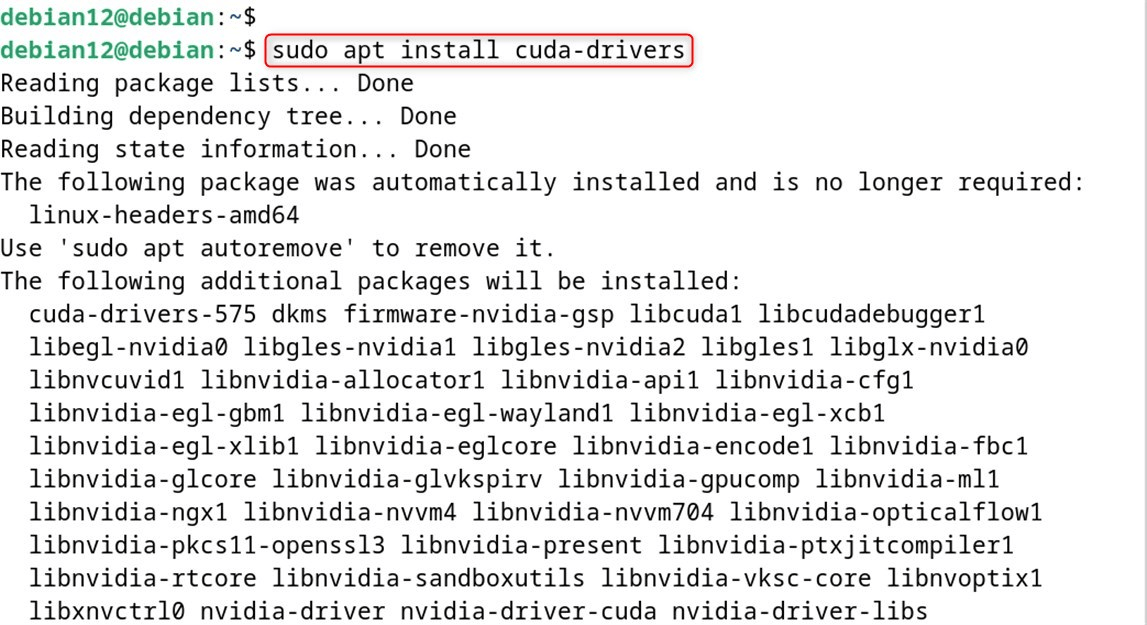
Install the Nvidia Driver
Replace the default Nouveau driver with the official Nvidia one. Debian 12 usually ships with Nouveau already loaded, so run the command below:
sudo apt install nvidia-open
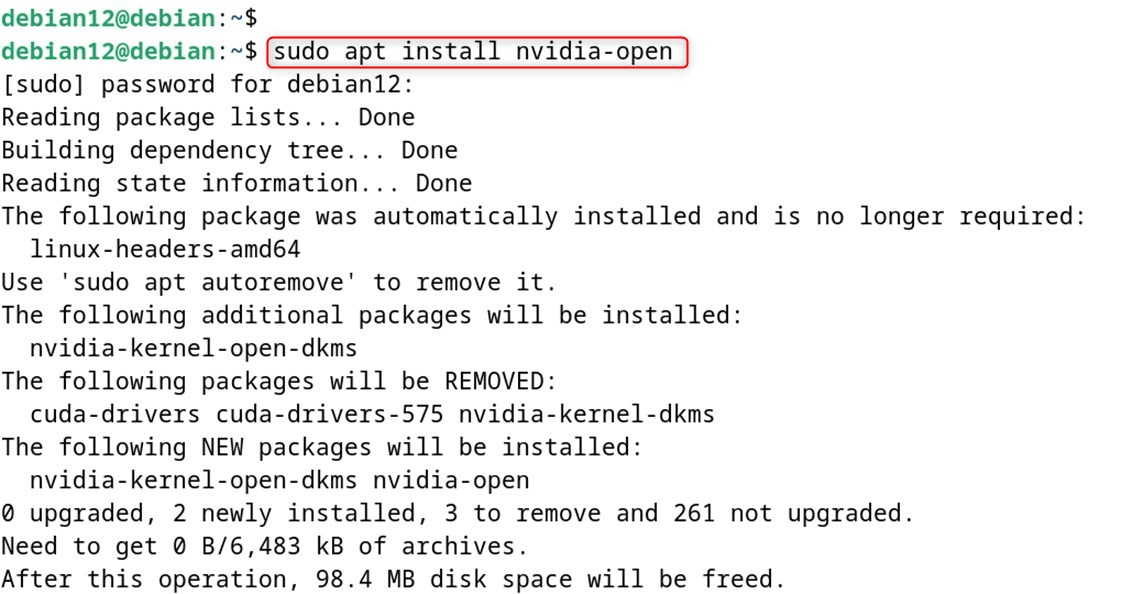
Disable the Nouveau Driver
To prevent conflicts, disable the Nouveau driver. Create a blacklist file like this:
echo "blacklist nouveau" | sudo tee /etc/modprobe.d/blacklist-nouveau.conf

Next, rebuild the kernel image and reboot using the following command:
sudo update-initramfs -u
sudo reboot

Method 2: Installing CUDA on Debian 12 Using CUDA Toolkit Runfile
If you want the newest CUDA or have special needs, consider installing manually.
Step 1: Download the CUDA Toolkit Runfile
First, download the runfile from NVI’s website based on your architecture and Linux version.
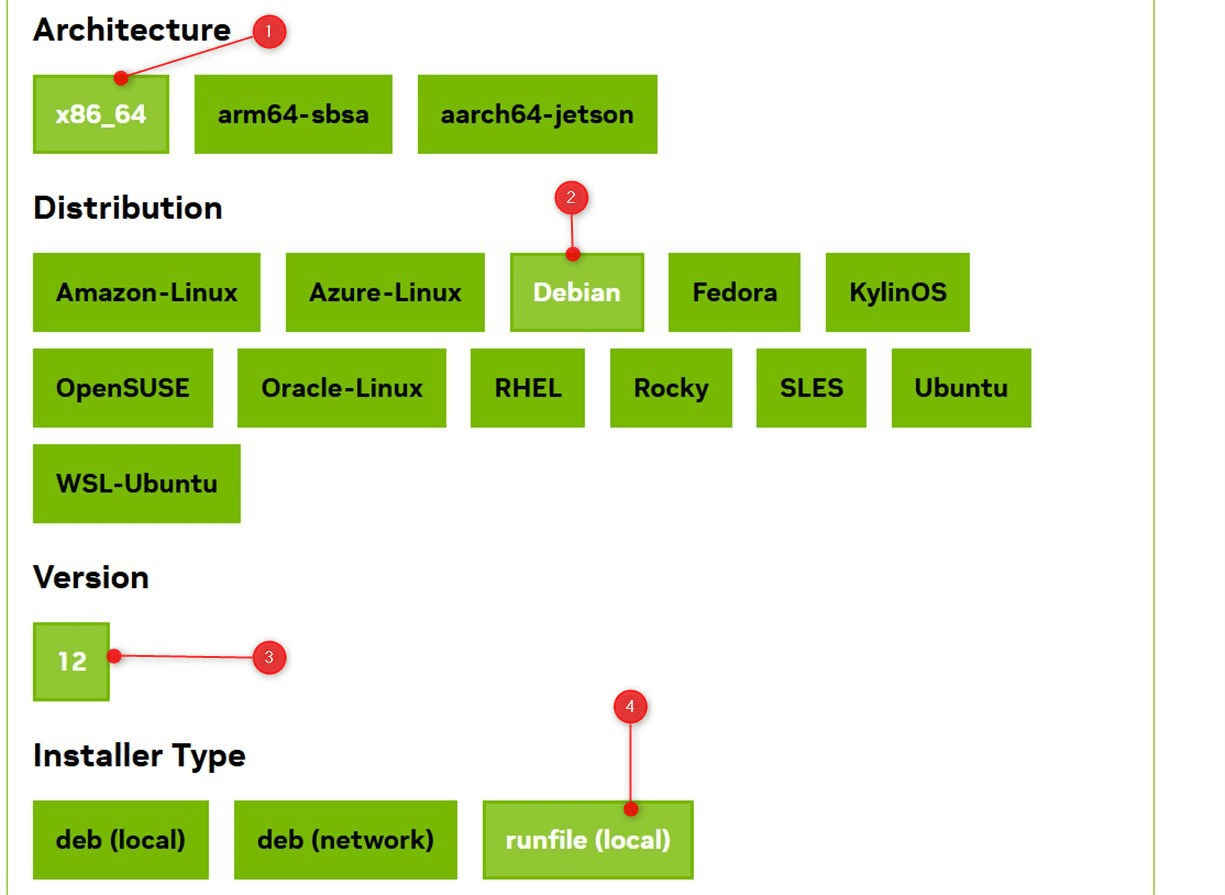
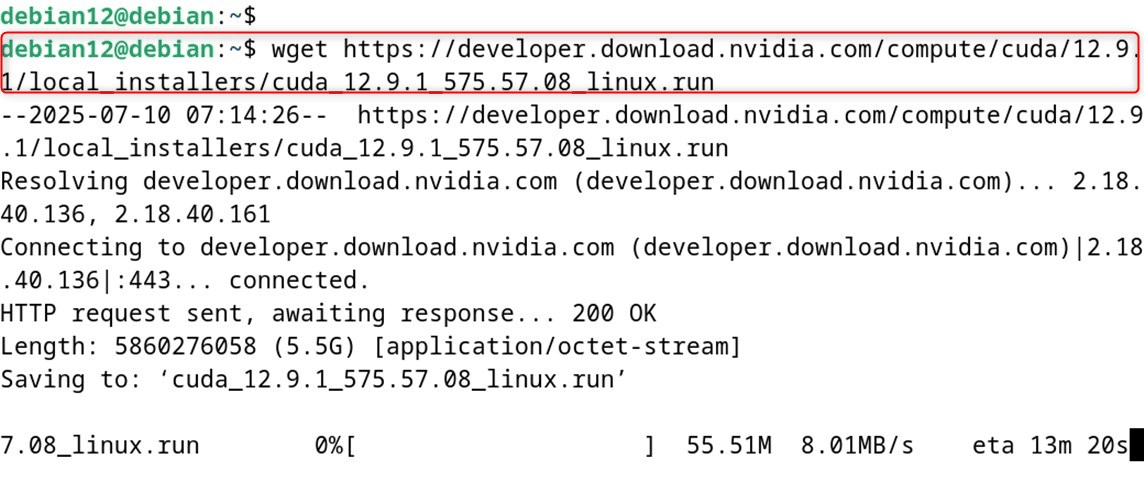
Or you can use this command instead:
wget https://developer.download.nvidia.com/compute/cuda/12.9.1/local_installers/cuda_12.9.1_575.57.08_linux.run
Step 2: Run the Downloaded File
Next, run the file you just grabbed and follow the onscreen prompts to finish the install:
sudo sh cuda_12.9.1_575.57.08_linux.run

Afterward, make sure to set the needed environment variables for your system.
Step 3: Verify the Installation
To check that CUDA went in correctly, reboot the machine and run either nvidia-smi or the nvcc command to see your GPU and the CUDA version:
nvidia-smi
nvcc --version
Finally, CUDA is installed on the Debian 12 system.
How to Remove/Uninstall CUDA on Debian 12
If you ever need to wipe CUDA from a Debian 12 setup, these straightforward steps will guide you through.
Uninstall CUDA Toolkit
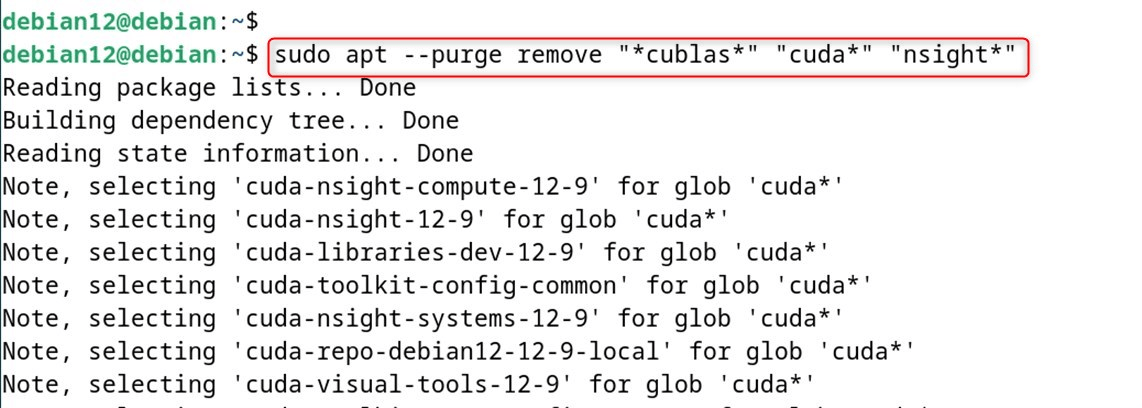
Start by removing the core CUDA tools using the apt purge command. This line clears both the toolkit and its related extras:
sudo apt --purge remove "*cublas*" "cuda*" "nsight*"
Remove NVIDIA Drivers
Once the toolkit is gone, the next logical step is to strip away any NVIDIA drivers lounging on the system.
sudo apt --purge remove "nvidia*"
sudo apt autoremove
sudo apt autoclean
Remove NUDA Directory
If you took the more manual route and installed CUDA using a run file, its files still sit in /usr/local/. To clear that residue, run:
sudo rm -rf /usr/local/cuda-<version>
Be careful to swap <version> for the actual number you see there.
Conclusion
To install CUDA on Debian 12, make sure the system has a CUDA-capable GPU and meets the necessary system requirements. In brief, removing CUDA on Debian 12 is straightforward. Just make sure an up-to-date backup of any important work exists before starting the process. Next, add NVIDIA’s official APT repository to your system so you can grab the newest drivers and the CUDA Toolkit.
This guide has explained all possible methods for installing CUDA on Debian 12.







Leave feedback about this