
Django is a Python-based framework that is popular for building web applications. It is easy to use to perform complex tasks including database management, user authentication, and more. Additionally, the developers utilize Django for building and testing APIs.
If you are wondering how to install Django on your Debian 12 system, this guide will be helpful for you. Also, read How to Install Django on CentOS 9.
How to Install Django on Debian 12?
Follow the below guide to install Django on your Debian 12 system.
Step 1: Update Package Repository
Before initiating installing Django on your Debian 12 system, ensure your system is up-to-date:
sudo apt update |
|---|
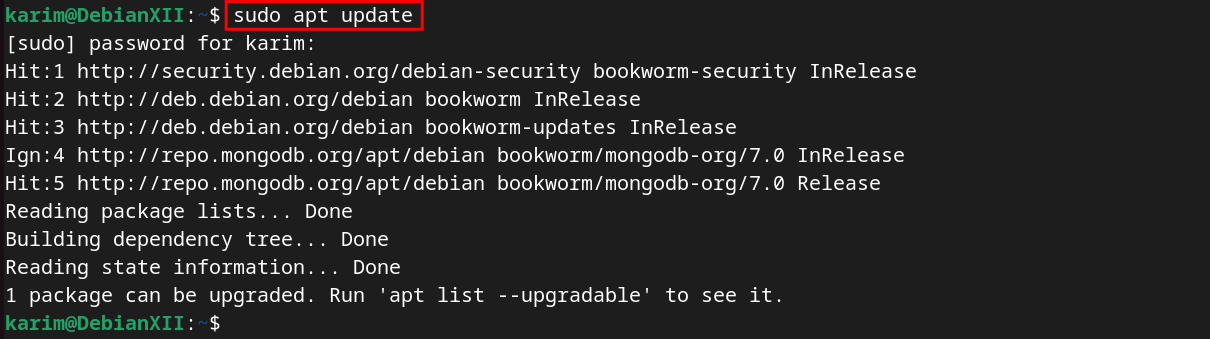
In the output, there is a single package that needs to be upgraded.
Step 2: Upgrade the Debian Packages
The following command can be executed from your Debian 12 terminal to upgrade the required package:
sudo apt upgrade -y |
|---|
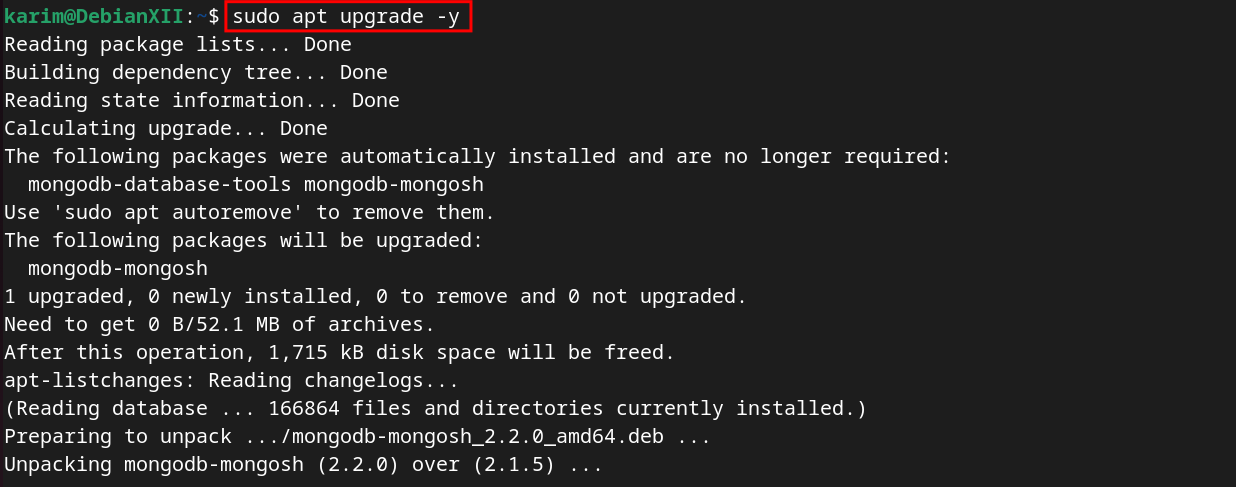
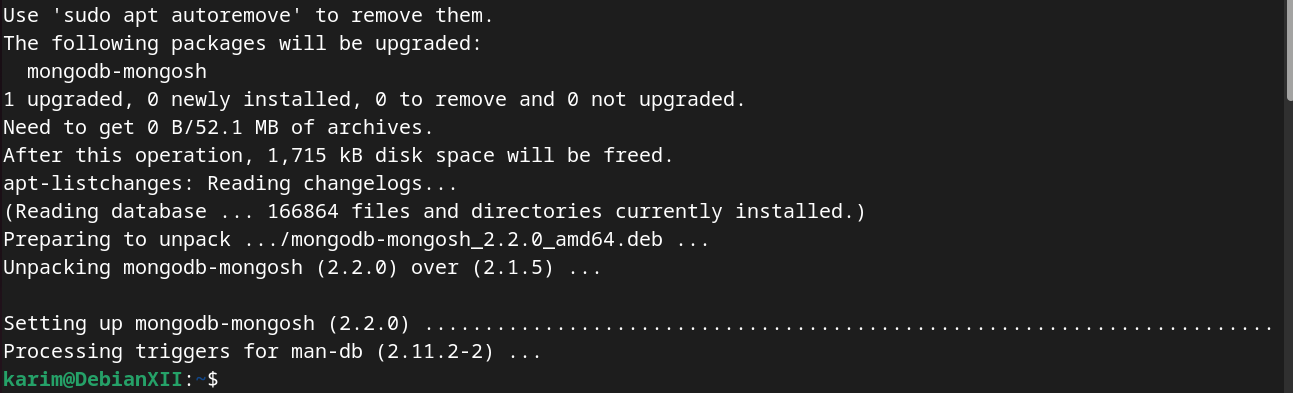
The above message in the screenshot shows that the remaining package has been successfully upgraded. Now, your Debian 12 system is up-to-date.
Step 3: Install Python
For Django installation, you need to install the following dependencies on your Debian 12 system:
sudo apt install python3 python3-venv |
|---|
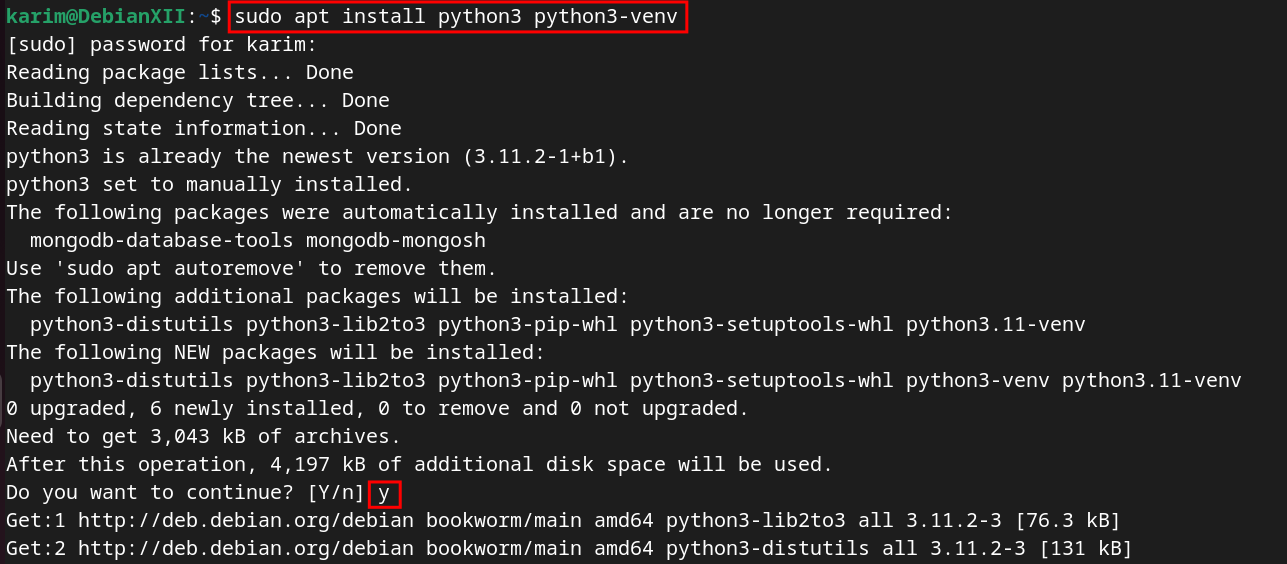
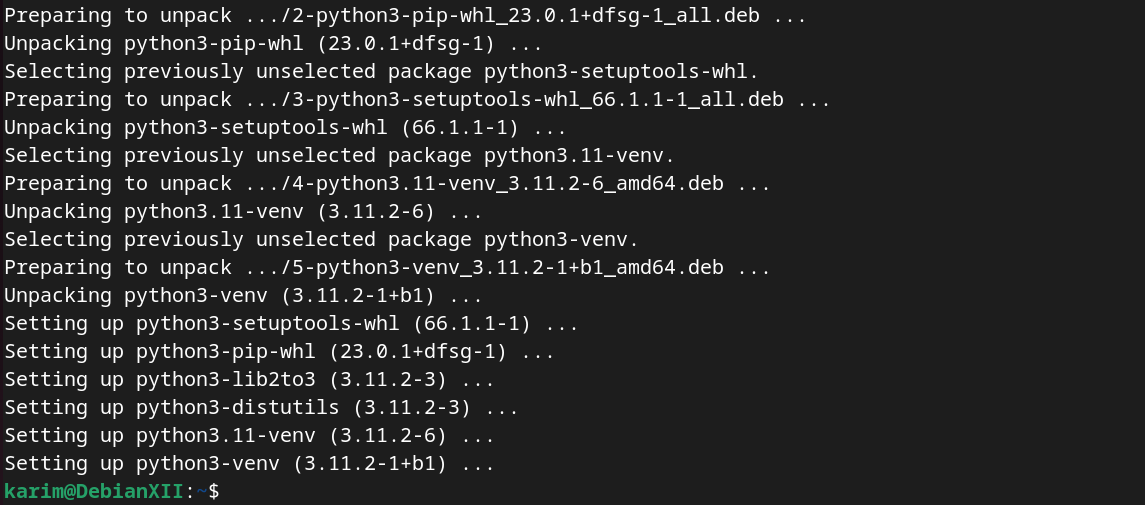
Python is required for running Django applications as it is the version supported by the Django framework. These packages will also help in setting up a dedicated virtual environment for your Django projects.
Step 4: Create a Project Directory
After installing the Python package, create a separate directory for your Django projects:
mkdir project-1 && cd project-1 |
|---|

This command will set up a directory (i.e. project-1) and at the same time enter inside project-1.
Step 5: Create a Django’s Virtual Environment
Next, run the command to set up a separate virtual environment, such as “dj-env” for your Django projects:
python3 -m venv dj-env |
|---|

Step 6: Activate the Django’s Virtual Environment
Once the “dj-env” environment has been created, proceed with the command to activate the environment:
source dj-env/bin/activate |
|---|

When you run the activation command, you will see the name of your environment (i.e. dj-env) at the beginning, as demonstrated above.
Step 7: Install Django in Virtual Environment
So far, you have completed the above steps. Now, let’s proceed to install the Django package in your dedicated virtual environment. Here is the command:
python3 -m pip install Django |
|---|
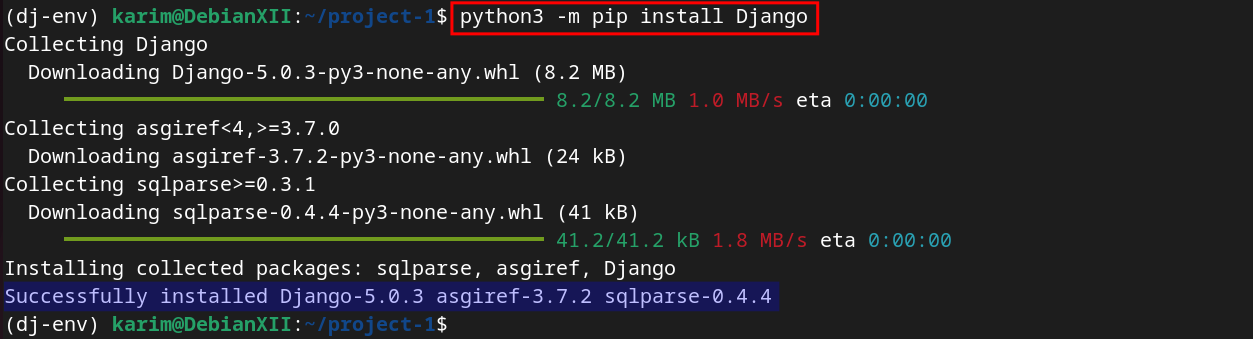
The above command downloaded the necessary files and dependencies for Django and configured them on your Debian 12 system. In the last line, you will find a statement confirming that Django 5.0.3 has been successfully installed.
Step 8: Verify Django Installation
To confirm that Django is installed correctly, operate the command:
django-admin --version |
|---|

Here, you can verify the version number (i.e. 5.0.3) of Django on your Debian 12 system.
Conclusion
Debian 12 facilitates you to install and run Django on your system. Here are a few easy-to-use steps that can contribute to installing Django. Proceed with the command “sudo apt install python3 python3-venv”, create and activate the virtual environments, and finally, run the command “python3 -m pip install Django” to configure Django on your Debian 12 system.


Leave feedback about this