
Drupal is a free, leading content management system (CMS) that offers powerful features to manage websites. It also offers a dynamic framework for handling various types of content. Drupal provides customization through numerous add-ons, modules, and themes.
This detailed and comprehensive post will demonstrate the process of installing the latest Drupal on Ubuntu 24.04.
How to Install the Latest Drupal on Ubuntu 24.04?
This comprehensive post contains:
Install Prerequisites for Drupal on Ubuntu 24.04
- How to Install Apache2 for Drupal on the Ubuntu 24.04 System?
- How to Install MariaDB for Drupal on the Ubuntu 24.04 System?
- How to Install PHP Package for Drupal on the Ubuntu 24.04 System?
How to Install Drupal on the Ubuntu 24.04 System?
How to Create a User and Database for Drupal on Ubuntu 24.04?
How to Configure Apache Virtual Host for Drupal?
How to Setup and Access Drupal in a Web Browser?
Step 1: Update Packages List
To begin the Drupal installation, ensure your Ubuntu 24.04 package list is up to date by running the command:
sudo apt update
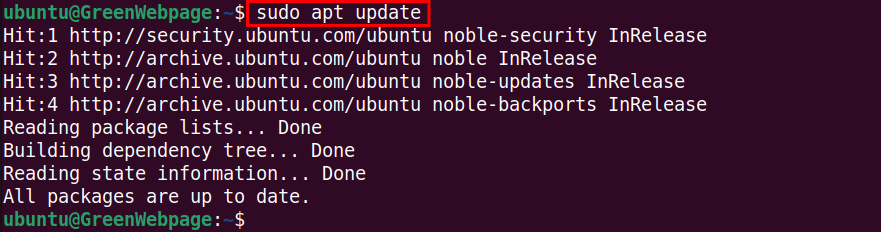
Here you can see that the Ubuntu 24.04 packages list is up to date.
Install Prerequisites for Drupal on Ubuntu 24.04
The following are the key requirements to properly run Drupal on Ubuntu 24.04:
How to Install Apache2 for Drupal on the Ubuntu 24.04 System?
Follow the given steps to set up Apache2 on your Ubuntu 24.4 machine.
Step 1: Install Apache2
To operate the Drupal site, execute this command to install the Apache2 server:
sudo apt install apache2 -y
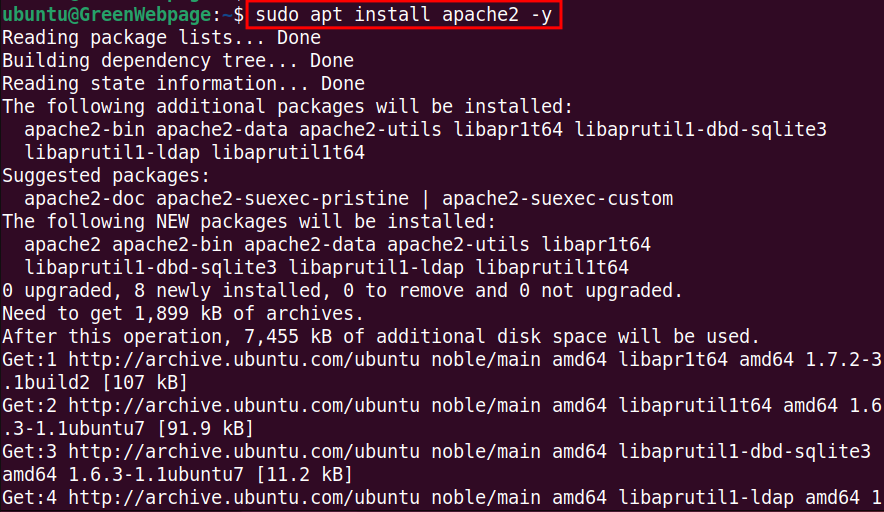
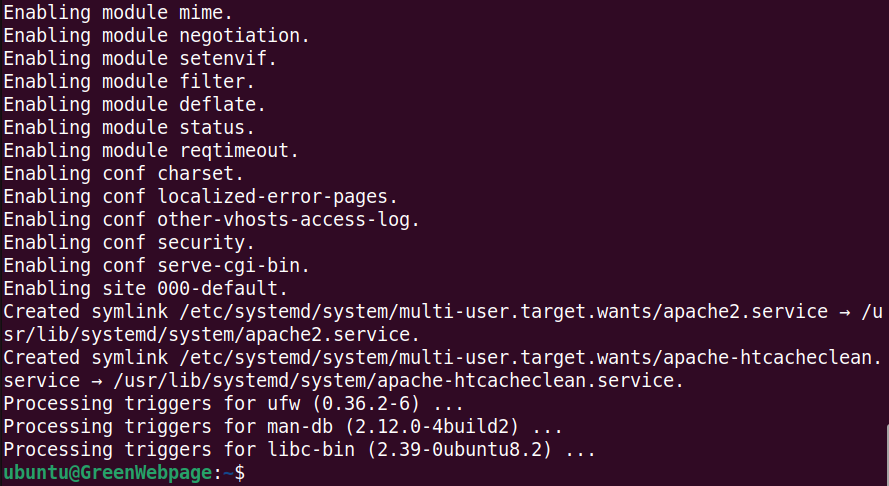
The command has been executed and Apache2 is now installed on your machine.
Step 2: Enable and Start Apache2 Services
Now, you need to start the Apache2 services at boot through the command:
sudo systemctl enable apache2 && sudo systemctl start apache2

The command successfully enabled the Apache2 service.
Step 3: Check Apache2 Status
Verify the status of Apache2 through the command:
sudo systemctl status apache2
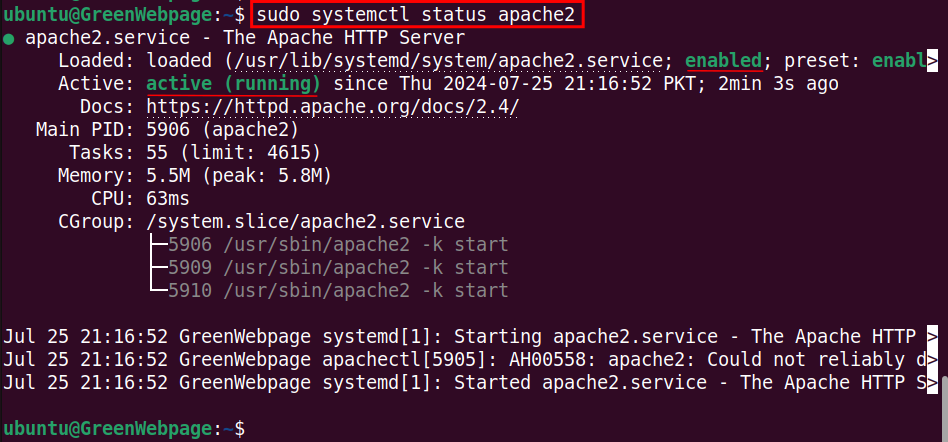
Make sure, the Apache2 service is running on your Ubuntu 24.04 machine.
How to Install MariaDB for Drupal on the Ubuntu 24.04 System?
To manage the Drupal database, configure MariaDB on your Ubuntu 24.04 system.
Step 1: Install MariaDB
Install MariaDB using the APT package manager. Here is the code:
sudo apt install mariadb-server mariadb-client -y
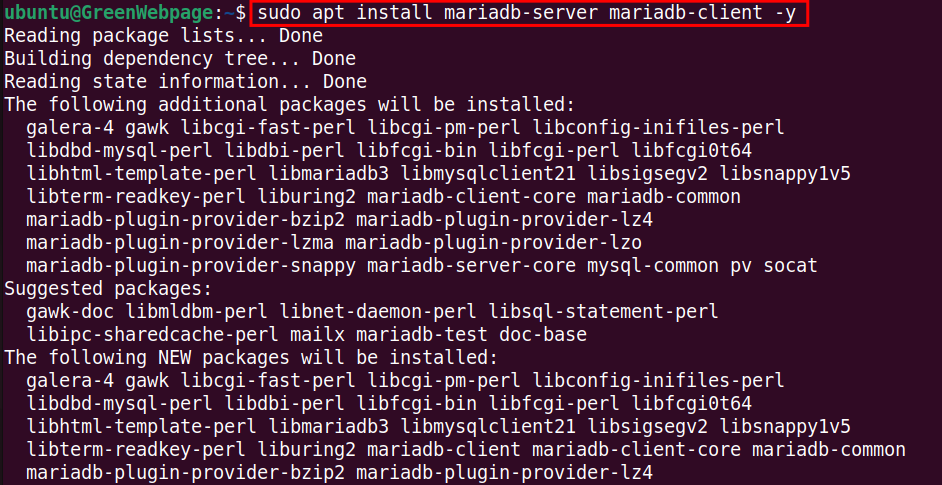
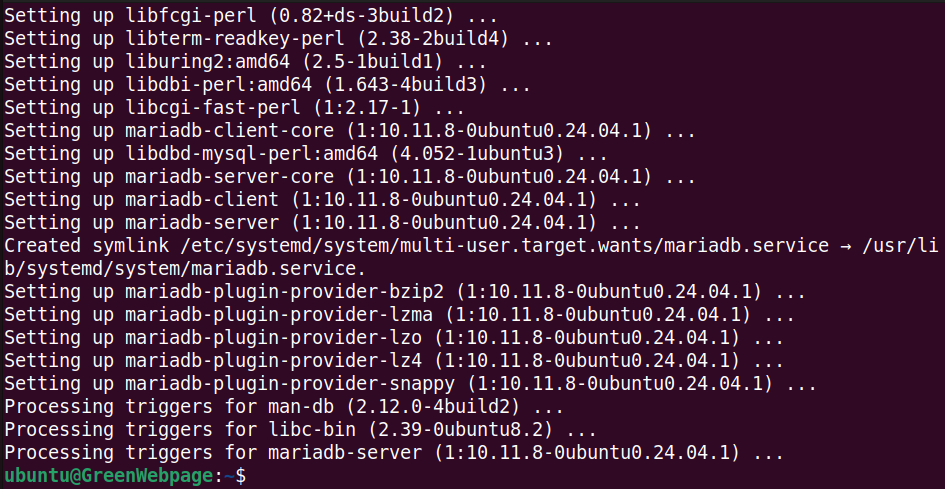
As shown above, MariaDB is now successfully installed on your Ubuntu system.
Step 2: Enable and Start MariaDB Services
Run this command to start the MariaDB service now, and also enable it to start at boot:
sudo systemctl start mariadb && sudo systemctl enable mariadb

Step 3: Check MariaDB Status
After enabling and starting MariaDB, check if it is running on your Ubuntu 24.04 system:
sudo systemctl status mariadb
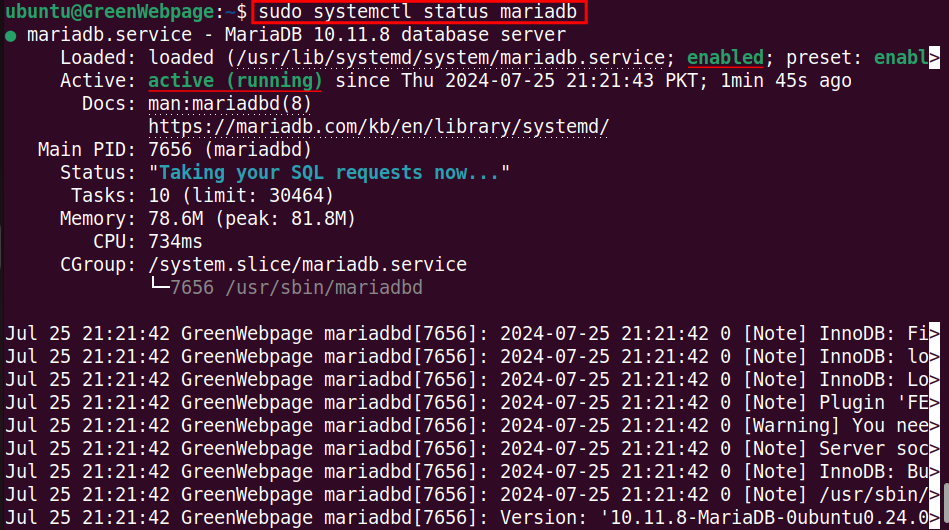
If it is running perfectly, you will see the MariaDB service status as “Active” on your screen.
Step 4: Secure MariaDB Services
It is important to secure your MariaDB services by running the following code:
sudo mysql_secure_installation
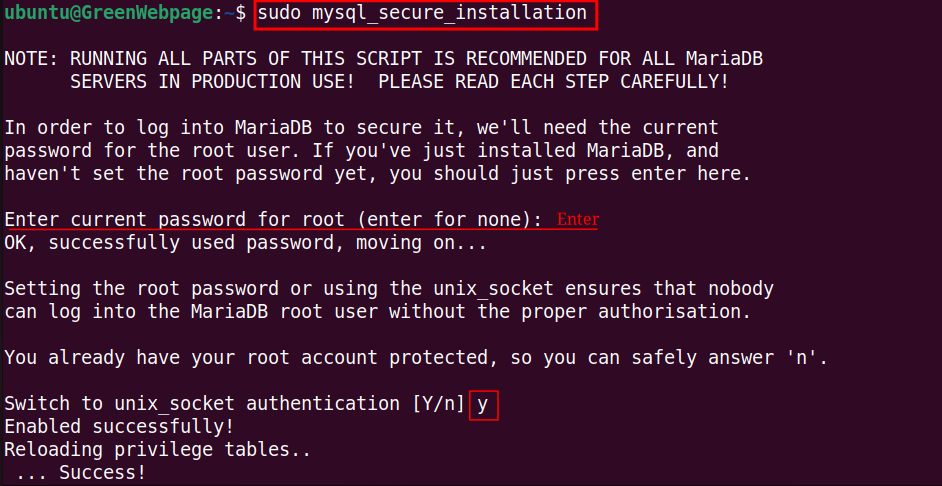
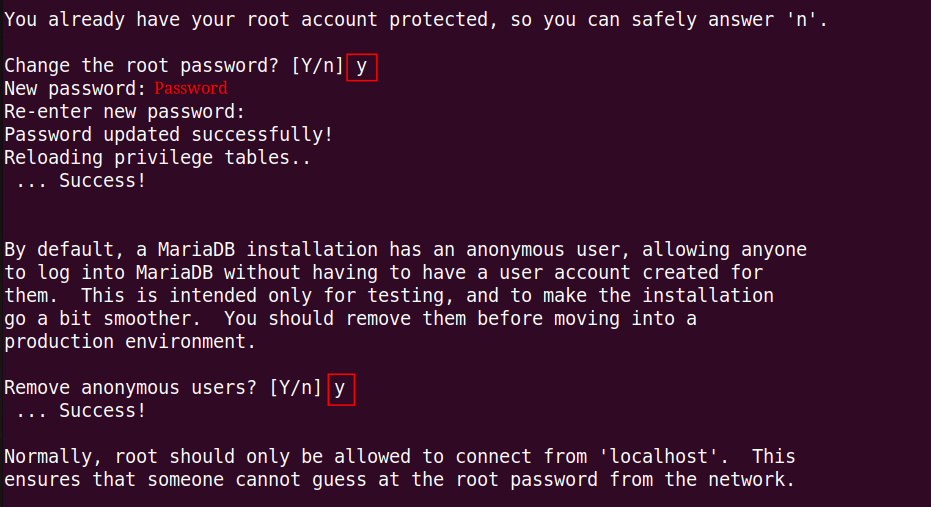
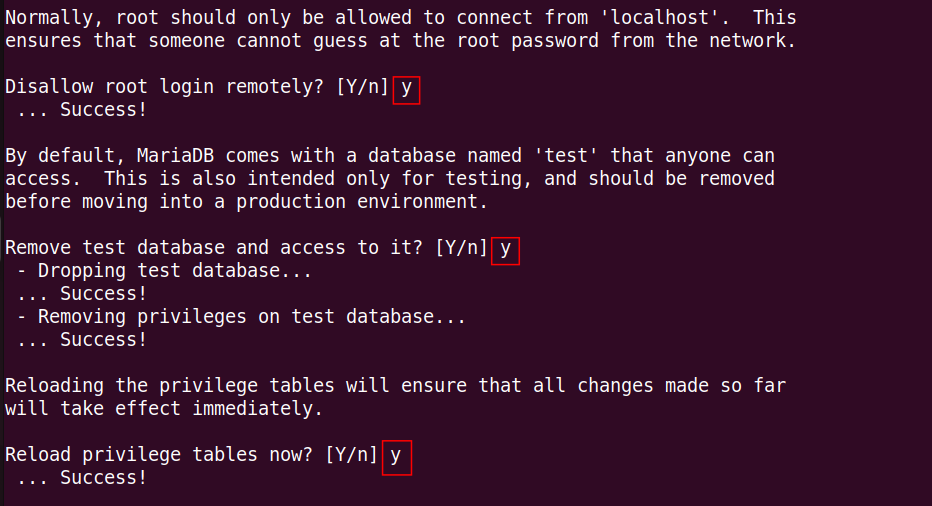
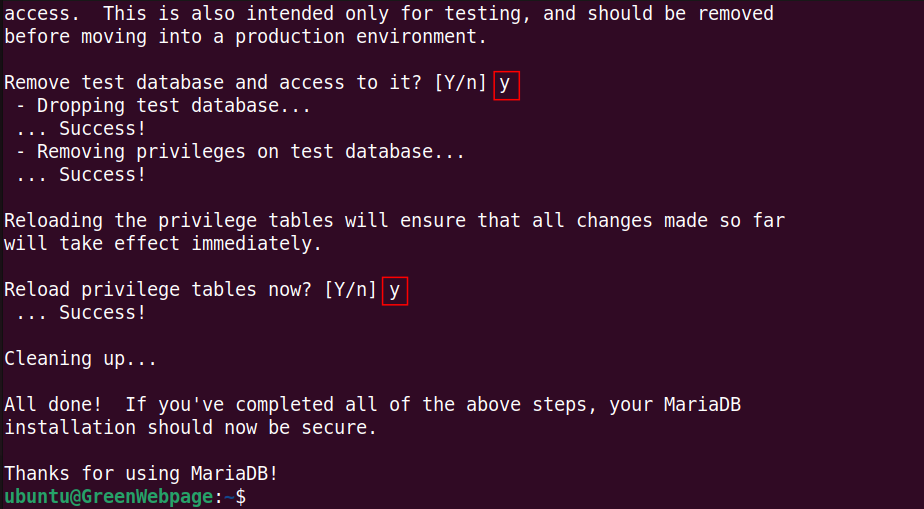
Carefully read the instructions and respond to them according to your requirements.
How to Install PHP Package for Drupal on the Ubuntu 24.04 System?
To smoothly operate Drupal on your Ubuntu 24.04 machine, set up the PHP package using the below steps.
Step 1: Install PHP Packages
Use this command to install PHP and the necessary modules for Drupal to function correctly on your Ubuntu 24.04 machine:
sudo apt install php libapache2-mod-php php-dev php-bcmath php-intl php-soap php-zip php-curl php-mbstring php-mysql php-gd php-xml -y

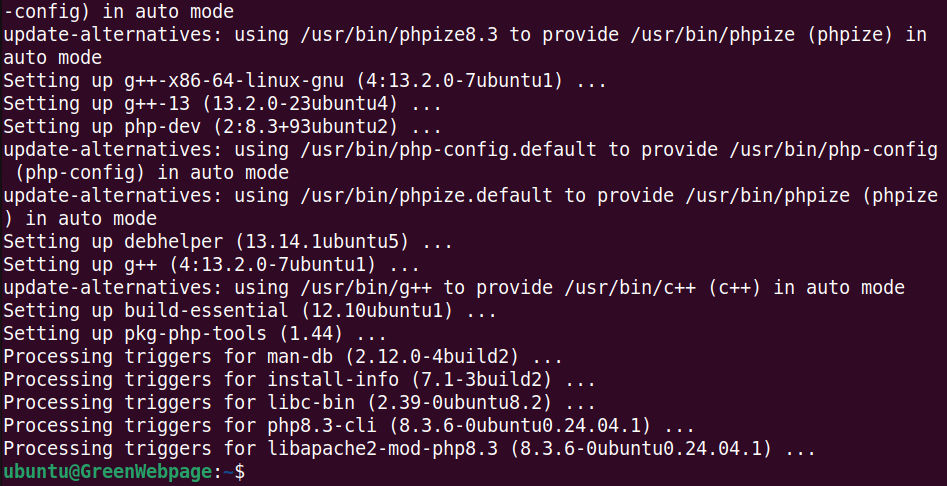
These PHP modules will ensure to smoothly operate Drupal on your Ubuntu machine.
Step 2: Verify PHP Installation
The following “-v” option can verify the PHP installation and its version on your system:
php -v

The output will show that the latest version, such as PHP 8.3.6 installed on your system.
Once you have successfully installed the prerequisites for Drupal, let’s proceed to set up Drupal on your Ubuntu system.
How to Install the Latest Drupal on the Ubuntu 24.04 System?
Drupal can be installed from the source code using the following steps.
Step 1: Download the Latest Drupal
Download the latest version of Drupal using the wget command:
sudo wget https://www.drupal.org/download-latest/tar.gz -O drupal-latest.tar.gz
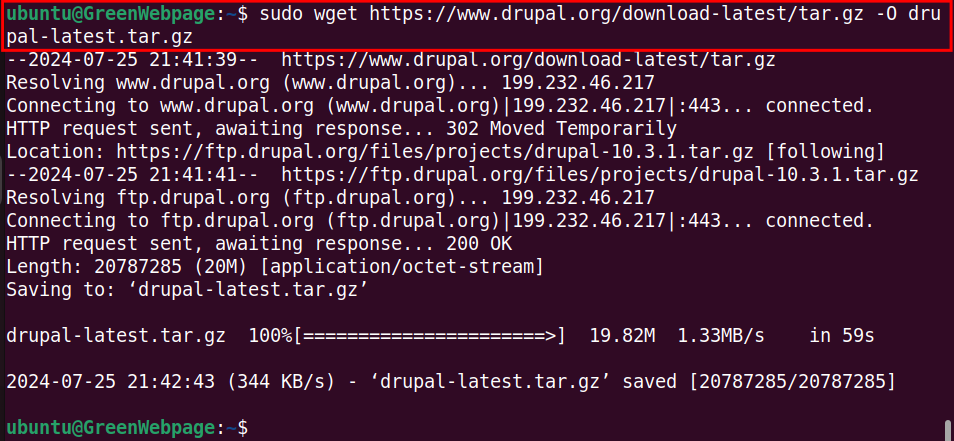
The Drupal file has been downloaded and saved as “drupal-latest.tar.gz” on your local system.
Step 2: Extract the Downloaded Drupal
Extract the Drupal downloaded file (i.e. “drupal-latest.tar.gz”) to the web server’s root directory:
sudo tar -xzf drupal-latest.tar.gz -C /var/www/html/

Drupal has been extracted to the particular directory “/var/www/html/”.
Step 3: Rename Drupal Directory
To rename the extracted Drupal directory to “drupal”, run this command:
sudo mv /var/www/html/drupal-* /var/www/html/drupal

This step is necessary to avoid updating paths in your Apache configuration every time you upgrade Drupal to a new version.
Step 4: Confirm Drupal Directory
You can confirm the “drupal” directory using the “ls” command:
ls /var/www/html/

If you see the “drupal” directory listed, it means you have successfully renamed Drupal to the standardized directory name.
Step 5: Set Ownership for the Drupal
Use the command to set the ownership of the Drupal files and directories to the appropriate user and group:
sudo chown -R www-data:www-data /var/www/html/drupal

This command ensures that the web server has the necessary permissions to read from and write to the Drupal files.
Step 6: Set Permissions for Drupal
Run the command to set the permissions for the Drupal directory:
sudo chmod -R 755 /var/www/html/drupal

The above two commands ensure that the Drupal files have the correct permissions for the appropriate users and groups. This step is necessary for the webserver to access the content properly.
How to Create a User and Database for Drupal on Ubuntu 24.04?
You can perform these steps to create a user and database for Drupal on your Ubuntu 24.04 system.
Step 1: Access the MariaDB
To access the MariaDB command line interface (CLI), you need to log in as the root user:
sudo mariadb -u root -p
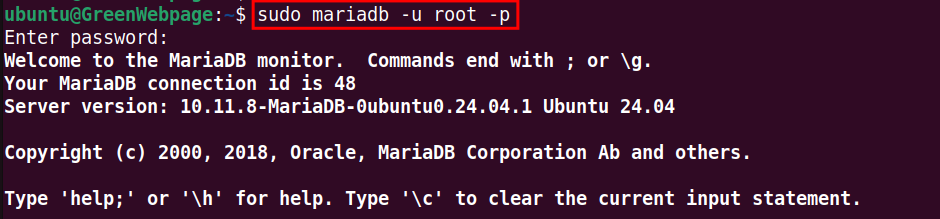
By entering your root password, you will be able to write your scripts in MariaDB.
Step 2: Create a Drupal Database and User
Copy the following simple script to create a new database “drupal” and user “drupal_gwp” for Drupal, and grant the necessary privileges:
CREATE DATABASE drupal;
CREATE USER 'drupal_gwp'@'localhost' IDENTIFIED BY 'password123';
GRANT ALL PRIVILEGES ON drupal.* TO 'drupal_gwp'@'localhost';
FLUSH PRIVILEGES;
EXIT;
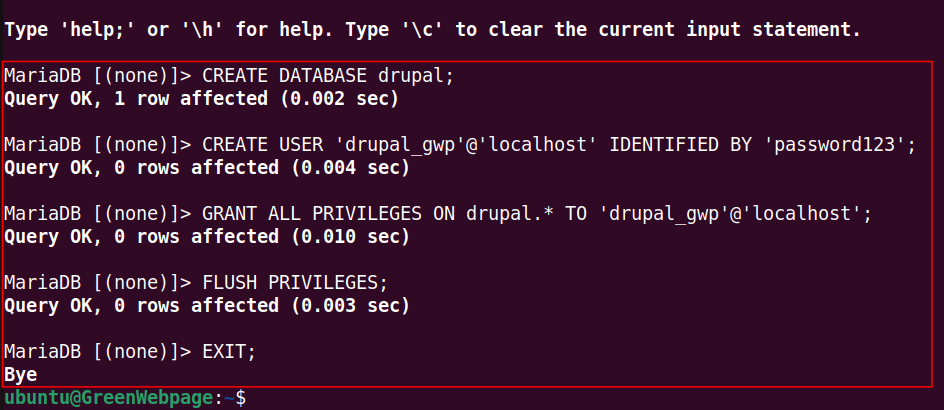
After creating the Drupal user and database, exit the MariaDB shell using the “EXIT” command.
How to Configure Apache Virtual Host for Drupal?
For Drupal configuration, you need to operate the following sequential steps.
Step 1: Create Apache Virtual Host for Drupal
For hosting the Drupal website, run the command to make a new Apache site configuration file such as “drupal.conf”:
sudo nano /etc/apache2/sites-available/drupal.conf

This command will open a new blank window, where you can write your script for the Drupal virtual host.
Step 2: Configure Apache Virtual Host for Drupal
Here is the simple script that can be added to the configuration file (i.e. “drupal.conf”):
<VirtualHost *:80>
ServerName localhost
DocumentRoot /var/www/html/drupal

<Directory /var/www/html/drupal/>
AllowOverride All
Require all granted
</Directory>
</VirtualHost>
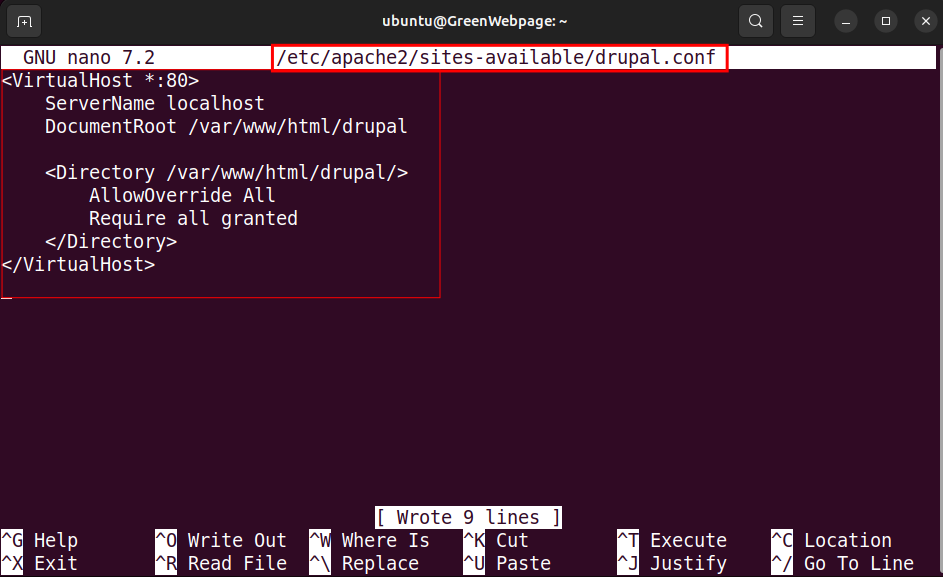
This script is used as an example, you can change it to your script.
Step 3: Enable Drupal Site
After saving the “drupal.conf” file, execute the below command to enable the Drupal configuration:
sudo a2ensite drupal.conf

You can see in the above output that the Drupal site is now enabled.
Step 4: Restart Apache2
Once all the steps have been performed successfully, restart Apache2 to update and apply the new configuration:
sudo systemctl reload apache2

Great! You have successfully set up the prerequisites for Drupal and configured the Drupal package on your Ubuntu 24.04 system.
How to Setup and Access Drupal in a Web Browser?
To complete the Drupal installation and configuration you have to access Drupal from a web browser. Perform these steps.
Step 1: Access Drupal and Select Language
To Access Drupal using a web browser:
- Open your web browser.
- Enter the server’s IP or domain name (i.e. localhost/drupal).
- Select your language for Drupal.
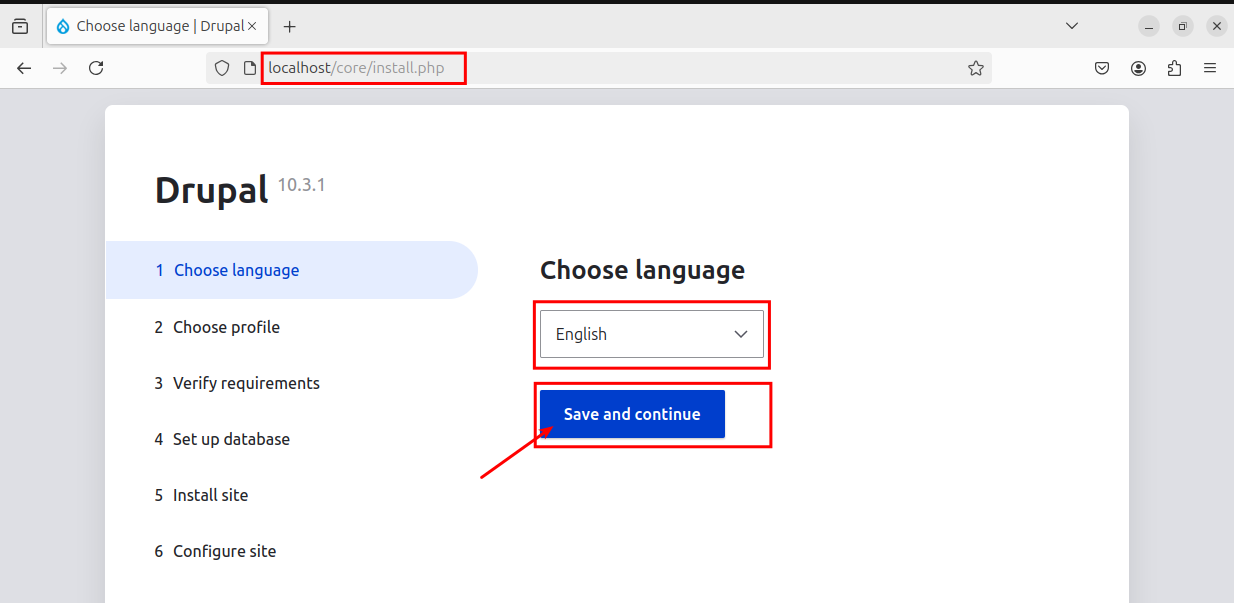
Proceed with “Save and continue”.
Step 2: Choose Installation Profile
In “Choose profile”, select the installation profile that best suits your needs and requirements:
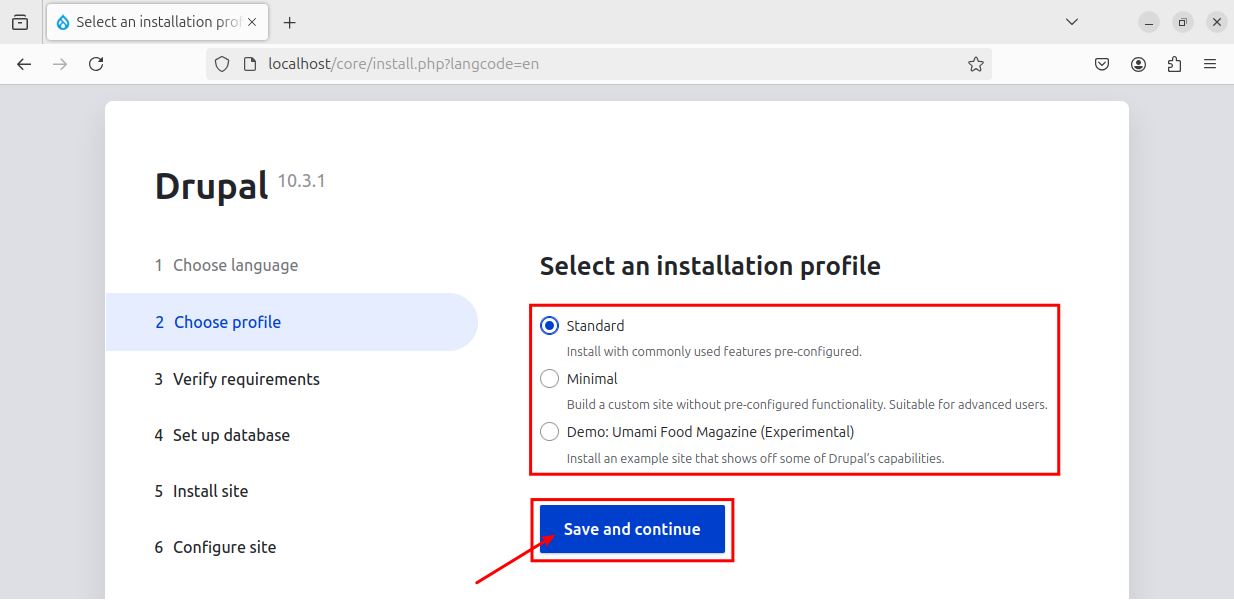
Proceed with “Save and continue”.
Step 3: Verify Requirements
Ensure all the requirements are correctly configured:
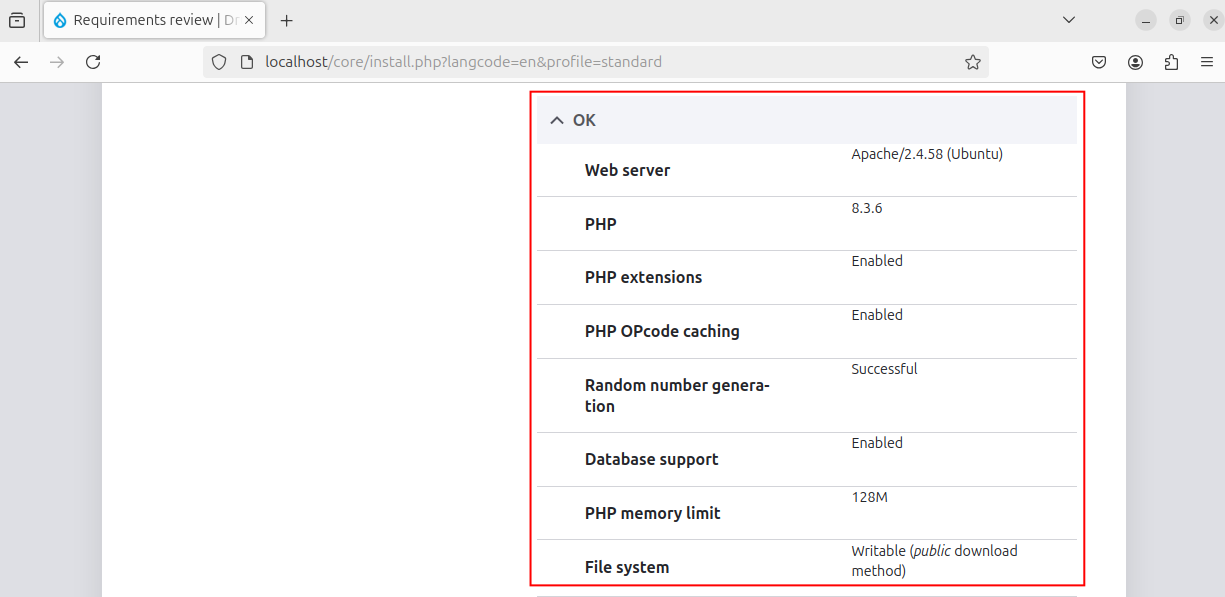
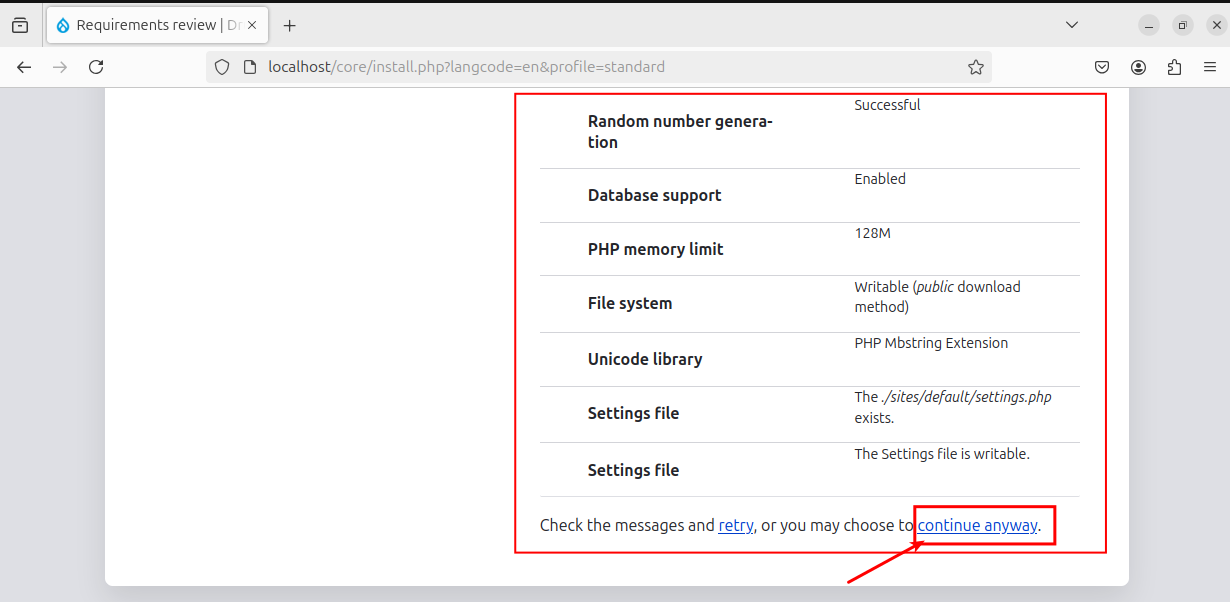
Address the missing configurations or you can simply proceed with “continue anyway”.
Step 4: Setup Database
Specify your database credentials to connect Drupal:
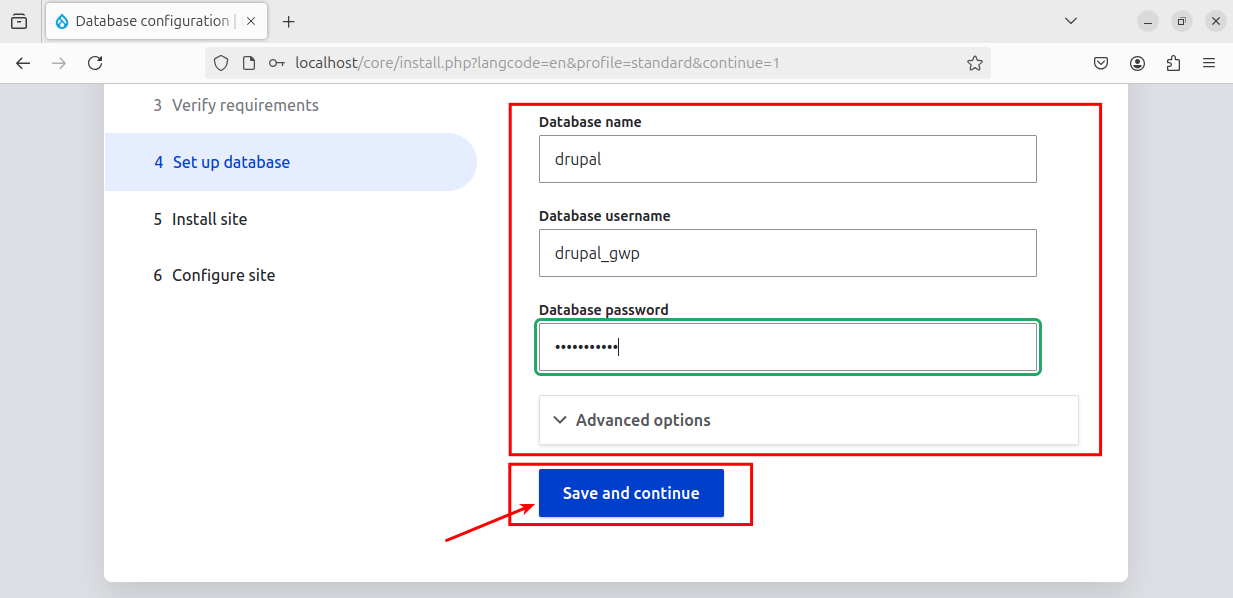
Enter the credentials you created earlier in the MariaDB shell.
Step 5: Install Site
Wait a moment to complete the installation of the Dural site.
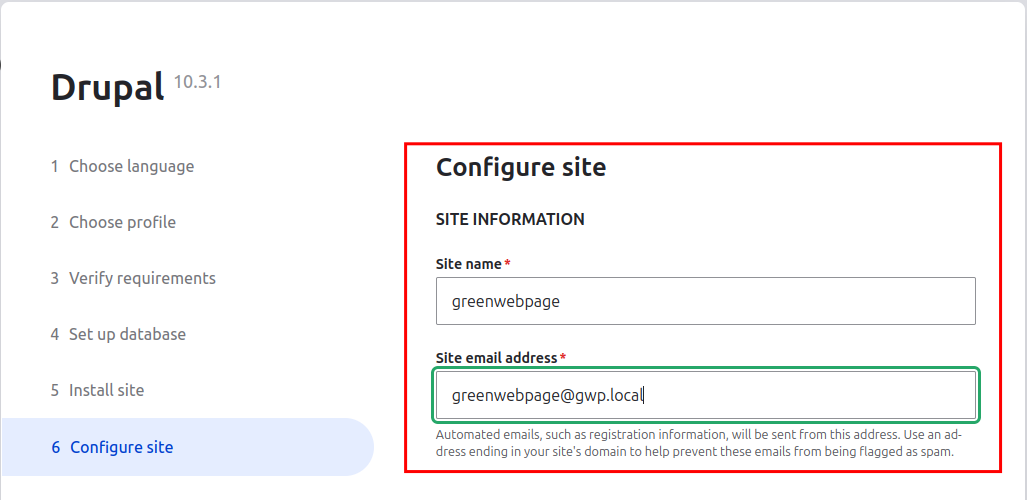
Step 6: Configure Site
Configure your site:
- site’s name: “greenwebpage”.
- email address: “greenwebpage@gwp.local”.
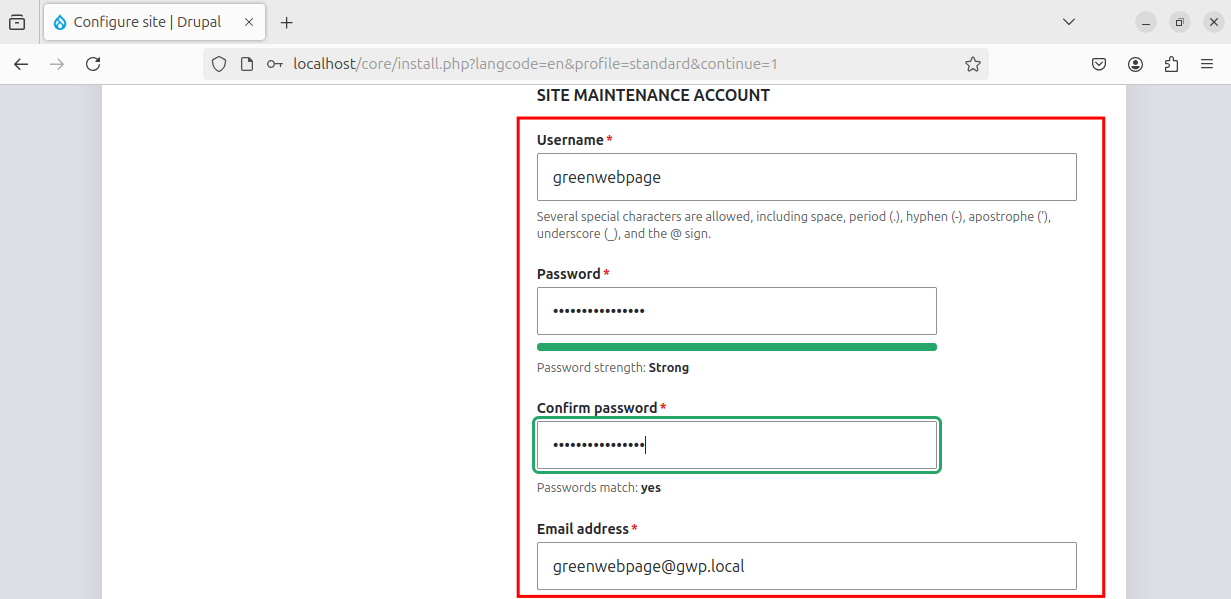
- Username: “greenwebpage”.
- Password: “password123”.
- Time zone: “abc”
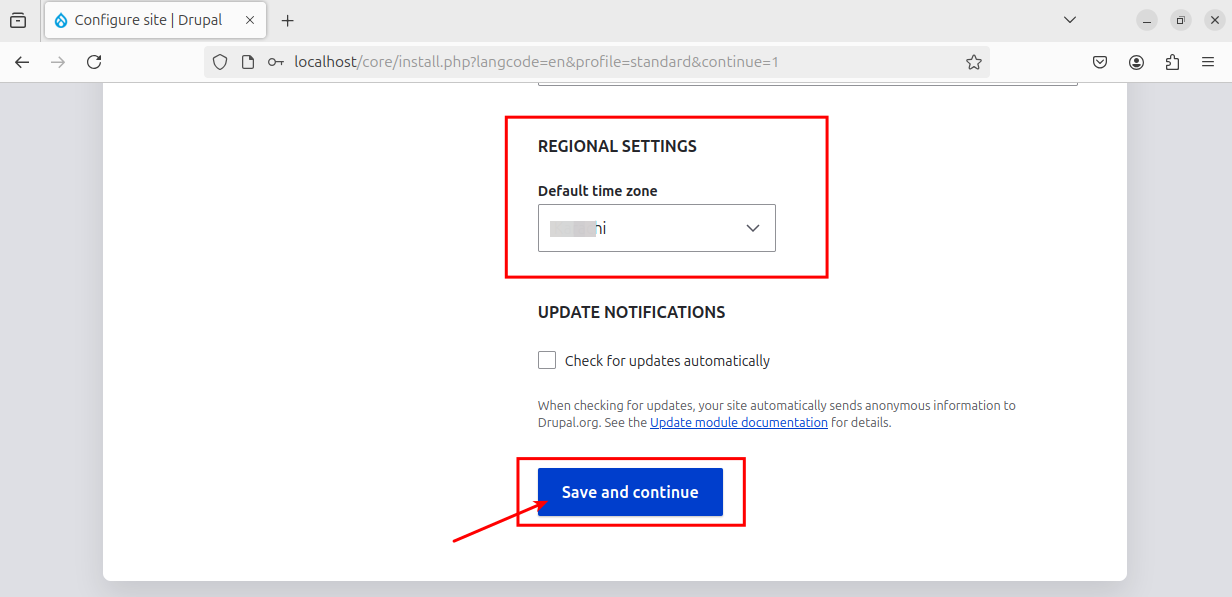
After entering your credentials, save the settings by clicking “Save and continue”.
A welcome page will be displayed, indicating that you have successfully configured Drupal on your Ubuntu 24.04 machine:
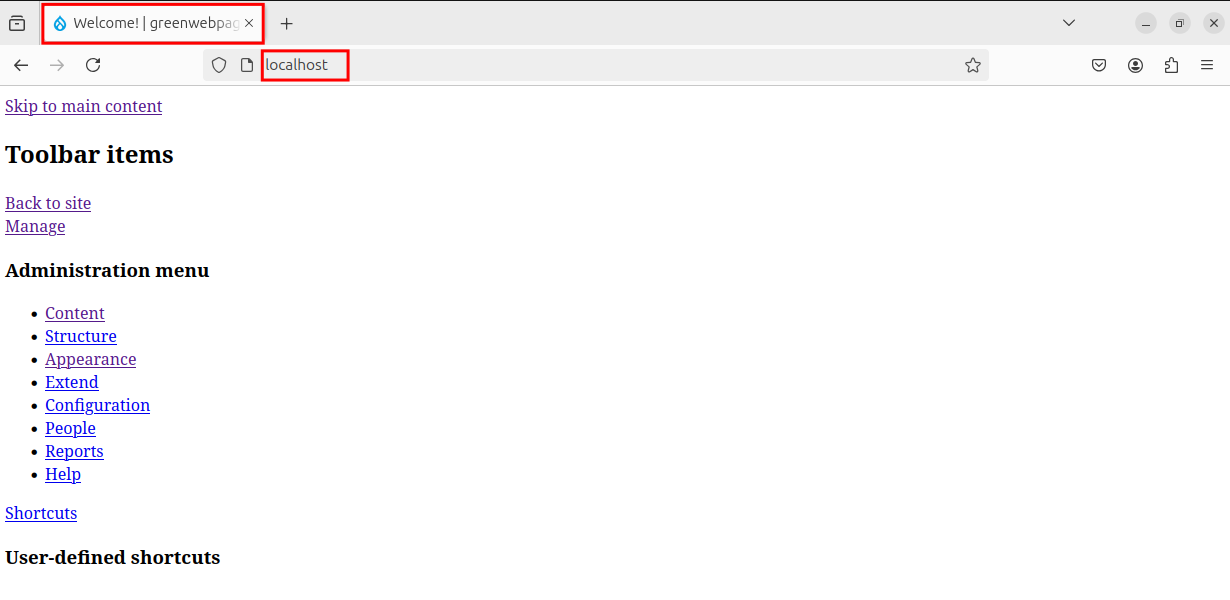
You can access the Drupal site by navigating to “localhost/drupal” in your web browser.
Conclusion
Drupal on Ubuntu 24.04 can be configured with simple procedural steps. To begin with the installation process, make sure you have the LAMP stack (Linux, Apache, MariaDB, and PHP) installed on your system. The latest Drupal can be downloaded from the Drupal website.


Leave feedback about this