Ubuntu, the popular Linux distribution, is known for its simplicity and versatility. One of the key aspects that contribute to its user-friendliness is the desktop environment. GNOME, which stands for GNU Network Object Model Environment, is one of the most popular desktop environments available for Ubuntu users. With the release of Ubuntu 24.04, users may be interested in installing or switching to the GNOME desktop environment.
This guide will walk you through the various methods to install GNOME on Ubuntu 24.04. You may also like reading how to install unity desktop on Ubuntu 24.04.
Table of Content
- How to Install Gnome Desktop on Ubuntu 24.04
- Method 1: Installing the Full GNOME Desktop
- Method 2: Installing GNOME Desktop Minimal
- Bonus Tip: Switching from Another Desktop Environment
- Conclusion
How to Install Gnome Desktop on Ubuntu 24.04
Ubuntu 24.04, a long-term support release, brings with it a host of new features and updates, one of which is the GNOME 46 desktop environment. GNOME is known for its simplicity and customization capabilities, making it a popular choice for Ubuntu users.
Method 1: Installing the Full GNOME Desktop
The full GNOME desktop installation comes with a comprehensive set of applications, including LibreOffice, Firefox, and RhythmBox. For installing the complete version, users can utilize the below command:
Step 1: Update Your System
Before installing any new software, it’s crucial to ensure that your system is up-to-date. Open your terminal (Ctrl + Alt + T) and enter the following command:
sudo apt update
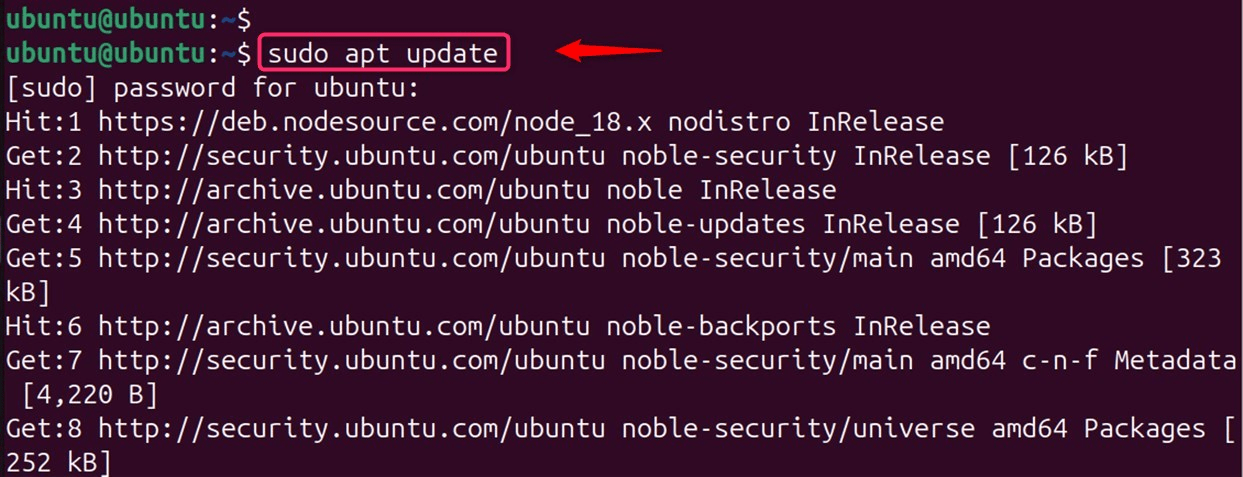
This command refreshes your system’s package list and prepares it for the next steps.
Step 2: Upgrade Installed Packages
After updating the system, upgrade all your installed packages to their latest versions with the following command:
sudo apt upgrade
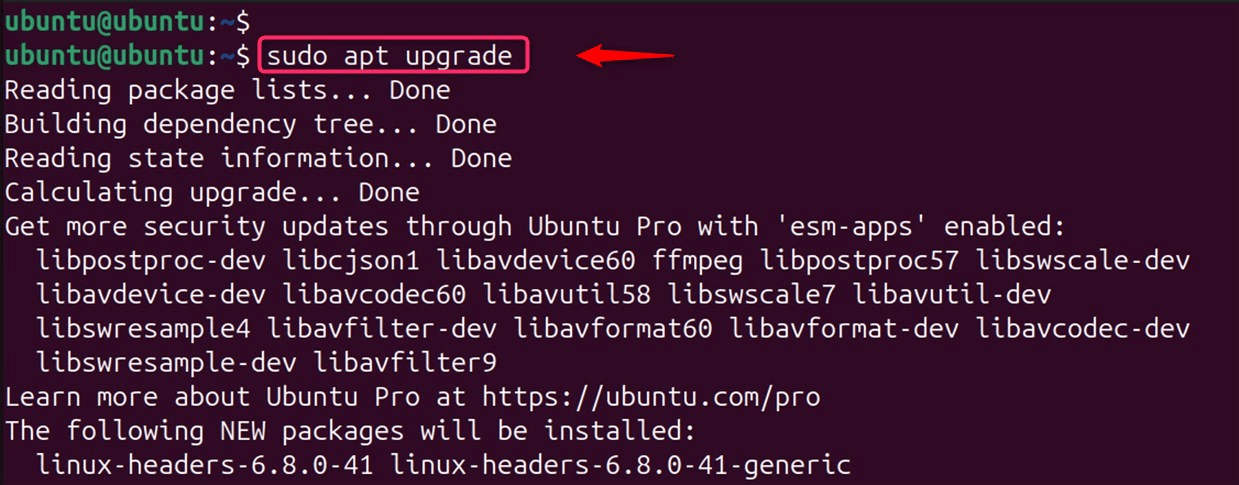
This ensures your system has the latest package information and updates any existing packages. Confirm the upgrade when prompted by typing ‘Y’ and pressing Enter.
Step 3: Install GNOME Desktop
Now, you’re ready to install the GNOME desktop environment. Execute the following command:
sudo apt install ubuntu-gnome-desktop
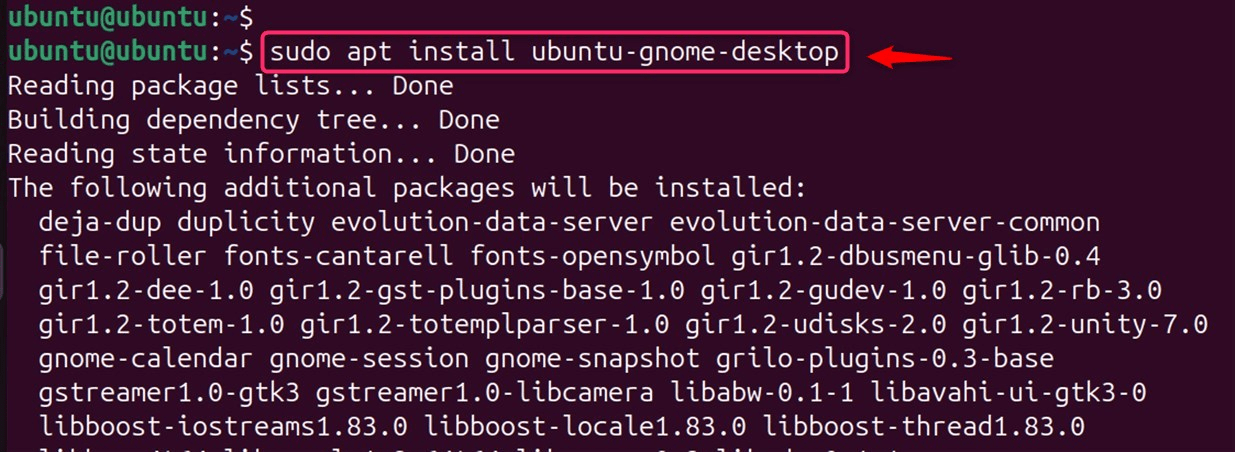
This command downloads and installs the GNOME desktop along with its dependencies. This installs the necessary packages for the GNOME desktop environment.
Note: This command installs the full GNOME desktop environment along with all its perks. However, it is the most resource-intensive option and requires the most disk space, approximately 2GB.
Configure GDM (Display Manager):
If you want to use GNOME as the default display manager (the graphical interface that greets you upon login), enter the following command:
sudo dpkg-reconfigure gdm3

In the configuration menu, select “GNOME” as the default session and save your changes.
Step 4: Log Out and Select GNOME
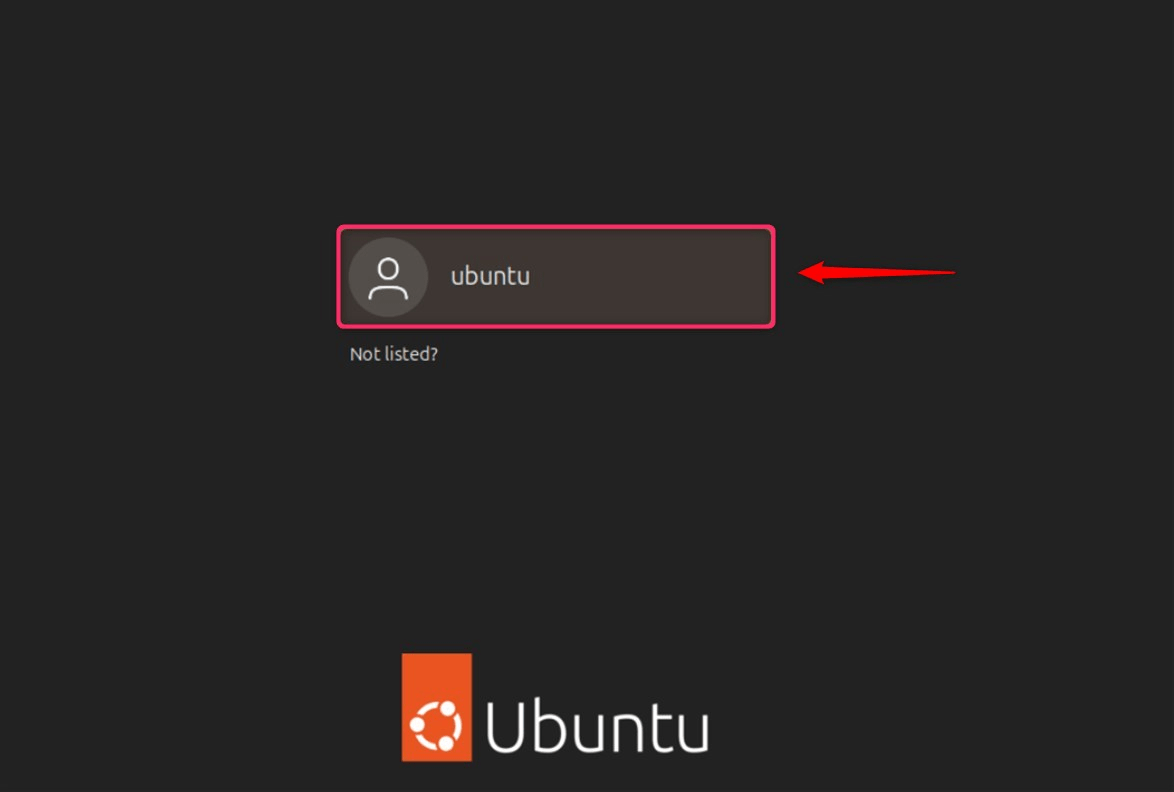
Once the installation is complete, log out of your current session. At the opening of login screen, hit the gear icon next to the username and choose “Ubuntu” or “GNOME” via the list for starting the new GNOME session:
Step 5: Customize Your GNOME Experience
After logging in, you might want to customize your GNOME desktop to fit your preferences. You can install GNOME Tweaks to adjust various settings and install new themes and extensions.
You can customize the GNOME desktop environment using the Tweaks application, which can be found in the Applications menu.
For installing the GNOME Tweaks, utilize the below command:
sudo apt install gnome-tweaks
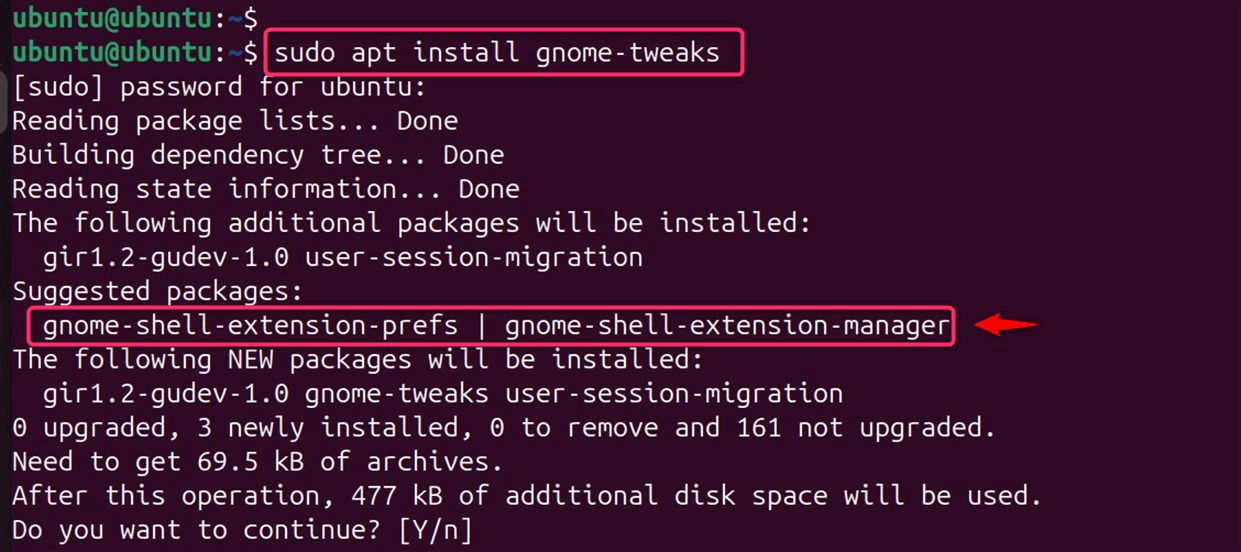
Step 6: Explore and Enjoy
Take some time to explore the GNOME user interface. Familiarize yourself with the Activities Overview, accessible by clicking the Activities button or pressing the Super (Windows) key. This feature allows you to switch between applications, access workspaces, and search for files and settings:
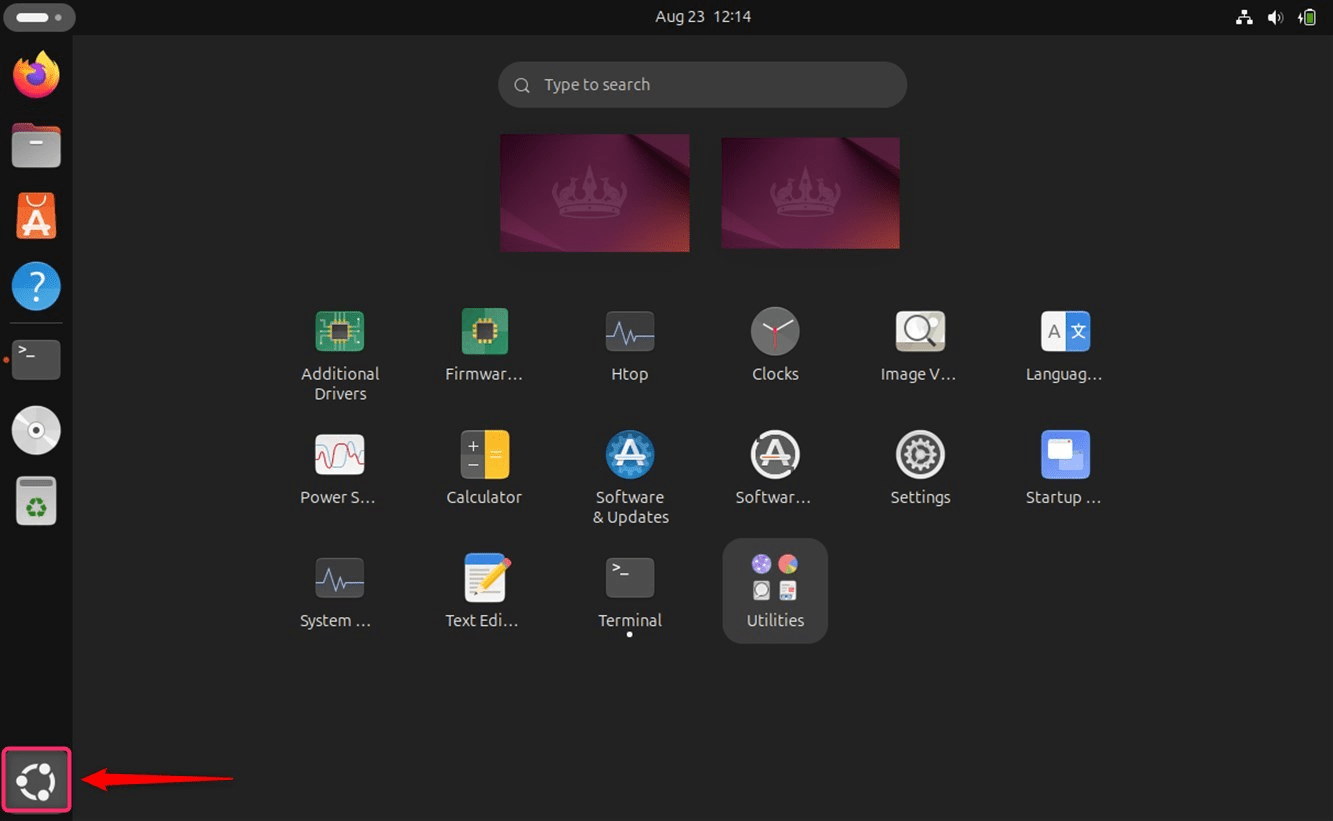
If you prefer a different display manager like LightDM, you can install it using sudo apt install lightdm and configure it accordingly.
By following these steps, you should now have a fully functional GNOME desktop environment on your Ubuntu 24.04 system. Enjoy the sleek, user-friendly interface and the wide range of customization options that GNOME offers.
Method 2: Installing GNOME Desktop Minimal
For users who prefer a lighter version of GNOME, the minimal installation is an ideal choice. It provides the GNOME interface, fonts, icons, and views without the additional software. To install GNOME Desktop Minimal, use the command:
sudo apt install ubuntu-desktop-minimal
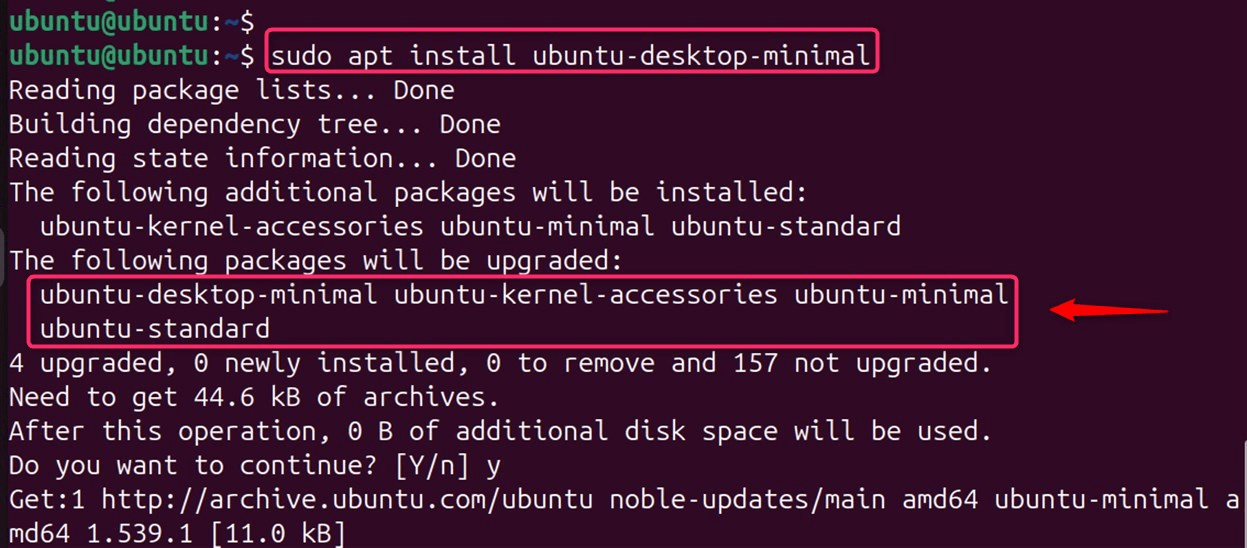
This version only needs about 800 MB of disk space, making it a more efficient option for those with limited resources.
Bonus Tip: Switching from Another Desktop Environment
If you are currently using a different desktop environment, such as KDE Plasma, and wish to switch to GNOME, you can install the GNOME desktop package using:
sudo apt install ubuntu-desktop
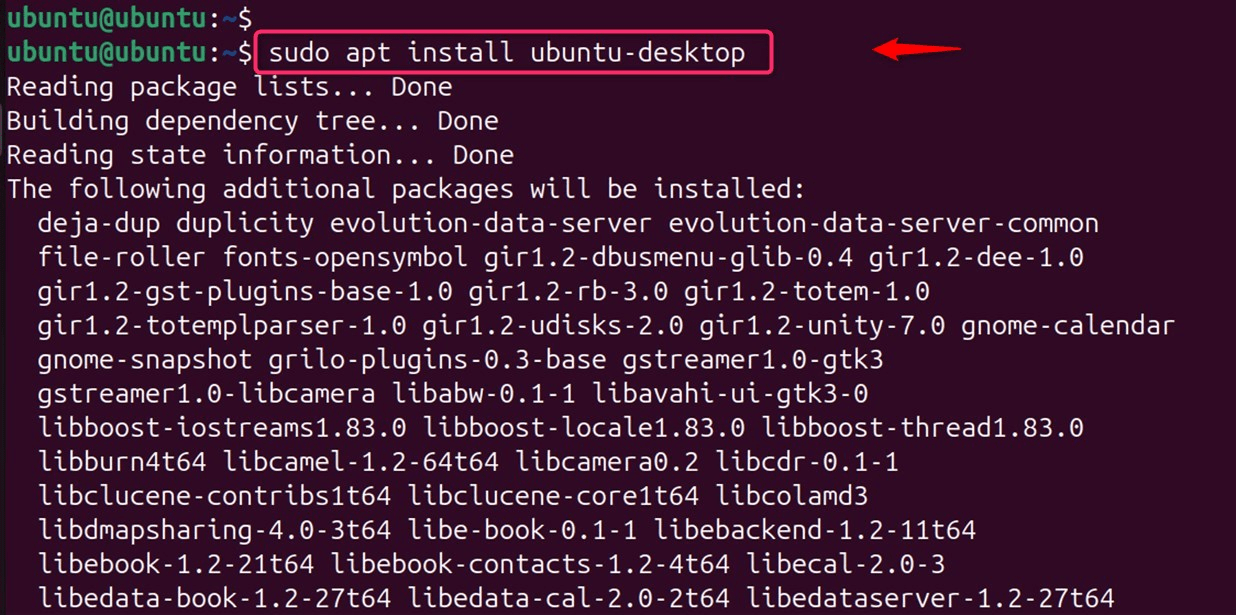
After installation, log out of your current session, and at the login screen, select “Ubuntu” (which represents GNOME) from the gear icon next to your username.
Updating GNOME
To ensure you have the latest features and security updates, it’s important to keep your GNOME desktop environment updated. You can update GNOME using the following command:
sudo apt update && sudo apt upgrade
This command will update the package index and upgrade the installed packages to their latest versions.
Remember, the key to a successful installation is to follow each step carefully and ensure that your system is updated before proceeding with the installation of new software. With GNOME installed, you can enjoy a modern, efficient, and highly customizable desktop experience on your Ubuntu machine.
Conclusion
Choosing the right GNOME installation for your Ubuntu system depends on your needs and resources. Whether you opt for the full, minimal, or vanilla version, GNOME provides a user-friendly and customizable desktop environment that enhances the Ubuntu experience. Remember to keep your system updated regularly to maintain performance and security.




Leave feedback about this