Jellyfin is a powerful and feature-rich media server that is designed to organize your personal movies, TV shows, music, and photos in beautiful libraries and stream everything across all of your devices (and their friends) without the clutter of hidden paywalls or subscription fees.
If you are on Debian 13 (Trixie), you can install Jellyfin manually using its official repositories. In this guide, we’ll take you through the process step by step, and explain what each command is doing so that you understand not just the “how,” but also the “why.”
When you’re done, you’ll have a Jellyfin server up and running on Debian 13 that’s locked down and ready for action on your home network (and beyond, if you so choose to set it up).
Why Choose Jellyfin on Debian 13 (Trixie)?
Before I explain how to install Jellyfin, I want to tell you why you might use this instead of other options like Plex or Emby:
- 100% Free and Open-source: No premium tiers, no subscriptions, no closed features.
- Privacy first: Everything is executed on your own hardware, so no external cloud is necessary.
- Cross-platform streaming: Available not just on web apps, but also on mobiles, smart TVs, Kodi, and more.
- Flexible and customizable: You control your metadata sources to transcoding options, and hardware acceleration.
- Lightweight: Performs well on relatively low-powered hardware, including old desktops and Raspberry Pi boards.
If you’re a Debian 13 customer, this is an excellent way to reuse an old PC, a mini-server, or even a VM in your own Netflix-style streaming solution.
How to Install Jellyfin on Debian 13 (Trixie)?
To install Jellyfin on Debian 13, add the Jellyfin APT repository and its GPG key, update your package lists, then install Jellyfin with sudo apt update && sudo apt install jellyfin (using the appropriate Debian codename). Enable and start the Jellyfin systemd service via sudo systemctl enable –now jellyfin, then access the web UI at http://<your-server-ip>:8096.
Prerequisites
Be sure that you have the following resources in place before you start:
- A sudo/root access on a Debian 13 (Trixie) system.
- A reliable internet connection (to download packages and keys).
- The basic command line is enough (you can get away with just copy-pasting the commands if you’re a beginner).
Note: Backups of critical data before modifying the repositories are always a good idea!
Step 1: Update your system
And remember to always start with an updated base system:
|
sudo apt update && sudo apt upgrade |

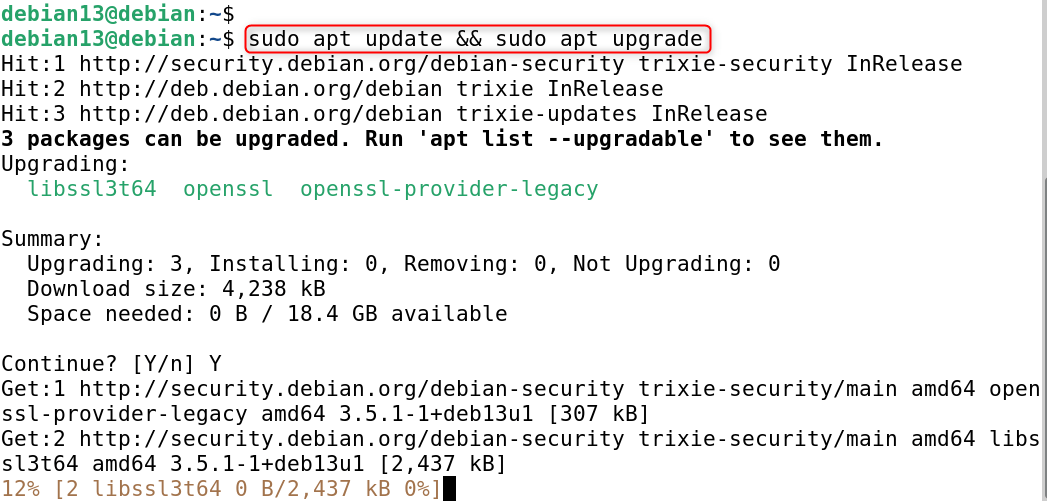
Why this matters:
- apt update refreshes Debian’s list of packages, which lets your system know what software is available.
- apt upgrade installs the newest updates for already installed packages.
Running this will prevent mismatch errors later and secure your system.
Step 2: Install required helper tools
You will need some things in place to install Jellyfin:
|
sudo apt install curl gnupg ca-certificates lsb-release |

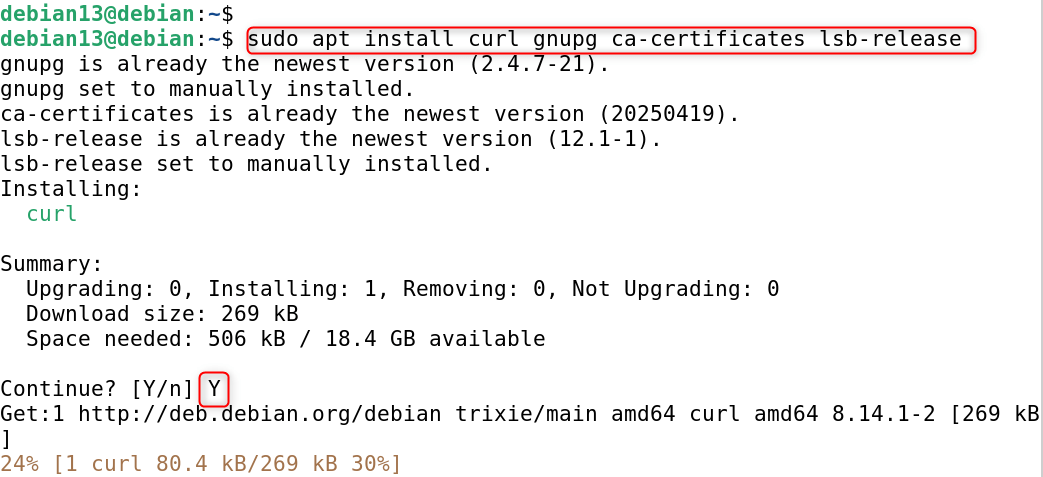
Explanation of each tool:
- curl: only required to fetch the Jellyfin GPG key.
- gnupg: encryption keys (apt checks signatures with it), getKeyByID:false.
- ca-certificates: certificati necessari per instaurare una connessione HTTPS attendente.
- lsb-release: helps you to know what Debian version is (Trixie).
Step 3: Add the Jellyfin GPG signing key
Debian verifies that the packages it downloads are legitimate and unaltered by checking for signatures using GPG keys.
sudo mkdir -p /etc/apt/keyrings curl -fsSL https://repo.jellyfin.org/jellyfin_team.gpg.key \ | sudo gpg –dearmor -o /etc/apt/keyrings/jellyfin.gpg |


Why this is important:
- The key is placed in /etc/apt/keyrings/ – new and secure place for apt keys.
- –dearmor will convert the key text above into a binary format usable by apt.
- Without this, apt would not allow us to install Jellyfin packages (or bitch about untrusted sources).
Step 4: Add the Jellyfin repository
Go to /etc/apt/sources.list.d/ folder, and then create a new source file for Jellyfin. Now, let Debian know where Jellyfin packages should come from. We’ll create a new sources file:
|
echo “Types: deb URIs: https://repo.jellyfin.org/debian Suites: trixie Components: main Architectures: $(dpkg –print-architecture) Signed-By: /etc/apt/keyrings/jellyfin.gpg” \ | sudo tee /etc/apt/sources.list.d/jellyfin.sources |


Explanation of the fields:
- Types: deb tells us we’re adding a binary package repo.
- URIs: the Jellyfin repository URL.
- Suites: ensures packages for Debian 13 get fetched.
- Architectures: e.g., amd64, arm64, or armhf for your hardware.
- Signed-By: Optional requires apt to only trust packages signed by Jellyfin’s GPG key.
This is the new way, replacing old files and apt-key that are disabled now.
Step 5: Update apt cache
Now that the repo has been added, refresh apt so it knows to look for the new packages:
|
sudo apt update |

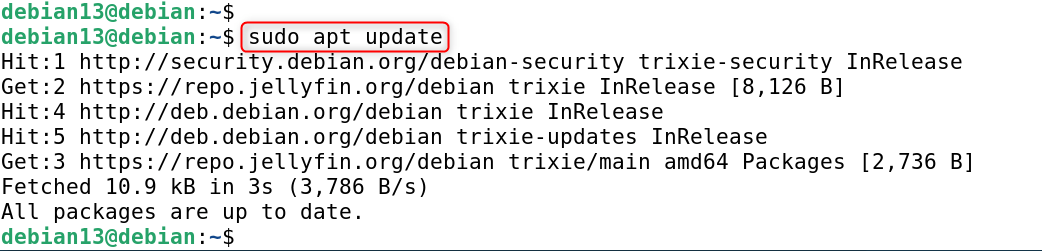
If everything is good, it should return some Jellyfin lines in the apt output. If you get 404 errors for Trixie, it is because Jellyfin has not yet released Debian 13 packages (common immediately upon release). We’ll cover workarounds later.
Step 6: Install Jellyfin
Now install Jellyfin itself:
|
sudo apt install jellyfin |


What this installs:
- jellyfin-server: The service that keeps running.
- jellyfin-web: The website you use to browse your library.
- jellyfin-ffmpeg: The custom FFmpeg of Jellyfin to transcode videos.
This makes sure that everything you want installed is done so.
Step 7: Enable and start the Jellyfin service
Once all the above is installed, set Jellyfin to be started at boot and run it now:
|
sudo systemctl enable –now jellyfin |


What happens here:
- enable: RPM launches Jellyfin at boot as a service.
- –now: start it now without rebooting.
Check if it’s running:
|
systemctl status jellyfin |

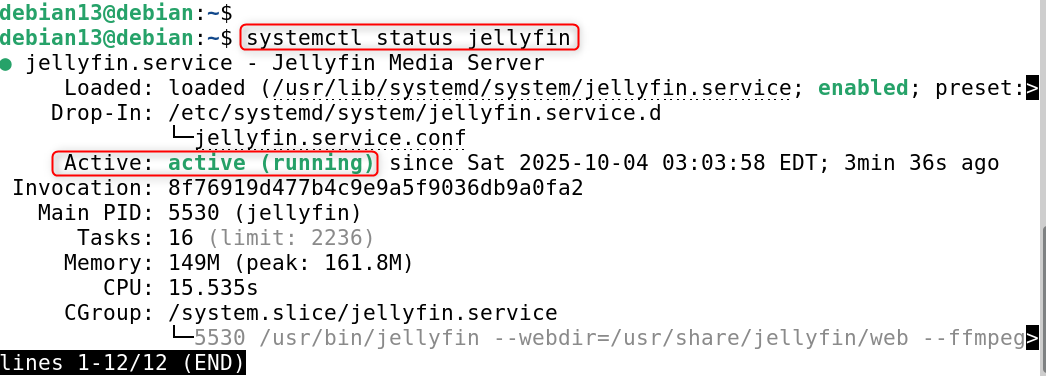
You should see “active (running)” if it all worked out as it should.
Step 8: Configure firewall
If you have UFW (Uncomplicated Firewall) enabled, open Jellyfin’s ports:
|
sudo ufw allow 8096/tcp sudo ufw allow 8920/tcp sudo ufw allow 7359/udp |

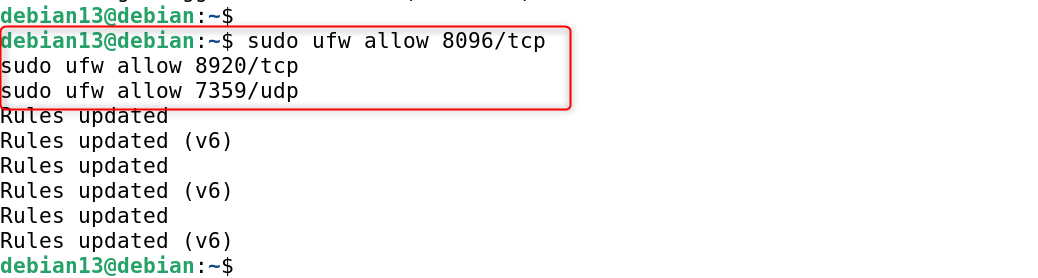
Ports explained:
- 8096/tcp: default web UI over HTTP.
- 8920/tcp: HTTP port (used only if you enable TLS).
- 7359/udp: discovery of local network clients.
If you haven’t enabled UFW, skip this step, but make sure the appropriate port is open in any other firewall/router.
Step 9: Access Jellyfin Web UI
Now, go into the Jellyfin Web interface by visiting. Launch a web browser and go to the following address:
|
http://<your-server-ip>:8096 |
For instance, if the IP of your server is 192.168.239.132, go to:

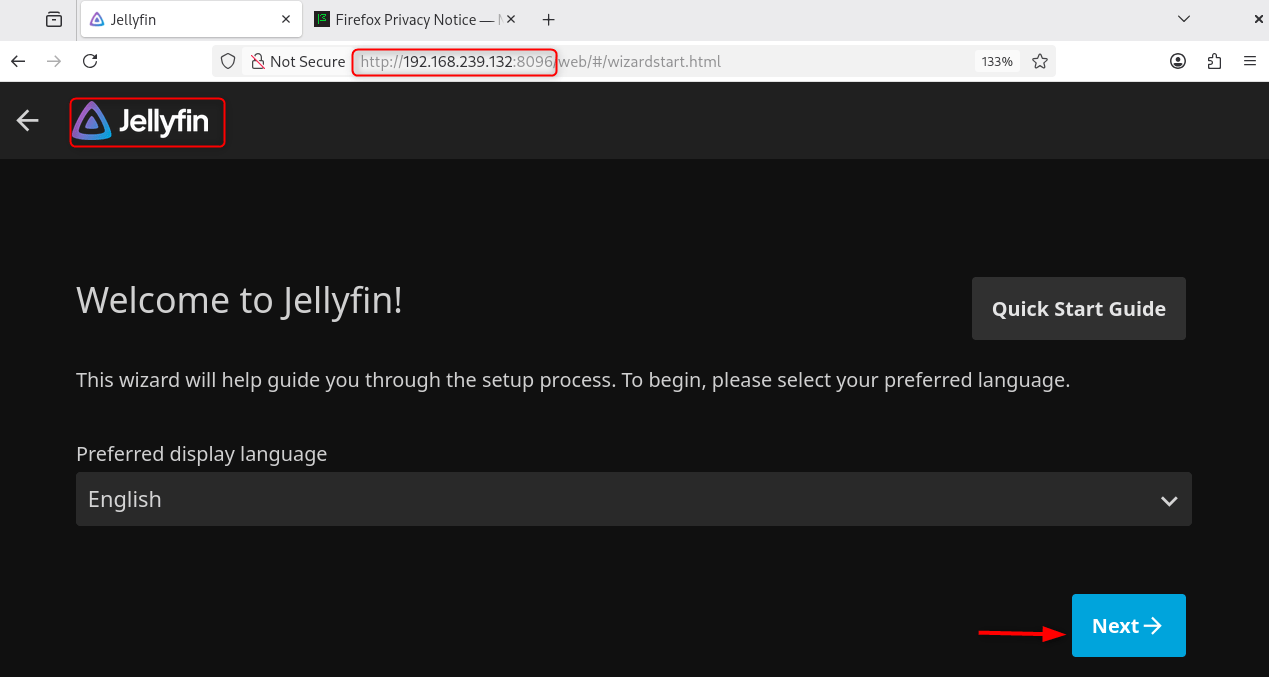
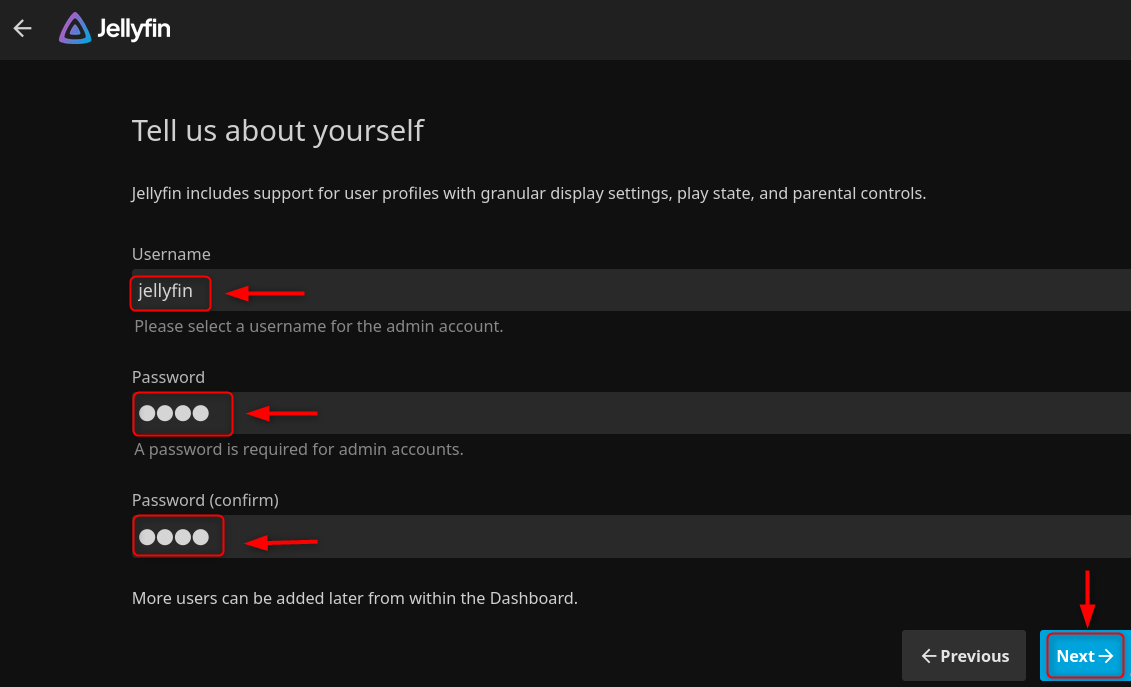
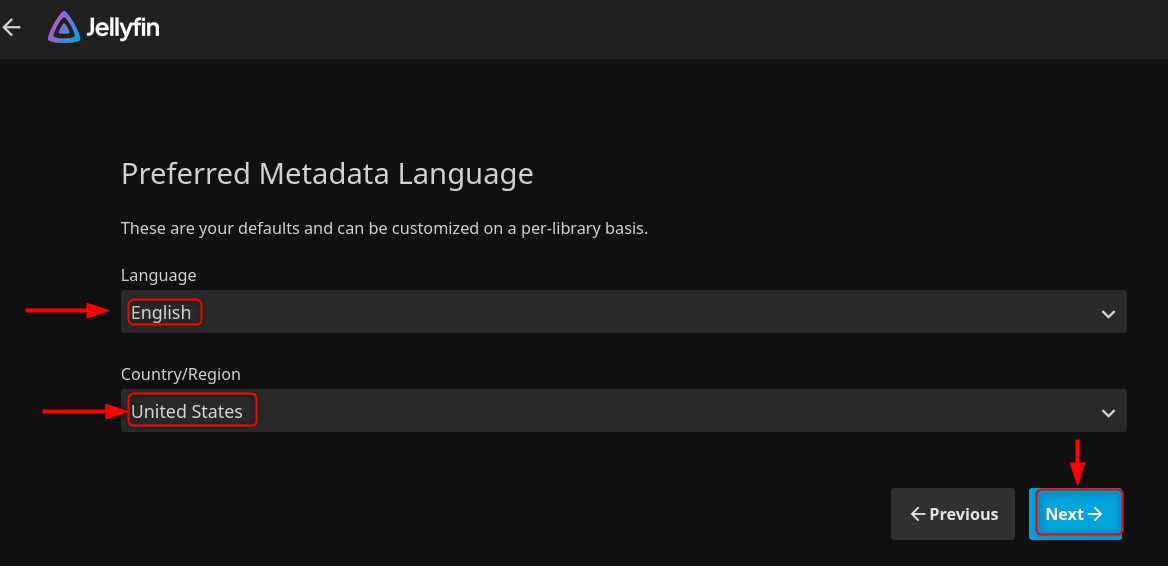
First run wizard includes:
Create admin (username/password).

Add your media libraries (Movies, TV Shows, Music, etc.).


Choose metadata providers and language.

Finalize and start using Jellyfin.

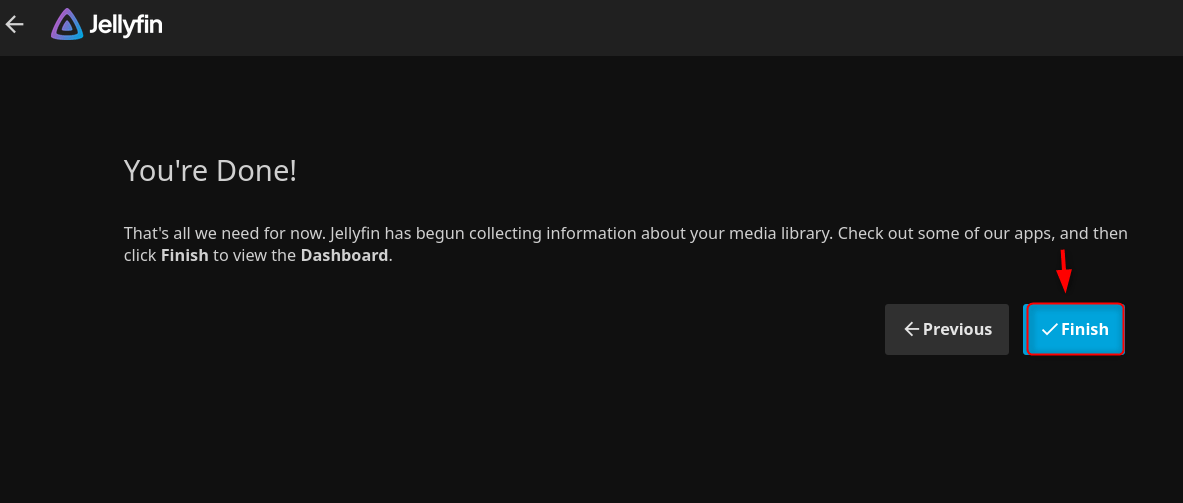
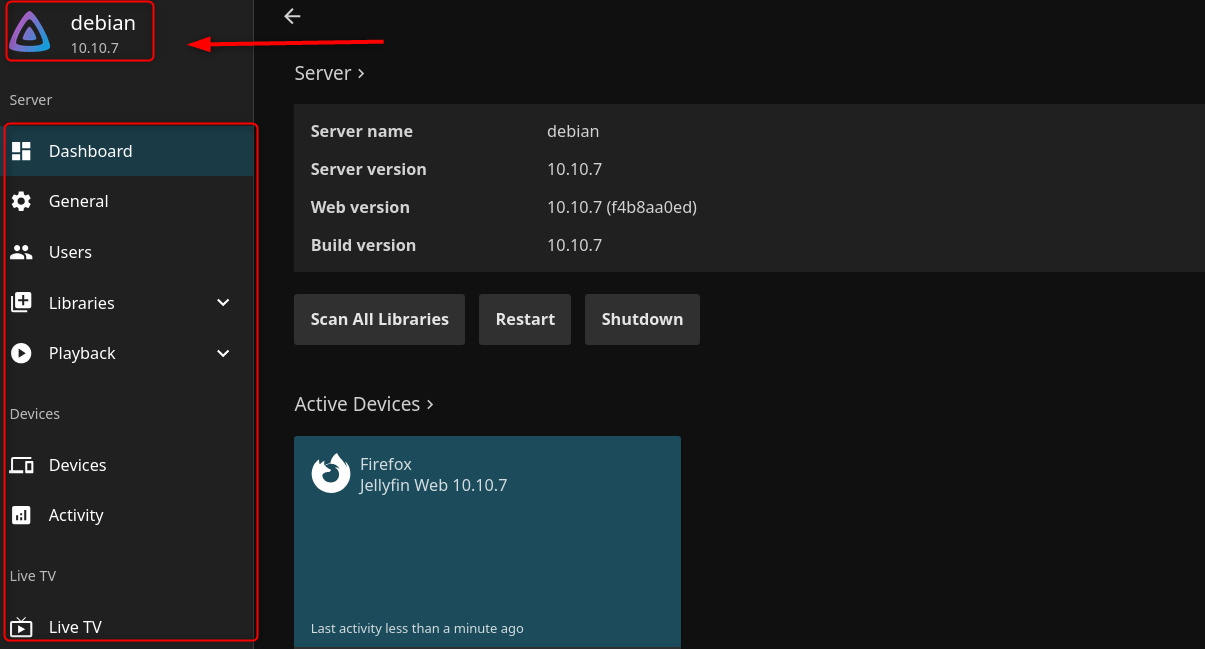
You’ve gotten to a point where you have a fully-functional home media server!

That is all from the guide.
Conclusion
Installing Jellyfin on Debian 13 (Trixie) is very easy once you know how to add repositories, check GPG keys, and. services. The process gives you: An up-to-date and secure installation using Debian’s package manager. Updates can and will be done automatically in the future because of the repository. YOUR home media server with no need for any cloud service.
Whether you want to make a personal Netflix, family photo library, or music streaming server, Jellyfin on Debian 13 will work great.