
Jenkins automates repetitive tasks and sets up pipelines for your projects. It improves software quality by automating the testing and deployment processes.
A Jenkins Pipeline is a plugin suite that is used to define the whole process, including building, testing, and deployment as code.
Let’s learn about how to set up the Jenkins Pipeline on the Ubuntu 24.04 system.
How to Install Jenkins Pipeline on Ubuntu 24.04?
This article will explain the following topics with real-time examples:
How to Install Jenkins Ubuntu 24.04?
How to Configure Jenkins Pipeline on Ubuntu 24.04?
Install Jenkins Pipeline Plugins
How to Install Jenkins on Ubuntu 24.04?
Follow these guided instructions to set up Jenkins on Linux-based Ubuntu 24.04.
Step 1: Set up OpenJDK
Jenkins depends on the selected Java version such as 21, therefore, you have to run the below command to install Java 21 on your system:
sudo apt install openjdk-21-jdk fontconfig -y
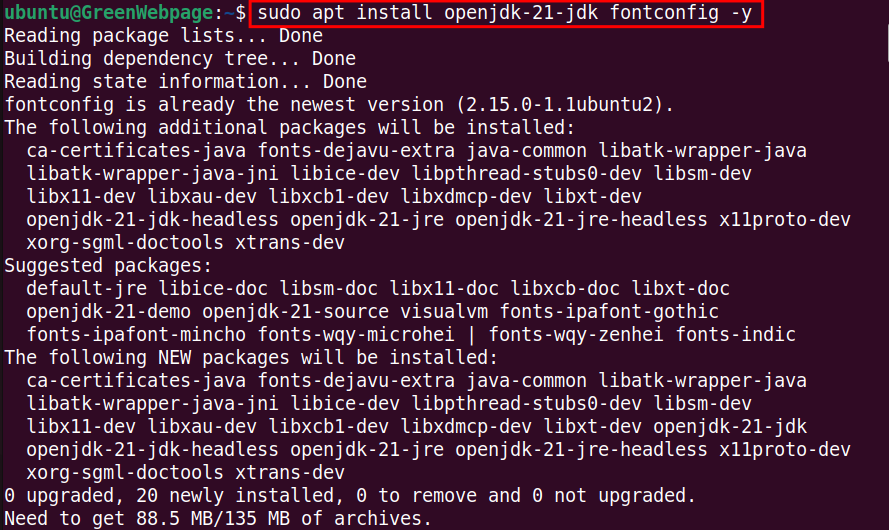
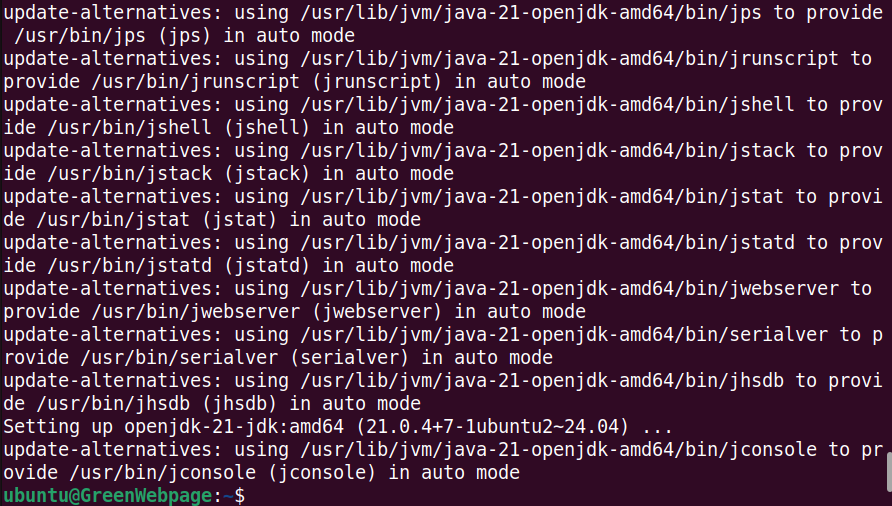
The above script has successfully configured the Openjdk package on your Ubuntu 24.04 system.
Step 2: Confirm Java Installation
You can confirm the Java installation using the provided command:
java -version

You will see the basic details like the Java version after this command.
Step 3: Download Jenkins Repository Key
Next, you need to manually download the Jenkins repository by utilizing the command:
sudo wget -O /usr/share/keyrings/jenkins-keyring.asc https://pkg.jenkins.io/debian-stable/jenkins.io-2023.key
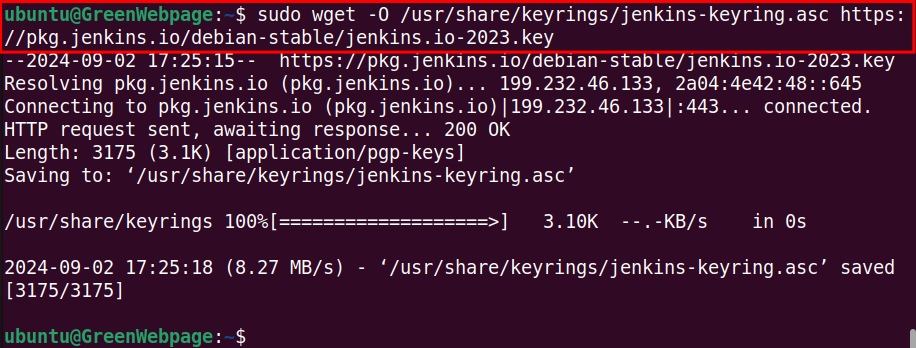
Once you have downloaded the Jenkins repository, you can proceed to the next step.
Step 4: Add Jenkins Key to Source List
To update your system’s package sources with the Jenkins key, run the below command:
echo "deb [signed-by=/usr/share/keyrings/jenkins-keyring.asc] https://pkg.jenkins.io/debian-stable binary/" | sudo tee /etc/apt/sources.list.d/jenkins.list > /dev/null

No output in the terminal indicates that the command is executed successfully and is added Jenkins repository to your system source list.
Step 5: Update System Files
Run the command to update the package list and integrate the Jenkins repository to your Ubuntu 24.04:
sudo apt update
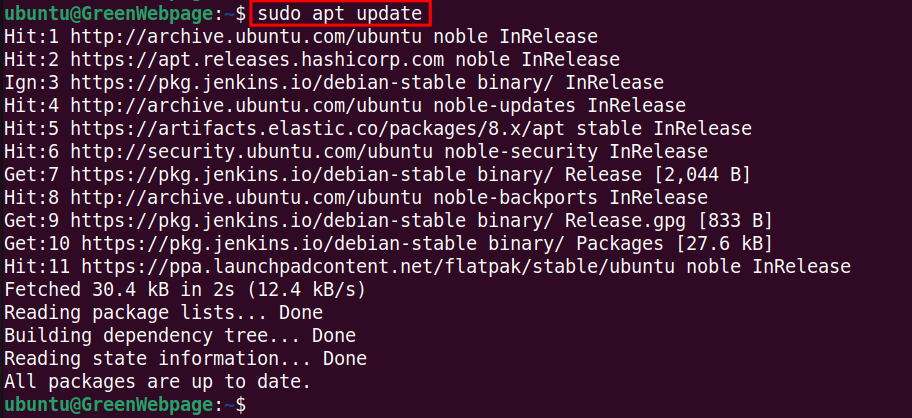
You will notice the Jenkins package files in the system repository.
Step 6: Install Jenkins
Your Ubuntu 24.04 machine is now ready to install the latest release of Jenkins:
sudo apt install jenkins -y
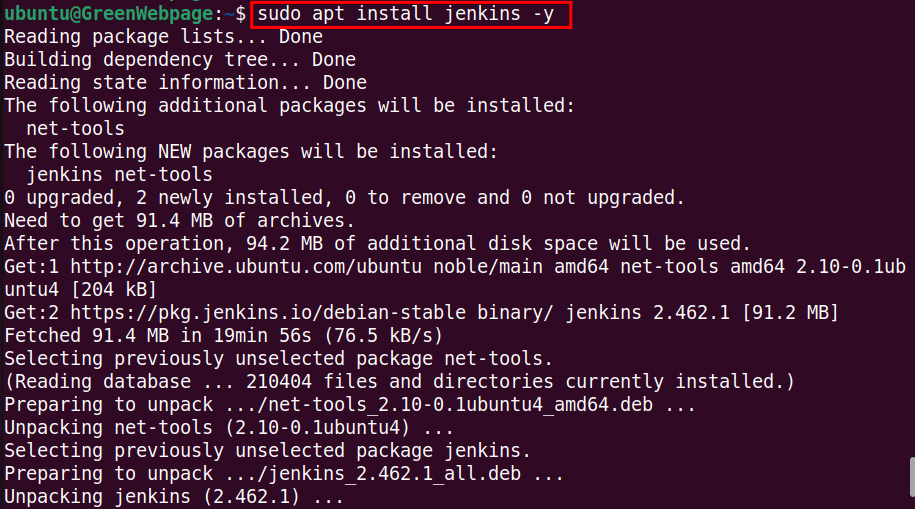
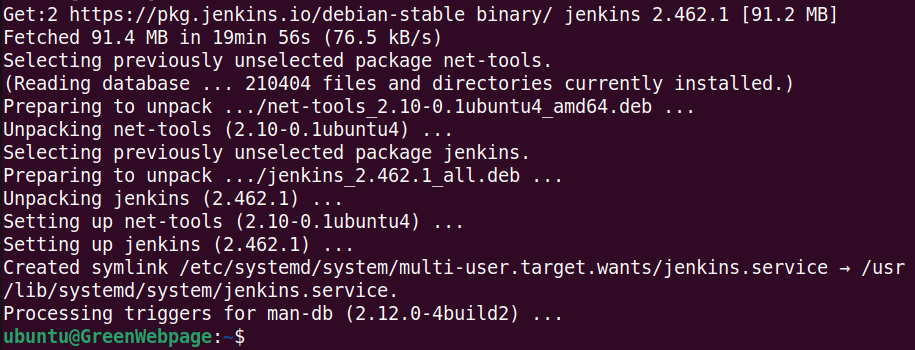
When the command runs, it will install all the required files and tools for Jenkins on your Ubuntu system.
Step 7: Check Jenkins Status
The provided command will show the current status of Jenkins on your Ubuntu 24.04:
sudo systemctl status jenkins
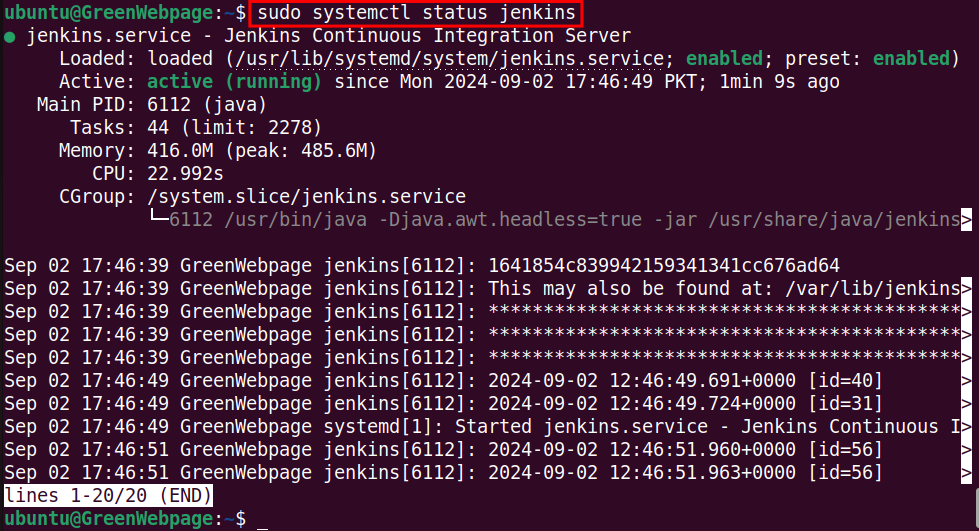
The “Active(running)” status on your terminal window confirms that Jenkins has been configured successfully.
Step 8: Get Jenkins Admin Password
To access Jenkins through a web browser, you will need the initial admin password. Here you can get your Jenkins Admin password:
sudo cat /var/lib/jenkins/secrets/initialAdminPassword

Copy the admin password.
Step 9: Access Jenkins
Now, copy the following link to any web browser and paste the initial admin password:
http://localhost:8080/
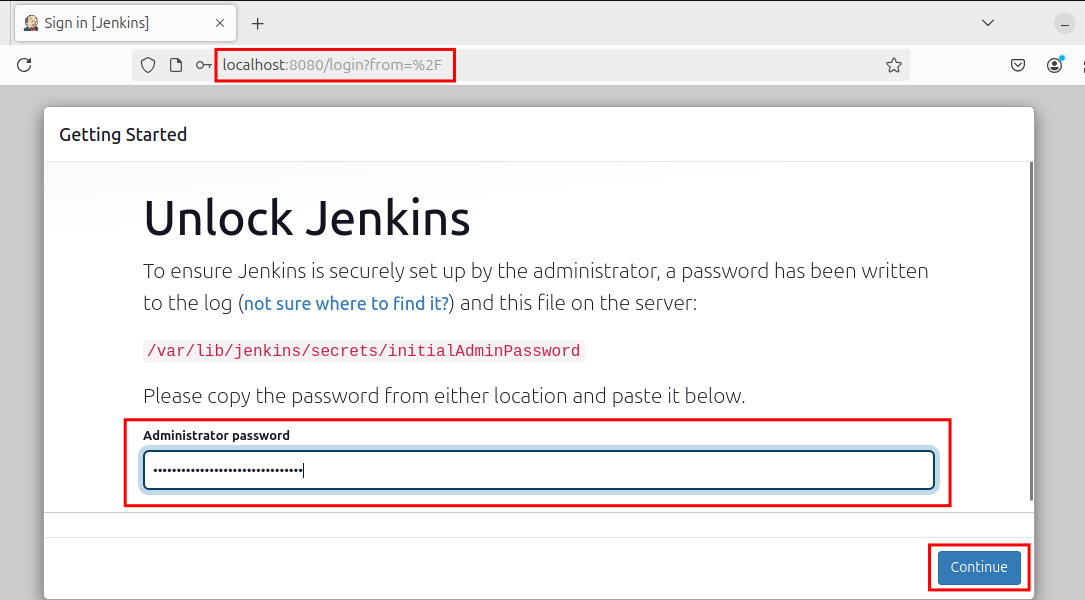
Press the “Continue” button to unlock the Jenkis and access its home page.
How to Configure Jenkin Pipeline on Ubuntu 24.04?
In this section, you will see how to set up Jenkins on Ubuntu 24.04.
Install Jenkins Pipeline Plugins
The following steps will install Jenkins Pipeline Plugins.
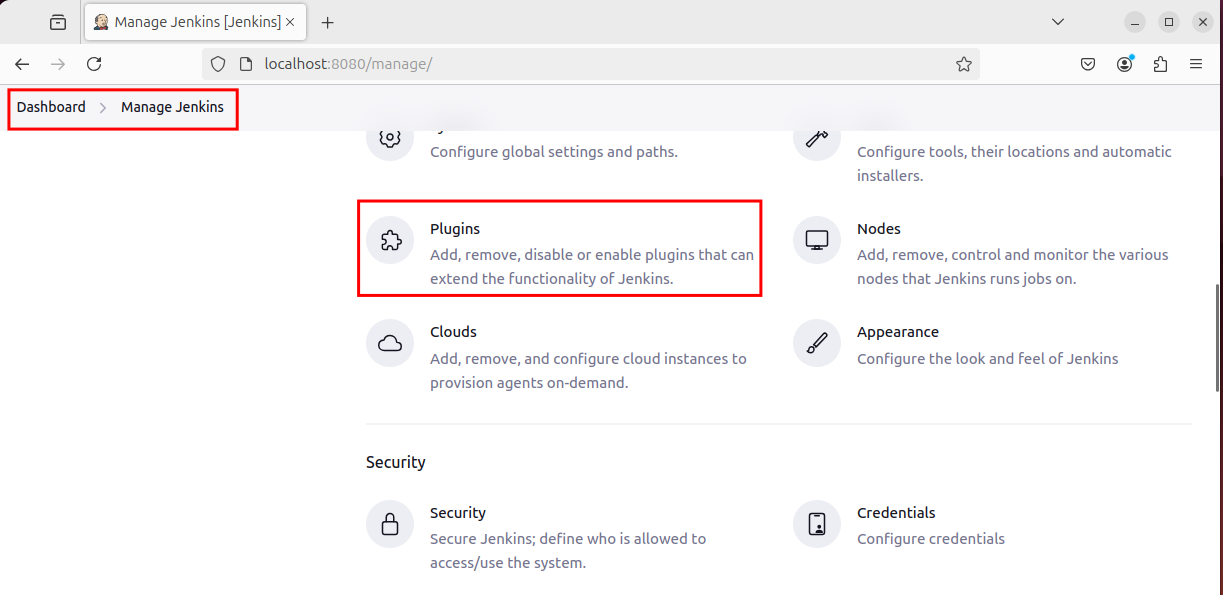
Step 1: Access Jenkins Plugins
To access the plugins in Jenkins, you have to open the home page, then:
- Go to Dashboard > Manage Jenkins.
- Locate the “Plugins” and select to open it.
http://localhost:8080/
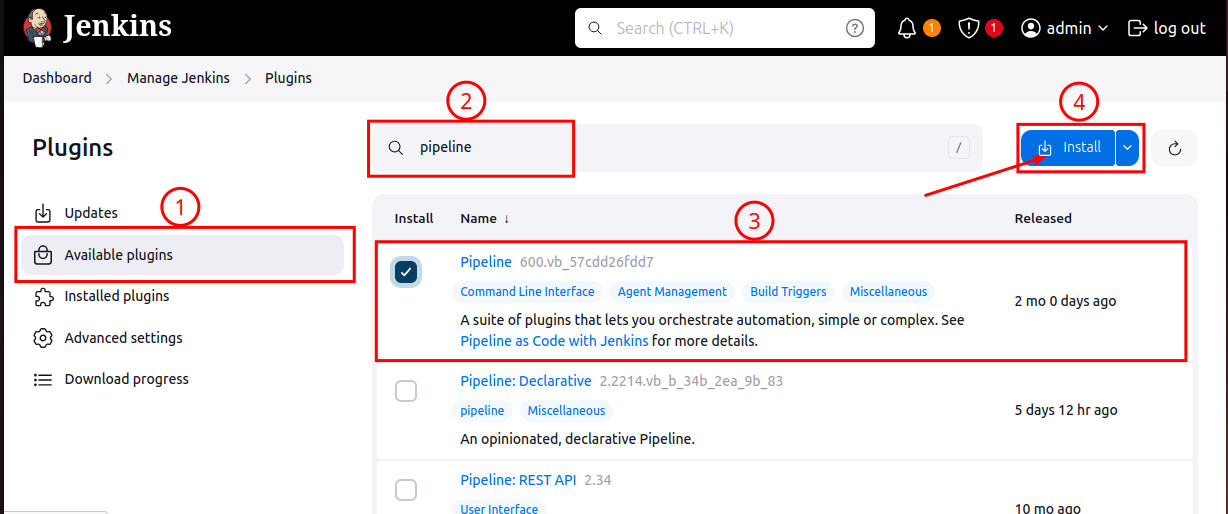
Step 2: Install Pipeline Plugins
In the Plugins category:
- Select the “Available plugins”.
- Search “Pipeline” in the search bar.
- Select the “Pipeline”.
- Click on the “Install” button.
Step 3: Verify Installed Pipeline Plugins
After installing the Pipeline, you can check it in the “Download progress” section, as shown below:
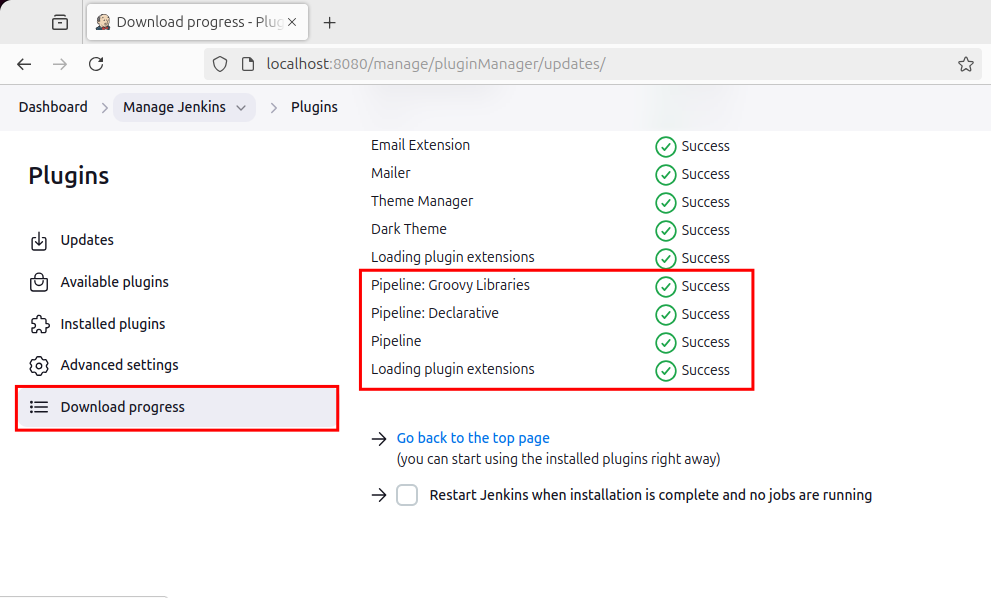
If the Pipeline has been installed successfully, you will see the confirmation message on your screen.
Install Jenkins Pipeline
Let’s install Jenkins Pipeline with the following steps.
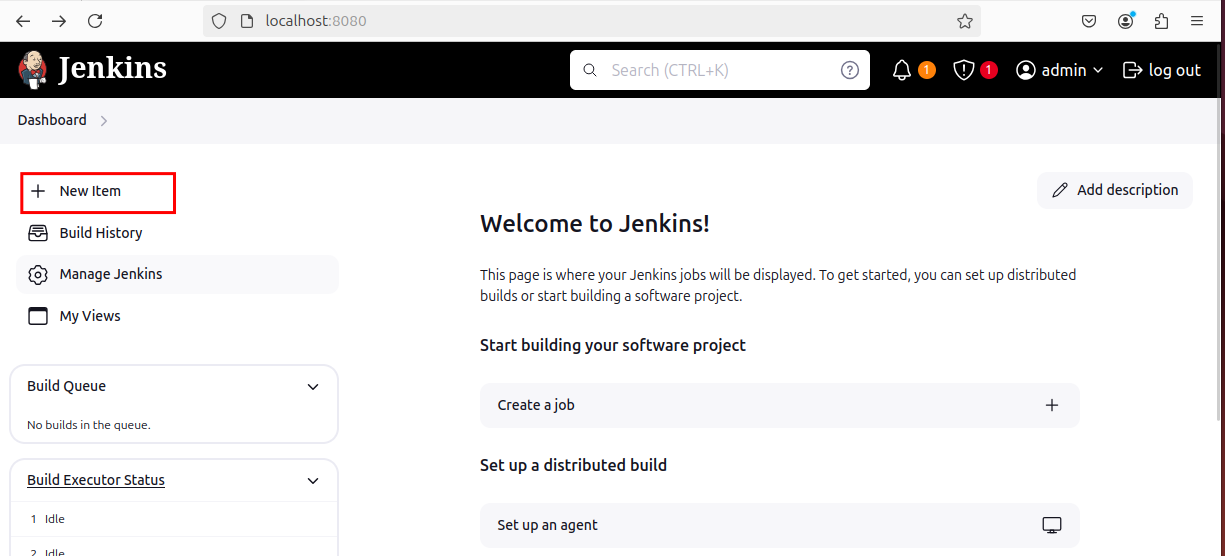
Step 1: Open “New Item”
To install the Jenkins Pipeline, first, you need to select the “New Item”:
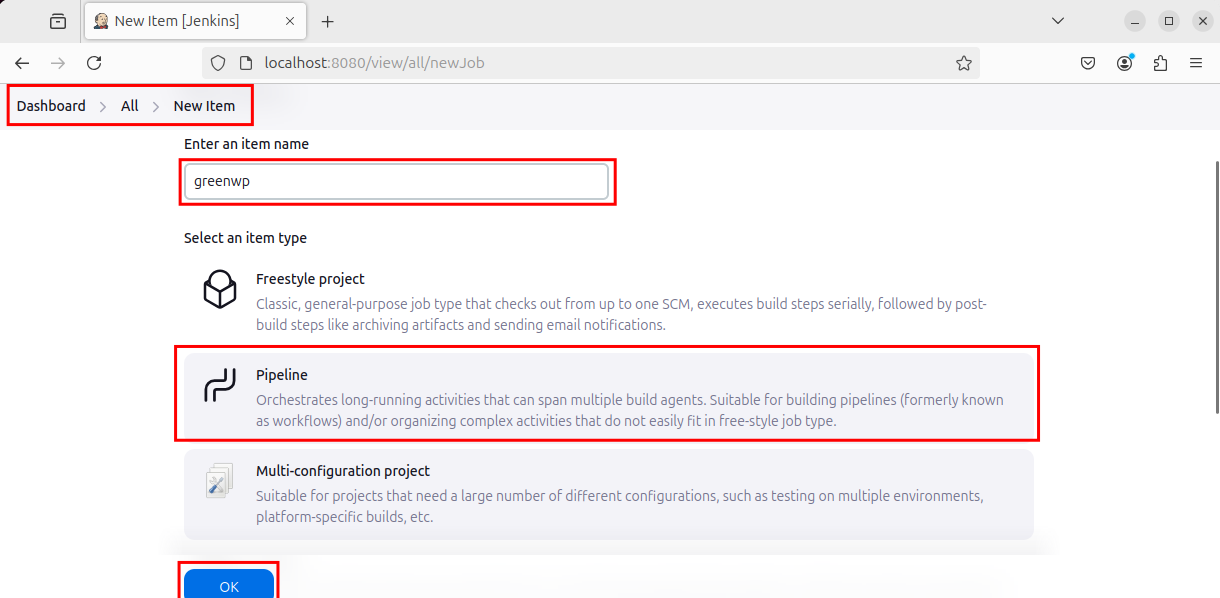
Step 2: Create a New Item
Enter the name for the New Item, such as “greenwp” and select “Pipeline” from the Item types:
Step 3: Configure “Pipeline”
In the “Pipeline”, navigate the “Definition”, select Pipeline script like “Hello world”:
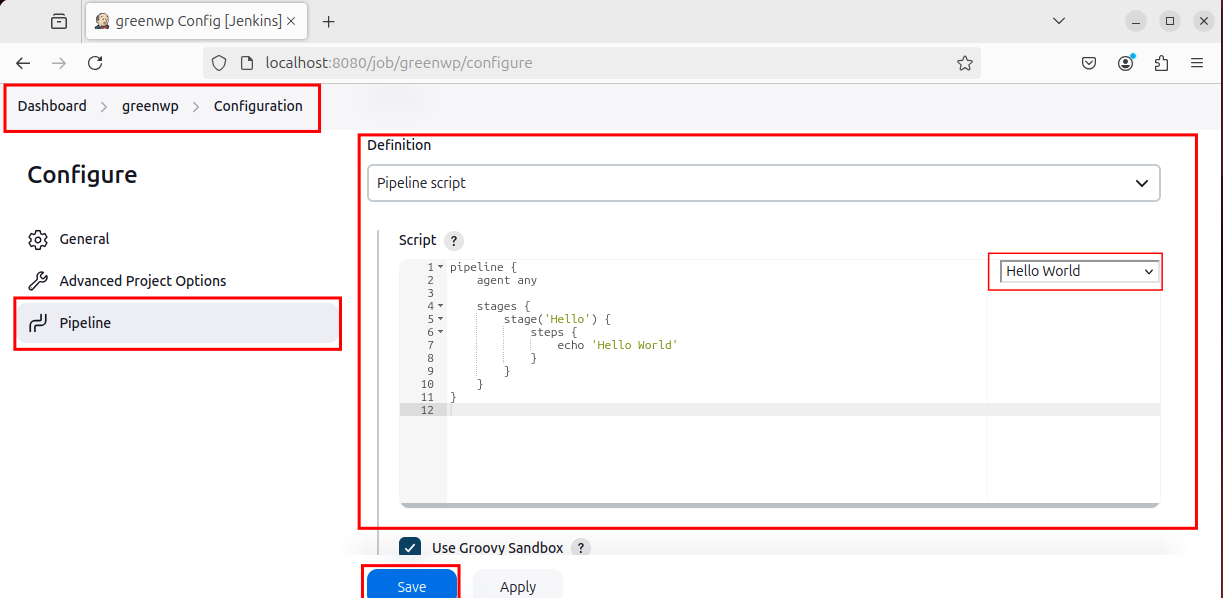
Click on the “Save” button to save the changes.
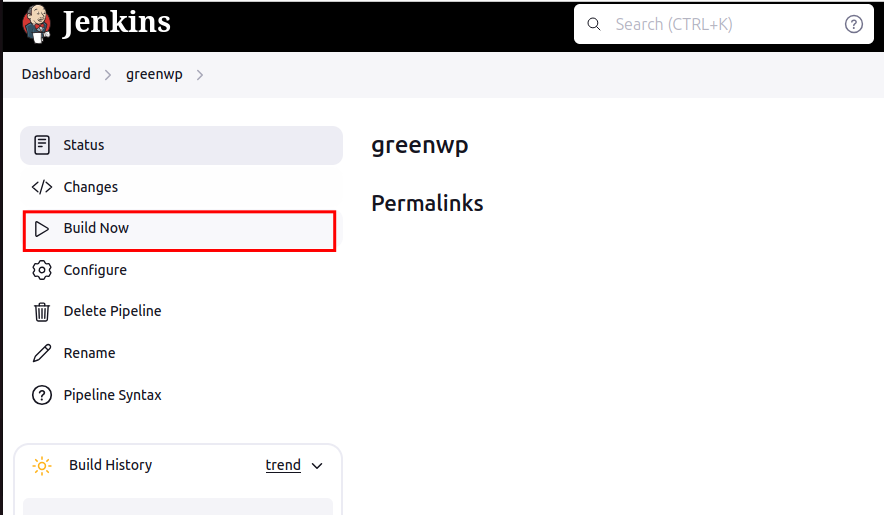
Step 4: Build “Pipeline”
Next, click on “Build Now” in Dashboard > greenwp to start building the Pipeline:
Step 5: Check “Pipeline” Status
After completing the above steps, you will find the Pipeline permalink, such as #3:
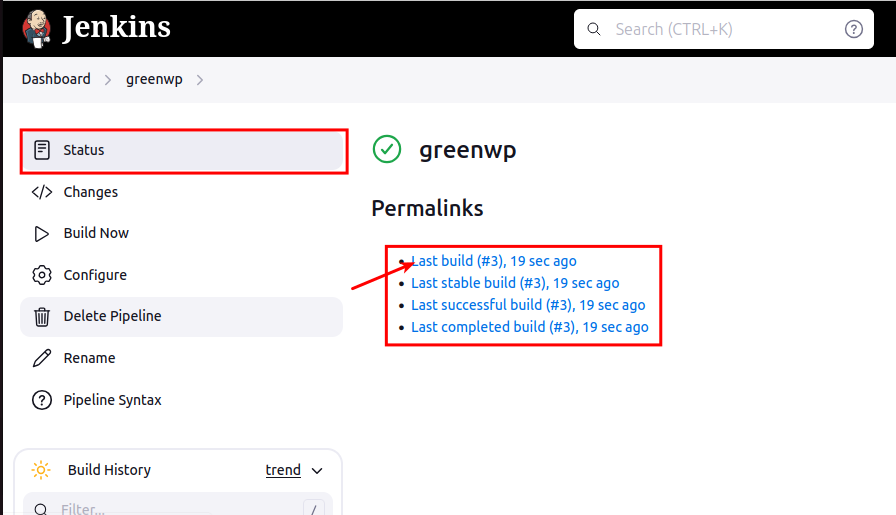
You can further view your Pipeline details by clicking on the “Console Output”:
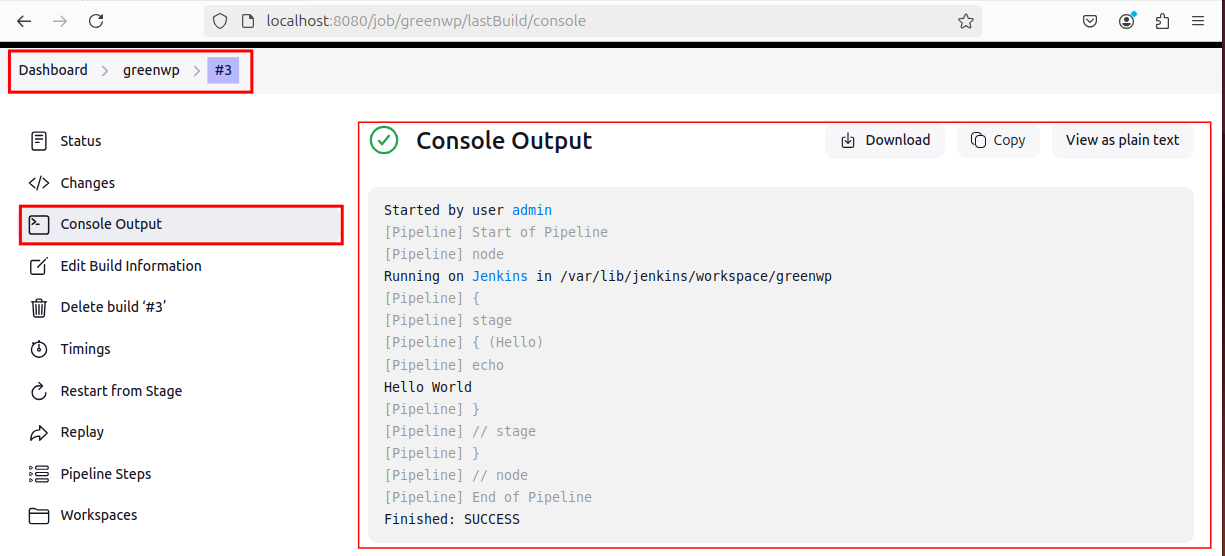
Here, you can see the “Hello World”, indicating that the Pipeline has been successfully installed and configured on your Jenkins.
It will also be displayed on your Jenkins Dashboard, where you can easily access and manipulate:
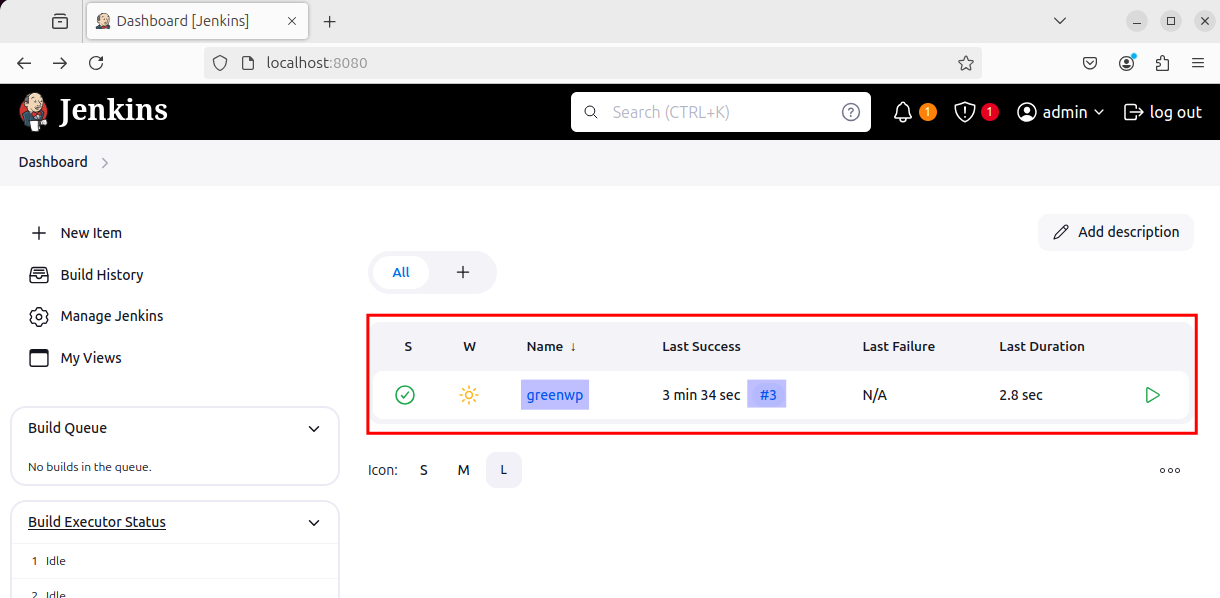
In this installation process, you have successfully configured the Jenkins Pipeline on your Ubuntu 24.04 system.
Conclusion
You can install Jenkins Pipeline on Ubuntu 24.04 through a few simple steps. If you are using Jenkins for the first time, you will need to set up Jenkins and then install the Jenkins Pipeline. You can set up the Jenkins package with “sudo apt install jenkins”. To access Jenkins, use “http://localhost:8080/”.


Leave feedback about this