KVM-short for Kernel-based Virtual Machine-is open-source virtualization that lets you run multiple virtual machines side by side on a single Linux host such as Debian 12. People pick KVM for its speed, strong security, and zero licensing costs. It is located between the VMs and the physical hardware, so each guest thinks it has its own set of resources. KVM even supports different CPU architectures, including ARM and x86.
In this blog post, we’ll walk through how to install KVM on Debian 12 and, if you ever need to, cleanly remove it from your system.
Table of Contents
- Why Need to Install KVM on Debian 12?
- How to Install KVM on Debian 12?
- How to Uninstall KVM on Debian 12?
- Conclusion
Why Need to Install KVM on Debian 12?
Switching a Debian 12 machine into a KVM host lets it use the hardware-assisted virtualization built into modern Intel and AMD chips. This makes KVM perfect for packing multiple servers into one box, testing new code, spinning up development sandboxes, or simply experimenting in a safe, isolated space.
When paired with user-friendly tools like libvirt and the graphical virt-manager, users gain an easy point-and-click interface for tasks. These tasks include taking snapshots, moving VMs between hosts without downtime, or fine-tuning CPU and memory limits without any costly licenses.
How to Install KVM on Debian 12?
KVM is part of the Linux kernel and completely open source; it can run several virtual machines nearly as fast as the physical hardware, supporting guest systems such as Linux, Windows, and BSD alike.
Follow the steps below for installing KVM on Debian 12:
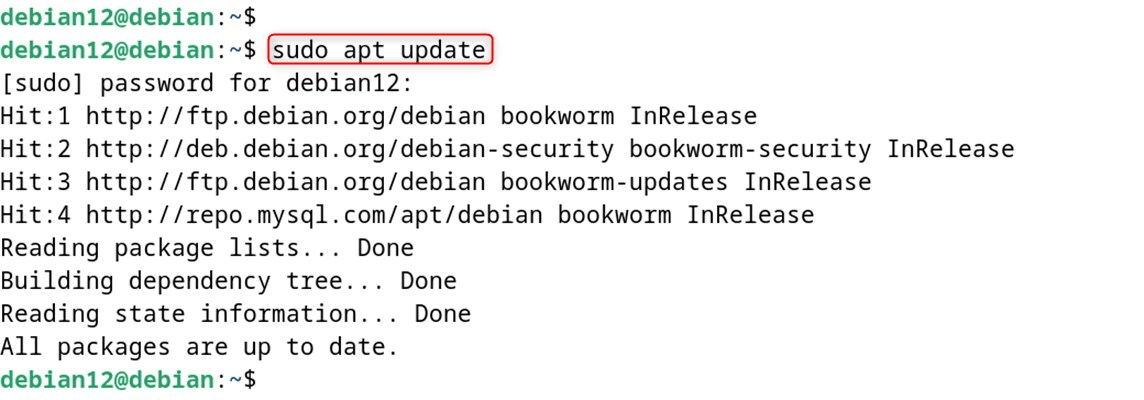
Step 1: Update the Packages
First, call up your terminal by pressing CTRL+ALT+T, then type this line to refresh the list of available packages:
sudo apt update |
|---|

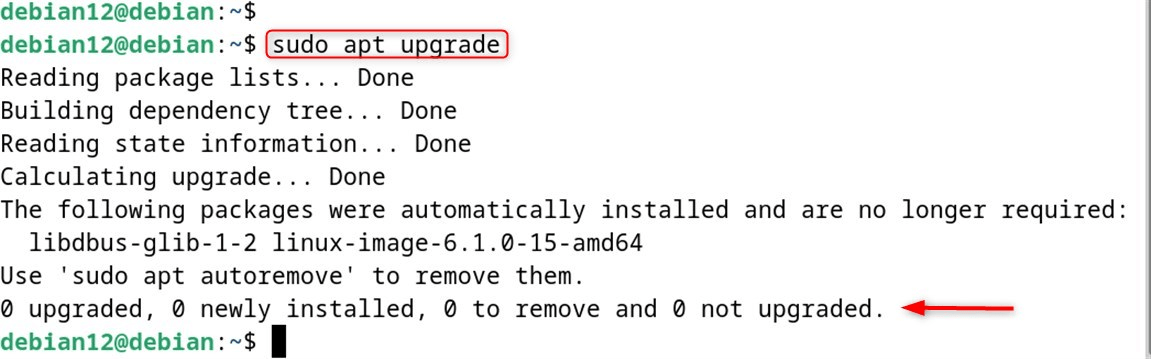
Step 2: Upgrade the Package
Still in the terminal, run the command below to upgrade the installed packages:
sudo apt upgrade |
|---|

You can check whether your CPU supports KVM by running the line that follows; a zero means virtualization is absent:
egrep -c ‘(vmx|svm)’ /proc/cpuinfo |
|---|


Step 3: Install KVM on Debian 12
If the previous command shows a matching count, install KVM and its helpers by entering this:
sudo apt install qemu-kvm libvirt-daemon-system libvirt-clients bridge-utils |
|---|

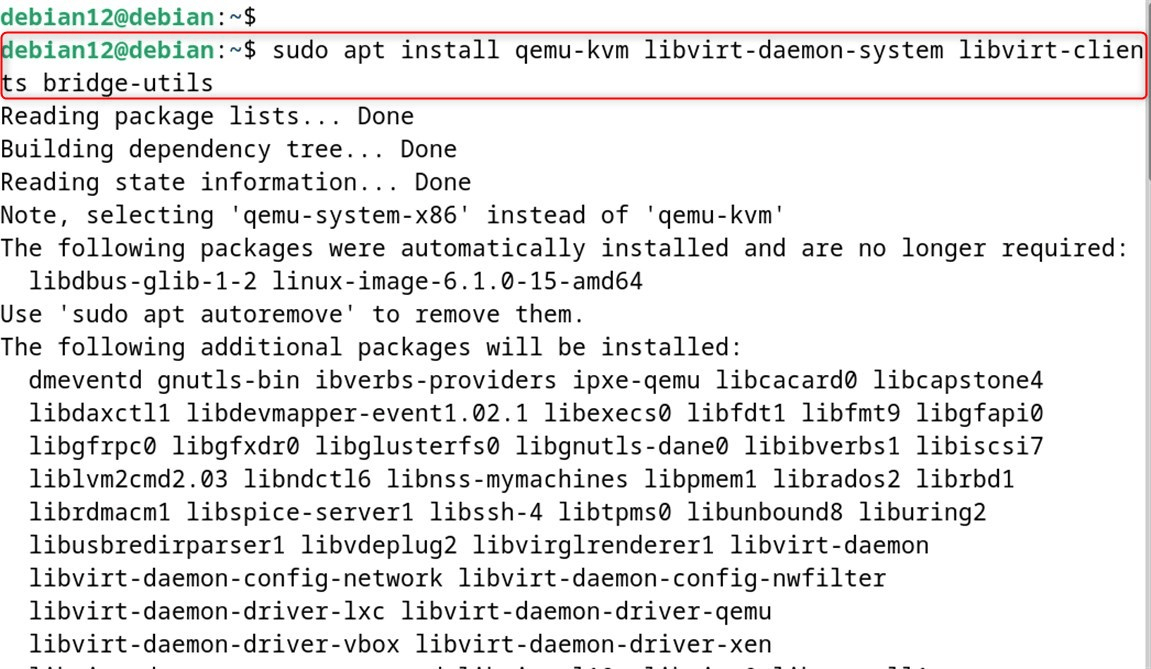
Just give the system a moment while it pulls down the needed files and sets everything up. KVM has been installed successfully.
Step 4: Enable and Verify Services
With KVM in place, turn on the libvirtd service and make sure it runs on boot, like this:
|
sudo systemctl enable libvirtd sudo systemctl start libvirtd sudo systemctl status libvirtd |
|---|


Step 5: Add the User to KVM
Finally, add your regular user to the kvm group so it can create and manage virtual machines:
sudo usermod -aG kvm debian12 |
|---|


Note: Change debian12 to your username.
Step 6: Add user to libvirt group
Now add your regular user to the libvirt group so it can manage virtual machines:
sudo usermod -aG libvirt debian12 |
|---|


Step 7: Configure a Bridge Network for VMs
Next, set up a bridge network so your VMs can talk to the physical network. Start by opening the netplan config:
sudo nano /etc/network/interfaces |
|---|


While the file is open, replace or add the following snippet to set up the bridge:
|
#Configure the bridge and give it a static IP auto br0 iface br0 inet static address 192.168.1.27 netmask 255.255.255.0 gateway 192.168.1.1 bridge_ports enp0s3 bridge_hw 08:00:27:9c:10:06 bridge_stp off bridge_fd 0 bridge_maxwait 0 dns-nameservers 8.8.8.8 4.2.2.2 |
|---|

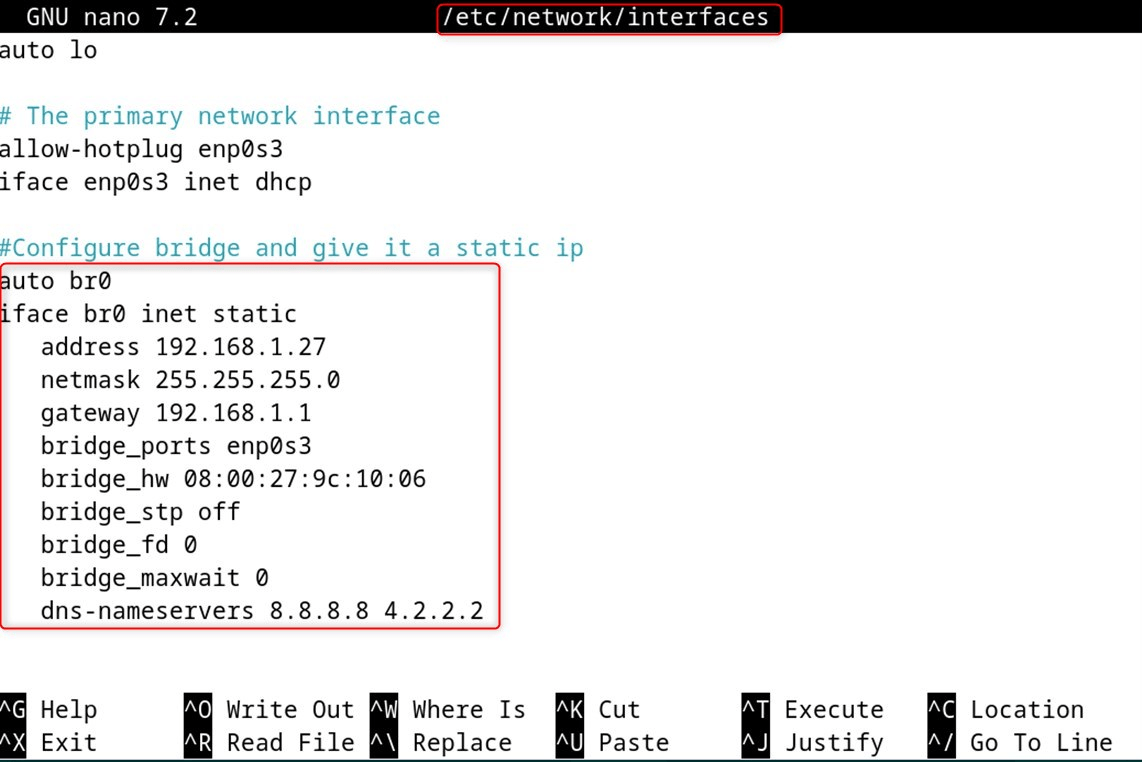
Finally, save and exit the configuration file.
Step 8: Apply Changes and Restart Network
Now run the systemctl utility to refresh or restart your new network settings:
sudo systemctl restart networking |
|---|


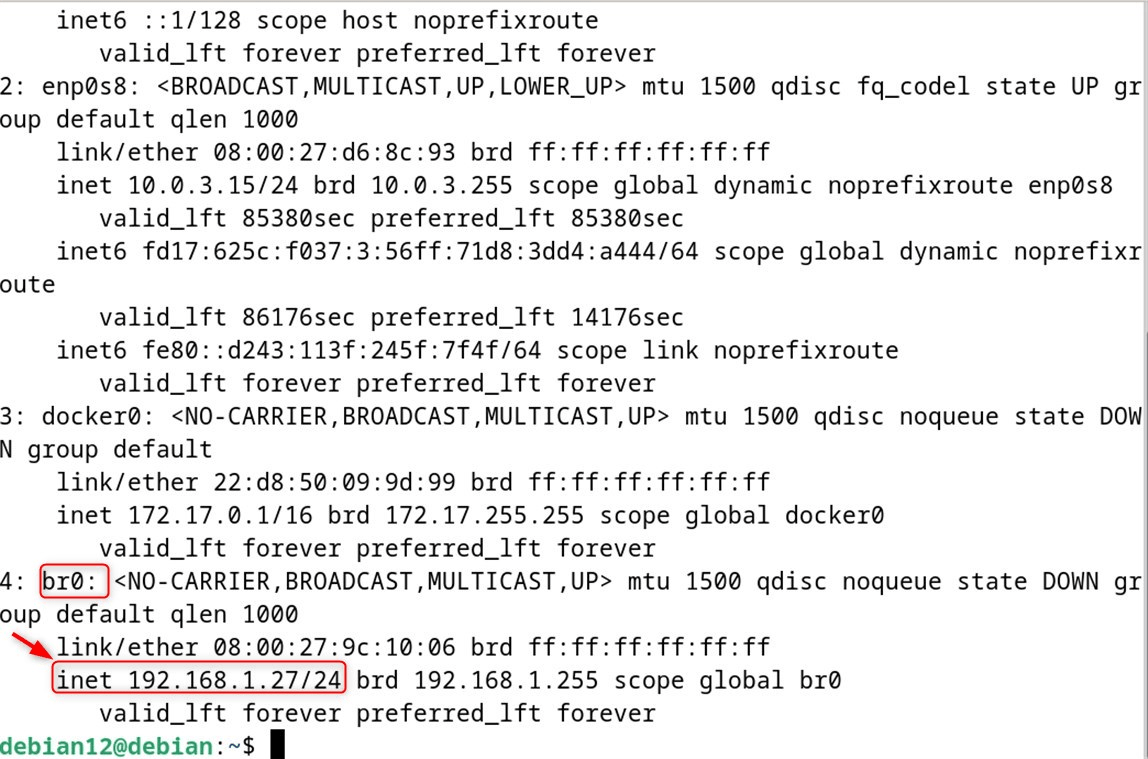
Step 9: Review Changes
To confirm the configuration is done, users can list the interfaces:
ip addr show |
|---|

You can also check the KVM version via the following command:
qemu-system-x86_64 — version |
|---|


And that concludes the KVM installation on Debian 12; your VMs should be up and running.
How to Uninstall KVM on Debian 12?
If you decide to remove KVM from Debian 12, follow these simple steps:
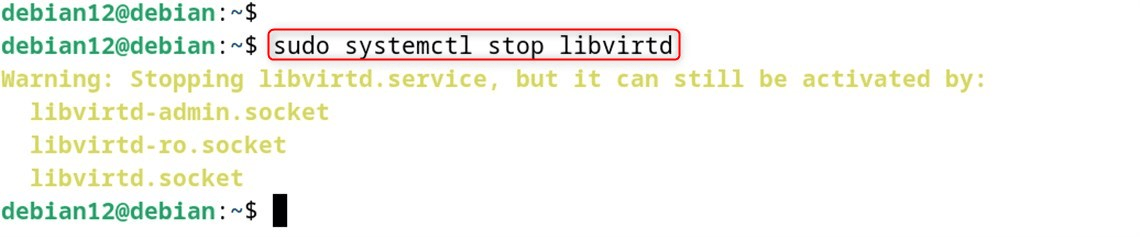
Step 1: Stop the libvirt Service
First, halt the libvirt service so nothing is still running:
sudo systemctl stop libvirtd |
|---|

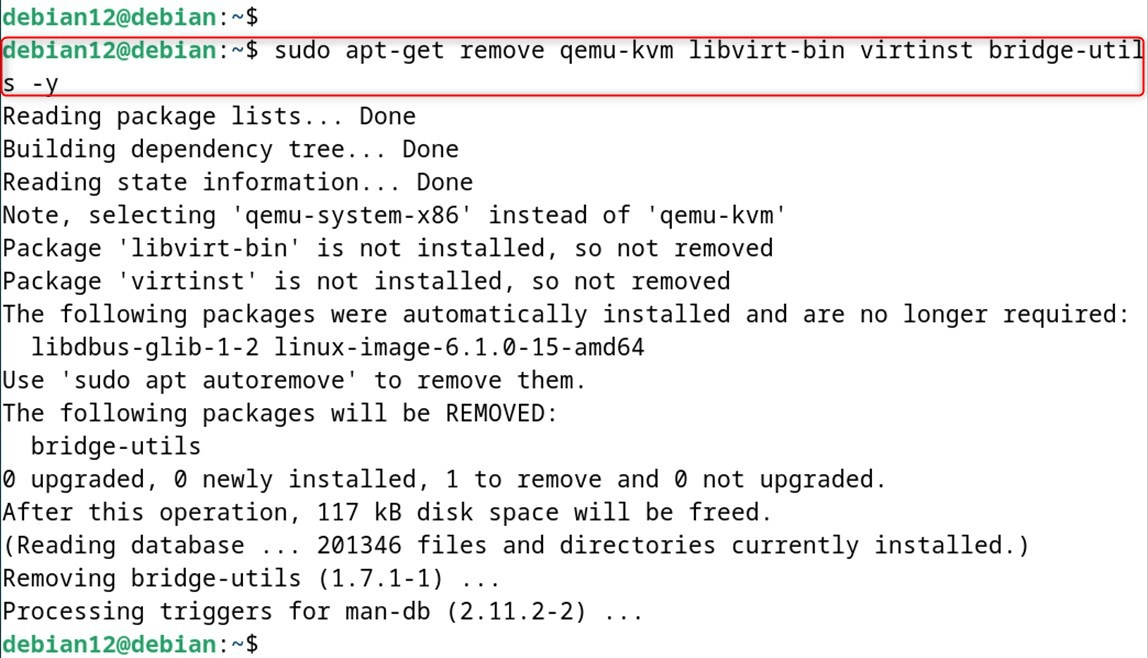
Step 2: Remove the KVM Packages
Next, get rid of KVM and its utilities with this command in the terminal:
sudo apt-get remove qemu-kvm libvirt-bin virtinst bridge-utils -y |
|---|

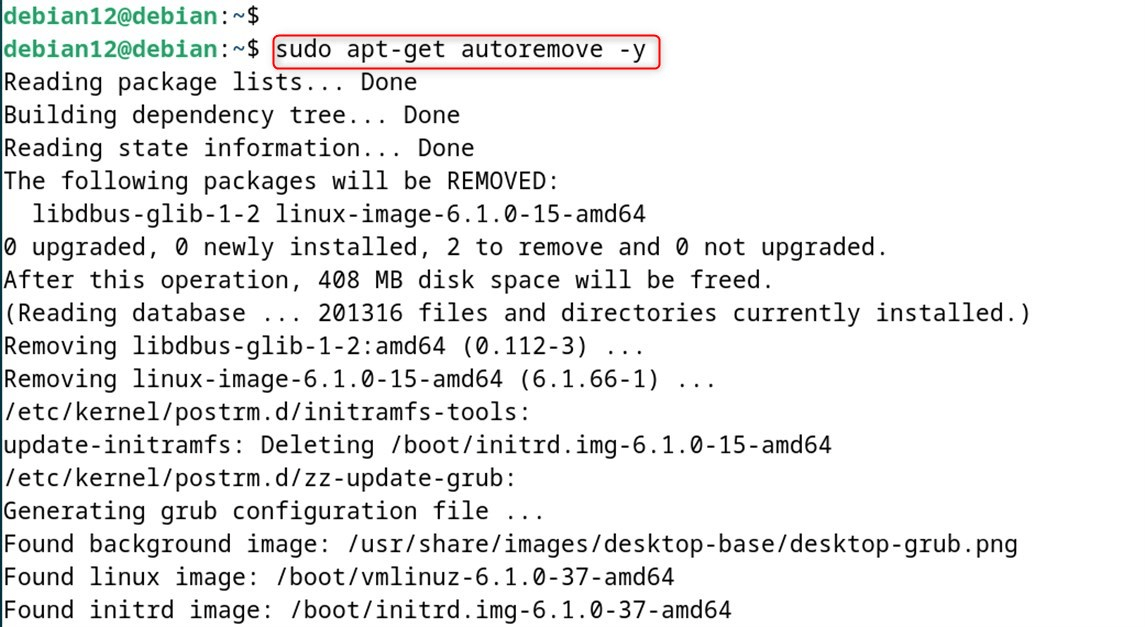
Step 3: Clean up Leftover Dependencies
Finally, clear out any packages that were only pulled in for KVM:
sudo apt-get autoremove -y |
|---|

In this way, KVM has been uninstalled completely from the Debian 12 system. The earlier blog post walks through this installation process in detail.
Conclusion
To install KVM on Debian 12, first ensure your system supports hardware virtualization (Intel VT or AMD-V) and it’s enabled in the BIOS. Then, update your package list and install the necessary packages by running sudo apt install qemu-kvm libvirt-daemon-system libvirt-clients bridge-utils virt-manager. This command installs the KVM kernel modules, libvirt for managing virtual machines, bridge utilities for networking, and Virt-Manager as a graphical interface.
After installation, verify that your user is part of the libvirt and kvm groups, then reboot or log out and back in to apply group changes. If you later choose to reinstall KVM on Debian 12, begin by updating your package list and upgrading the system. After that, execute sudo apt-get install qemu-kvm libvirt-daemon-system libvirt-clients bridge-utils -y.