LAMP Stack is a combination of Linux, Apache, MySQL, and PHP, which are open-source tools and powerful for the development as well as hosting of web applications. For developers who work on creating web applications, LAMP Stack is a go-to tool as it comes with great efficiency, along with community support. Debian 12, a Linux system, works with LAMP Stack perfectly so it can provide you with a stable and reliable platform for web development.
This guide will help you get:
How to Install LAMP Stack on Debian 12
Now, since we have completed the installation of Debian 12 which is a Linux operating system, we don’t need to get a new one. To install the other tools, such as Apache Server, MariaDB Database, and PHP, so you can set up your LAMP Stack as well.
To start off configuring these tools, begin by following the given instructions below.
Step 1: Update Debian Repository
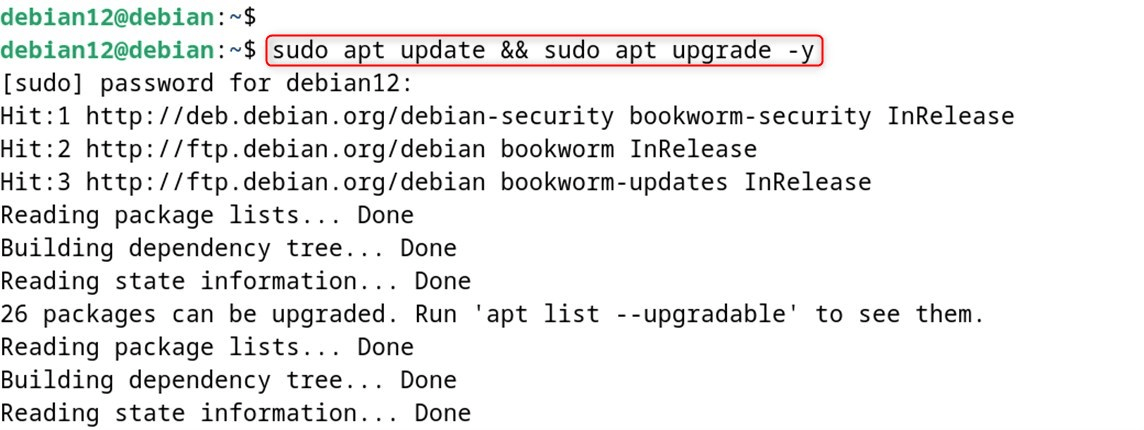
As a prerequisite, ensure that your Debian system is updated. It can be downloaded through the Debian repository. But first, you need to update the repository to guarantee that the most recent installation of packages will be done.
sudo apt update && sudo apt upgrade -y
Step 2: Install Apache Server on Debian 12
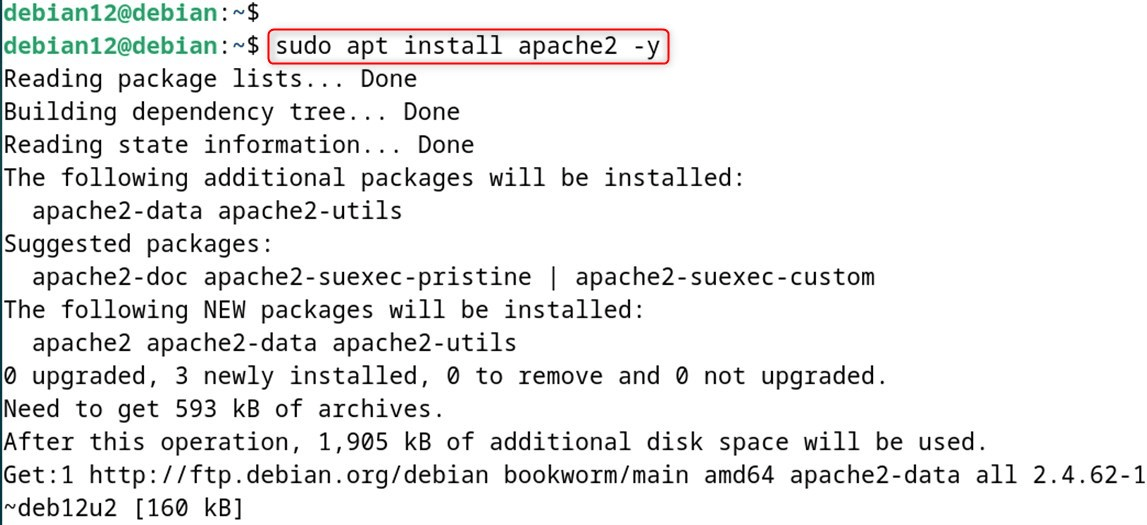
You can install the LAMP stack from entire packages, but the first and utmost essential one is the Apache Web Server. Let’s download it through the following command.
sudo apt install apache2 -y
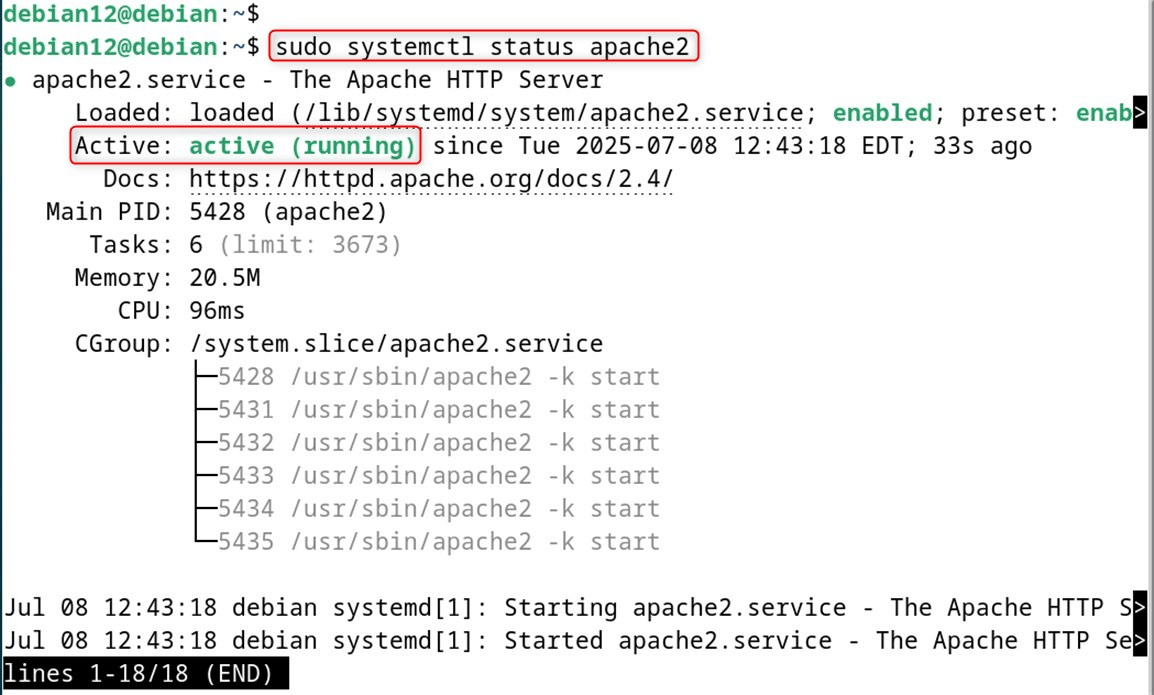
After following the command to install Apache, check whether Apache is correctly installed and active using the command below.
sudo systemctl status apache2
Step 3: Install Firewall on Debian 12
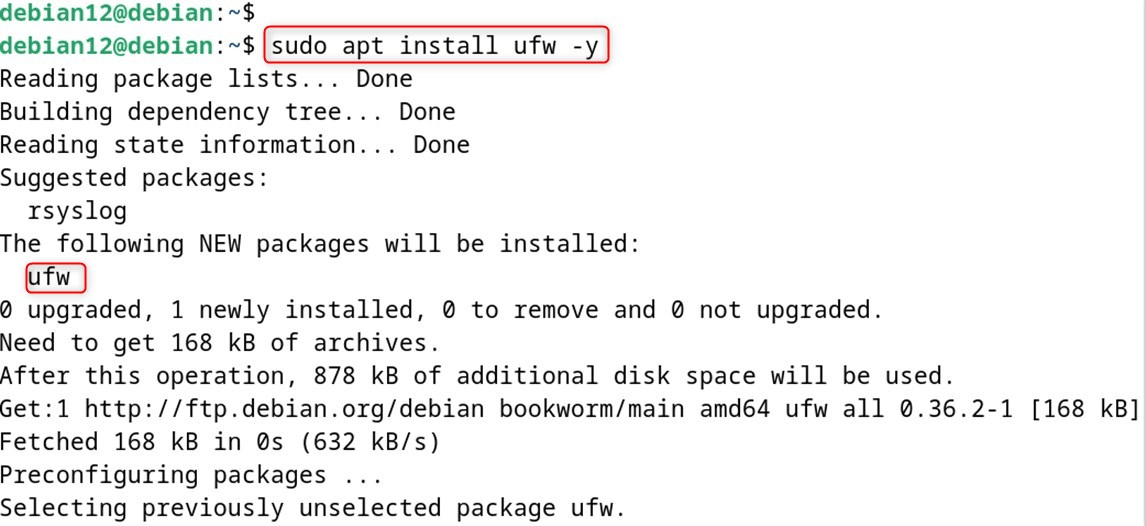
The UFW must be installed on the Debian system, and it can be possible with the command below.
sudo apt install ufw -y
The UFW will assist in controlling HTTP traffic through the default Port 80. Thus, it is necessary to activate UFW on your system after installation using the command:
sudo ufw enable

Allow requests for traffic over Port 80 using the command below.
sudo ufw allow 80/tcp

Finally, reload the UFW through the command below:
sudo ufw reload

Step 4: Open Apache2 Default Page
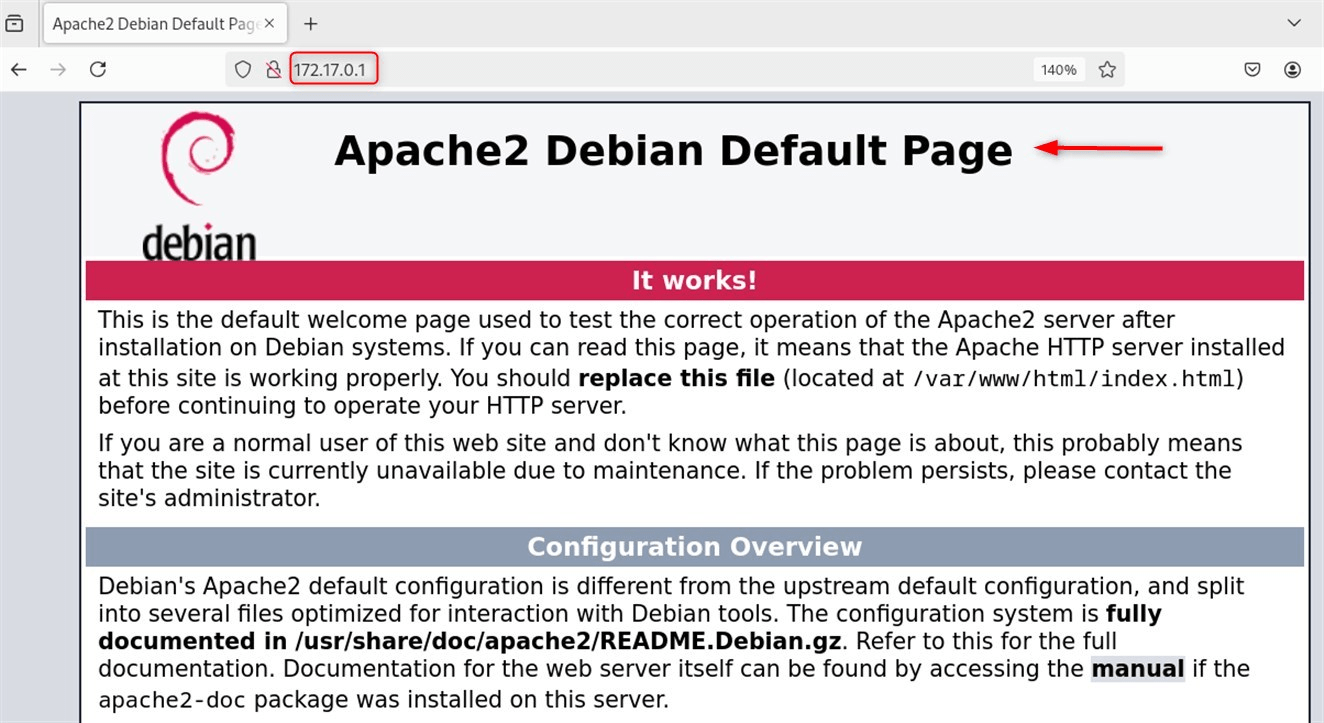
Users can verify the Apache installation by navigating the Apache2 default page via the IP address of your Debian server. Let’s obtain the IP address of your Debian system:
hostname -I

After confirming the IP address of your Debian server, access a web browser on another computer, type in the IP address of your Debian server, and the Apache2 default page will be displayed:
Step 5: Install MySQL (MariaDB) Database
With the aid of MySQL, you will be able to store site data and retrieve it when necessary. For this purpose, we are using the MariaDB server here. It is faster and more efficient in dealing with complex tasks because it is a drop-in replacement for the MySQL server.
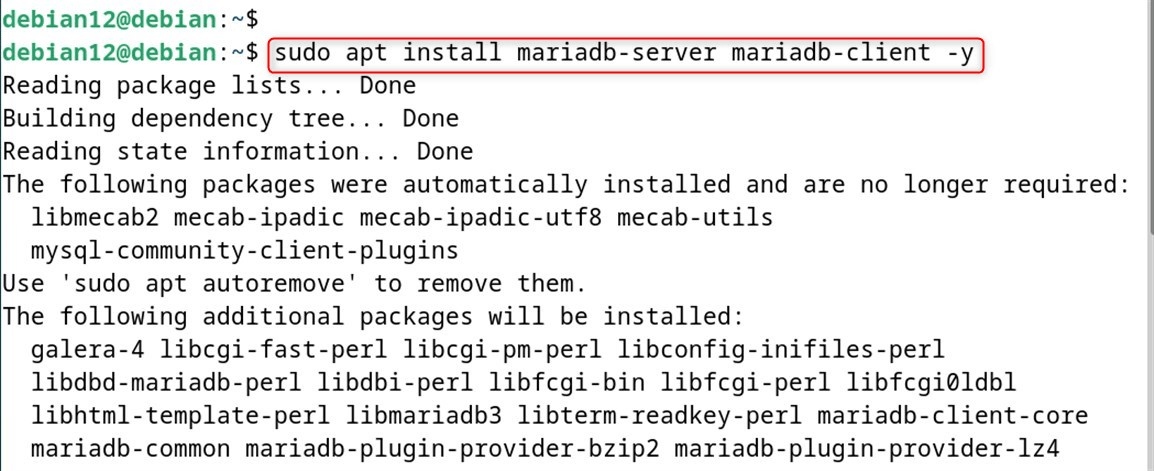
To install both the clients and servers of MariaDB on Debian, you can use the command below:
sudo apt install mariadb-server mariadb-client -y
You can check if the MariaDB server has been installed on Debian with the command below:
mariadb --version

Step 6: Secure MySQL Database Server
MySQL Server has a weak default system setup, which makes the whole database vulnerable. In case someone wants to break into your database, it’s highly recommended to perform the following on your Debian system:
sudo mysql_secure_installation
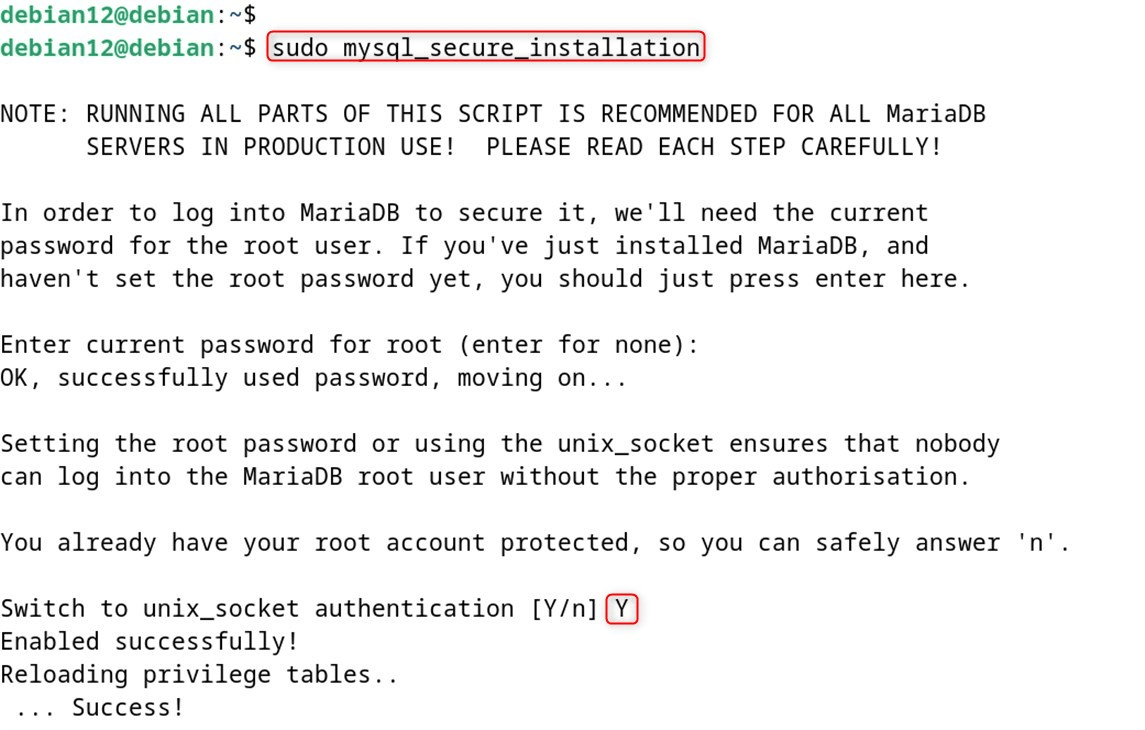
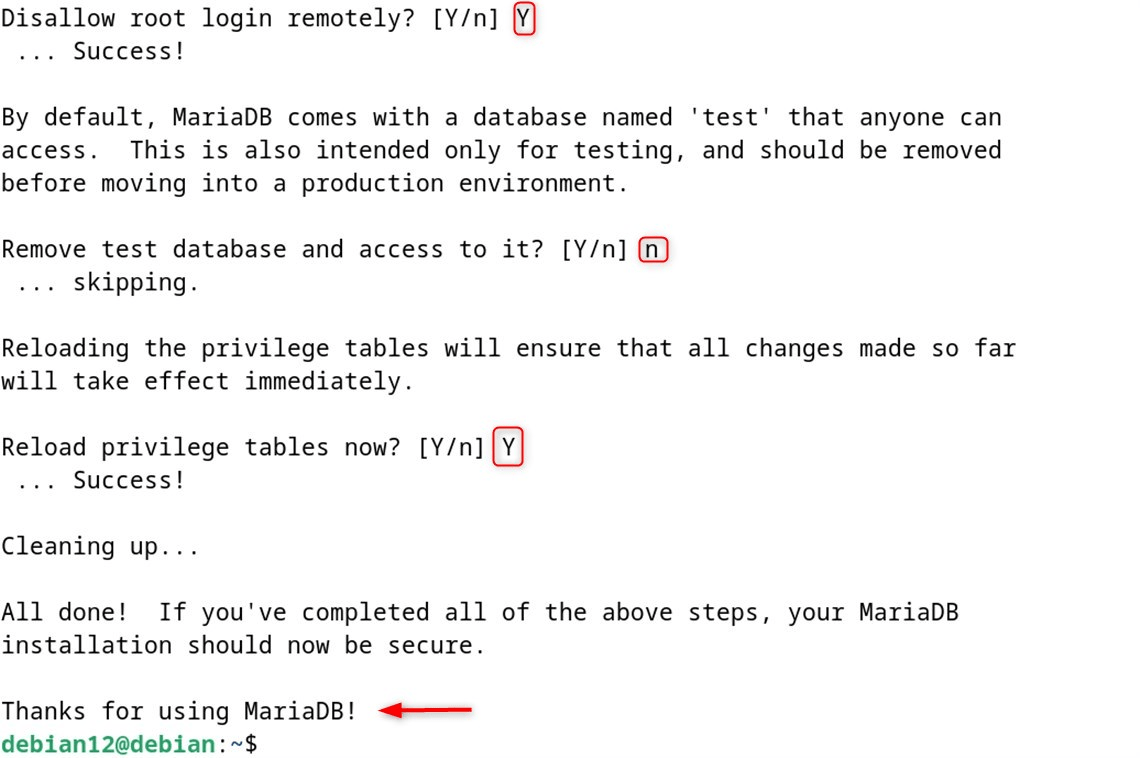
After executing the command, a script runs that allows you to pick from a variety of options. The first option given is “Enter current password for root (type in ‘x’ to skip)”. Follow through with the remaining onscreen instructions, and you’ll get a final onscreen notification thanking you for securing your MariaDB server:
Step 7: Install PHP on Debian
The last remaining implementation to complete the LAMP stack on Debian is installing PHP. PHP works hand in hand with MySQL and is primarily used for web application development. It is a powerful programming language.
To install PHP along with other software on Debian, you can execute it via the command line as follows:
sudo apt install php -y

To validate installing PHP on Debian, you can execute the command provided below:
php --version

With the command below, you can look for various PHP modules and libraries within the apt repository.
apt-cache search php- | less
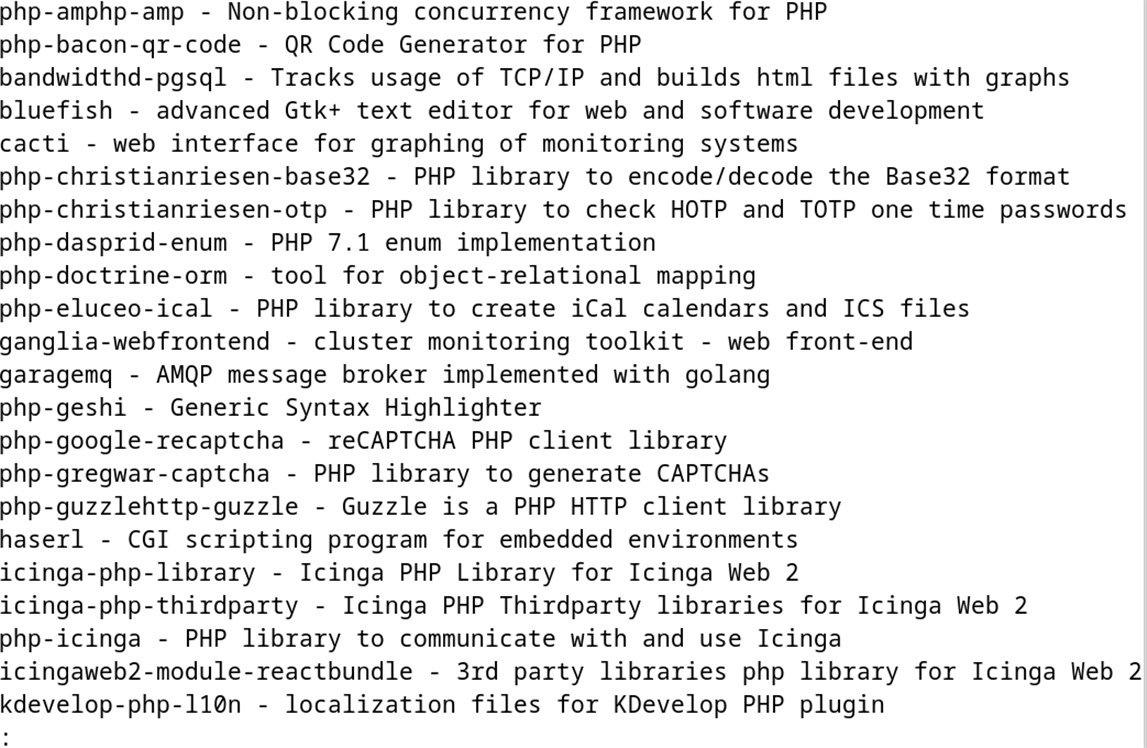
Post PHP installation, select any listed modules and install them on your system using the command ‘apt install’ followed by the specific module and library name.
sudo apt install module_name -y
At this point, we have finished installing LAMP Stack on Debian 12.
Step 8: Test LAMP Stack Installation on Browser
As a final step, you may want to check if the LAMP Stack is working by creating a simple webpage using PHP. First, be sure to restart your Apache server on Debian with the command below so that the necessary changes are picked up.
sudo systemctl restart apache2

Then, create a new PHP script file in the Apache web root directory with the following command:
sudo nano /var/www/html/file_name.php

Make sure to change file_name to whatever name you want. When the file is opened, you can add any PHP code; for this example, I insert the following code:
<?php
echo "Welcome to Debian User"
?>
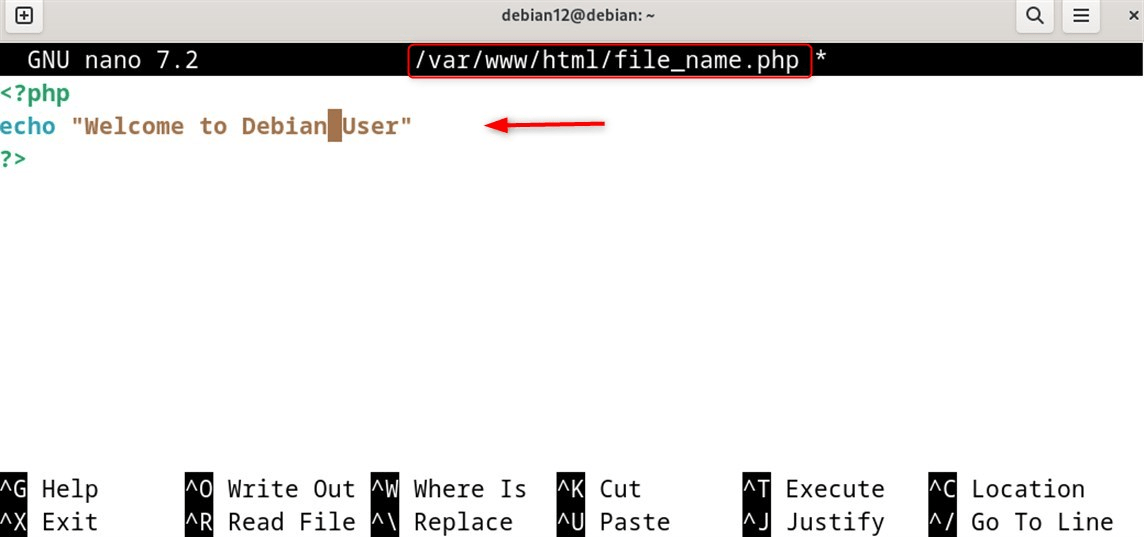
Make sure you save the file with CTRL+X, then add Y and press Enter to confirm. Next, open your web browser and navigate to http://server-ip-address/file_name.php remembering to replace server-ip-address and file_name with your actual server IP address and the name of the php file.
http://server-ip-address/file_name.php
This will return, in your browser, the output of the PHP file:

The shown output in the browser demonstrates that a LAMP Stack web server has been created and is operational on the system.
In this article, we have learned to install LAMP Stack on Debian 12.
Conclusion
LAMP Stack is a combination of four different components; Linux, Apache, MySQL, and PHP. Follow this guide to install LAMP Stack on Debian 12. LAMP Stack provides a powerful solution for developing and hosting web applications.
In this article, we saw how to install Apache, Firewall, MySQL (MariaDB) databases, and PHP on a Debian 12 system. All the components needed to install LAMP Stack can be found in Debian’s standard repositories. Additionally, we configured a LAMP Stack web server to make sure all components are fully functional and perfectly integrated into your system.

Leave feedback about this