
MySQL helps you manage your database. It is widely used due to its excellent performance and efficient handling of big data. MySQL is designed to be compatible with various operating systems and programming languages. Moreover, MySQL is available for free.
This educational write-up aims to increase your skills in how to install and configure MySQL on the Ubuntu 22.04 operating system.
How to Install and Configure MySQL on Ubuntu 22.04?
To install the MySQL package on your Ubuntu machine, you need to follow these instructions.
Step 1: Update Package List
Execute the update command from your Ubuntu terminal to refresh and update the existing package list:
sudo apt update |
|---|
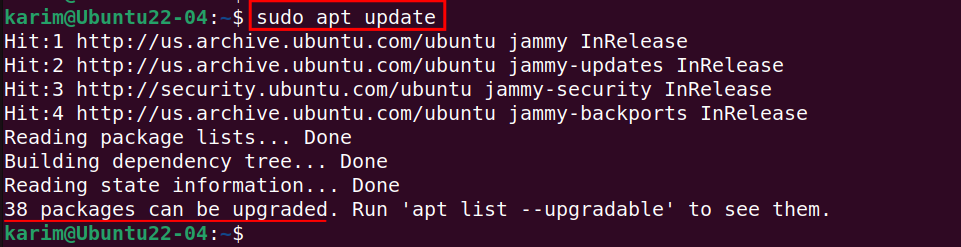
You can check the status of the package list to see whether all packages are up to date or if any packages need to be upgraded.
Step 2: Upgrade Package List
To upgrade the existing package list on your Ubuntu system, you need to execute the upgrade command:
sudo apt upgrade -y |
|---|
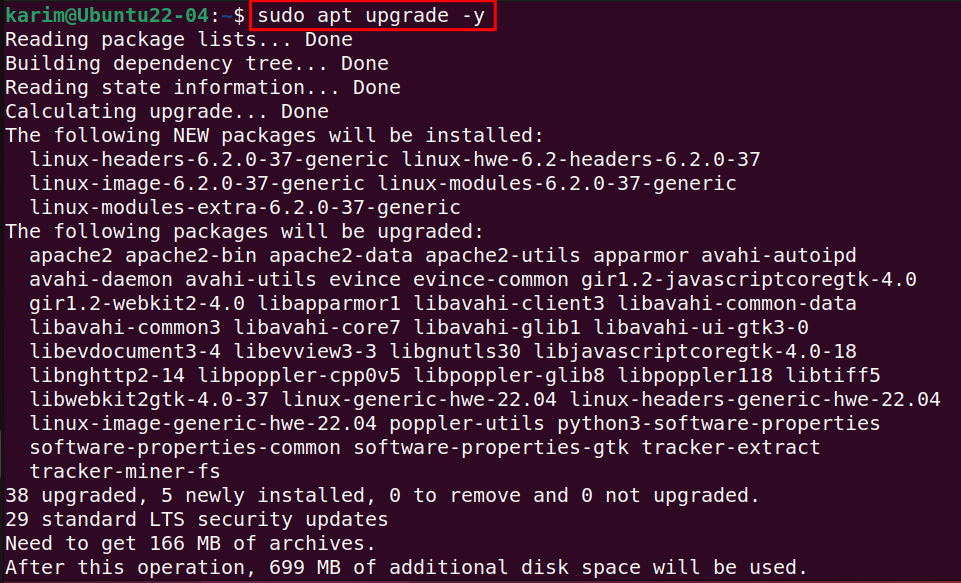

You will find the completion message on your screen once the process has finished.
Step 3: Install MySQL Server
Utilize the APT package installer to fetch the necessary files and dependencies required for the installation process of MySQL:
sudo apt install mysql-server -y |
|---|


If you see Done in your output message, it confirms that the installation process has finished successfully.
Step 4: Check MySQL Service
Run the systemctl command with the status option to display information regarding whether the MySQL service is active or inactive:
systemctl status mysql |
|---|
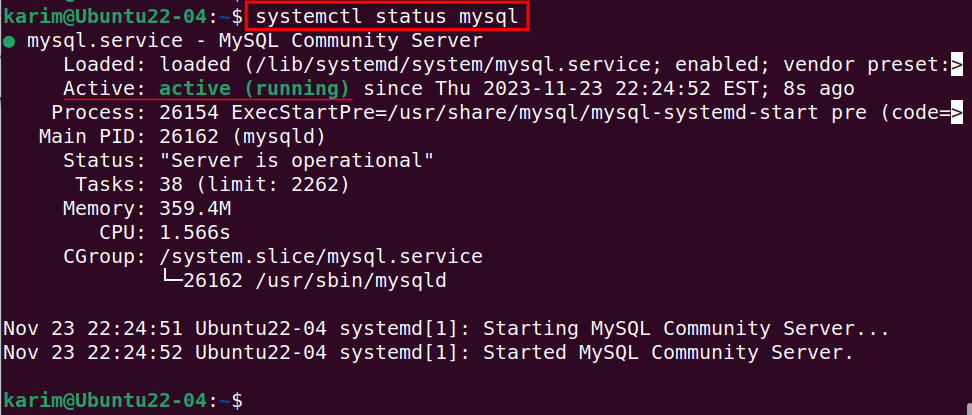
The output provided details such as the running status of MySQL and a summary report related to the service.
Step 5: MySQL Secure Installation
This step is essential to protect your MySQL server from potential security risks. Run the command to secure your MySQL installation on your Ubuntu 22.04 system. During the installation process, read the instructions carefully and respond accordingly:
sudo mysql_secure_installation |
|---|
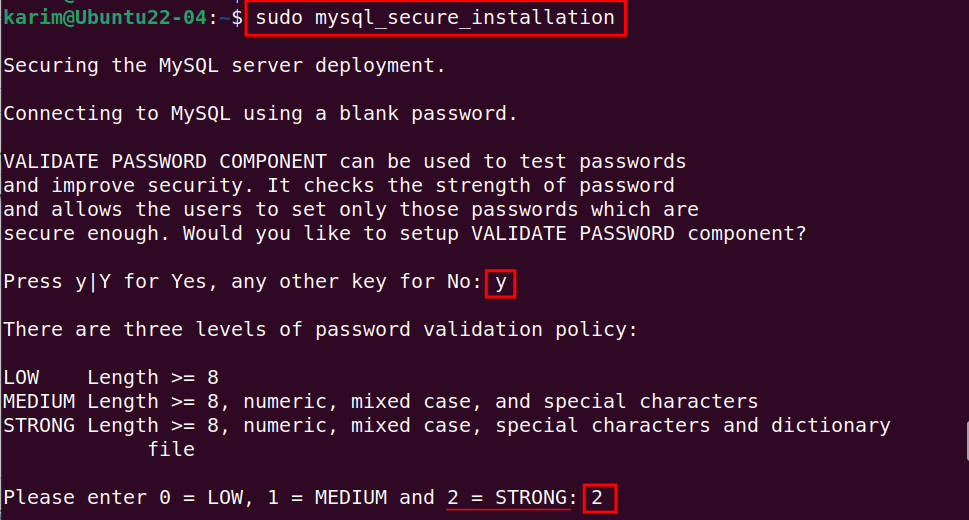
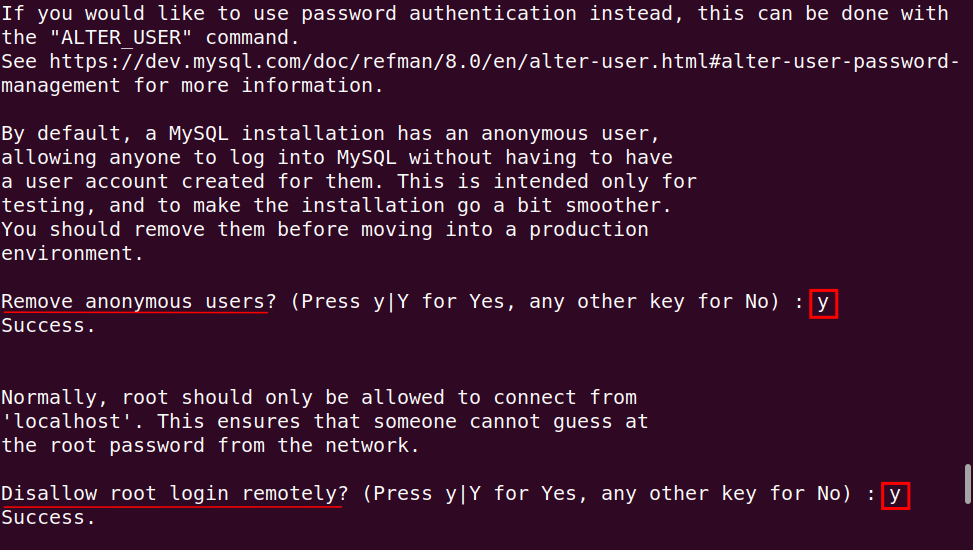
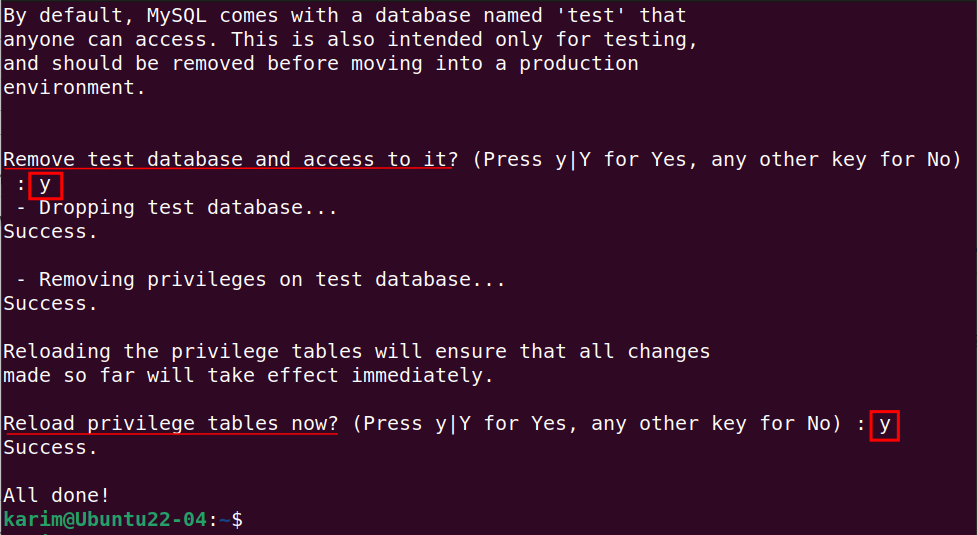
On your screen All done! Indicates that you have completed the process to secure your MySQL.
How to Configure MySQL on Ubuntu 22.04?
These instructions can be followed for the successful configuration of MySQL on your Ubuntu machine.
Step 1: Access MySQL and Change Password
To access MySQL, you need to run the command mysql.
Once you have entered into the MySQL shell, copy the following command and provide a strong password in place of ‘root’:
sudo mysql ALTER USER 'root'@'localhost' IDENTIFIED BY 'root'; |
|---|
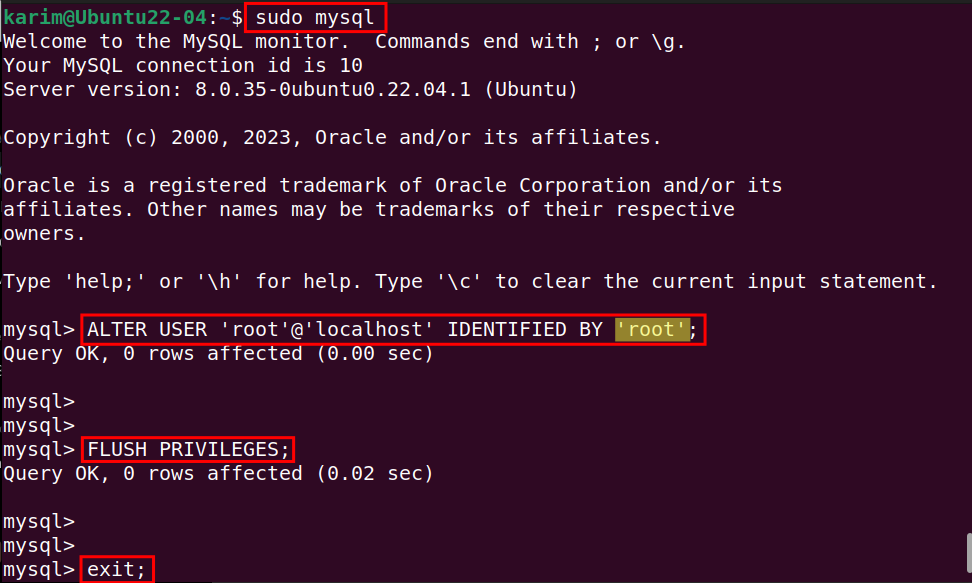
Execute the command to apply changes without restarting your system.
When you have completed it, you can safely close the shell by using the exit command.
FLUSH PRIVILEGES; exit; |
|---|

How to Create a Database on MySQL using Terminal?
Step 1: Login to MySQL
To inspect your MySQL database, start by logging into the MySQL shell. Then, use the SHOW command to display the list of available databases:
sudo mysql -u root -p SHOW DATABASES; |
|---|
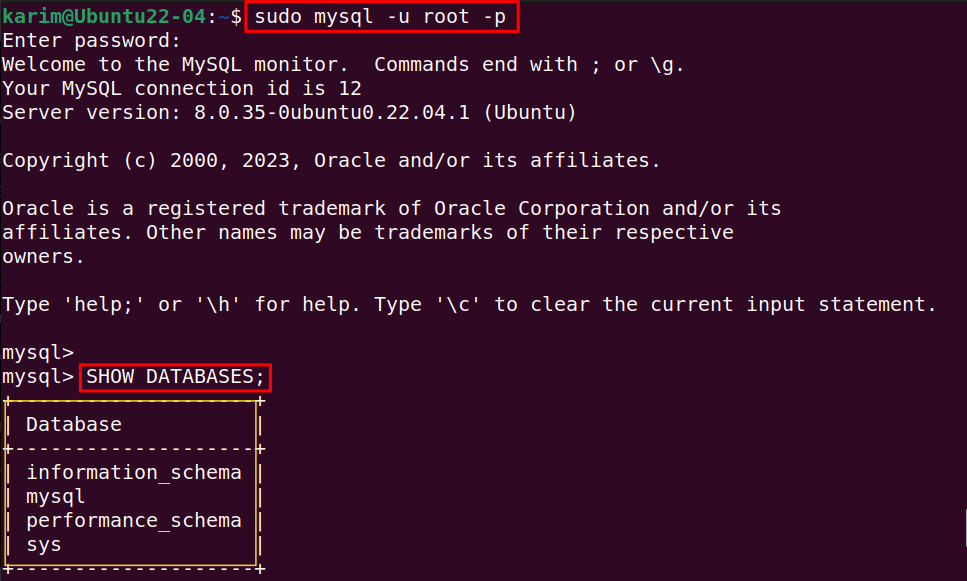
You can see that no database has been created yet.
Step 2: Create Database
Within the MySQL environment, run the provided below commands to create a new database, such as my_first_database. Then display the list of available databases:
CREATE DATABASE my_first_database; SHOW DATABASES; |
|---|
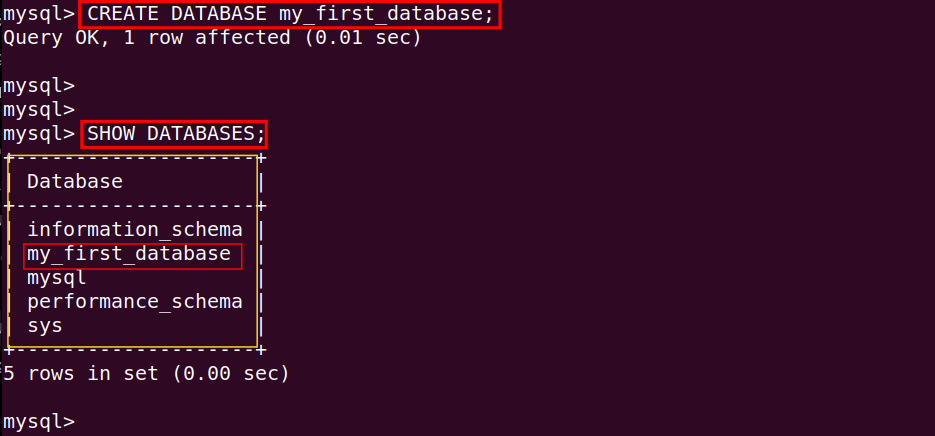
If you see the database with the name my_first_database, it means that your command has been executed successfully. Now, you can utilize its functionalities.
Step 3: Exit the Current Session
To close or exit the current session of MySQL shell, simply use the exit command:
Exit |
|---|

You can see the current session of the MySQL shell is terminated and returned to the Ubuntu terminal.
How to Remove MySQL from Ubuntu 22.04?
Using the following two steps, you can completely remove the MySQL package from your Ubuntu system.
Step 1: Remove MySQL Package
On Ubuntu 22.04, you can easily remove the MySQL complete package using the one-liner command:
sudo apt purge mysql-server mysql-client mysql-common mysql-server-core-* mysql-client-core-* -y |
|---|
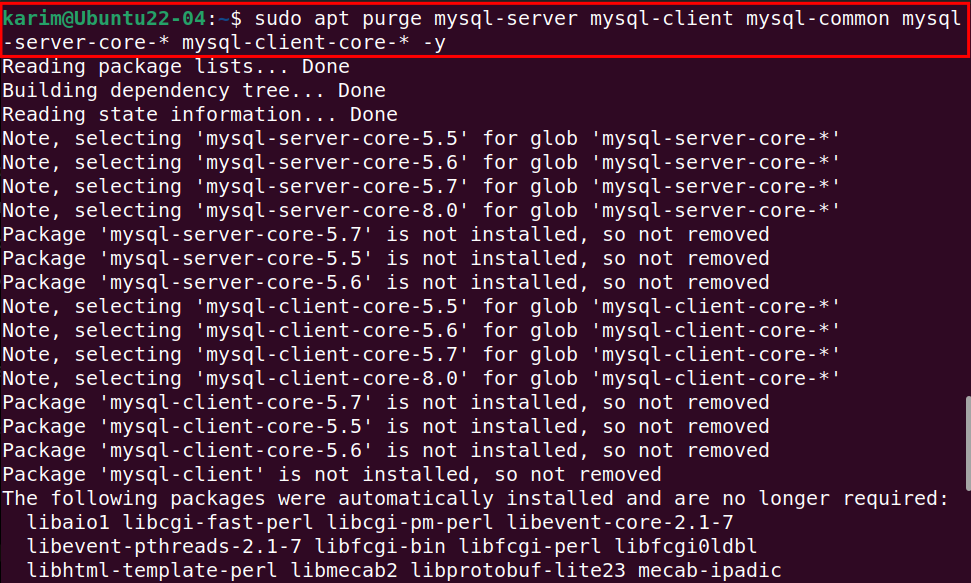
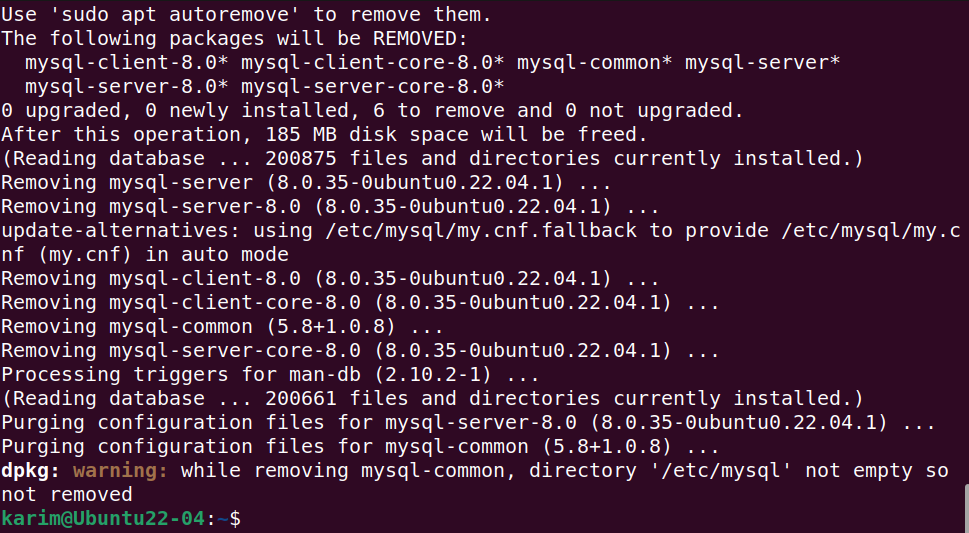
The outcome suggests that the MySQL package was uninstalled, including its associated files.
Step 2: Clean Repository List
Using the following command will remove and clean the unwanted files from your Ubuntu repository list:
sudo apt autoremove && sudo apt autoclean |
|---|
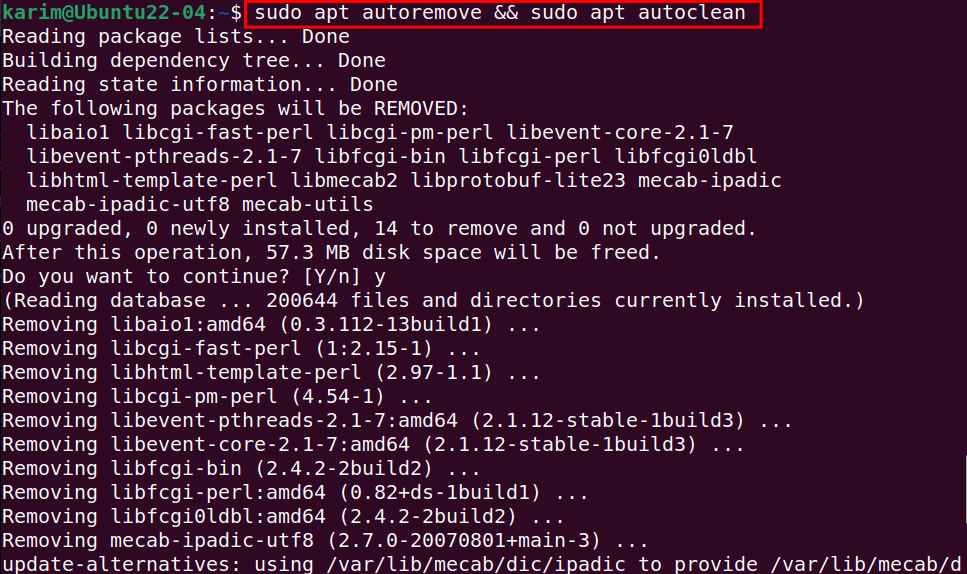
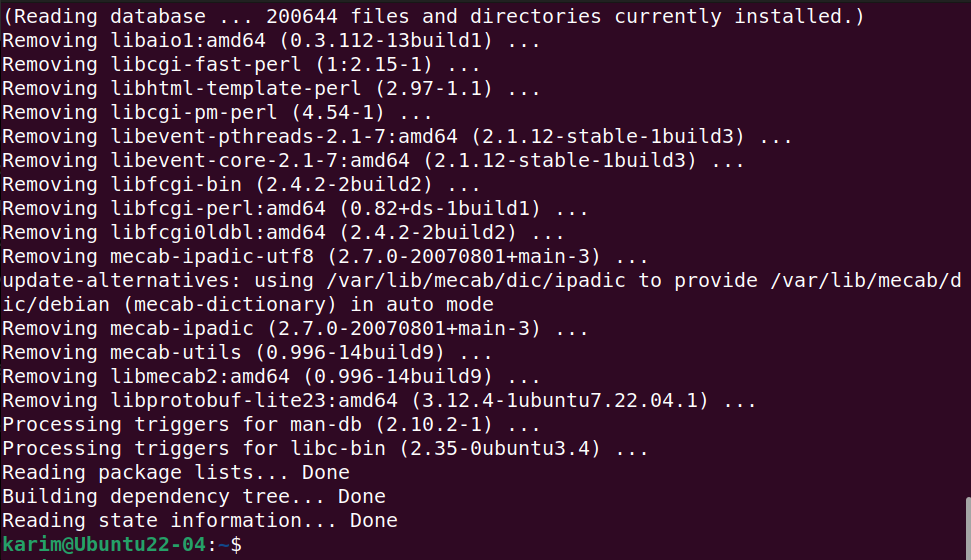
Upon executing the command, your Ubuntu system is now clean from unnecessary files.
Conclusion
You can install and configure the MySQL package on your Ubuntu 22.04 system through simple commands. The APT package installer allows you to easily fetch and install the completed package of MySQL on your Ubuntu machine. In this educational write-up, we have covered the procedures for installation, configuration, and removal of MySQL on Ubuntu 22.04.


Leave feedback about this