Having OpenJDK installed on Debian 12 is a prerequisite for developing and running Java applications on your machine. It includes the Java Runtime Environment (JRE) and the Java Development Kit (JDK), which help in executing Java programs, compiling Java code, and building robust applications.
OpenJDK is critical and serves as a prerequisite for Spring-based development environments, Java-based tools like Jenkins, and server applications like Tomcat. OpenJDK is aligned with Java standards, ensuring any applications developed using OpenJDK are portable and work seamlessly across servers, providing a good replacement for Oracle Java.
Table of Contents
- How to install OpenJDK on Debian 12
- Switching Default OpenJDK Version on Debian 12
- Setting Environment Variable on Debian 12
- How to Uninstall OpenJDK from Debian 12
- Final Thoughts
How to Install OpenJDK on Debian 12
Users receive an opportunity to download and install one of the most powerful programming tools. OpenJDK is a complete cross-platform on which applications can be developed and executed. It is very useful for downloading due to the constant maintenance and optimizations done on it.
Installing the Java OpenJDK requires the use of the ‘apt’ package manager and the ‘deb’ package. Let’s start openjdk-install through the ‘apt’ method.
Method 1: Using Apt
Even though JDK and JRE serve the same purpose of running Java programs, I recommend installing JDK on Debian because it also contains additional tooling for building Java software, which is very useful.
For the OpenJDK installation procedure using Apt on Debian 12, follow these straightforward steps.
Step 1: Update System Repositories
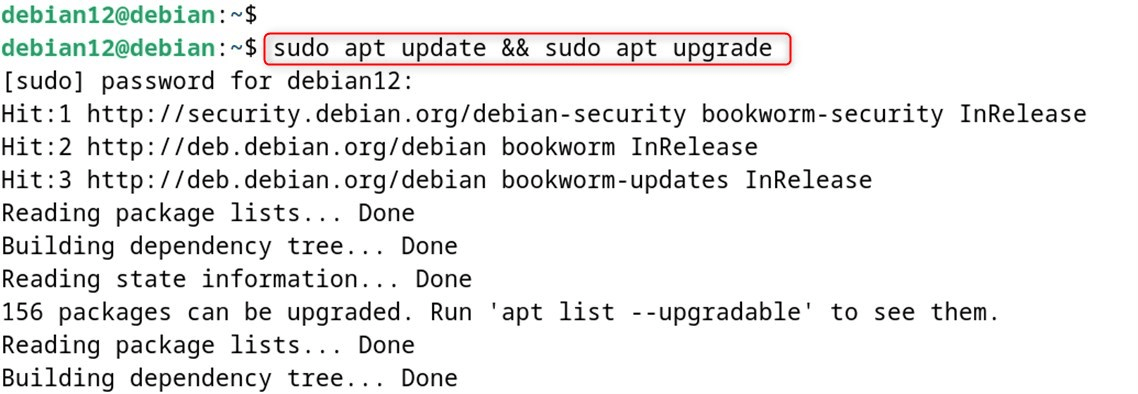
To meet the requirements of the mentioned repositories, the following command needs to be run to update and upgrade the given repository.
sudo apt update && sudo apt upgrade
Step 2: Check Available OpenJDK Versions
Like other software, OpenJDK is also part of the packages installed on the system. Let’s move on to step one.
javac --version

The output shows that OpenJDK is not installed on the system.
Step 3: Install openjdk Using Apt
Many packages of Java can be installed, the command below is going to install the default open junit for 12 debian.
sudo apt install default-jdk -y
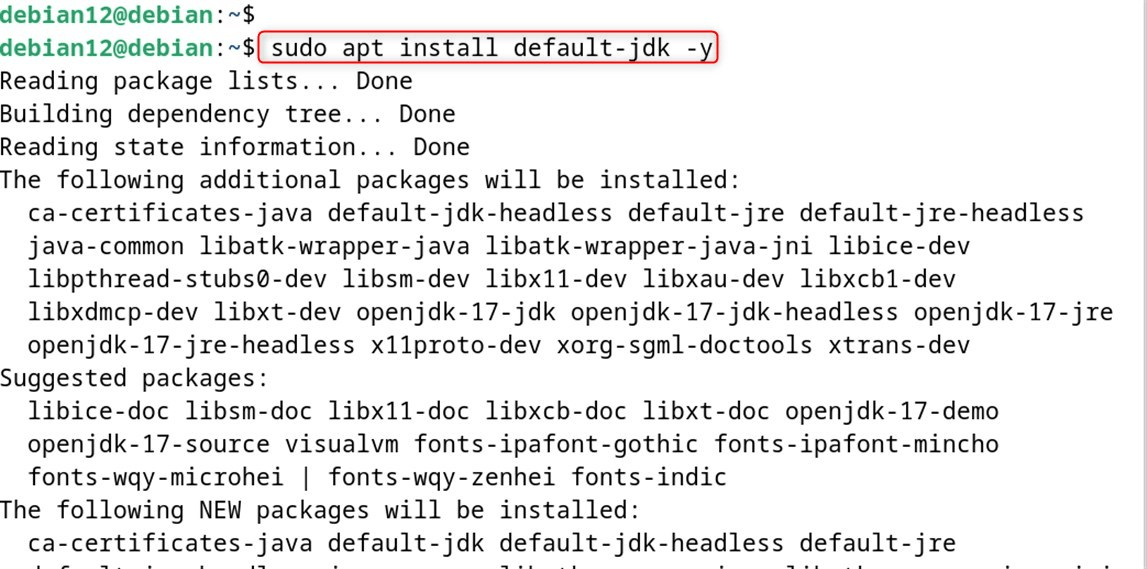
To install any other version, you only need to replace default-jdk with your preferred package name.
sudo apt install java_version
Step 4: Verify OpenJDK Installation
Finally, check the version through the command below.
java --version

Output confirms that we have “openjdk 17.0.15” Java installed on Debian 12.
Method 2: Using Deb
In this method, use wget to download the .deb package of OpenJDK. After that, install it through the apt:
Step 1: Download the Deb Package
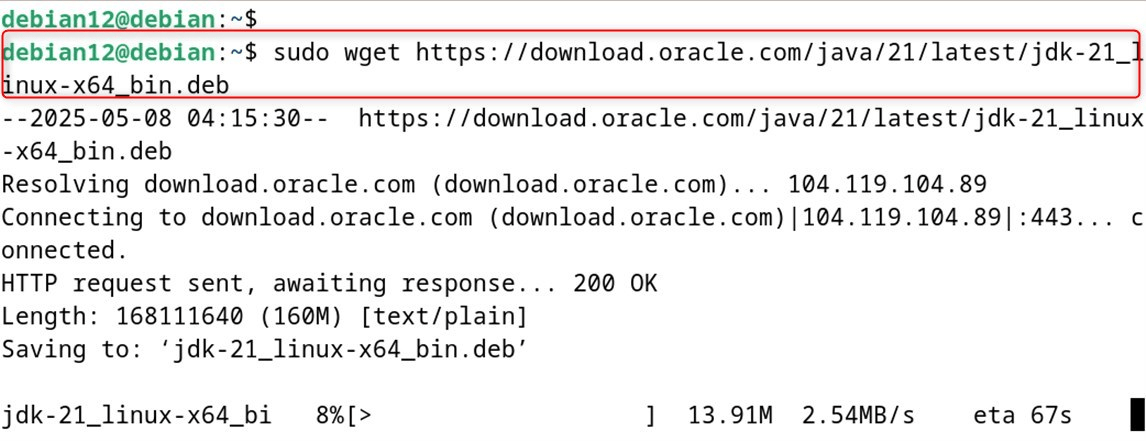
First, download the .deb file from the Oracle website:
sudo wget https://download.oracle.com/java/21/latest/jdk-21_linux-x64_bin.deb
Step 2: Install OpenJDK
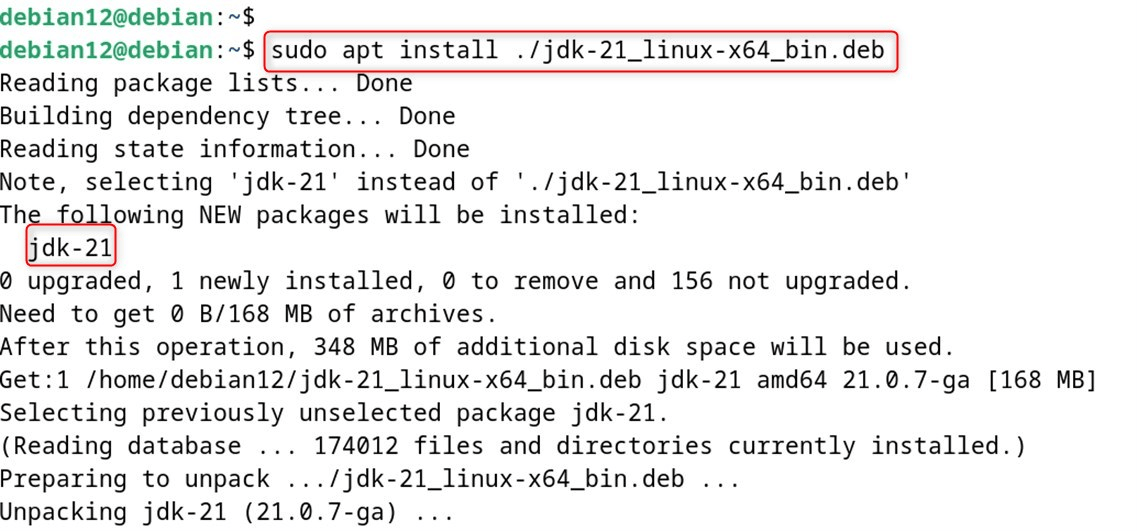
Then, install OpenJDK through the .deb file.
sudo apt install ./jdk-21_linux-x64_bin.deb
Step 3: Confirm OpenJDK Installation
Finally, authenticate that OpenJDK is installed on Debian 12.
java --version

Switching Default OpenJDK Version on Debian 12
If multiple Java installations exist on a device, they can be switched between using the designated command.
sudo update-alternatives --config java
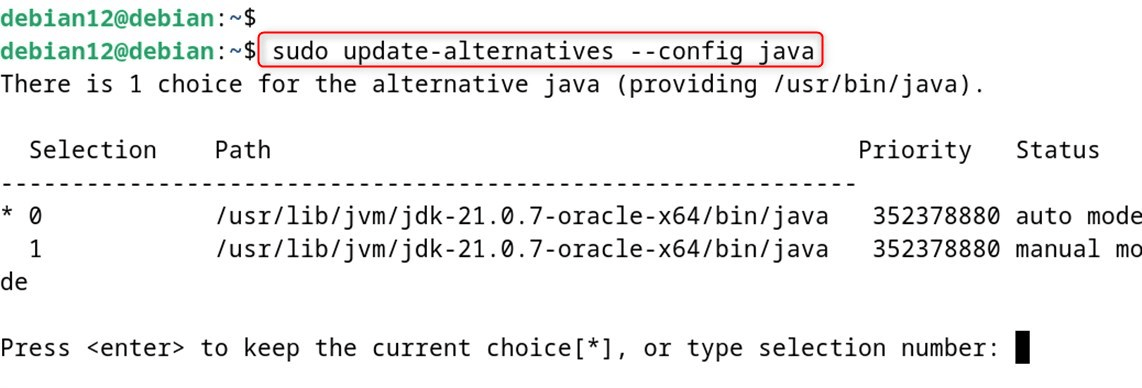
People can choose to either simply hit “Enter” to keep the default OpenJDK version or change it by entering the selection number corresponding to the desired version.
Configuring the Environment Variable on Debian 12
In case you want to modify the JAVA_HOME variable on Debian, you can do that by changing the /etc/environment file with the help of nano. You can launch it with the command below.
sudo nano /etc/environment
Now, modify the variable with the path to the preferred Java version.
JAVA_HOME="/usr/lib/jvm/java-21-openjdk-amd64/bin/java"
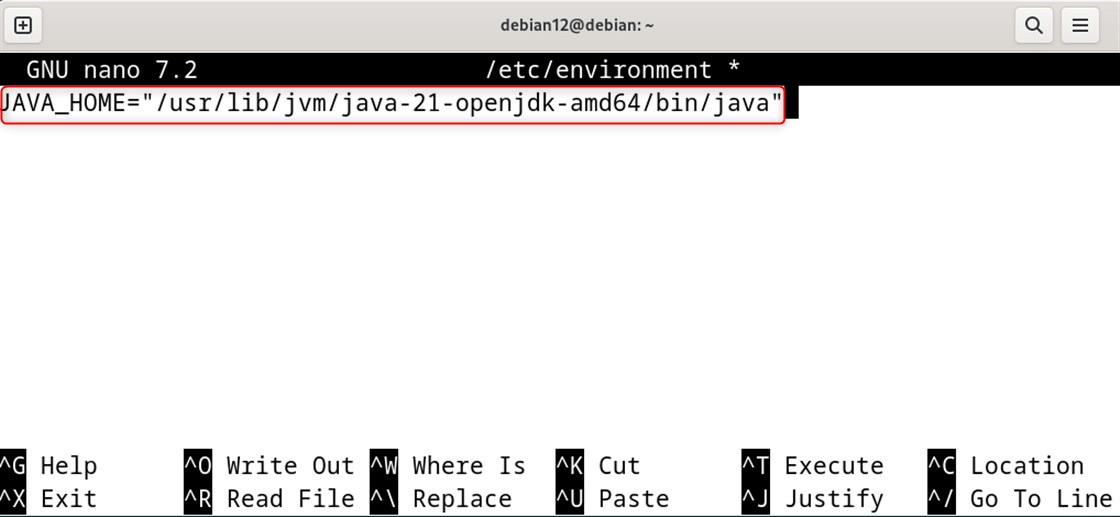
Finally, hit “CTRL+S” and then “CTRL+X” to save the changes and exit the interface.
To set the defined variable for the active session, the command below can be used to reload /etc/environment and apply the changes.
source /etc/environment

Finally, check that the variable has been correctly defined.
echo $JAVA_HOME

How to Uninstall OpenJDK from Debian 12
If for any reason OpenJDK is no longer needed, it can be removed, though this generally comprises the ability to run many applications and reclaim hard drive space. Regardless, OpenJDK can only be uninstalled in the same way that it is installed.
Method 1: Using Apt
For those who installed openjdk using Apt, it can be removed from Debian 12:
sudo apt autoremove java* -y
Method 2: Using Deb
If OpenJDK is installed on Debian using the deb package, it can be removed by executing:
sudo apt autoremove jdk-21 -y
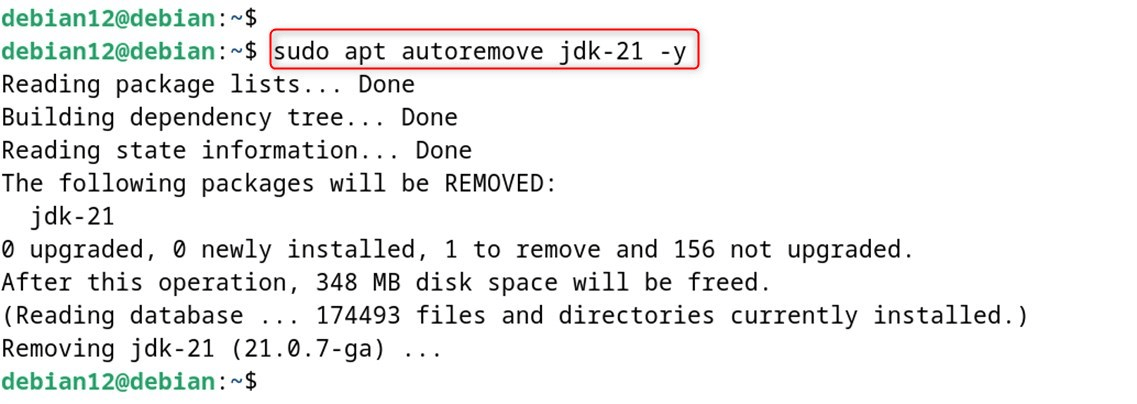
This concludes the addition and removal of OpenJDK on Debian 12.
Final Thoughts
Both “apt” and “deb” options are available to install OpenJDK on Debian 12. As remarked, all methods facilitate the installation of OpenJDK on Debian 12.
To install OpenJDK on Debian 12, first update the package list using sudo apt update. Then, install OpenJDK with the command sudo apt install openjdk-17-jdk. However, all installation methods have their pros and cons. For instance, after OpenJDK is installed via apt or deb, it’s easy to switch between different versions. This guide covers all possible ways to install OpenJDK on Debian 12.





Leave feedback about this