Samba is open-source software that facilitates the sharing of files, printers, and other network resources over a local or wide area network. Samba can function as a domain controller, file server, or print server for both Linux and Windows systems. It can also operate as a client or server based on the configuration.
Due to its significance, this tutorial will help you understand how to install and configure the Samba server on Debian 12. Furthermore, it will cover creating a shared folder and a user account to enable access from systems.
Table of Contents
- How to Install Samba on Debian 12?
- How to Configure Samba on Debian 12?
- How to Uninstall Samba on Debian 12?
- Conclusion
Let’s start with the installation.
How to Install Samba Server on Debian 12?
The process of installing and configuring Samba on Debian 12 is straightforward and takes just a few steps. To install and set up the Samba server on Debian 12, first, you need to install the required Samba packages and modify the Samba conf file (/etc/samba/smb.conf) as required.
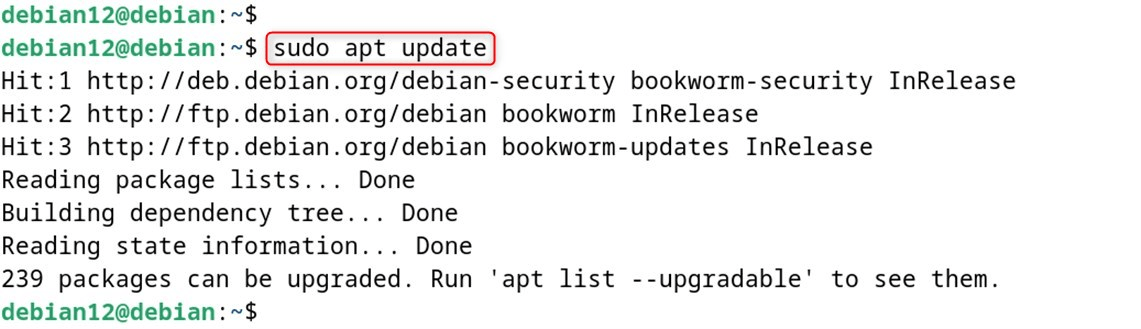
Step 1: Updating System Packages
To install and configure the Samba server, users need to update packages with the following command:
|
sudo apt update |
|---|

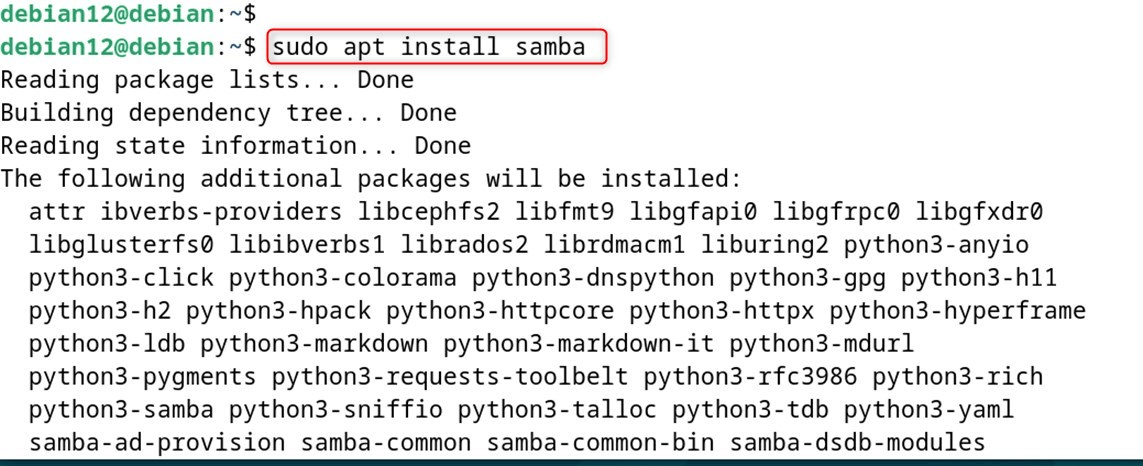
Step 2: Install Samba
Samba server can now be installed along with all its dependencies using the “apt” package manager:
|
sudo apt install samba |
|---|

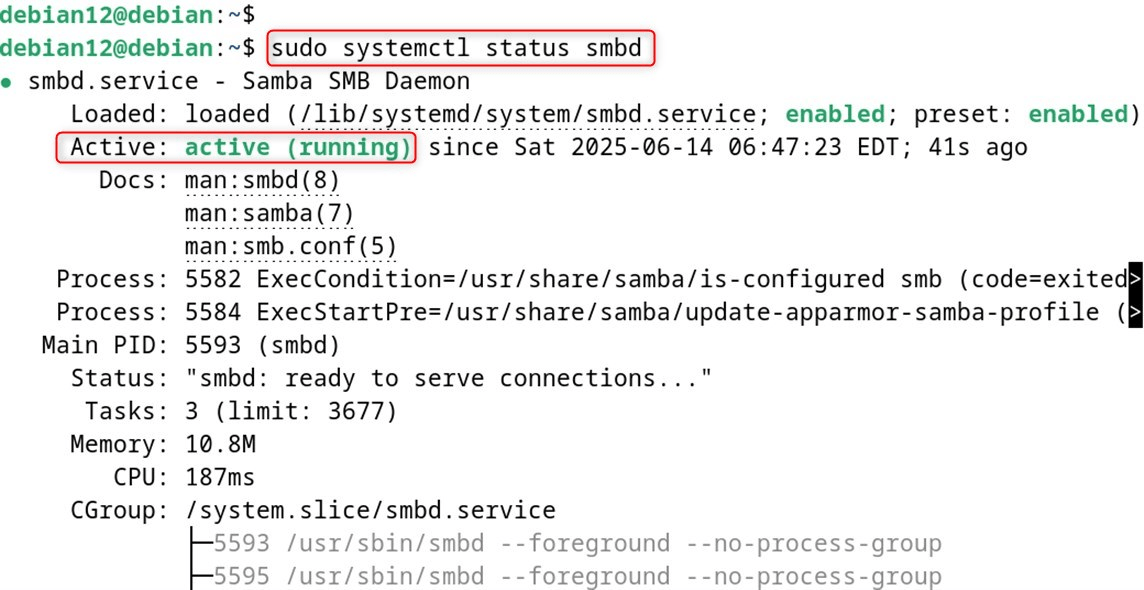
Step 3: Check Samba Services
The status of the Samba service can be checked with the command:
|
sudo systemctl status smbd |
|---|

Also, verify the installed version through the “version” utility:
|
smbstatus –version |
|---|


How to Configure Samba on Debian 12?
Samba enables users to share files over a network between multiple operating systems. Let’s perform configuration on Debian 12:
Step 1: Edit the Samba Configuration File
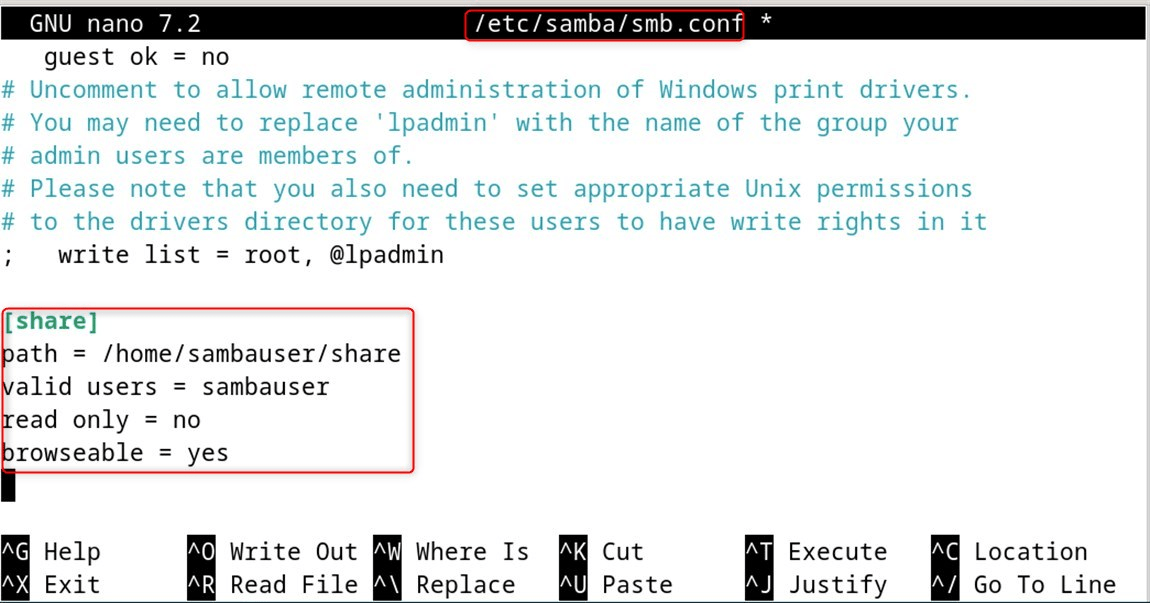
Next, look to create a basic shared folder that is accessible to every user in the network. For that purpose, users have to go to the end of the configuration file “/etc/samba/smb.conf” and append the given lines:
|
sudo nano /etc/samba/smb.conf |
|---|
The configuration file has numerous options and comments detailing how they work. Users can customize the file to their needs:
|
[share] |
|---|
With the above configuration, a “share” named shared has been created, which points to the directory “/home/sambauser/share”. The “valid users” settings only permit the newly created user “sambauser” from the steps below. The “read only” option provides write access to the folder specified. “Browseable” allows the share to be visible in the network:

Like all modifications, this one can be saved using Ctrl + O and is closed with Ctrl + X.
Optional: Additionally, users may add a “guest ok” option, which enables anonymous access to the share. Furthermore, ensure to use the static IP address configured on the Samba server.
Step 2: Restart the Samba Service
It is required to add the users through the systemctl command under Samba services using the smbd service name.
|
sudo systemctl restart smbd |
|---|


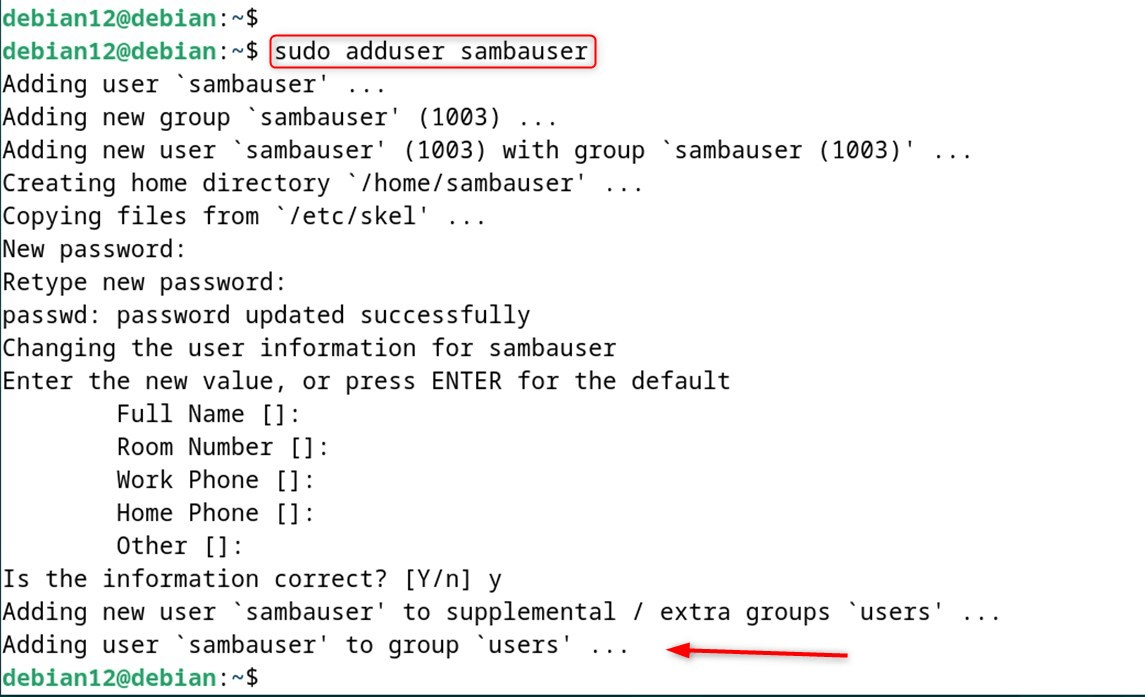
Step 3: Create a User Account
To access the shared folder, a new user account must be created on the server using the adduser command. For example, a user “sambauser” should be created as mentioned in the configuration file above (Step 4):
|
sudo adduser sambauser |
|---|

Step 4: Set Password for “sambauser” Account
The same command can be utilized to change the password for the sambauser account on Windows. This time, it is mandatory to have a strong password to ensure account security:
|
sudo smbpasswd -a sambauser |
|---|


Step 5: Set Up a New Directory on the Server
The new directory, which would be shared with the Windows or Linux clients in the preceding step, needs to be created. Let’s make a new directory titled “share” within the folder “/home/sambauser” using the command mkdir:
|
sudo mkdir /home/sambauser/share |
|---|


Step 6: Change Ownership and Permissions
Users have to adjust the ownership and permissions of the “share” directory in such a way that only “sambauser” can access its contents with read and write operations:
|
sudo chown sambauser:sambauser /home/sambauser/share |
|---|


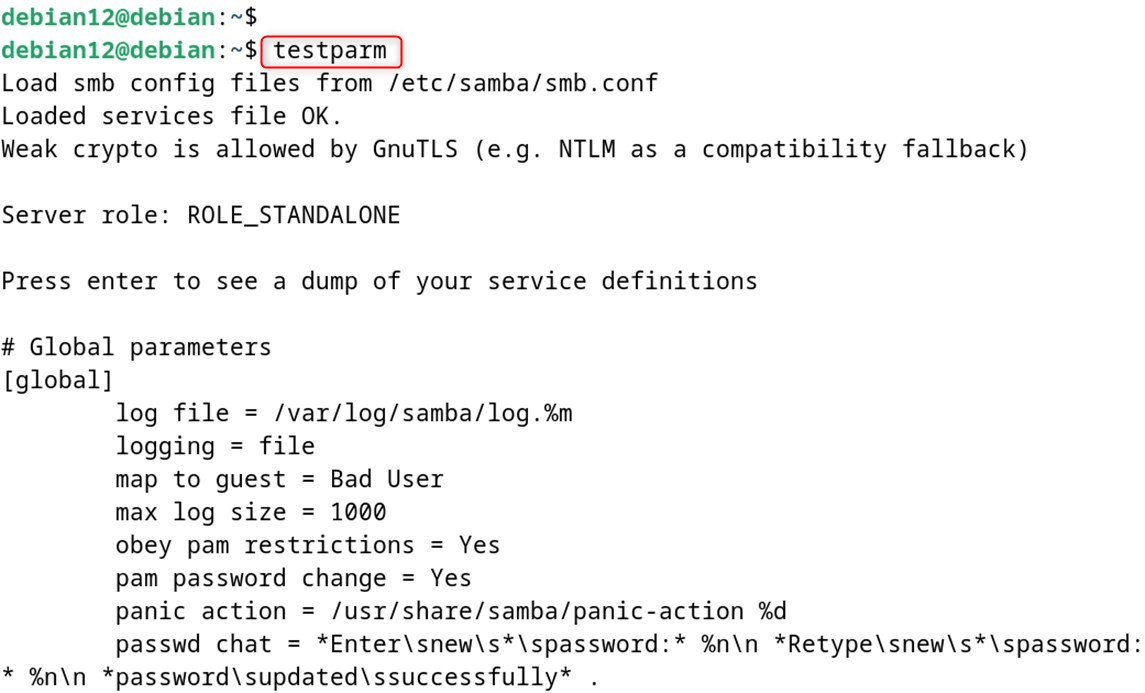
Step 7: Verify Configuration File
To verify that the Samba configuration file has loaded services correctly, run the command “testparm”:
|
testparm |
|---|

If users encounter issues, they should restart the Samba service on Debian 12.
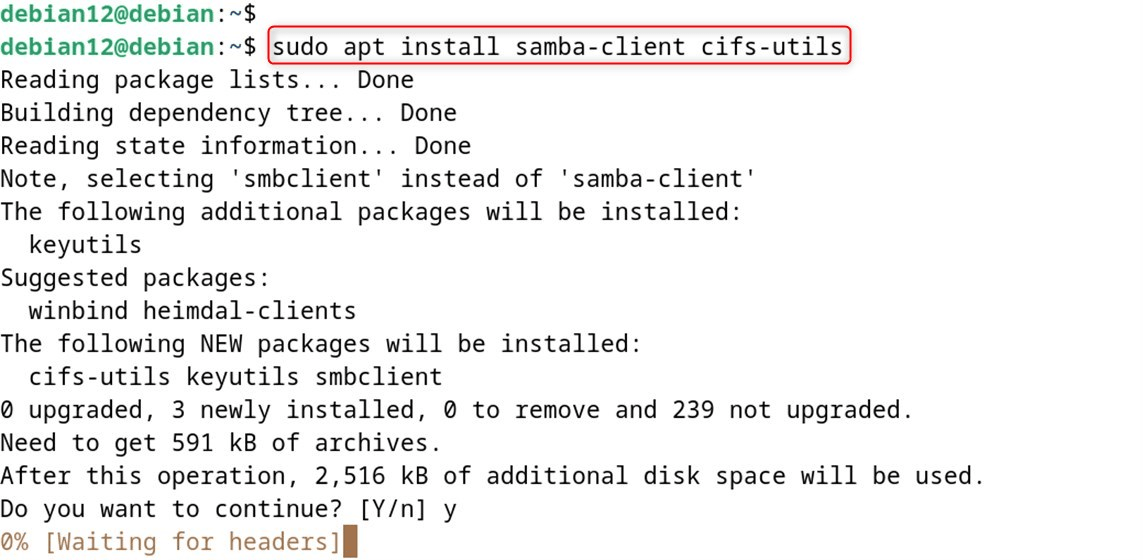
Install “samba-client” Package (Test Local Connection)
To check if a local connection is working, install the “samba-client” package along with its dependencies, “cifs-utils”.
|
sudo apt install samba-client cifs-utils |
|---|

Check Local Connection
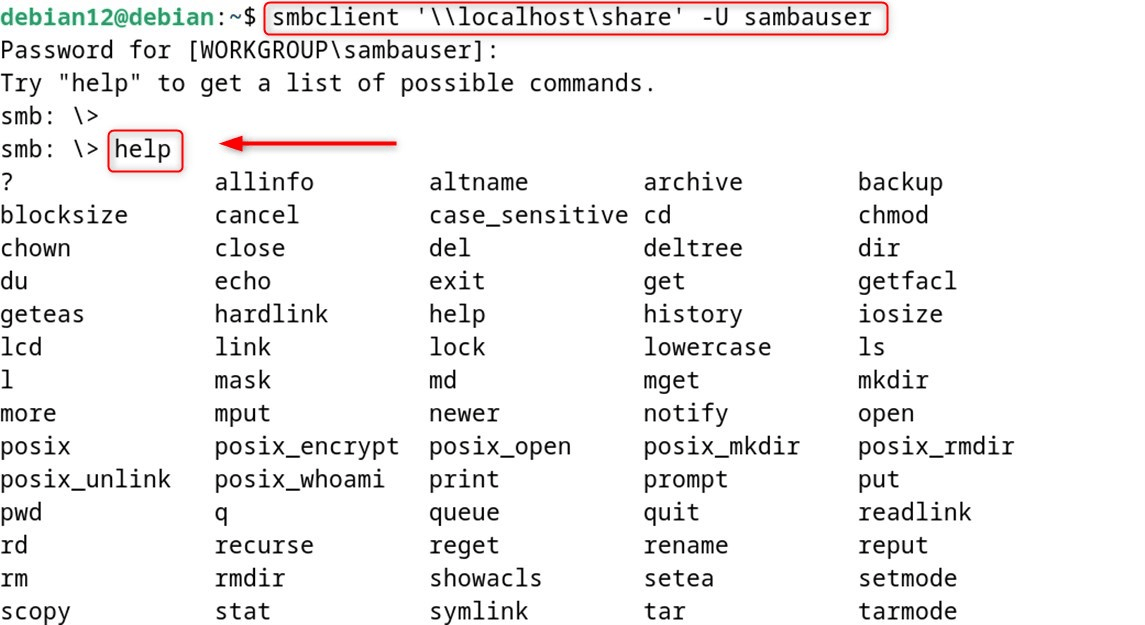
For checking the Samba configuration, smbclient can be used with the “\\localhost\share” prompt while logging in as “sambauser”. Let’s explore several options through the “help”:
|
smbclient ‘\\localhost\share’ -U sambauser |
|---|

This tutorial has installed and configured Samba on Debian 12.
How to Uninstall Samba on Debian 12?
To uninstall Samba on Debian 12, follow these steps:
It is a good idea to first stop the Samba services before uninstalling:
|
sudo systemctl stop smbd sudo systemctl stop nmbd |
|---|


If you are on the newer Samba service unit, you might also do:
|
sudo systemctl stop samba |
|---|


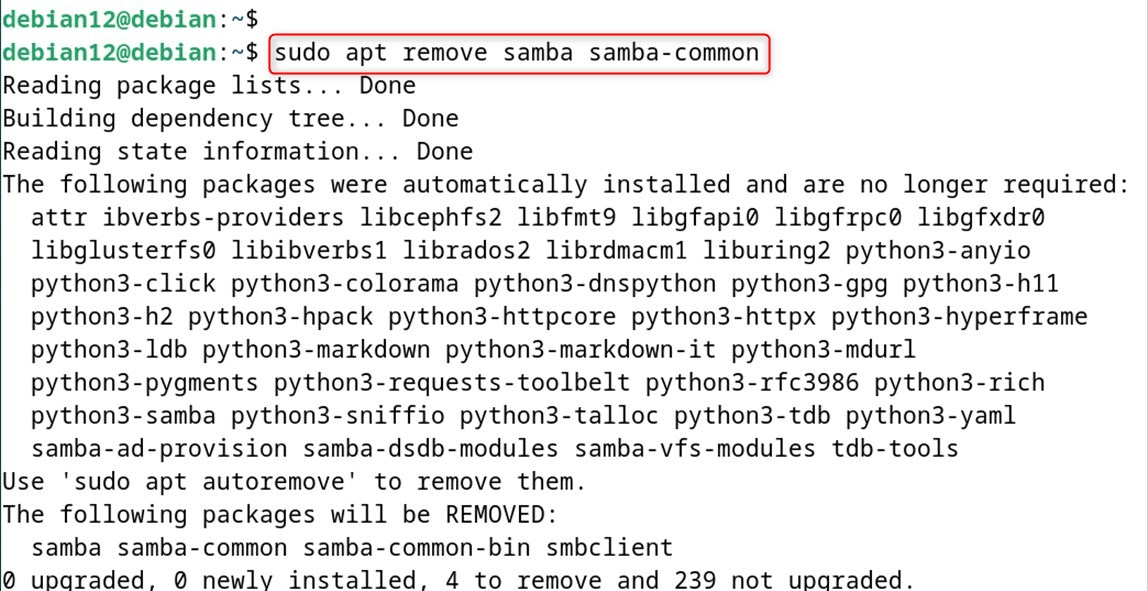
Remove only the main packages. Utilize apt to remove Samba with related packages:
|
sudo apt remove samba samba-common |
|---|

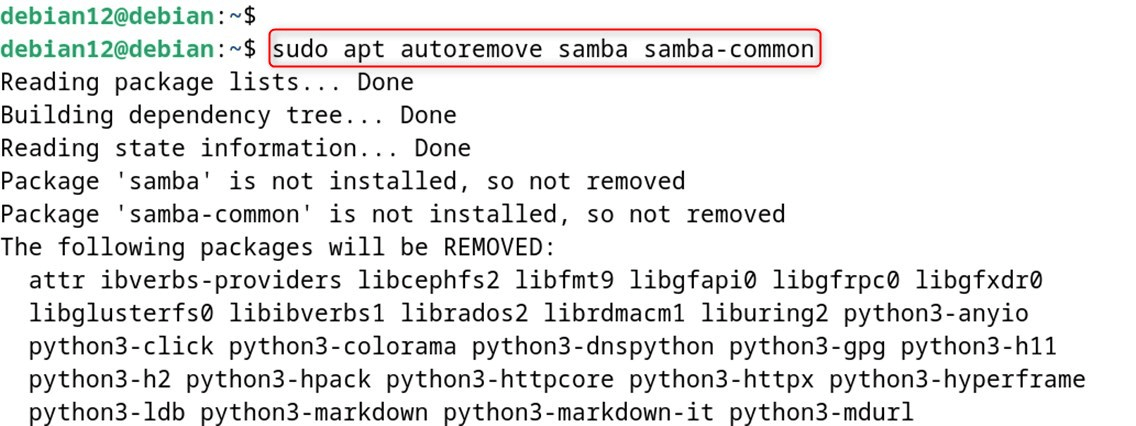
Remove and clean those specific packages marked for removal. Purge removes config files; autoremove cleans unused dependencies:
|
sudo apt autoremove samba samba-common |
|---|

You can remove the following config files and directories if they still exist. Let’s remove Samba configuration files:
|
sudo rm -rf /etc/samba/ |
|---|


Make sure to look for any custom shares within the following directory as well:
|
sudo rm -rf /var/lib/samba/ |
|---|


This guide has explained the installation as well as the configuration of Samba on Debian.
Conclusion
Samba is an open-source software application that enables file sharing over a network between Linux and Windows computers. To install Samba Server on Debian 12, first, update your system and install the required Samba packages. After that, modify the primary Samba configuration file located at /etc/samba/smb.conf.
Afterwards, set up a shared folder and determine its permissions. Next, create a Samba user and set a password for the account. Lastly, restart the Samba service and configure it to run at system startup. At this point, you should be able to connect from Windows or Linux and use the shared folder.