Vagrant is a command-line utility for managing as well as creating Virtual machines on a system. Vagrant automates the setup process of creating the Virtual machine on Virtualization tools like VirtualBox. It saves time and reduces headaches by making it easy to manage the environment for developing and testing your software.
If you are using Ubuntu 24.04 system, read this guide to learn:
- How to Install Vagrant on Ubuntu 24.04
- How to Use Vagrant on Ubuntu 24.04
- How to Uninstall Vagrant from Ubuntu 24.04
- Conclusion
How to Install Vagrant on Ubuntu 24.04
Before installing Vagrant on Ubuntu, you must ensure VirtualBox is installed on your system. The reason is that Vagrant needs the support of a Virtualization tool like VirtualBox for creating virtual operating systems. You can install VirtualBox on Ubuntu 24.04 by using the below-given command:
sudo apt install virtualbox -y

After installing the VirtualBox on your system, you must ensure Virtualization is enabled on your computer as well as on VirtualBox. Virtualization is enabled by default on the computer, however, in case it is disabled, you can enable it from your computer’s BIOS settings.
Note: The BIOS settings will be different for different computers, thus read your model’s description to open BIOS and enable Virtualization from there.
Enabling Nested Virtualization on VirtualBox
If you are using Ubuntu 24.04 on VirtualBox, you can use the following steps to enable nested Virtualization support on VirtualBox:
Step 1: First, open PowerShell or Command Prompt on your Windows system by running them as an Administrator.
Step 2: Then enter the VirtualBox folder on PowerShell or Command Prompt by using the cd command followed by the VirtualBox folder location:
cd C:\Program Files\Oracle\VirtualBox

Step 3: Now run the below-given command by replacing the Machine Name with the name of the Ubuntu machine you created on VirtualBox. This command enables the nested virtualization feature on Ubuntu installed on VirtualBox:
.\VBoxManage modifyvm "Machine Name" --nested-hw-virt on

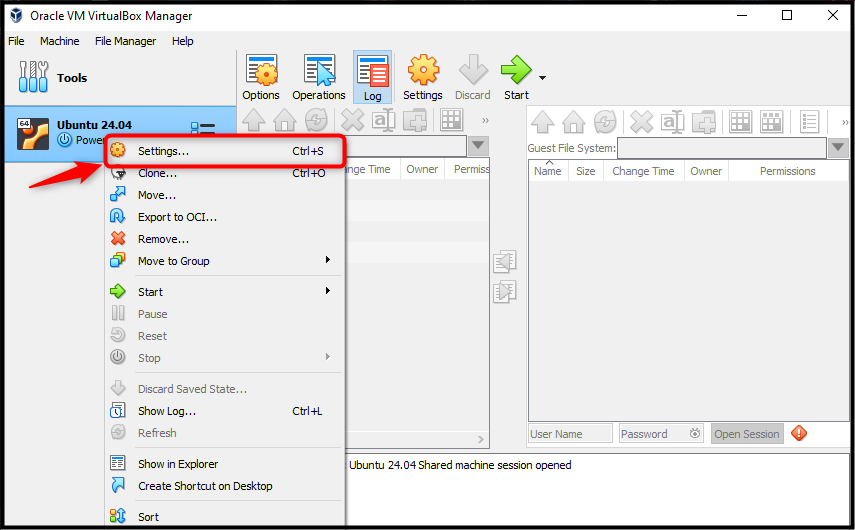
Step 4: You can then verify whether nested virtualization is enabled on the Ubuntu system that is installed VirtualBox by first navigating to Settings:
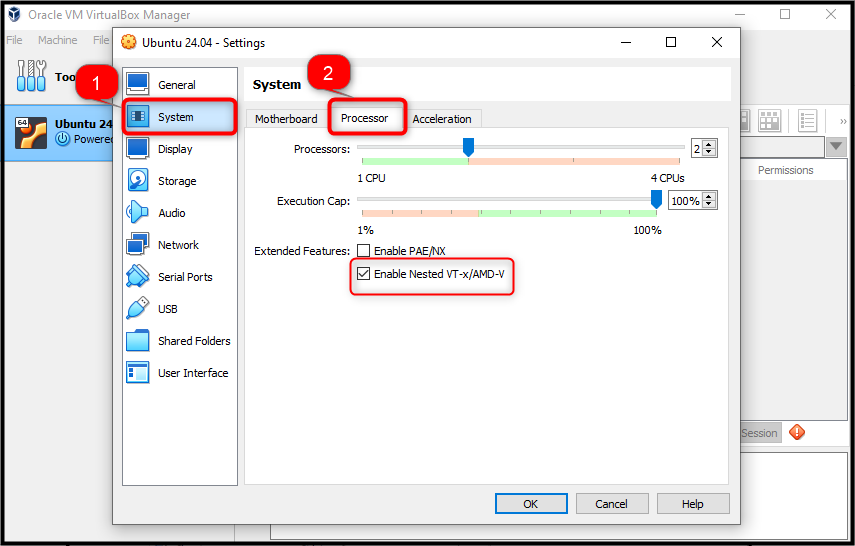
Step 5: Then move to the Processor tab in the System options to confirm nested virtualization is enabled on Ubuntu:
Installing Vagrant on Ubuntu 24.04
You can install Vagrant on Ubuntu by downloading its latest version deb package and then installing it from the apt command.
Step 1: Download the Vagrant Deb Package
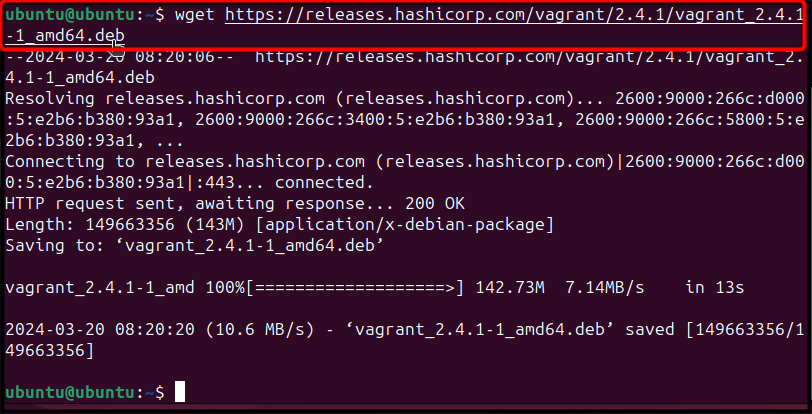
First, navigate to the HashiCorp release page and download the latest version of the Vagrant deb package on your system. You can use the wget command followed by the link for the Vagrant deb package to download the file on Ubuntu through the terminal:
wget https://releases.hashicorp.com/vagrant/2.4.1/vagrant_2.4.1-1_amd64.deb
Step 2: Install Vagrant on Ubuntu
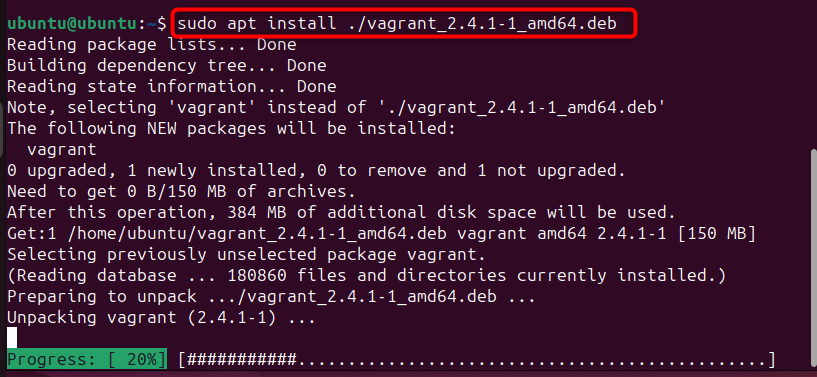
Now, users can install it by utilizing the apt command followed by the deb package file name:
sudo apt install ./vagrant_2.4.1-1_amd64.deb
Step 3: Confirm Vagrant Installation on Ubuntu
To confirm Vagrant is installed on Ubuntu, you can use the below-given command:
vagrant --version

How to Use Vagrant on Ubuntu 24.04
To use Vagrant for deploying a virtual machine on Ubuntu 24.04, use the following steps:
Step 1: First, open the terminal and create your Vagrant project directory on Ubuntu using the mkdir command followed by the directory name:
mkdir directory_name

Step 2: Then use the cd command followed by the Vagrant’s project directory name to open the directory on the terminal:
cd directory_name
Step 3: Now, navigate to the HashiCorp Vagrant Cloud website and choose your Vagrant Box so that you can install it on Ubuntu through Vagrant. Here, we have picked the ubuntu/xenial64 Vagrant Box and initialize the process using the vagrant init command followed by the Vagrant Box name:
vagrant init ubuntu/xenial64

When you run the init command, it creates a Vagrant configuration file that includes the Vagrant Box configurations.
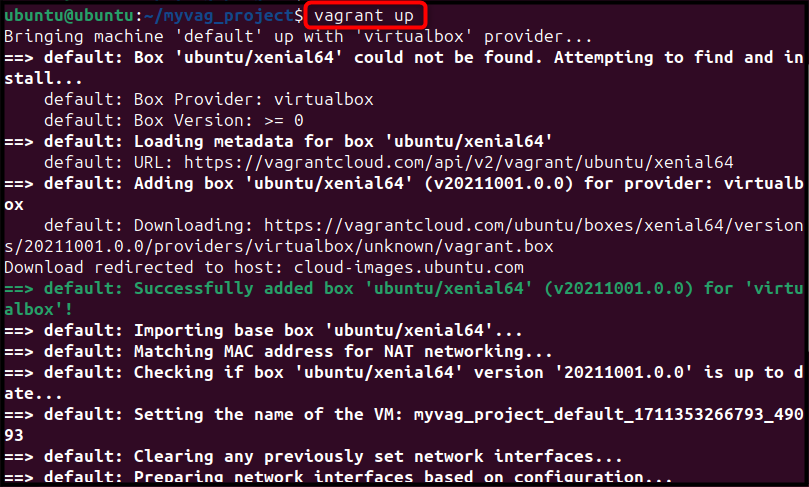
Step 4: To create and configure your Virtual machine on Vagrant, you can use the following command:
vagrant up
When you run the above command, it starts downloading the Box, create a Virtual machine, and append this machine to the VirtualBox environment. Wait till it completes the process:
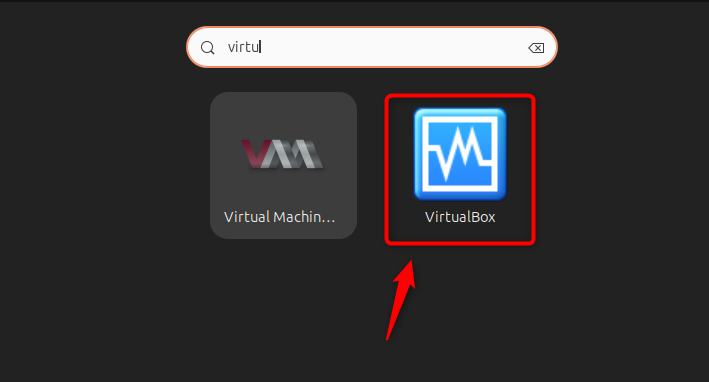
Step 5: Once, completed, you can then open VirtualBox on Ubuntu from the Application menu:
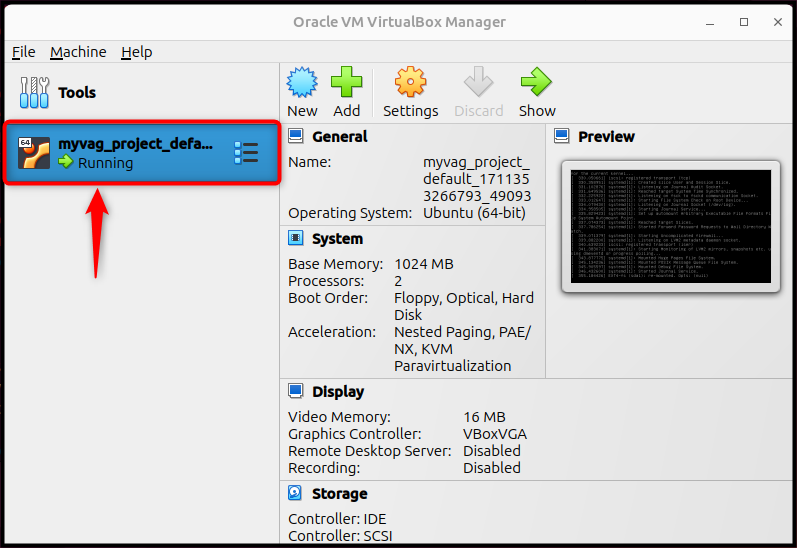
There you will see the Virtual Machine Created through Vagrant on the Ubuntu system:
Other Vagrant Commands
There are some other Vagrant commands you can use to control and manage your Virtual machine. For example, if you want to stop or forcefully shut down the Virtual machine, use the below-given command:
vagrant halt
For deleting the Virtual machine, you can simply use the below-given command:
vagrant destroy
To check the status of a current Virtual machine, you can use the following command:
vagrant status
To restart the Virtual machine again, you can use:
vagrant up
For ssh into the current Virtual machine, users can utilize the below command:
vagrant ssh
How to Uninstall Vagrant from Ubuntu 24.04
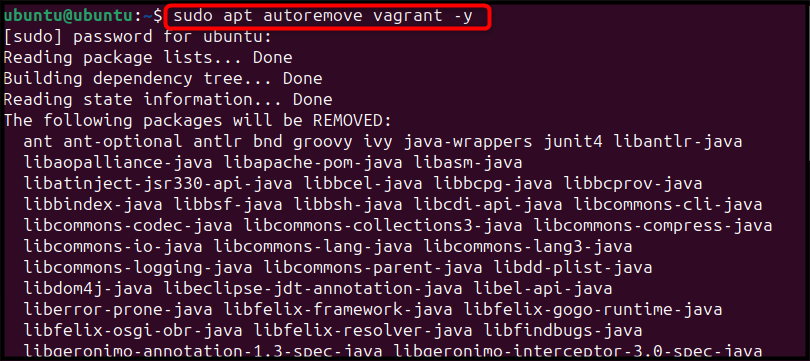
To completely remove/uninstall Vagrant from Ubuntu 24.04 with all its dependencies, you can use the following command:
sudo apt autoremove vagrant -y
Conclusion
Vagrant is a handy tool for users who want to use multiple operating system environments on their computer servers. You can install Vagrant on Ubuntu 24.04 by downloading the deb package from the HashiCorp website. Then install the deb package using the apt command to complete the Vagrant installation. After that, you can initiate the process of creating the Virtual machine using the vagrant init command followed by the Vagrant Box name. Then use the vagrant up command to start deploying the Virtual machine to the VirtualBox environment.
The complete details for installing and using Vagrant on Ubuntu 24.04 are provided in the above sections of this guide; follow them and start using multiple operating systems on Ubuntu.
Frequently Asked Questions
vagrant init
This command creates a Vagrantfile, which is the configuration file for the virtual machine. You can edit this file to specify the operating system, resources, and other settings for your VM.
vagrant box update This will check for a new version of the box and update it. Note that you may need to vagrant reload or destroy the VM to apply changes.


Leave feedback about this