Are you looking for an easy installation method for Guest Additions on Debian 12? You’re at the right place!
Installing VirtualBox Guest Additions is necessary and important because it improves the performance and integration of the virtual machine. It also provides improved graphics, smooth mouse integration, shared folders, and better overall interaction between the host and guest systems.
So let’s start the guide!
How to Install VirtualBox Guest Additions on Debian 12
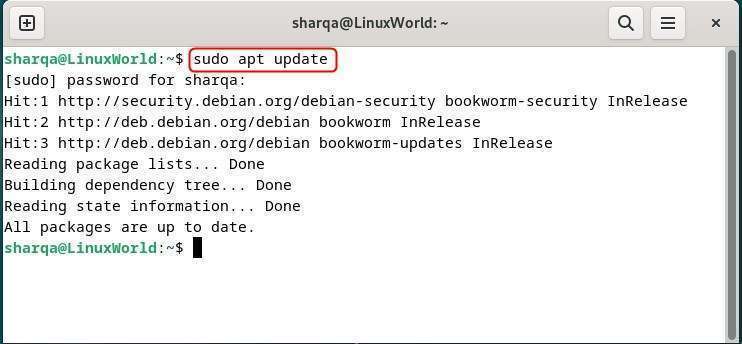
First of all, update the packages list to ensure that your system has the latest software versions, security updates, and bug fixes available in the repository:
sudo apt update

Next, install the necessary tools and headers to compile and install VirtualBox Guest Additions on Debian:
sudo apt install build-essential dkms linux-headers-$(uname -r)
Afterward, move your cursor to the top left corner of the VirtualBox window, click “Devices” and select “Insert Guest Addition CD Image”:
Now, create a mount point for the guest addition using:
sudo mkdir /mnt/cdrom
As a result, the CD image of the guest addition will be ready to be mounted:
sudo mount /dev/cdrom /mnt/cdrom
Move to the specified created directory:
cd /mnt/cdrom
Use –nox11 for VirtualBox Guest Additions to allow the installation on your system without a GUI:
sudo sh ./VBoxLinuxAdditions.run --nox11
Now, to save changes, reboot the system:
sudo reboot
To confirm the installations of guest additions on your system, use the following command:
lsmod | grep vboxguest
This command checks whether the VirtualBox Guest Additions kernel module is loaded by listing currently loaded modules and searching for vboxguest.
Conclusion
In this guide, we’ve shown the method to install VirtualBox Guest Additions on Debian 12 by updating packages, installing necessary tools, mounting the CD image, and running the installer. Lastly, we have rebooted and verified with ‘lsmod’ to confirm that the Guest Additions module is active and functioning.