The remote desktop solution is good for everyone who needs to manage their computer from anywhere, whether it is for work purposes or just normal troubleshooting. For example, Debian 12 offers a wide range of options, and TightVNC Server is one such stand-alone that you can choose to go with. With this small piece of software, Virtual Network Computing (VNC) is applied to remotely view and control your computer’s screen, irrespective of where you are.
This guide will teach you how to install VNC Server on Debian 12.
Table of Contents
- Why Use VNC Server on Debian 12?
- How to Install VNC Server on Debian 12?
- Troubleshooting Common Issues
- How to Uninstall the VNC Server on Debian 12?
- Conclusion
Why Use VNC Server on Debian 12?
VNC server has some great advantages for Debian 12 users:
- Highly Resource Efficient: It uses very few resources, hence ideal for low-power computers. This makes it run well even on old computers.
- Cross-Platform Compatibility: It can be utilized with other operating systems, such as tablets, Windows machines, and even Macs.
- Customizable Configurations: You can use your ports and employ secure tunnels for security purposes or use less fancy desktop environments to keep things light and fast.
- Cost-Free Solution: The software is an open-source project that is free for both commercial and personal use. Therefore, it serves as a cost-free solution for remote desktop access.
How to Install VNC Server on Debian 12?
TightVNC is a remote desktop software that operates on the VNC protocol. It helps in controlling and viewing the Linux computer from another machine, like a laptop or a mobile device.
Prerequisites
Ensure that the following conditions are met:
- Debian 12: This tutorial applies to the Debian 10 release and later versions.
- Superuser Access: Administrative privileges are required for installation.
- Internet Access: Stable connectivity for downloading packages.
Step 1: Update System
To avoid crashes during the installation process, make sure you have everything updated on your system. Run:
|
sudo apt update && sudo apt upgrade -y |

This command will refresh the software list available in your system and upgrade any outdated applications. This helps prevent any problems when installing new software.
Step 2: Install TightVNC Server on Debian
To enable remote desktop capability, you will have to install the TightVNC server package. Execute the following command:
|
sudo apt install tightvncserver -y |
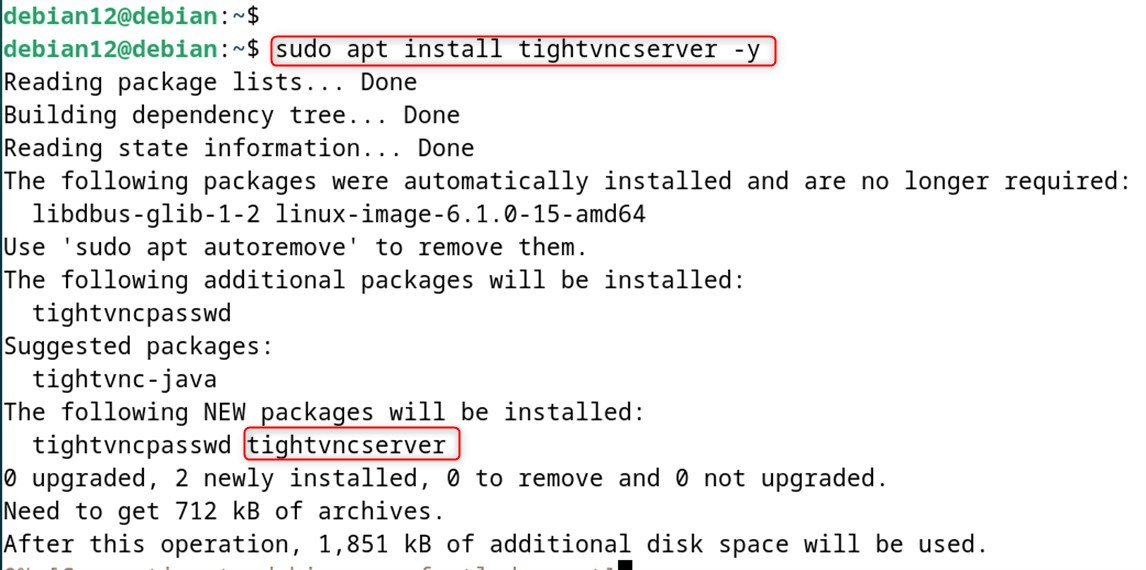
This installs core software. The installation prompt is confirmed by the -y flag, ensuring that there are no interruptions at all costs. After this has been completed, you can go ahead and configure it further.
Step 3: Install a Graphical Desktop Environment
TightVNC requires a GDE. LXDE is recommended due to its lightweight nature:
|
sudo apt install lxde -y |
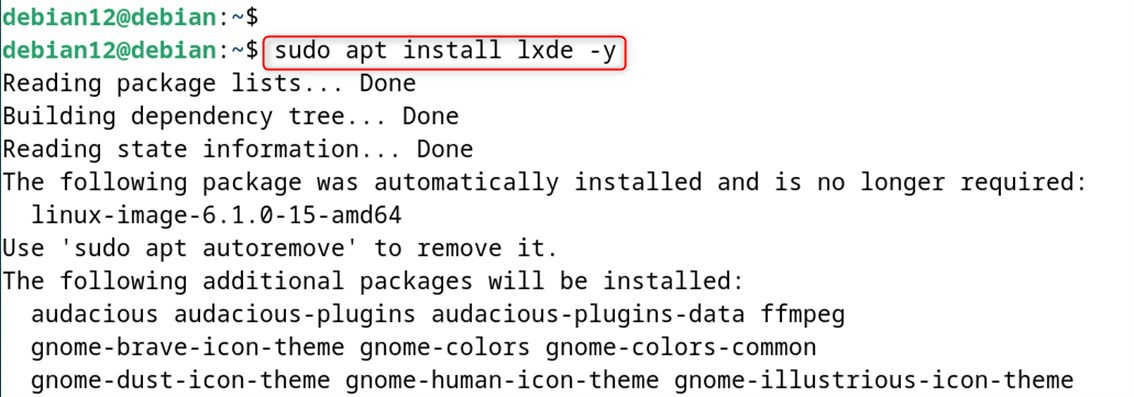
Saving power for your work in LXDE ensures that less of your CPU and RAM is utilized, which is important, especially in small servers.
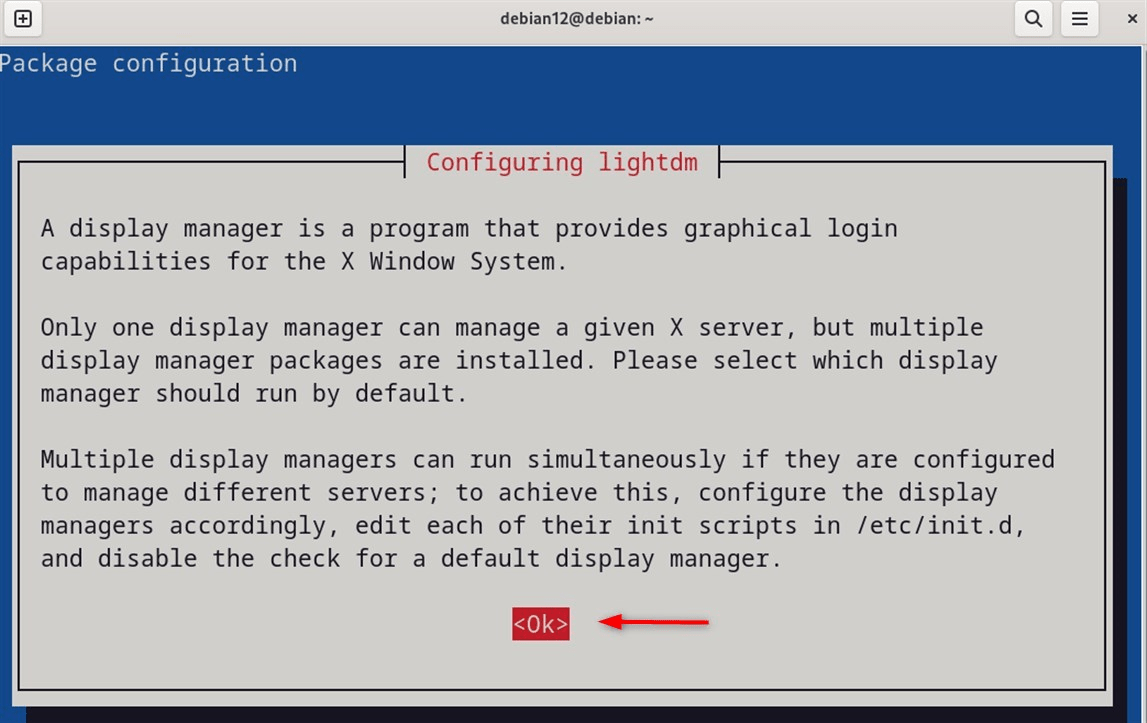
Remarkably, the program has an efficient data compression feature that optimizes bandwidth, making it suitable for slow internet connections. Let’s configure the display manager and choose lightdm:
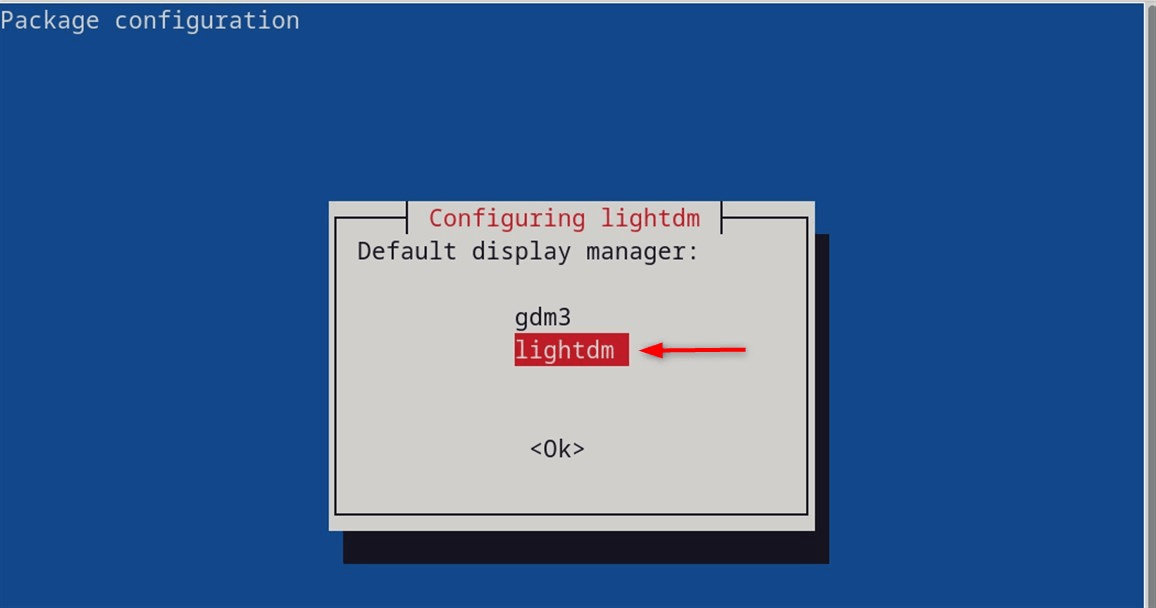
Step 4: Configure TightVNC
To get the tool running as it suits you, proper configuration should be observed. Let’s start TightVNC to create your initial session:
|
tightvncserver |
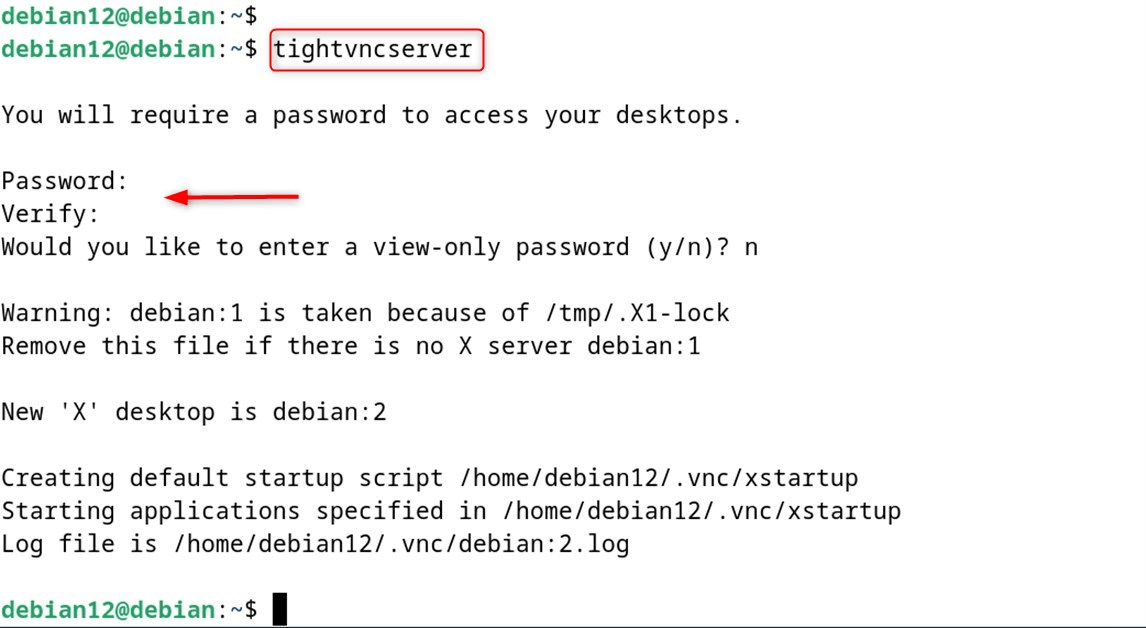
You will need it for the external access password during initialization. It guarantees that only users who are allowed can connect.
Stop the Server for Configuration
First, stop the server to edit the default settings:
|
tightvncserver -kill :1 |

Stopping session :1 allows you to edit the startup file without interruption.
Creating or Modifying the Startup File
Create or modify the startup file:
|
nano ~/.vnc/xstartup |
Add the following configuration:
|
xrdb $HOME/ .Xresources xsetroot -solid grey export XXL_XMODMAP_DISABLE=1 /etc/X11/Xsession |
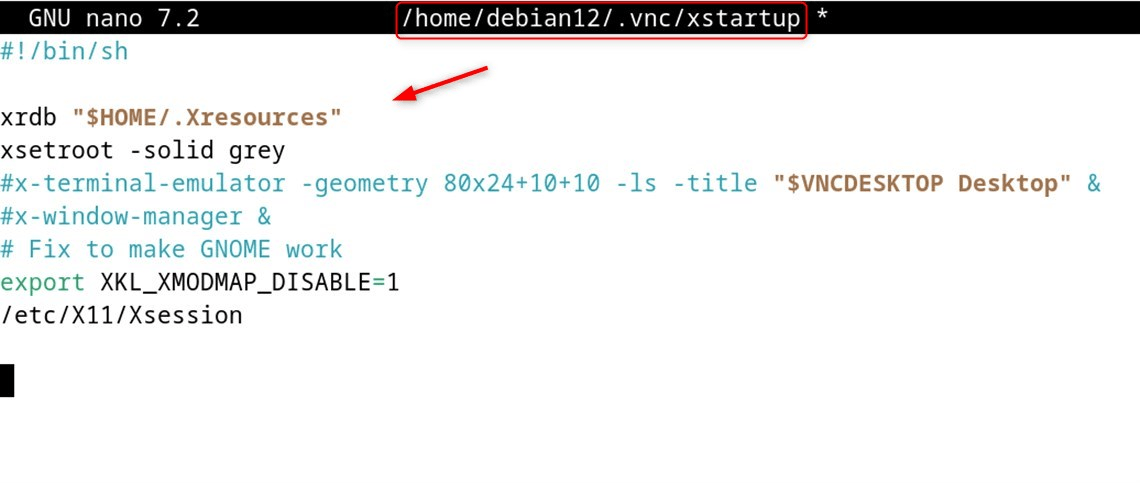
These commands are meant to set up an X11 session with a graphical desktop. They load user setup, set background color, disable custom keyboard mappings, execute session initialization, and launch the LXDE desktop.
Assign proper permissions to make the specific file executable as below:
|
sudo chmod 755 ~/.vnc/xstartup |

Step 5: Start the Server
Restart TightVNC to confirm all configurations are applied correctly:
|
tightvncserver |

You will see the session number (e.g., 1) in the output, which can be utilized to connect remotely.
Step 6: Connect to the System Remotely
Finally, connect to the specific server through the TightVNC Viewer or any compatible VNC client.
First, execute the command to obtain the server’s IP address:
|
ip a |
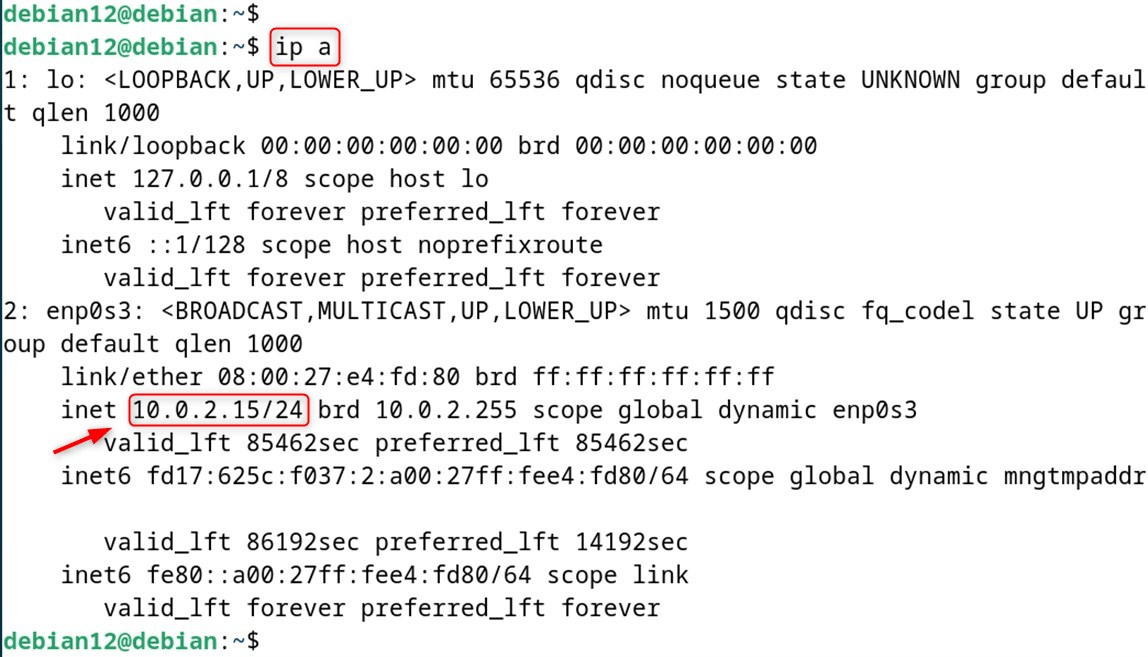
Then use the following instructions:
Launch the VNC client on the local device.
Enter the server address in the format ip_address:session_number. Enter the earlier set VNC password. Once connected, you’ll see the graphical interface, which can now be managed remotely.
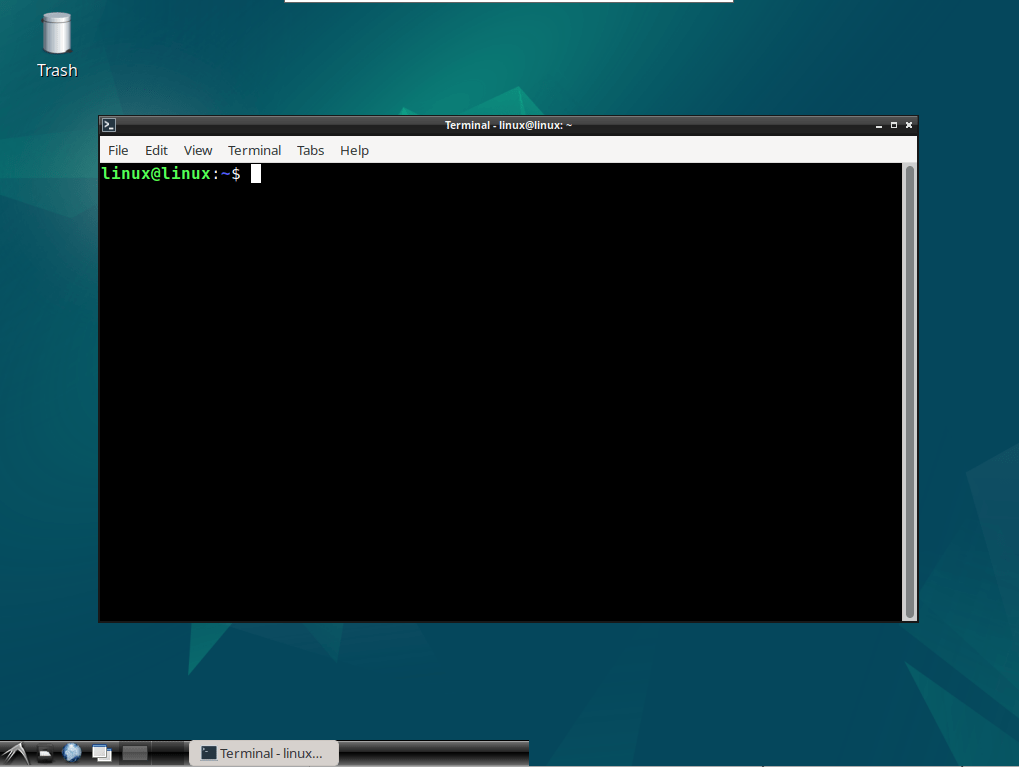
Step 7: Secure TightVNC Server
To ensure your server connection, users must know how to do that. Use this step-by-step guide to encrypt a connection between the two computers:
To encrypt your connection, create an SSH tunnel:
|
ssh -L 5901:localhost:5901 user@your_server_ip |
Replace user and your_server_ip with your server details.
Step 8: Stop and Manage the Server
This command will help you stop a session whenever you do not need it, to save resources:
|
tightvncserver -kill :1 |

In this case, it will only disable an active connection but not uninstall the server.
Troubleshooting Common Issues
If during setup or when attempting remote access, some issues arise, then consider trying these instructions:
Blank Screen After Connection
There are some instances where TightVNC may display nothing or gray screens on your screen. Below are some of the ways of dealing with such problems:
Kill All VNC Sessions:
Old or conflicting sessions may cause display issues. Run:
|
tightvncserver -kill :session_number |
Once done, run the server again like so;
|
tightvncserver |
Restart System:
Sometimes, just rebooting the system can fix Graphical glitches and session conflicts:
|
sudo reboot |
Specify Display Screen:
Set the DISPLAY variable correctly as in export DISPLAY=:1 so as to allow remote access using Xorg at the login screen.
|
export DISPLAY=:1 |
This will allow remote access to the login screen using Xorg. Also, ensure that startxfce4 & is included in the xstartup file.
Remove Stale Lock Files:
Leftover lock files can interfere with graphical sessions.
|
sudo rm -rf /tmp/.X*-lock /tmp/.X11-unix/X* |
Unable to Connect
Confirm the port (e.g., 5901) is open:
|
sudo ufw status |
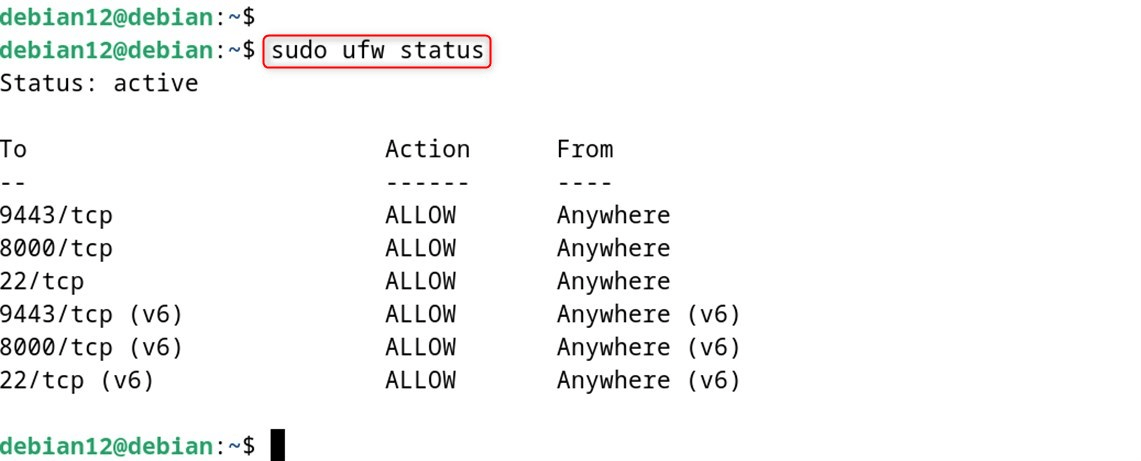
Open the port if necessary:
|
sudo ufw allow 5901/tcp |

Session Won’t Start
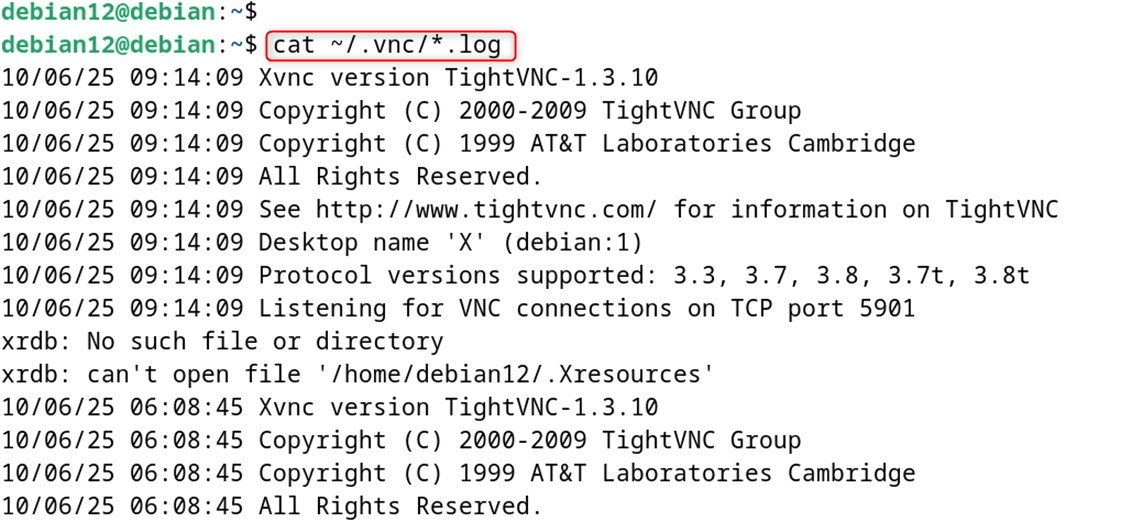
Check for logs in the .vnc directory:
|
cat ~/.vnc/*.log |
Integration of TightVNC with Cloud Platforms
Cloud services can be used in combination with this software to enhance its functionality. These are the steps to follow:
Open TightVNC ports via the cloud’s security group settings (e.g., port 5901 for VNC sessions).
Use SSH tunneling to secure access:
|
ssh -i your-key.pem -L 5901:localhost:5901 user@cloud_server_ip |
Customizing TightVNC Viewer Settings
Users often overlook client-side configurations that can greatly improve usability and security.
Add a View-Only Mode for Specific Users
If you need a user to monitor activity without interacting with the desktop:
Set a view-only password:
|
tightvncpasswd -viewonly |

Share the view-only password with the user while retaining control of the primary session.
Integrating TightVNC with Scripts
Automation helps in streamlining repeatable tasks or multi-session setups.
Batch Start Multiple Sessions
Write a script to launch multiple VNC instances simultaneously:
|
nano ~/start-vnc-sessions.sh |
Add:
|
#!/bin/bash tightvncserver :1 tightvncserver :2 tightvncserver :3 |
Make the script executable:
|
chmod +x ~/start-vnc-sessions.sh |

Run the script:
|
./start-vnc-sessions.sh |
How to Uninstall the VNC Server on Debian 12?
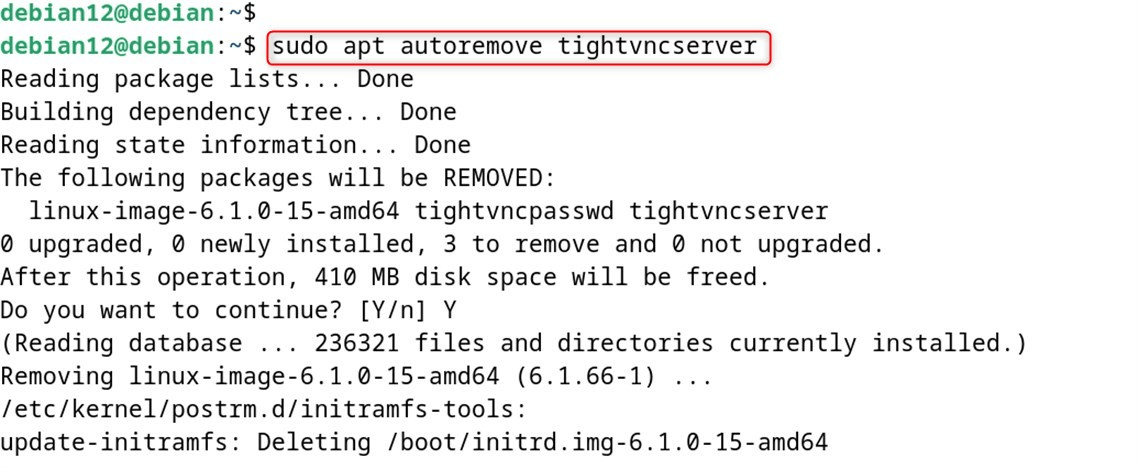
VNC Server is widely used by developers and system administrators to remotely access servers and troubleshoot all sorts of problems. Use apt to remove the packages:
|
sudo apt autoremove tightvncserver |
Or if you had LXDE, for example:
|
sudo apt autoremove lxde |
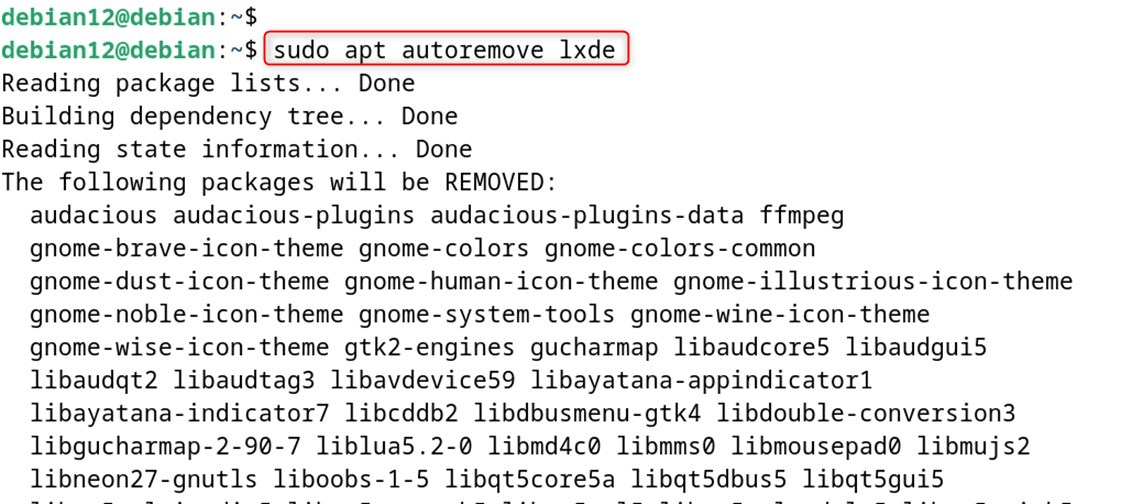
If you’re not sure, just substitute the names shown in your earlier output.
Conclusion
Installing VNC Server on Debian 12 equips you with a reliable remote desktop solution that enhances accessibility and efficiency. Following this guide establishes a secure and optimized setup that enables you to manage your system from anywhere. To install VNC Server on Debian 12, first update your system with sudo apt update && sudo apt upgrade, then install TightVNC server using sudo apt install tightvncserver.
After installation, run vncserver to set up your VNC password and desktop session, then configure it to start automatically with your preferred desktop environment. Whether for troubleshooting, server administration, or general remote access, TightVNC ensures a smooth experience with minimal resource consumption.
Frequently Asked Questions
sudo apt update && sudo apt install tigervnc-standalone-server sudo apt install xfce4 xfce4-goodies
vncpasswd to create a password for your VNC session. 




Leave feedback about this