
Yarn is a package manager for JavaScript. It can be utilized for dependency management, such as installing, updating, and organizing project dependencies. Yarn has numerous features, including offline caching and enhanced performance compared to other package managers.
Additionally, Yarn ensures consistency across development environments and is gaining popularity due to its fast, reliable, and secure dependency management.
This post aims to discover the methods of installing Yarn on the Ubuntu 24.04 machine.
How to Install Yarn on Ubuntu 24.04
We will present these topics in this guided post:
- How to Install Yarn on Ubuntu 24.04 Utilizing NPM
- Set up Prerequisites for Yarn
- Install Yarn on Ubuntu 24.04 Using NPM
- How to Install Yarn on Ubuntu 24.04 Using APT
- How to Remove Yarn from the Ubuntu 24.04 System
- Uninstall Yarn Through NPM
- Uninstall Yarn Via APT Package Manager
How to Install Yarn on Ubuntu 24.04 Utilizing NPM
To install the Yarn package using NPM, follow these steps:
Step 1: Update System Package List
Before installation, use this command to search for the system updates and also upgrade the package lists:
sudo apt update && sudo apt upgrade -y |
|---|
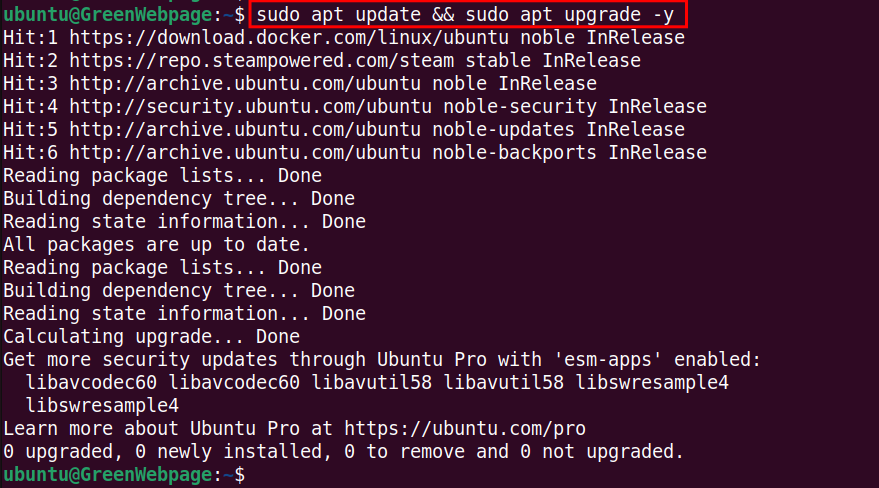
Confirm that your Ubuntu 24.04 machine runs with the latest system files. This is essential for enhancing your machine’s performance.
Set up Prerequisites for Yarn
Step 1: Install Node.js and NPM
The Yarn package relies on Node.js and NPM. Therefore, before installing Yarn, you need to install these packages on your Ubuntu 24.04 system with the following command:
sudo apt install npm nodejs -y |
|---|
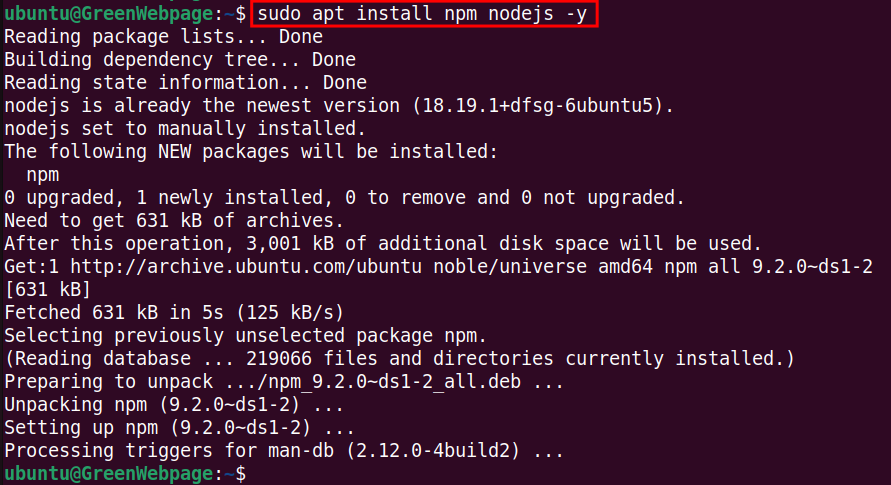
The above command will fetch the latest stable versions of NPM and Node.js and will install them on your machine. After performing this step, you will receive a completion message similar to the above output.
Step 3: Print NPM and Node.js Version
You can use this simple command to print if NPM and Node.js are installed correctly:
npm -v && nodejs -v |
|---|

According to the above message, NPM 9.2.0 and Node.js 18.19.1 have been installed on your Ubuntu 24.04 machine.
Install Yarn on Ubuntu 24.04 through the NPM
Execute the below commands to set up the Yarn package on your Ubuntu 24.04 machine.
Step 1: Install Yarn Package With NPM
After installing the prerequisites for yarn, execute this command to install Yarn globally:
sudo npm install --global yarn |
|---|

This command will set up the Yarn package on your Ubuntu 24.04 machine.
Step 2: Confirm Yarn Installation
Verify the installation by checking and confirming the Yarn version:
yarn --version |
|---|

If the command prints a version number, such as 1.22.22, it confirms that you have successfully installed the Yarn package on your Ubuntu 24.04.
How to Install Yarn on Ubuntu 24.04 Utilizing APT
These are vital steps to configure the Yarn package on Ubuntu 24.04 through the APT package installer.
Step 1: Add Yarn GPG Key
Utilize the “curl” to download and add Yarn GPG key to your system files. Here is the complete code:
curl -sS https://dl.yarnpkg.com/debian/pubkey.gpg | gpg --dearmor | sudo tee /usr/share/keyrings/yarnpkg-archive-keyring.gpg > /dev/null |
|---|

If no errors occur after running this command, it indicates that the Yarn GPG key has been successfully added to the “keyrings” directory.
Step 2: Configure Yarn Repository
To configure the Yarn repository and add the GPG key path to “/etc/apt/sources.list.d/yarn.list”, run this command:
echo "deb [signed-by=/usr/share/keyrings/yarnpkg-archive-keyring.gpg] https://dl.yarnpkg.com/debian/ stable main" | sudo tee /etc/apt/sources.list.d/yarn.list |
|---|

This command will display the path on your terminal after execution.
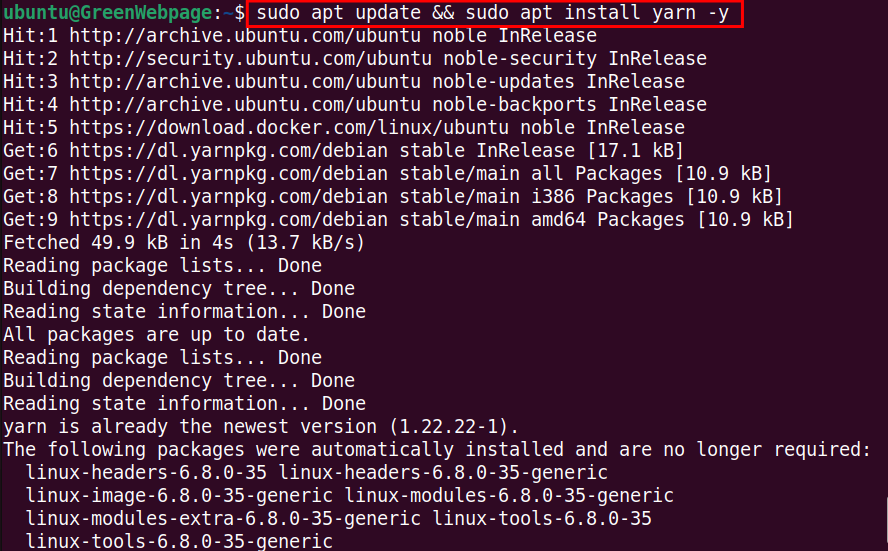
Step 3: Update System Cache and Install Yarn
Once the Yarn repository has been configured, you can combine both commands to update system files and install Yarn using the APT package manager:
sudo apt update && sudo apt install yarn -y |
|---|
When this command executes, your system will install and apply the necessary updates. At the same time, it will install the Yarn package on your Ubuntu 24.04 machine without any hassle.
Step 4: Display Yarn Version
The below command can be used for verifying the Yarn version:
yarn --version |
|---|

As shown in the above output, you have successfully installed Yarn 1.22.22, the latest stable version, on your Ubuntu 24.04 system.
How to Remove Yarn from Ubuntu 24.04 System
These methods will completely remove the Yarn package from the Ubuntu 24.04 system.
Uninstall/remove Yarn Through NPM
If you used the NPM method for installing Yarn, run this command from your Ubuntu terminal:
sudo npm uninstall --global yarn |
|---|

This command will completely remove the Yarn package from your Ubuntu 24.04 system.
Uninstall Yarn Via APT Package Manager
For those who used the APT package manager to install Yarn, execute this command:
sudo apt purge yarn -y |
|---|
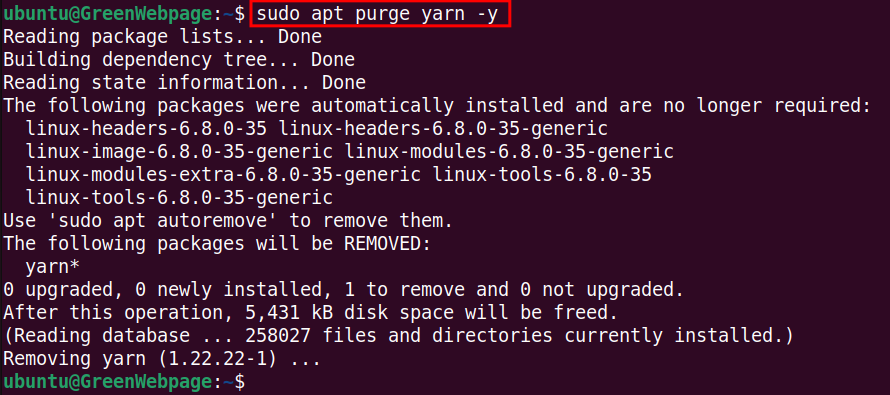
The “apt purge” command is useful for removing packages, such as Yarn, along with their configuration files and directories, from your Ubuntu 24.04 machine.
Confirm Uninstallation of Yarn
After removing the Yarn package, run the following command to confirm the removal:
yarn --version |
|---|

If Yarn has been removed from your system, you will receive the message “No such file or directory” on your terminal screen.
Conclusion
On Ubuntu 24.04, one can either use NPM or APT package manager to install the Yarn package. For the NPM method, you need to install the NPM and Node.js as prerequisites. Then, use “sudo npm install –global yarn” for installation. This method is also recommended by Yarn.
Alternatively, you can utilize the command “sudo apt install yarn -y” after adding the Yarn repository to your system.


Leave feedback about this