
Apache Virtual Hosts enable you to host multiple websites on a single server. This procedure can improve the server performance and prevent conflicts between websites.
Furthermore, you can add or remove websites without affecting others.
The primary purpose of this learning-based article is to illustrate how to set up Apache virtual hosts on Ubuntu 22.04 system.
How to Setup Apache Virtual Hosts on Ubuntu 22.04?
The following necessary steps can be performed before initializing the Apache virtual host on your Ubuntu machine.
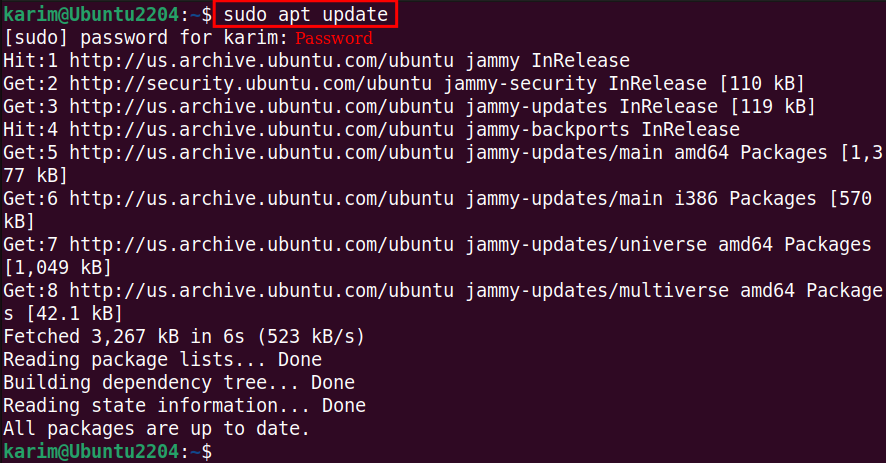
Step 1: Update Ubuntu Packages
It is a good practice for keeping your Ubuntu system up to date:
sudo apt update |
Step 2: Install Apache2 via APT
For the Apache virtual host, it is necessary to install the apache2 server on your system:
sudo apt install apache2 -y |


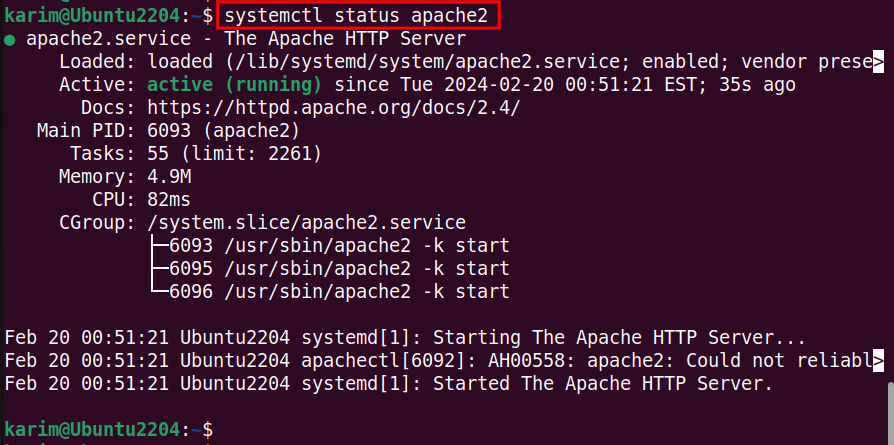
Step 3: Check Apache2 Status
After installing, confirm the running status of the Apache2 via the command:
systemctl status apache2 |
Step 4: Test Apache2 Server
Open the web browser and visit the localhost to test whether the Apache server is working properly:
localhost |

Make sure you have the above message on your screen.
How to Setup Virtual Host on Ubuntu 22.04?
Here are essential commands that can be used to setup and configure the Apache virtual host on Ubuntu 22.04.
Step 1: Create a Directory for the Website
Using the command, create a separate directory where you can store all file related to you website:
sudo mkdir -p /var/www/karimone.com |

Step 2: Set Permissions for the Website
Through the below command, set the necessary permissions to the Apache user:
sudo chown -R $USER:$USER /var/www/karimone.com |

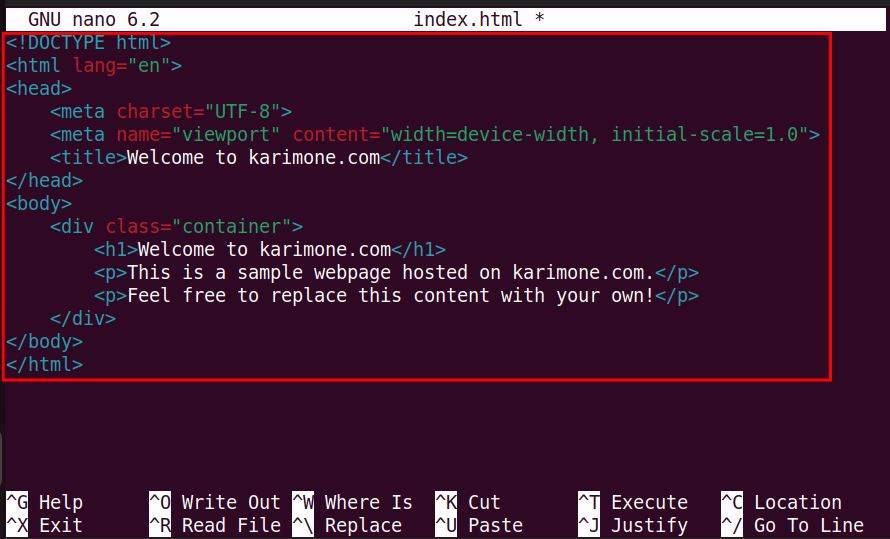
Step 3: Create and Access “index.html”
To display the content of your website, create and open the html file, for instance “index.html”:
sudo nano index.html |

Inside index.html, you can add your HTML content for your website. For example:
<!DOCTYPE html> |
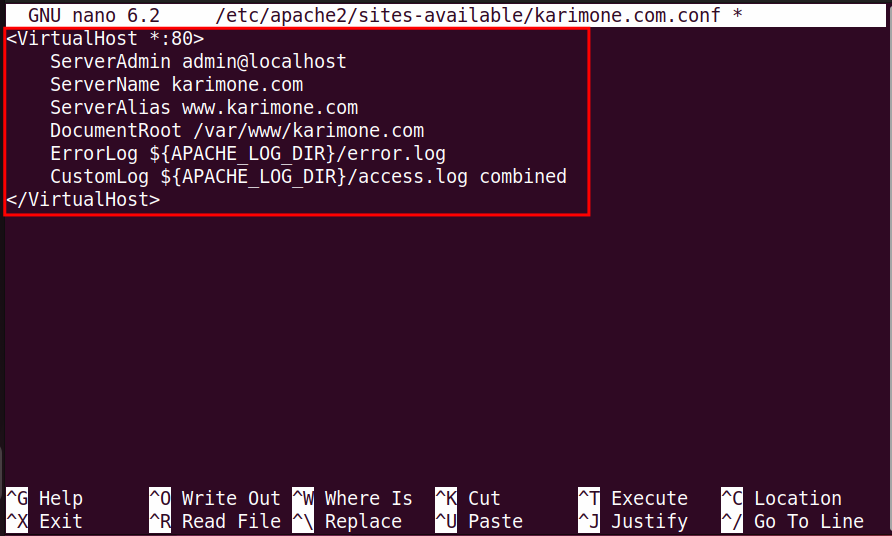
Step 4: Create Virtual Host Configuration
Next, create a new configuration file for your virtual host (i.e. karim.com.comf) using a text editor such as Nano:
sudo nano /etc/apache2/sites-available/karimone.com.conf |

Add and modify the configuration file as per your virtual host:
<VirtualHost *:80> |
Step 5: Enable Virtual Host
Execute the a2ensite followed by your host configuration file name to enable Virtual Host:
sudo a2ensite karimone.com.conf |

Step 6: Disable the Default Sites
To prevent interference with your virtual hosts, disable the Default configuration sites:
sudo a2dissite 000-default.conf |

Step 7: Configure ServerName
Open the Apache global configuration file using the command:
sudo nano /etc/apache2/conf-available/servername.conf |

Here, add the ServerName to specify your server’s domain name. For example:
ServerName karimone.com |
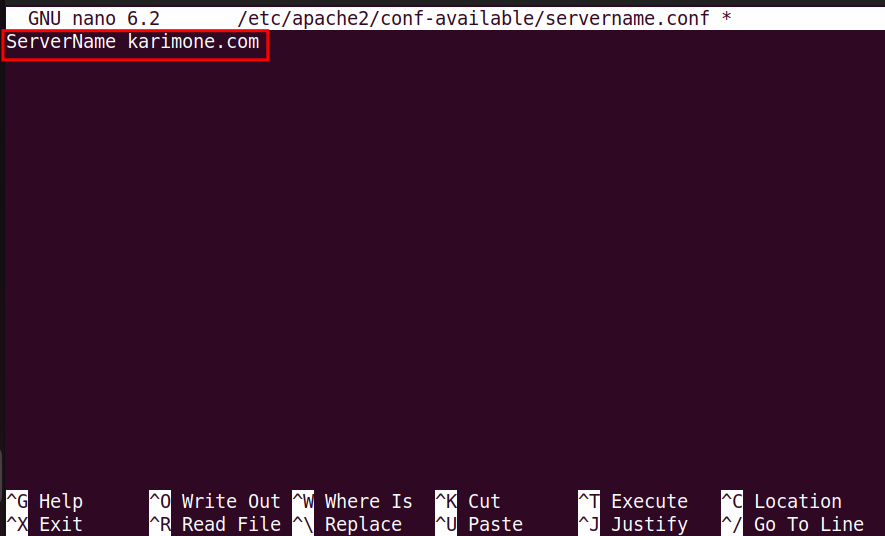
Save the file using Ctrl + S.
Step 8: Enable ServerName Configuration
Run the command to enable ServerName configuration file:
sudo a2enconf servername |

Step 9: Restart Apache2 Server
After necessary modification in the global configuration file, simply run the command to restart the Apache2 server:
sudo systemctl restart apache2 |

Step 10: Test Apache Configuration
Utilize the below-mentioned command for testing the Apache configuration:
sudo apache2ctl configtest |

In the output, you see the “Syntax OK”, it indicates that you have successfully configured the Apache Virtual Host on your Ubuntu 22.04 system.
To see the website content, open the web browser and enter “localhost” in the address bar. For instance:
localhost |
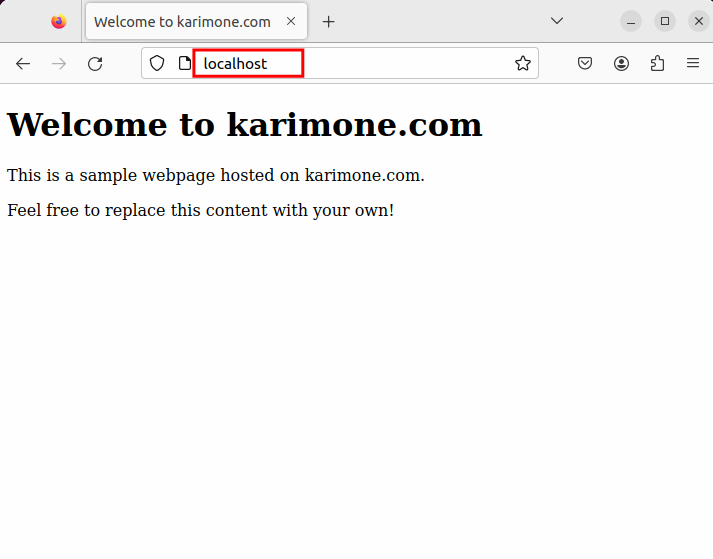
Here, you go! The content of your website is displayed on your screen after successfully configuring the Apache Virtual Host on your Ubuntu 22.04.
Conclusion
On Ubuntu 22.04, you can set up the Apache Virtual Host through simple commands. First, ensure you have already installed Apache2 on your system, if not, use the command “sudo apt install apache2 -y”. Create a virtual host configuration file and modify it according to your requirements. Finally, enable the configuration file and test to confirm the running status of your Apache virtual host on your Ubuntu system.
This article explores the process of setting up Apache virtual hosts on Ubuntu 22.04 system.


Leave feedback about this