
In Linux, Ping is a useful command for testing, diagnosing, and troubleshooting network connectivity. It sends requests to a specified destination and receives responses for each packet.
You can use the Ping command for various purposes, including network testing, DNS testing, diagnosing packet loss, load testing, and more.
If you are curious about the usage of the Ping command, especially on Linux-based systems, this guide is for you.
How to Use Ping Command in Linux?
Before initiating to explore the primary uses of Ping commands in Linux, use the following commands to perform examples.
Step 1: Update and Upgrade Linux System Files
The presented command will update the package lists and upgrade the packages if the newest versions are available:
sudo apt update && sudo apt upgrade -y |
|---|
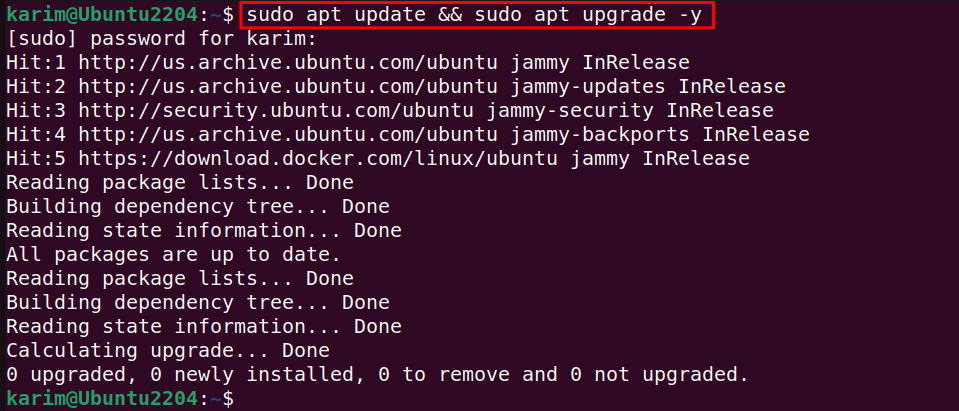
If your system needs the latest updates, they can be displayed on your terminal screen.
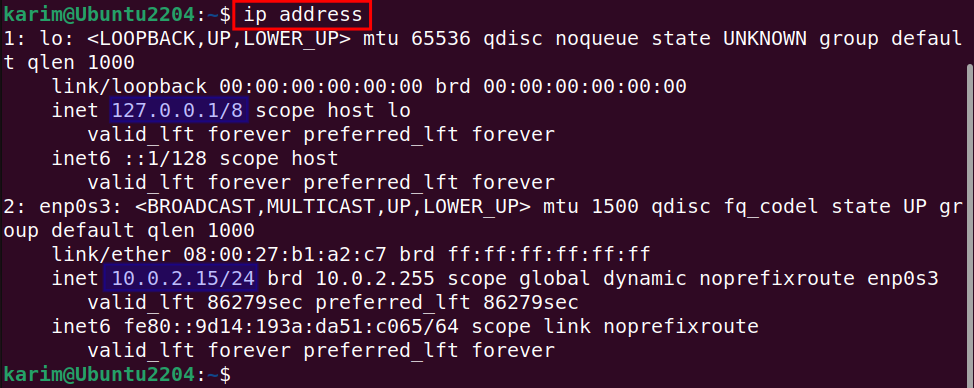
Step 2: View IP Addresses
Here is the simple command to display the IP addresses on your Linux-based operating systems:
ip address |
|---|
Uses of Ping Commands in Linux Systems
These examples will help you understand the primary uses of Ping commands in Linux systems.
Example 1: Check Ping Version
First, check the Ping version on your Ubuntu system through the command:
Ping -V |
|---|

Example 2: Test Network Connectivity
You can use Ping for testing the network connectivity on a specific IP address, such as:
ping 10.0.2.15 |
|---|
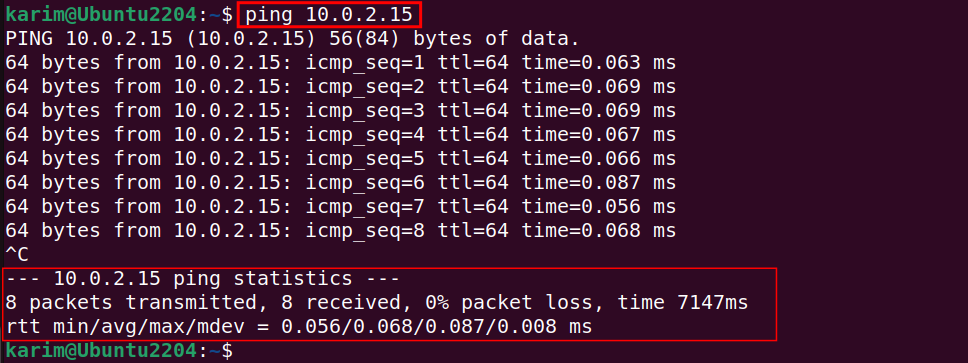
To terminate or stop the current ping process, press Ctrl + C from the keyboard.
Example 3: View Connectivity with Count
The -c option is denoted by count and you can specify the limit of ping requests. Follow the provided syntax from your terminal:
ping -c 3 10.0.2.15 |
|---|
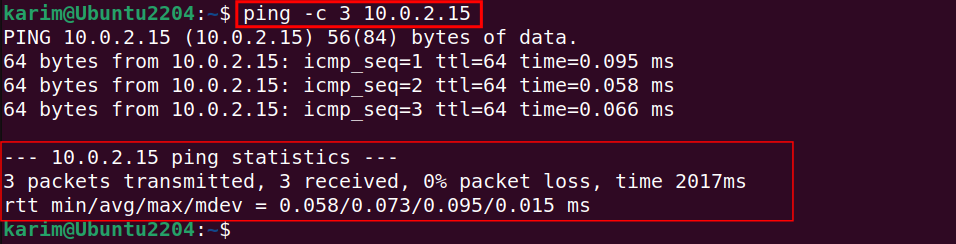
You can see the ping terminated after three packets and the sending and receiving requests.
Example 4: Display Connectivity with Domain Name
For a specific domain name like “google.com”, the provided command will be used:
ping -c 5 google.com |
|---|
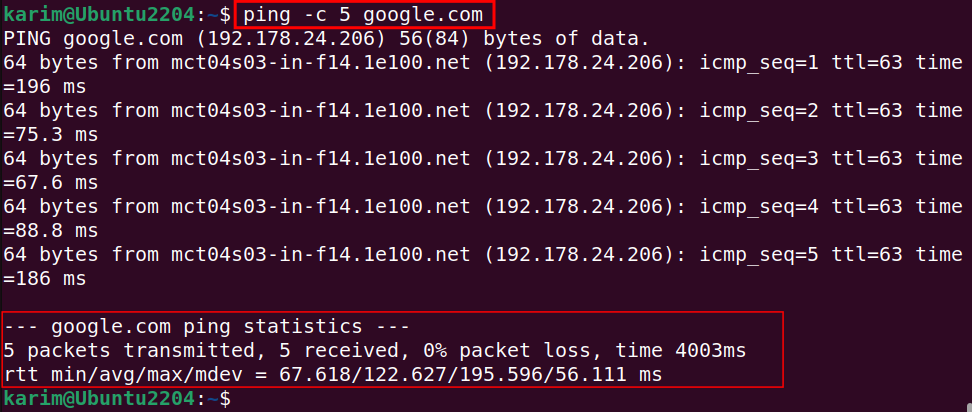
The command provides the ping requests with essential information, including time, packet transmission, and packet loss.
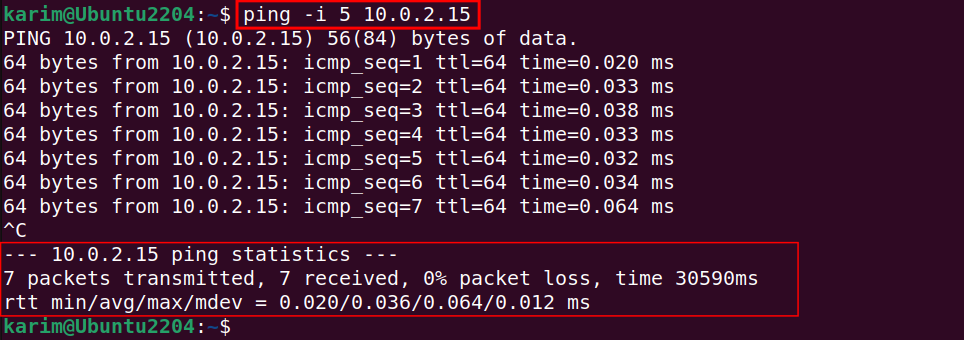
Example 5: Set Interval Between Ping Requests
If you want to check the network connectivity to the IP address (i.e. 10.0.2.15) with a specific interval (i.e. 5 seconds) between each ping request, use the command provided below:
ping -i 5 10.0.2.15 |
|---|
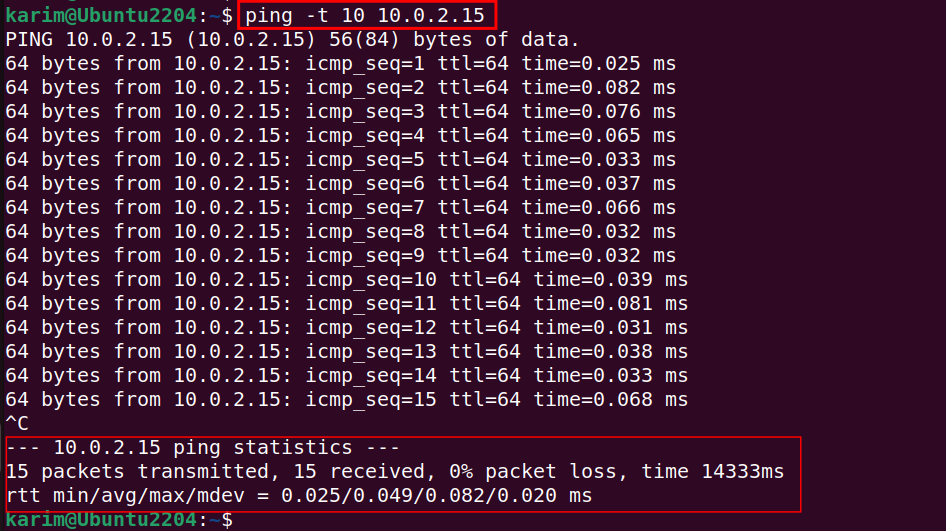
Example 6: Set a Timeout for Ping Requests
The following command will limit the time for the ping request and will wait for a response within 10 seconds from the IP address, such as 10.0.2.15:
ping -t 10 10.0.2.15 |
|---|
Example 8: Attempts to Resolve Hostname
Utilize the ping command with the -a option for resolving the hostname linked to the IP address, for example, 10.0.2.15:
ping -a 10.0.2.15 |
|---|
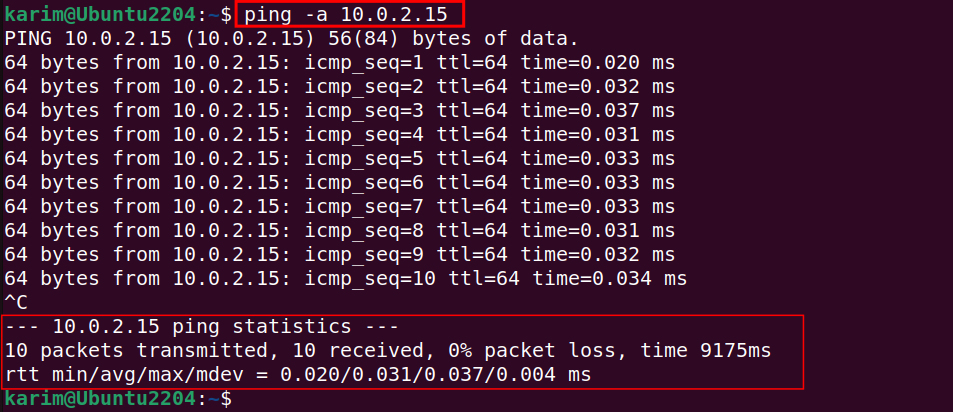
This command is useful for network troubleshooting on your network based on the IP address.
Example 9: Record Route
To record the route using the IP address (10.0.2.15), use the -R option in the following manner:
ping -R 10.0.2.15 |
|---|
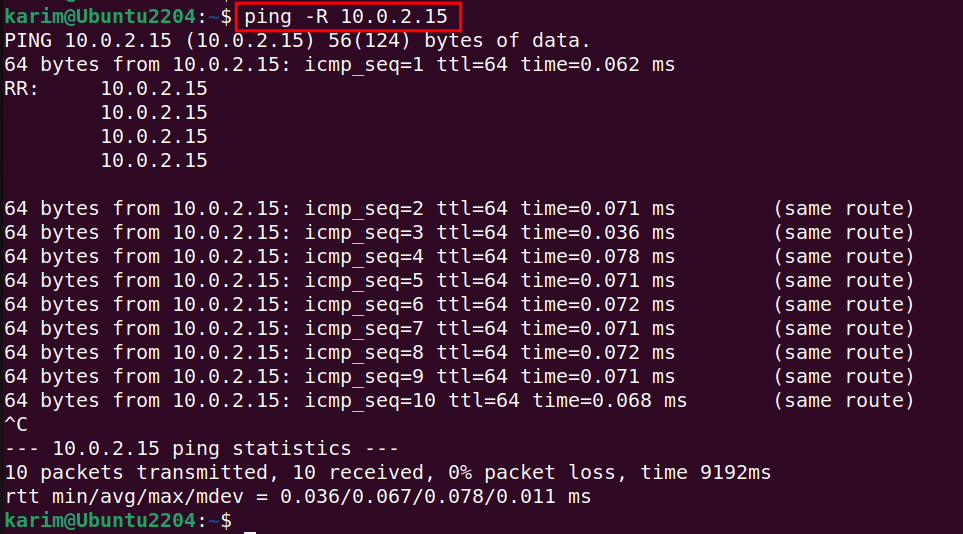
This command is used for inspecting network connectivity issues. Additionally, it determines the path from the source to the destination (10.0.2.15).
Example 10: Print Timestamps in UNIX
To inspect network connectivity using a specific IP based on timestamps, use the -D option with the ping command:
ping -D -c 5 10.0.2.15 |
|---|
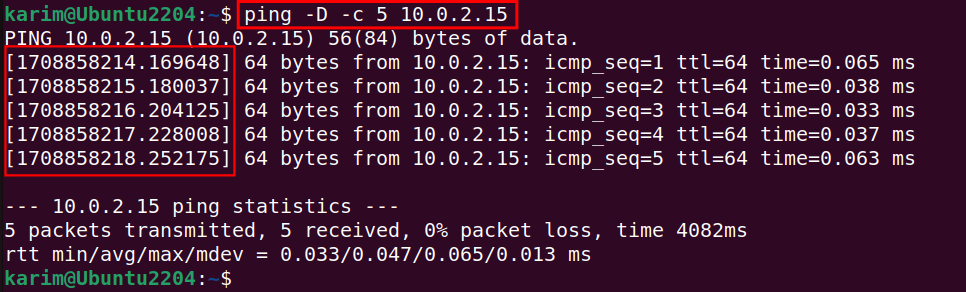
This command will show the timestamps in UNIX format. You can analyze the ping statistics and troubleshoot according to your needs.
Conclusion
Utilize the syntax: ping [options] destination to troubleshoot and analyze network connectivity on our Linux system. You can use options like -c, -i, -t, and -D with Ping commands according to your requirements. In this guide, we have demonstrated the main usage of Ping commands using different examples.


Leave feedback about this