
Minecraft is a popular sandbox game that allows players to explore and build together in an infinite block-based universe. Your own Minecraft server allows you to control your gaming experience. From world settings, plugins, and who can join the server. Debian 13 offers stability, performance, and security when you set up a Minecraft Server. Debian is lightweight, making it ideal for running dedicated gaming servers on VPS hardware.
This guide will walk you through installing and configuring Minecraft on Debian 13.
How to Install a Minecraft Server on Debian 13
You can control everything with your own Minecraft server: rules, mods, and world backups. Who can join? The process for Debian 13 is the same as other Debian/Ubuntu releases, but it’s important to make sure your Java version matches the Minecraft server requirements.
Prerequisites
Before starting:
- Debian 13 VPSs with root or sudo Access
- A minimum of 2GB RAM is required (more for mods or multiple players).
- Port 25565 can be accessed by players via a firewall or port forwarding.
- Basic familiarity with Linux shell.
Let’s install it:
Step 1: Update your system
Start by checking that your system is updated.
sudo apt update |
|---|
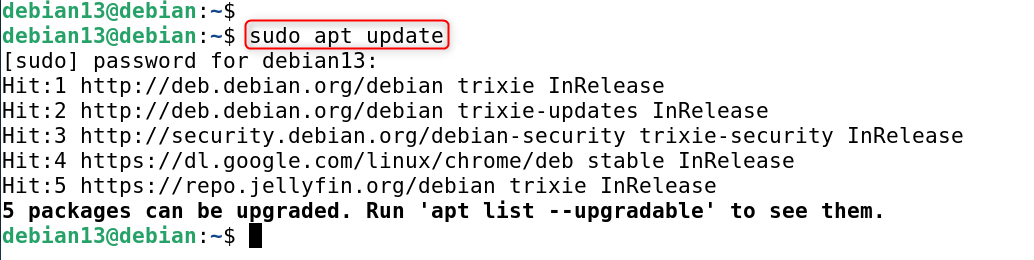
You will have the most recent security patches and package lists. There are also no broken dependencies that could cause the installation to fail.
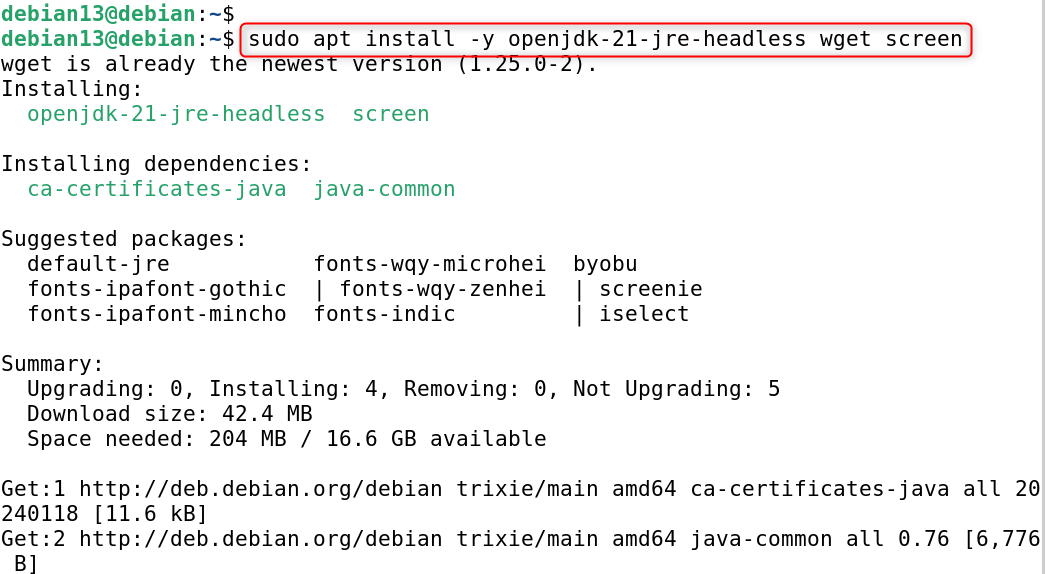
Step 2: Install necessary packages (Java, tools)
Java is required for Minecraft. Java 17 is often required for newer Minecraft servers (check which version you need). Install screen or tmux to run the server detachably.
sudo apt install -y openjdk-21-jre-headless wget screen |
|---|
Explanation:
- openjdk-17-jre-headless: Java runtime environment without GUI components.
- Download the server JAR using wget.
- Screen: allows you to run the server as a separate session that you can disconnect from. It will continue running even after you have disconnected.
Verify Java:
java -version |
|---|

Openjdk 21 is the version you see.
Step 3: Create a dedicated Minecraft user
It is safer to run your server as a non-root user.
sudo adduser –system –home /opt/minecraft –shell /bin/bash minecraft |
|---|

Explanation:
- –system creates a system user by default (no login).
- Sets the home directory for Minecraft.
- The server files will be owned by the user and isolated from root.
Step 4: Download the Minecraft server JAR
Create a directory in the Minecraft user’s home directory, and then fetch the latest server JAR.
sudo su – minecraft cd ~ mkdir server cd server |
|---|

Use the latest version of Minecraft’s official servers page to replace URL:
wget https://piston-data.mojang.com/v1/objects/95495a7f485eedd84ce928cef5e223b757d2f764/server.jar |
|---|
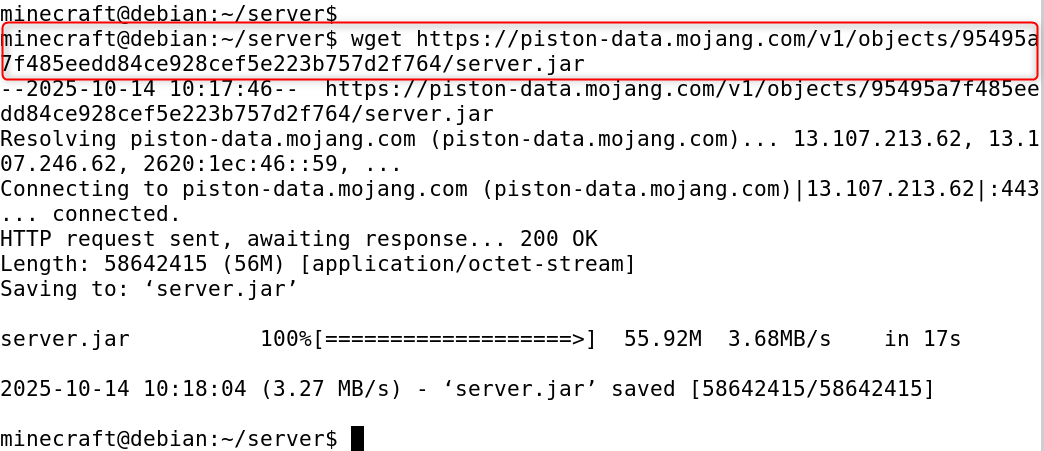
This places the server JAR in /opt/minecraft/server (as the minecraft user). You will need to manually replace. You can download Mojang from the official Mojang page by using the correct URL/path.
Step 5: Accept the EULA
Edit and accept the files generated by the server, which include eula.txt.
java -Xmx1024M -Xms1024M -jar server.jar nogui |
|---|
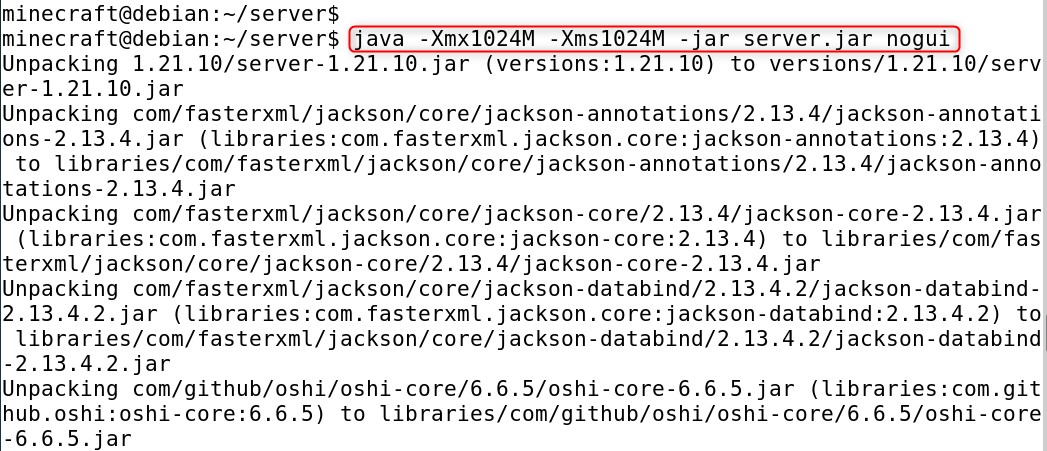
The server will begin, but fail to accept the EULA and create a file called eula.txt. Then:
nano eula.txt |
|---|
Change:
eula=true |
|---|
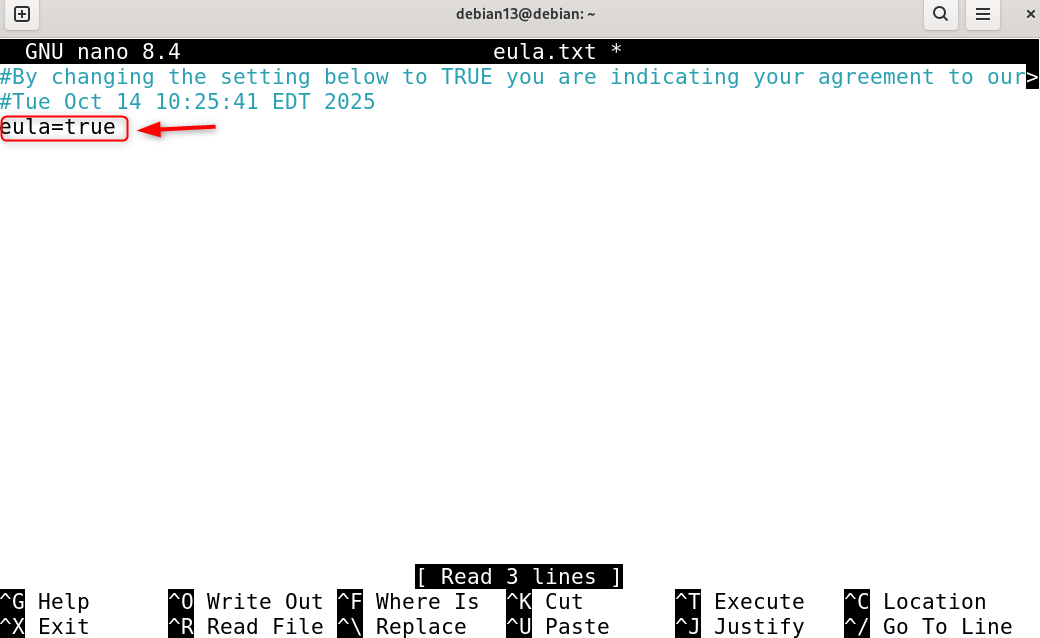
Save and exit.
Minecraft will not work unless you accept the End User License Agreement (EULA). This is a legal and/or safety requirement.
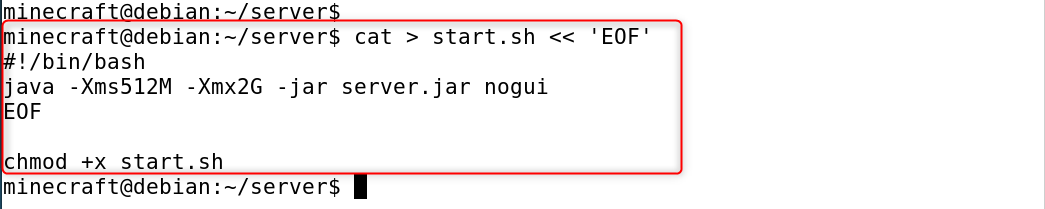
Step 6: Configure server memory & settings
Create a startup script, e.g., start.sh is a script that defines memory usage, flags, and other parameters:
cat > start.sh << ‘EOF’ #!/bin/bash java -Xms512M -Xmx2G -jar server.jar nogui EOF chmod +x start.sh |
|---|
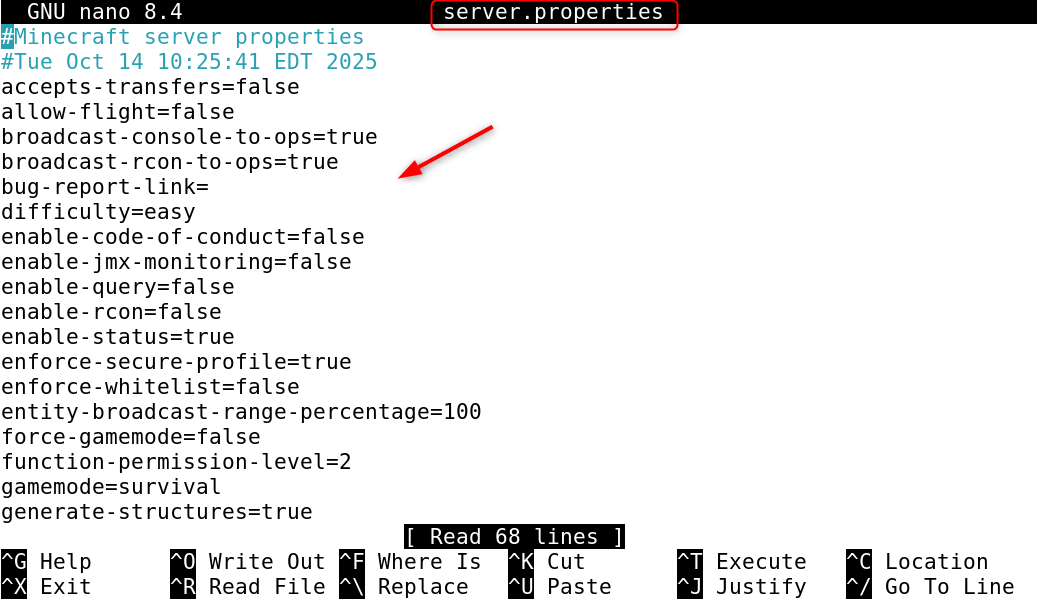
Edit server.properties and adjust settings for your server (port, whitelist, world name, etc.) ):
nano server.properties |
|---|
Explanation:
- -Xms & -Xmx Set initial and maximum RAM allotment (adjusted to VPS memory)
- Server.properties allows you to fine-tune your gameplay settings, including difficulty, PVP, and spawn limits. ).
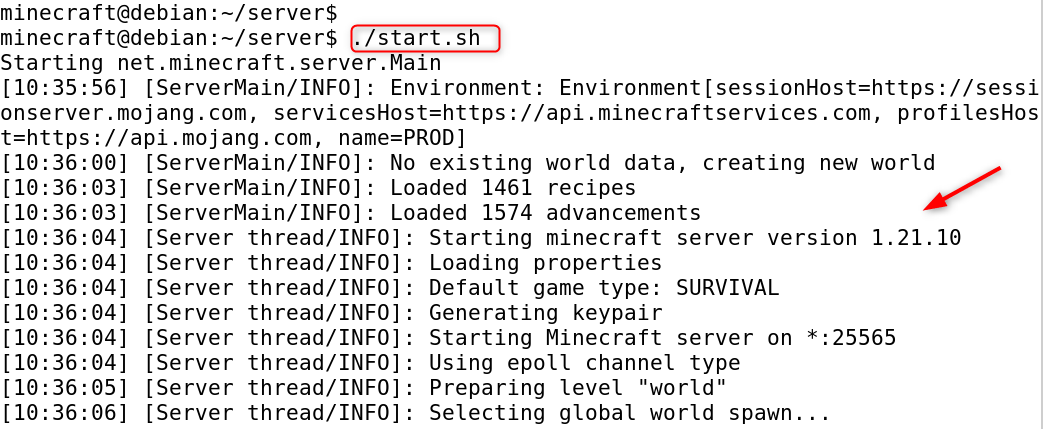
Step 7: Run the server using screen
Start a screen and keep your server running so that it remains active after you disconnect from SSH.
screen -S minecraft ./start.sh |
|---|
Use Ctrl+A and D to disconnect from the session.
To reattach later:
screen -r minecraft |
|---|

Screen allows you to run lengthy processes in a separate session. The server won’t be killed if you close your SSH. Many guides use screens for Minecraft servers.
Step 8: Configure firewall and port forwarding
Allow inbound connections to Minecraft’s default ports (25565).
sudo ufw allow 25565/tcp sudo ufw reload |
|---|
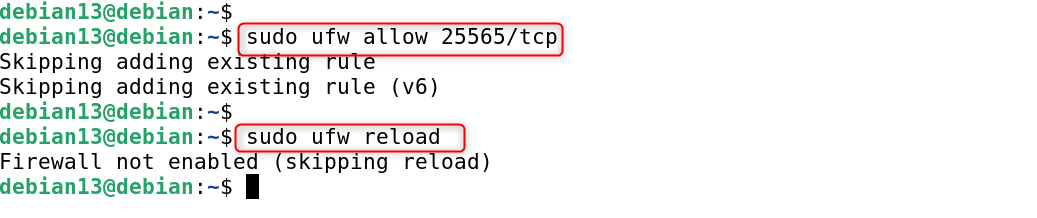
Port forwarding is required if your VPS is behind NAT. Open port 25565 on your firewall to allow players to connect. Connection attempts will fail if you don’t open port 25565.
Step 9: Set up Minecraft as a systemd service
To make the server start on boot and run as a service, create:
sudo tee /etc/systemd/system/minecraft.service > /dev/null << ‘EOF’ [Unit] Description=Minecraft Server After=network.target [Service] User=minecraft WorkingDirectory=/opt/minecraft/server ExecStart=/opt/minecraft/server/start.sh Restart=on-failure RestartSec=20 [Install] WantedBy=multi-user.target EOF |
|---|
Then enable and start it:
sudo systemctl daemon-reload sudo systemctl enable minecraft sudo systemctl start minecraft sudo systemctl status minecraft |
|---|
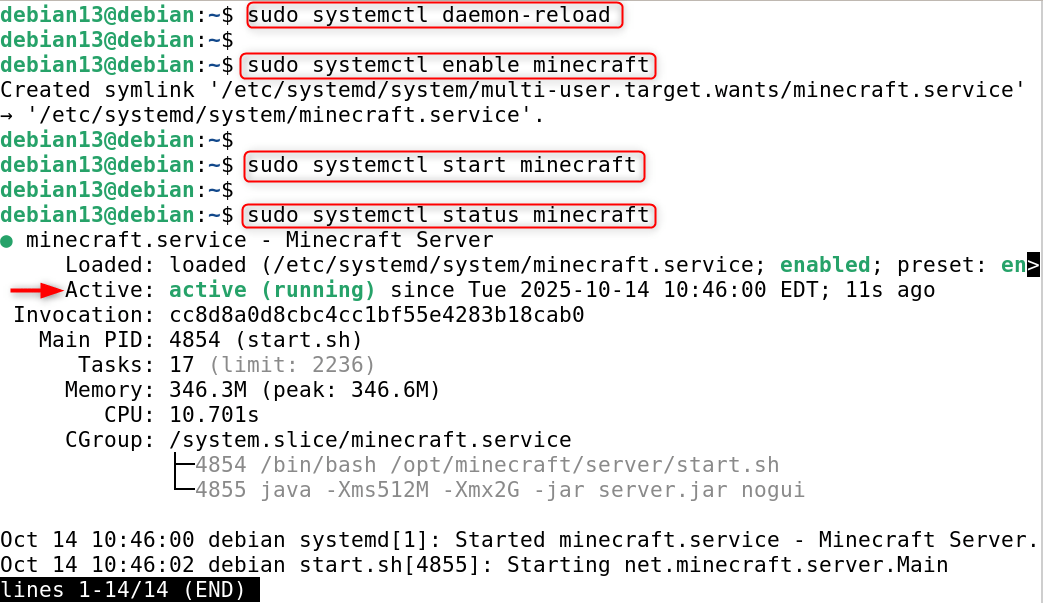
With a systemd service, your Minecraft server will automatically start after reboots. It can also be controlled with systemctl and restarted in the event of a crash. This is more efficient than using a screen.
Step 10: Backup and maintenance
Backups are essential because Minecraft servers are very sensitive to corruption of world data. Data loss can occur when updates are not done safely.
- Back up your world/ directory, server configurations, and other important files regularly.
- Update the server by stopping the service, backing up, replacing minecraft_server.jar (the older version) with the newer version, and restarting.
- Logs can be viewed in the logs/folder, and the latest.log files are located within the server directory.
That is all from the guide.
Conclusion
To install a Minecraft server on Debian 13, first update your system using sudo apt update && sudo apt upgrade -y, then install Java and tools with sudo apt install openjdk-17-jre-headless wget screen -y. Download the Minecraft server JAR and then run it to generate files. Accept the EULA by editing eula.txt and changing eula=true. Then create a startup script like java –Xms512M-Xmx2G-jar minecraft_server.jar – nogui.
Use the screen to run the server in the background, and open port 25565 in your firewall with sudo ufw allow 25565/tcp. Optionally, create a systemd service for automatic startup. Your Minecraft server is now ready to run on Debian 13.


Leave feedback about this