
CentOS 10’s hostname can be changed easily, but it is essential to identify your server in a network properly. It also improves system organization and ensures smooth communication between applications and services. Setting the correct hostname is vital to maintaining clarity and avoiding connection or DNS issues. CentOS 10 offers multiple methods to safely update the hostname, whether you are managing a local machine, a VPS, or a production server.
This guide will explain how to change the CentOS 10 hostname using hostnamectl. You’ll also learn about editing system files and NetworkManager. Each method is explained in detail so that you can pick the one that works best for your setup.
Table of Contents
How to Change Hostname on CentOS 10
It is easiest to change the CentOS 10 hostname by using the hostnamectl tool. This is done by first running sudo set-hostname-new-hostname. Then, update the /etc/hosts so that services can resolve the new name, and then verify with hostnamectl. You can also edit /etc/hostname via NetworkManager or manually, but the most reliable and fastest method is to use hostnamectl.
Let’s show you how to change the hostname safely using hostnamectl, system files, and NetworkManager.
Method 1: Change Hostname Using hostnamectl (Recommended)
This is the fastest and safest method, because systemd’s hostnamectl updates the hostname immediately.
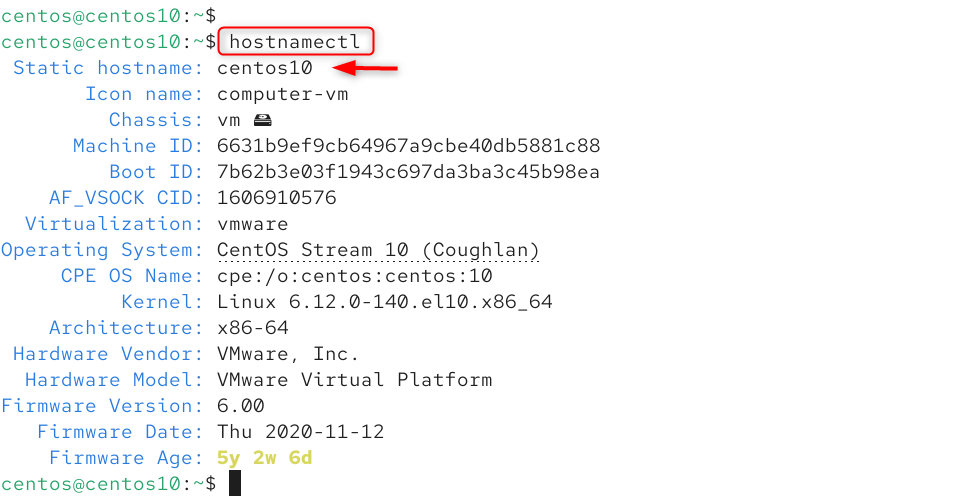
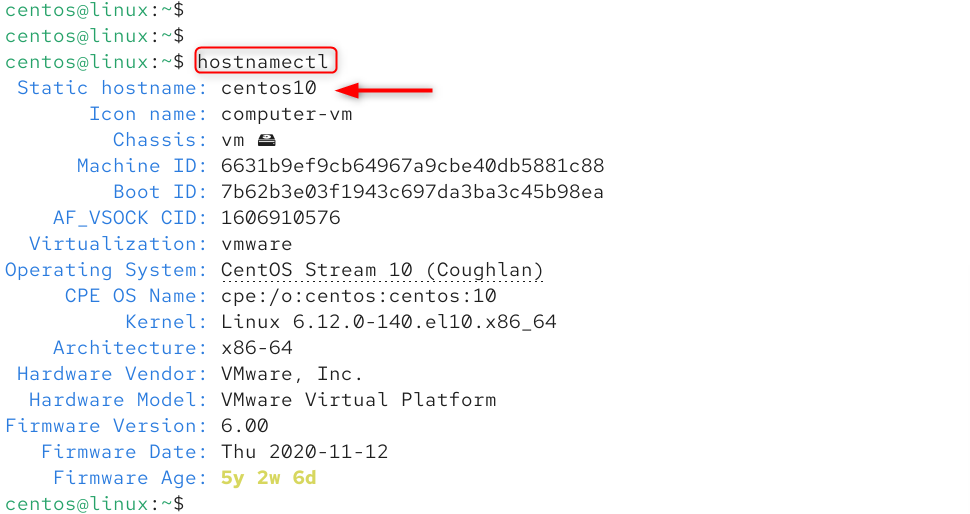
Step 1: Check Current Hostname
Let’s see your CentOS 10 server currently using:
|
hostnamectl |

Step 2: Set a New Hostname
Set your new hostname using this command (replace new-hostname with the name you want):
|
sudo hostnamectl set-hostname new-hostname |


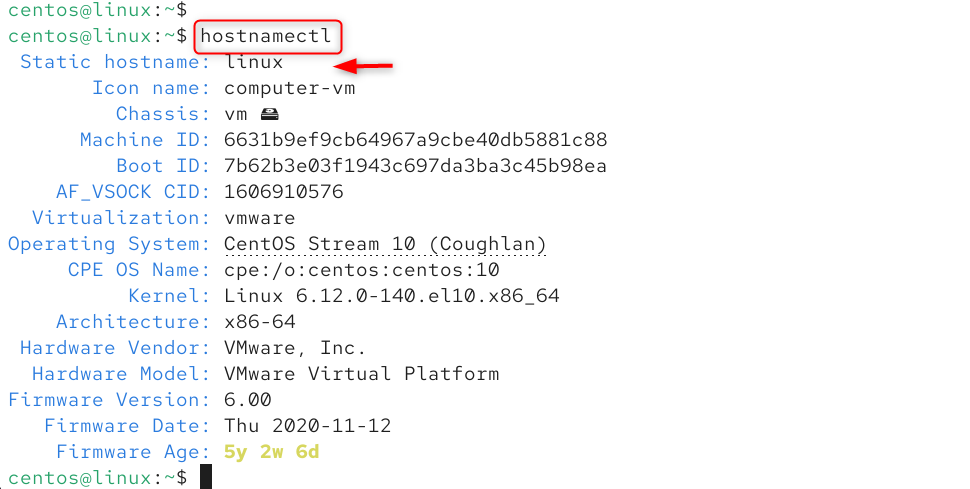
Step 3: Verify the New Hostname
Confirm the successful update of the hostname:
|
hostnamectl |

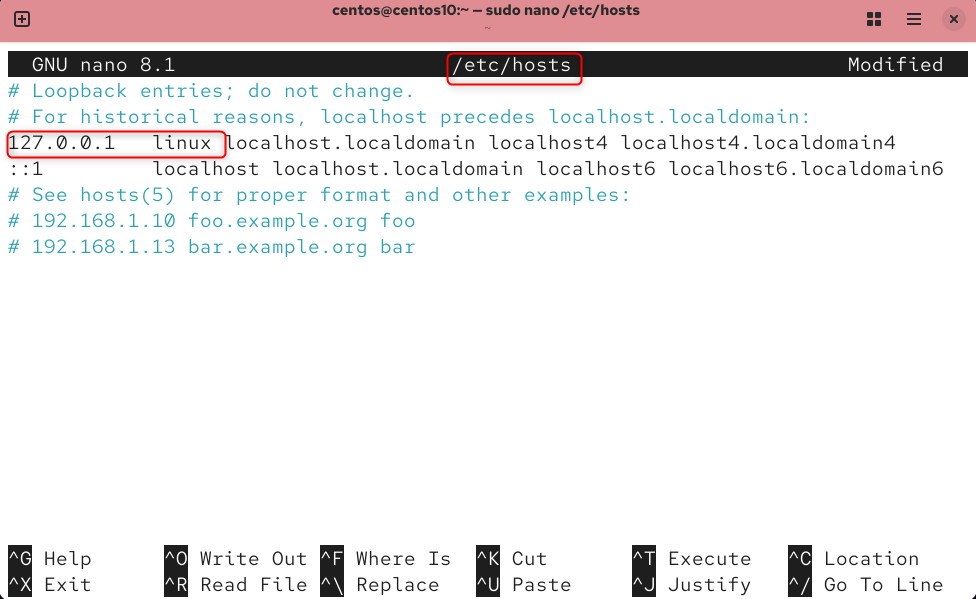
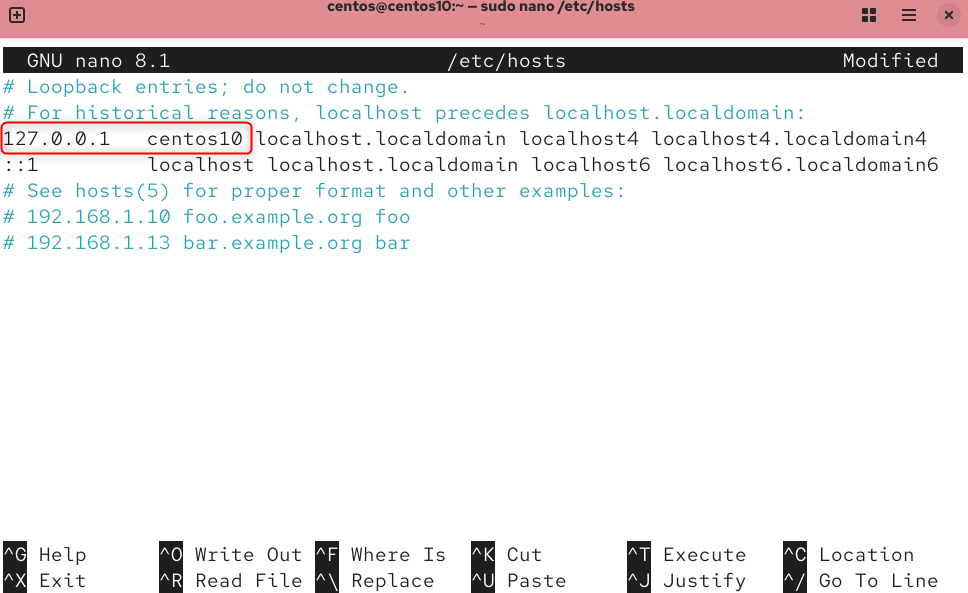
Step 4: Update /etc/hosts (Important for Local Resolution)
Enter your hostname to resolve local services correctly.
|
sudo nano /etc/hosts |
Add or update:
|
127.0.0.1 new-hostname |

Step 5: Reboot (Optional but Recommended)
Some services only detect hostname changes after a reboot:
|
sudo reboot |


Method 2: Change Hostname by Editing /etc/hostname
This method updates the hostname file manually. CentOS 10 allows you to change the hostname easily, but it is important for many reasons. It helps identify your server in a network and improves system organization.
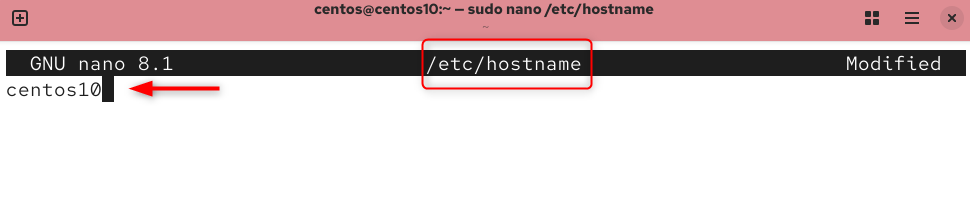
Step 1: Open the Hostname File
This file contains the current hostname.
|
sudo nano /etc/hostname |


Step 2: Replace Old Hostname with New One
The old hostname should be deleted and replaced with the new one.

Step 3: Update /etc/hosts
Make sure local services can resolve the new hostname.
|
sudo nano /etc/hosts |
Modify:
|
127.0.0.1 new-hostname |

Step 4: Apply Changes by Rebooting
This method requires a reboot.
|
sudo reboot |

Method 3: Change Hostname Using NetworkManager (nmcli)
When managing systems, it is useful to know the hostname of the system and its network profile.
Step 1: View Current Hostname
Let’s see the Current Hostname:
|
nmcli general hostname |


Step 2: Set New Hostname
Let’s set the new hostname:
|
sudo nmcli general hostname new-hostname |


Step 3: Restart NetworkManager
This will refresh network settings:
|
sudo systemctl restart NetworkManager |


Step 4: Verify the Updated Hostname
Let’s check the updated hostname:
|
hostnamectl |

That is all for changing the hostname on CentOS 10.
Conclusion
CentOS 10 makes it easy to change the hostname. You can do this using Systemd’s Hostnamectl or by editing hostnames directly. Honamectl is the recommended method because it is faster, safer, and only requires a few steps. Update the hostname when you are configuring a VPS, customizing a local server, or preparing to deploy. This will keep your system organized and easy to manage.