
With a dual-boot setup, you can run two operating systems on one computer. Dual-booting Windows 11 and Ubuntu 24.04 is the ideal way to enjoy what each OS has to offer. You get full gaming and productivity support with Windows 11, while Ubuntu 24.04 is safe, customizable, and a common choice among people who develop software.
In this article, I will discuss how to dual-boot safely and as seamlessly as possible.
How to Dual Boot Windows 11 and Ubuntu 24.04?
With dual booting, you can decide which operating system to use when you start your computer. First, you will need to make a partition on your hard drive where you can install Ubuntu 24.04. After that, grab a USB drive and set up the Ubuntu 24.04 installer on it to make it bootable.
Prerequisite: Check the Dual Boot Requirements
Configuring a machine for dual booting. For a machine to be configured for dual booting, the following things need to be confirmed:
- Need to have the disk partitioned for Windows 11
- An unused partition (We need at least 20GB for Ubuntu 24.04 installation).
- An ISO file of a 24.04 distribution of Ubuntu
- USB Flash drives (at least 5 GB each)
If you want to dual-boot Windows 11 with Ubuntu 24.04, do the following:
Step 1: Back-Up Your Important Files
You should always have a backup image of all important documents, pictures, files, you have before making changes to partitioning or booting settings in the operating system you are working with – you can use any external storage (external USB HDD, USB flash drive, etc.) or one of various cloud based solutions (google drive, one drive, dropbox etc.). This makes it possible for users to recover critical files if, in the worst case, something goes wrong.
Step 2: Make a USB Drive Bootable
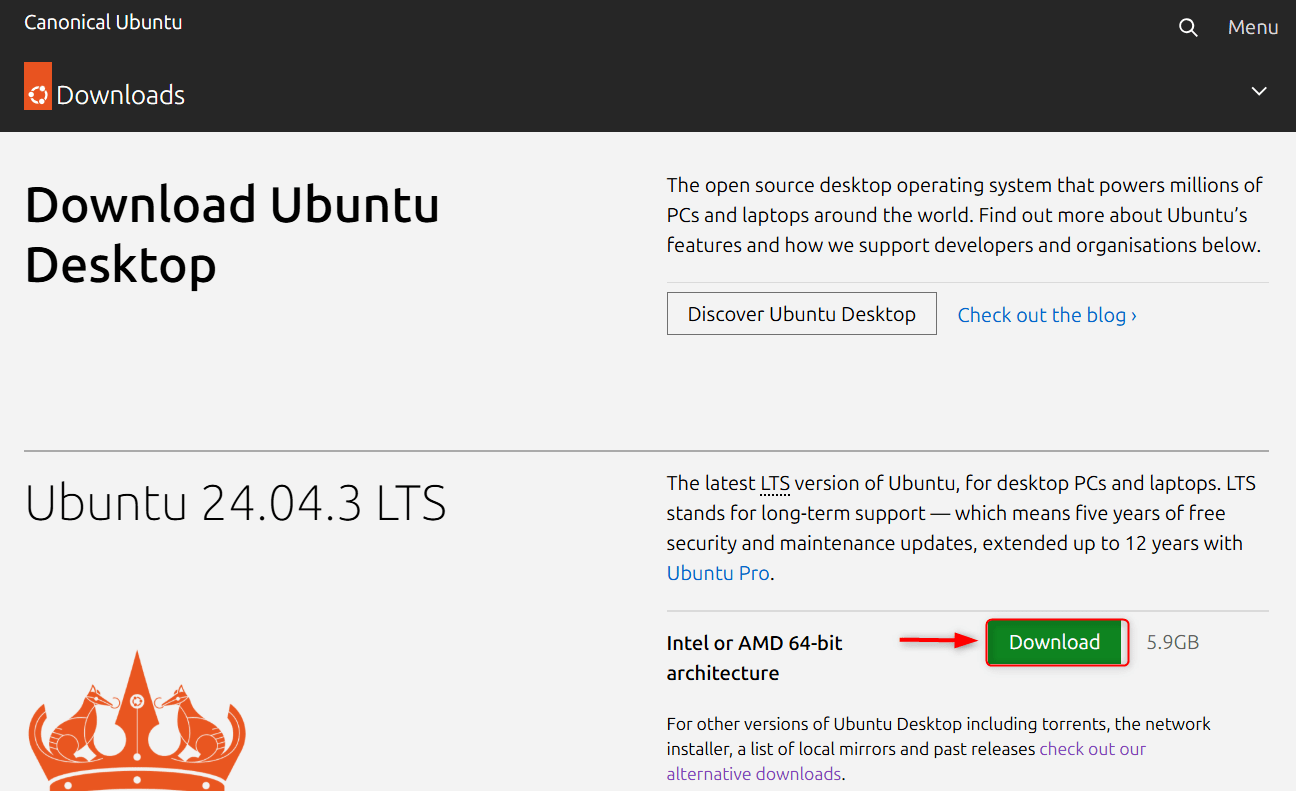
Some of the most popular Linux distros are Ubuntu 24.04 (easy to use), Fedora (innovative), and Debian (stable, customizable). In this case, we choose Ubuntu 24.04 and get the ISO file from their official site.
One will need a tool to make a bootable USB drive, such as Rufus (Windows), Balena Etcher (cross-platform), or UNetbootin, to get this done. We used the Balena Etcher as described above. You can download it from the official website.
Let’s plug in your USB drive. Now, Etcher can be opened. Once the app is open, select the Ubuntu 24.04 ISO file that you downloaded earlier. Now select your USB drive as the location. Finally, hit the “Flash” button:

You can go ahead and eject the ESP now that your USB drive is prepped the way you want it.
Step 3: Partition Your Hard Drive
You need to free up space in your hard disk by shrinking the size of the Windows partition by about 20–40GB (since Ubuntu 24.04 needs its partition). You’ll need to use Disk Management to change the arrangement of your hard disk(s). You can open it by pressing the Windows Key and X and going to the menu.
You will find the primary hard drive, usually labeled as (C:). Ultimately, though, you just want to right-click it and choose the Shrink Volume command:

Then tell how much space you want to shave. Give Ubuntu enough space, I assume about 20GB to install Ubuntu 24.04, but more space if you install a lot of apps, then select Shrink:

Note: Do not partition at this point because when Ubuntu 24.04 carries out the installations, it will do so while you install. Unallocated space will be automatically served to us by Ubuntu 24.04.
Step 4: Turn Off Secure Boot (for UEFI Only)
In the latest computers, Secure Boot is enabled, and it now allows you to run Ubuntu 24.04 on your machine.
You can turn off Secure Boot by rebooting the system and entering the BIOS/UEFI settings by pressing F2, F12, DEL, or ESC (the key to press depends on the manufacturer). Last but not least, find the Secure Boot option in the Security settings and select Disabled. And now you can back out of the interface again, then save changes:

Step 5: Boot into the Ubuntu 24.04 Installer
To initiate the installation, first reboot the system. Upon system startup, you will need to watch the screen and interrupt the normal boot process by pressing a key, which may be F12, ESC, or possibly another key, depending on the computer model. It will show you the Boot Menu. (This can vary from system to system as well.)
From the list of boot options, select your USB Memory and hit Enter to ensure the boot order will begin with the USB:

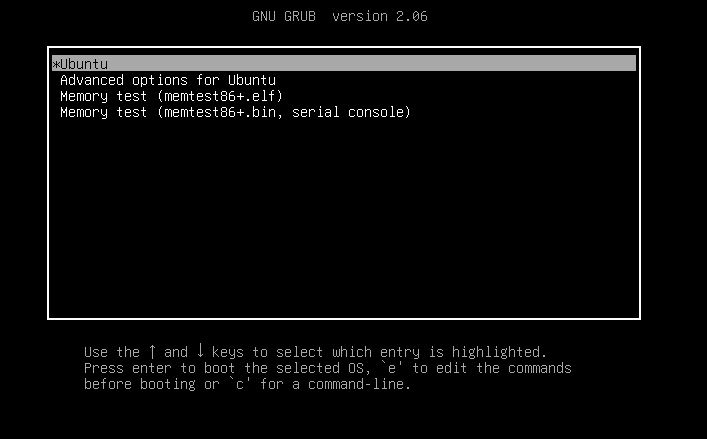
Most Linux OS include the ‘Ubuntu’ option. In our case, let’s choose ‘Ubuntu’:
Follow the onscreen instructions and continue by picking the language, region, date, time, etc.:

Step 6: Install Ubuntu 24.04
There are many methods to reinstall Ubuntu. From the Install Type window, select how you want to do it:
- Erase disk and install Ubuntu: This choice removes the current OS and installs it anew.
- Manual partitioning: Use this if you want to modify the partitioning, but only if you know what you are doing and if you have at least one additional partition to keep the existing OS on.
Select “Erase disk and install Ubuntu” to start. This will erase all of the current data and perform an installation of Ubuntu. This option is best to use when you have good data backups:

For more advanced needs in setting up your disks, reach for the Manual option. Hard Drive: Select the Unallocated Space you made and click ‘+’, format it to ext4, which is the file system for Linux, shown with the Linux OS. Optionally, if RAM is restricted, create a swap partition for the system memory (the same size as or twice the size of your RAM). Also, choose the installation location of the bootloader; the drop-down selection should offer you the drive it is on (should be the same drive, eg,/dev/sda, if Windows is also hosted there).
Enter the name, computer name, username, and password for your Linux distribution account. Afterwards, click the Next button. This step is a bit time-consuming:

Then, you will be prompted with what you see in the interface to complete the installation:

Click on the Restart now button when the Ubuntu 24.04 installation is complete:

Step 7: Test and Reboot
When you reboot, your system is now checking to make sure the dual-boot option is working. Then the GRUB menu will show up, and you can choose between Ubuntu 24.04 or Windows. For instance, if you opt to boot into the OS, Ubuntu 24.04, verify that you can start both operating systems without any issues:

Important: If Windows is not showing up in the GRUB menu, you need to run 24.04 and execute the command sudo update-grub inside a terminal. This would allow Windows to boot on the list. If you have issues booting into Linux, ensure that Secure Boot is disabled.
Now you can launch your Ubuntu 24.04 Linux distribution and play with it:

That’s it for the guide to dual-boot Ubuntu 24.04 and Windows 11.
Conclusion
Users can install both Windows 11 and Ubuntu 24.04 on one computer by dual-booting. Whether you’re a developer, student, or just an average user, the configuration gives you general work in Windows 11, and Ubuntu 24.04 allows for extensive customizations and security. Using the above steps will result in a safe installation of Ubuntu 24.04 alongside Windows 11 with no data loss.


Leave feedback about this