
Update MySQL on CentOS 10 to ensure your database server is secure, performs well, and is compatible with modern applications. Each new MySQL version brings with it important security patches and bug fixes, as well as performance improvements to help your system run smoothly. It’s important to follow the correct process when performing a minor release update or upgrading to a major release to avoid data loss and downtime.
This guide will show you how to upgrade MySQL on CentOS 10, step-by-step. It includes both the official MySQL Yum repository as well as manual RPM methods.
How to Update MySQL on CentOS 10
Updating MySQL in CentOS 10 is an important maintenance task. It improves stability, security, and performance. This process includes backing up databases, updating repositories, and running the upgrade command.
Step 1: Check Current MySQL Version
It’s important that you identify the MySQL version installed before starting. Run the following command.
|
mysql –version |
|---|

You can use this to determine whether the update is a minor one (e.g., 8.0.30-8.0.44) or a major one (e.g., 5.7-8.0), since the procedure differs slightly between the two.
Step 2: Backup Your Databases
Backups are mandatory before any upgrade. It can be devastating to lose critical data when an update is interrupted.
|
sudo mysqldump –all-databases –single-transaction –quick –lock-tables=false > /root/all_databases_backup.sql |
|---|

Step 3: Update System Packages
Make sure that your CentOS 10 system has the latest updates before you update MySQL.
|
sudo yum update |
|---|
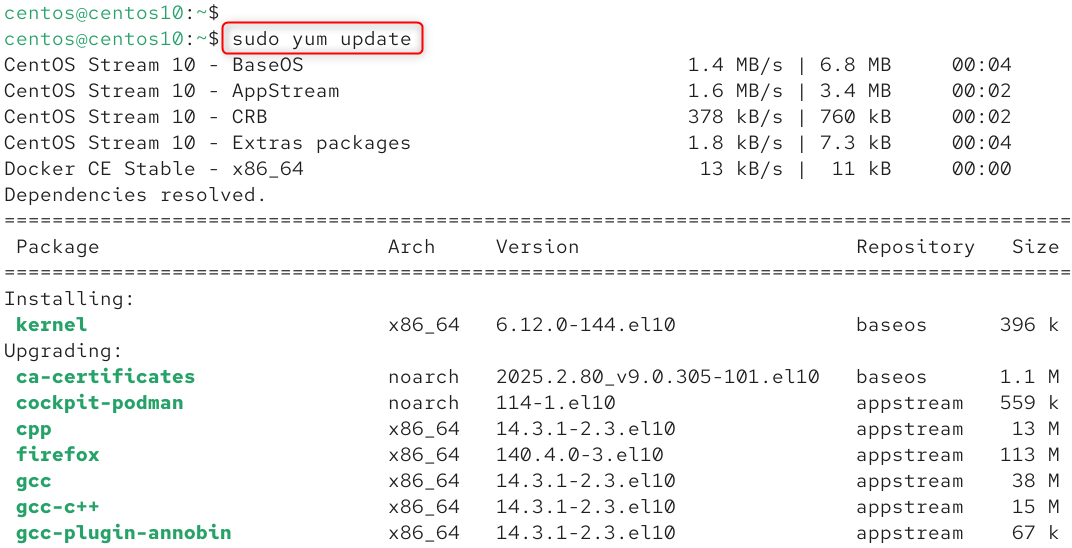
The MySQL upgrade will be free of dependency problems. The updated system packages reduce the risk of conflicting versions.
Step 4: Add or Verify the Official MySQL Yum Repository
You need to enable the MySQL repository on your server if it is not already enabled.
|
sudo wget https://dev.mysql.com/get/mysql80-community-release-el7-3.noarch.rpm |
|---|
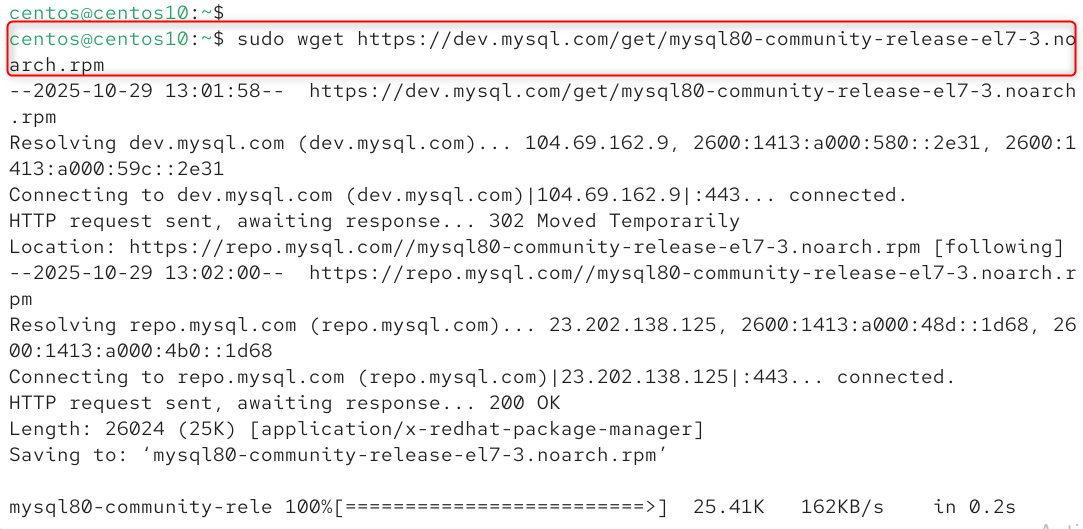
This will install the official MySQL repository for CentOS 10 as well as list available MySQL repositories.
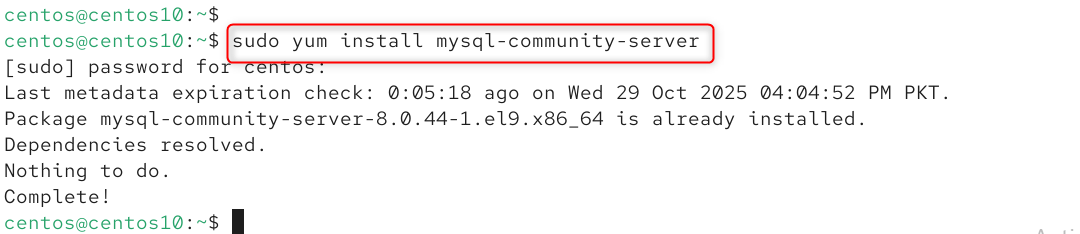
If not, you can install via the following command.
|
sudo yum install mysql-community-server |
|---|
You can enable or disable certain versions.
|
sudo yum config-manager –enable mysql80-community |
|---|

It is important to upgrade CentOS or install the latest MySQL version 8.0.
Step 5: Upgrade MySQL Server
After the repository has been configured, execute the update command.
|
sudo yum upgrade mysql-server -y |
|---|

This command will automatically upgrade the MySQL packages, including mysql, mysql client, mysql common, and other dependent packages, from the official repository.
Verify the installed version after completion.
|
mysql –version |
|---|

Step 6: Restart and Run the MySQL Upgrade Tool
Restart the MySQL service after updating.
|
sudo systemctl restart mysqld |
|---|

Run the MySQL upgrade command.
|
sudo mysql_upgrade -u root -p |
|---|
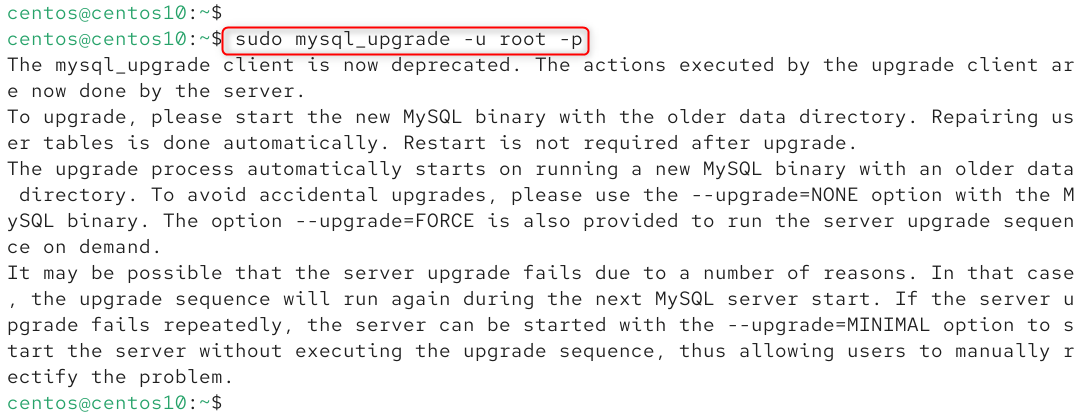
Mysql_upgrade updates and checks all tables, grants and system databases in order to match the structure of the new MySQL version. This ensures smooth performance and backward compatibility.
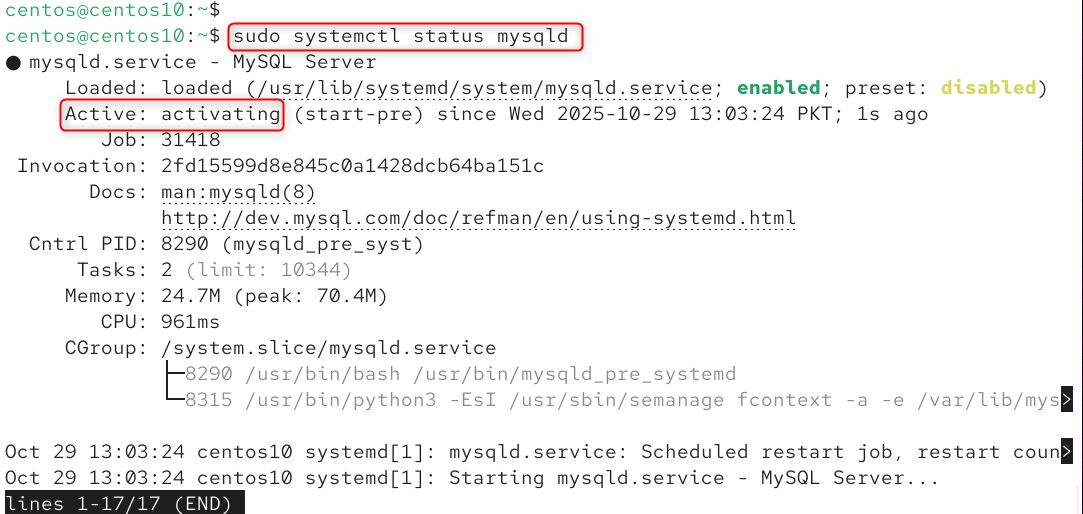
Step 7: Verify the Upgrade
After the update is complete, verify that MySQL runs properly. Check the status of your service.
|
sudo systemctl status mysqld |
|---|
Log in to MySQL:
|
mysql -u root -p |
|---|

Your update is complete if MySQL starts and displays the new version number. Check the logs for any warnings.
|
sudo tail -f /var/log/mysqld.log |
|---|

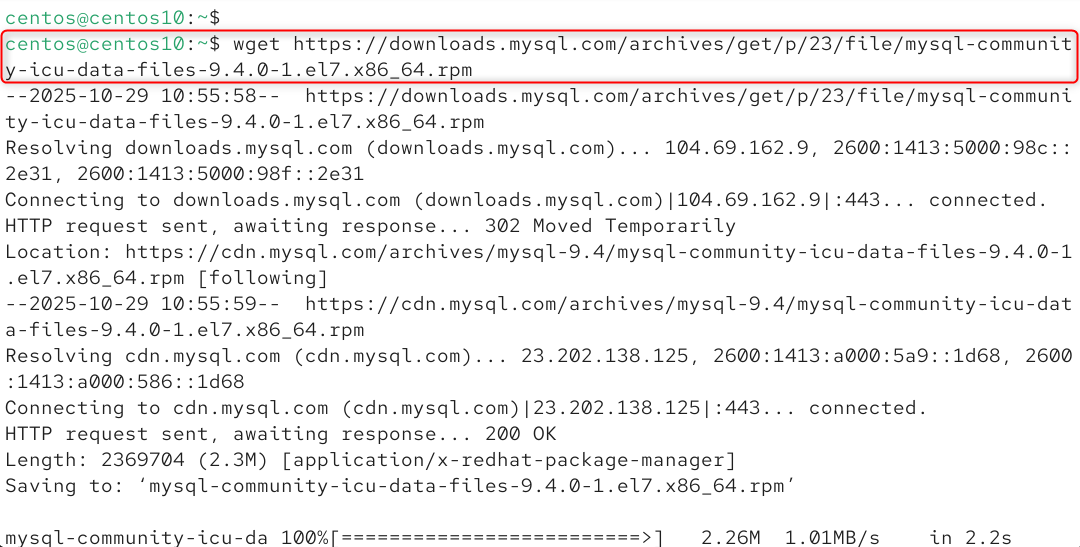
Step 8: Alternative Method (Manual RPM Update)
You can download and manually install the RPM packages if you don’t use the Yum repository. To do so, go to the MySQL Downloads Page. Then, download the required RPMs for CentOS 10.
|
wget https://downloads.mysql.com/archives/get/p/23/file/mysql-community-icu-data-files-9.4.0-1.el7.x86_64.rpm |
|---|
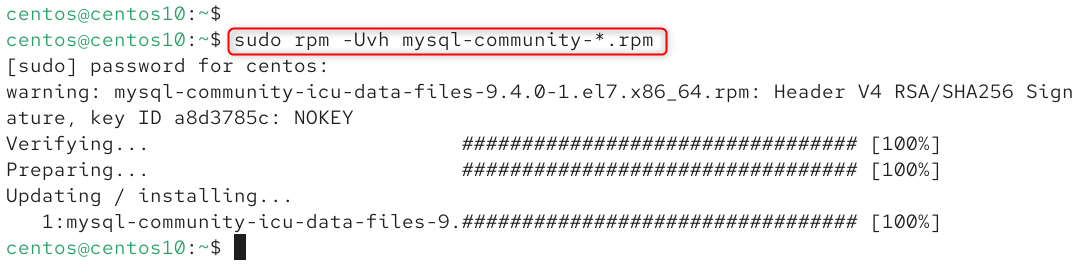
Install or update MySQL.
|
sudo rpm -Uvh mysql-community-*.rpm |
|---|
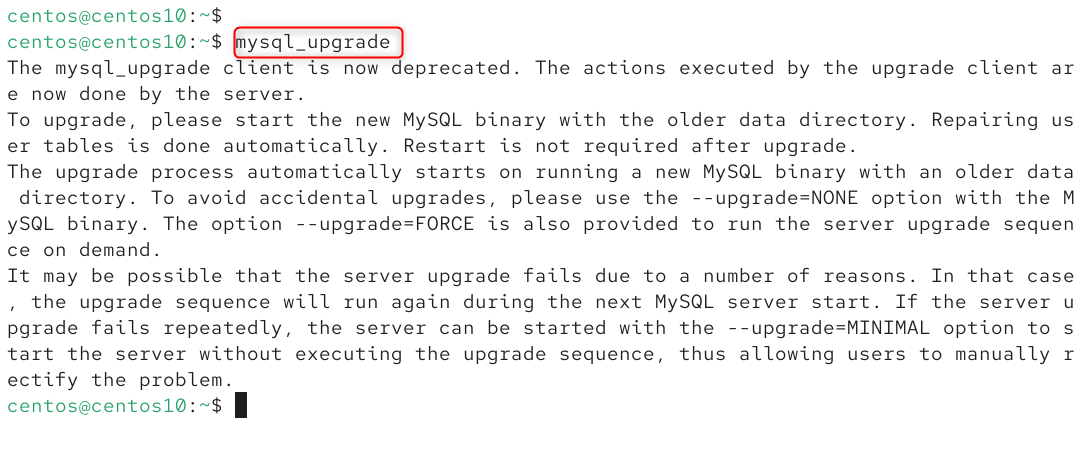
Start MySQL again and run mysql_upgrade.
|
mysql_upgrade |
|---|
This method can be used for systems that are air-gapped or have restricted internet access. However, it is more susceptible to dependency problems than Yum.
Step 9: Post-Update Maintenance
Follow these best practices once your MySQL server has been updated:
Enable MySQL on Boot:
|
sudo systemctl enable mysqld |
|---|

Step 10: Clean Up and Secure MySQL
Remove old and unnecessary package data.
|
sudo dnf clean all |
|---|

Run to reinforce security
|
sudo mysql_secure_installation |
|---|

This tool allows you to reset the root password and remove anonymous users. It also disables remote root login.
These steps will allow your CentOS 10 to run the most recent version of MySQL, which is optimized, secure, and ready for today’s workloads.
Conclusion
Update MySQL on CentOS 10 by first checking the current version with mysql –version. Then, back up all databases using mysqldump > backup.sql. This will prevent data loss. Next, update your system packages using sudo dnf update -y and install the MySQL Yum repository with sudo dnf install https://dev.mysql.com/get/mysql80-community-release-el10-1.noarch.rpm -y.
Use sudo upgrade mysql server -y and enable the desired MySQL version with sudo configure-manager –enable-mysql80community. After installing, restart the mysqld service using sudo systemctl start mysqld. Then execute sudo mysql_upgrade –u root –p to upgrade databases to the latest version. Finalize the process by verifying that MySQL is working properly on your CentOS 10 computer using mysql -version.


Leave feedback about this