
HAProxy is a widely used open-source load balancer that enhances the efficiency and dependability of web applications. It manages incoming traffic by distributing it among multiple servers, preventing any single server from overloading. This approach helps ensure continuous availability and system stability. Ubuntu, a leading Linux distribution, is an excellent platform for deploying HAProxy due to its reliability and ease of use.
This guide demonstrates different steps of how to install HAProxy on Ubuntu 24.04 LTS system. In addition, we’ll also explain how to configure load balancing and high availability of servers via HAproxy.
Prerequisites
You should have the following prerequisites to install and configure HAproxy on Ubuntu 24.04:
- Ubuntu 24.04 LTS server should be running on your machine or inside a Hypervisor.
- Root privileges or sudo access
- Your system should have a stable internet connection that will help you download the necessary packages.
Additionally, you should have a fundamental understanding of networking and load balancing that will help you fully utilize HAProxy’s capabilities.
Installing HAProxy on Ubuntu 22.04
To get HAProxy up and running on Ubuntu 22.04, follow these simple steps:
1. Update System Packages List
It is recommended that the system’s package list be up to date before installing HAProxy on Ubuntu 22.04.
Start by refreshing your system’s package list and upgrading existing packages with this command:
$ sudo apt update
To upgrade system packages use:
$ sudo apt upgrade
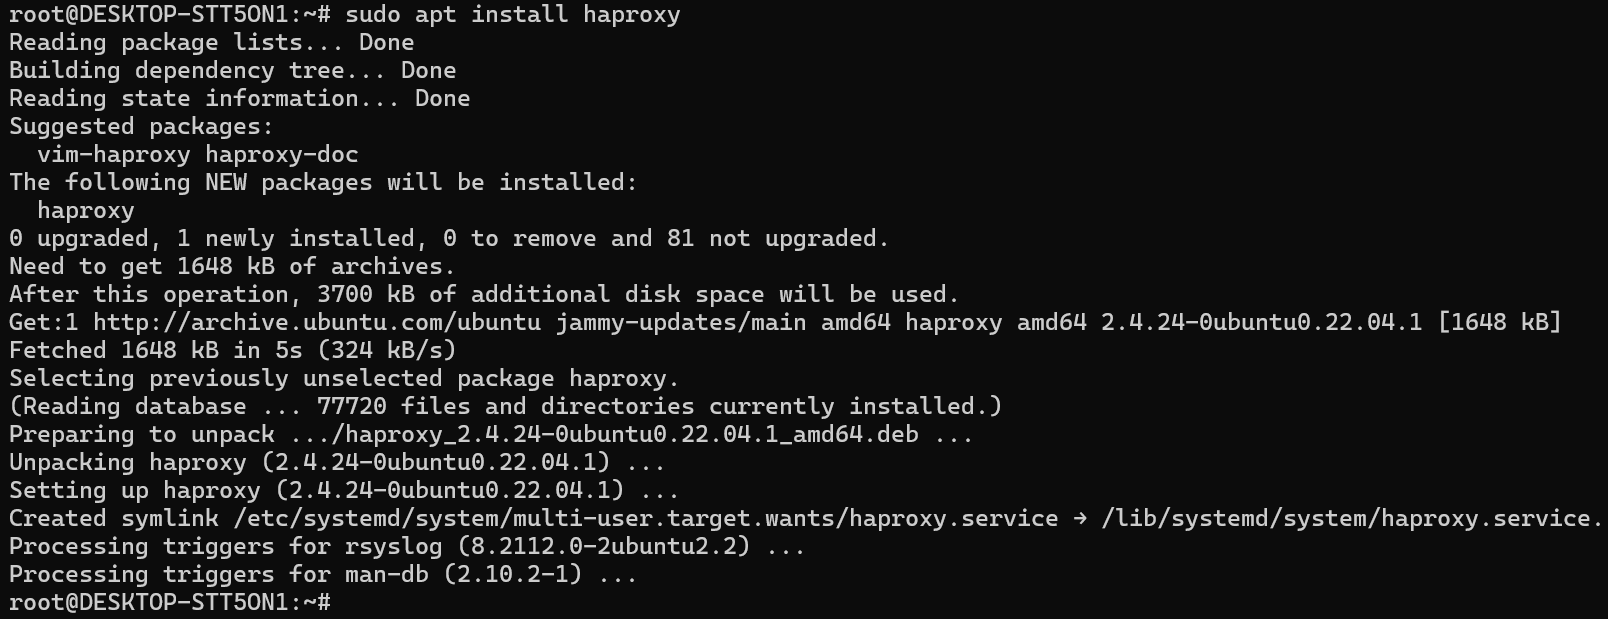
Step 2: Installing HAProxy on Ubuntu 24.04
To install HAProxy on Ubuntu 24.04, use the system’s default apt packages repository by running the below command:
$ sudo apt install haproxy

3. Check HAProxy Version
After installing HAProxy on Ubuntu, you can verify its installation by checking the installed version number:
$ sudo haproxy -v


4. Start HAProxy Service
You can launch the HAProxy service using the systemctl tool.
$ sudo systemctl start haproxy
This command instructs the system’s service manager (systemctl) to launch the HAProxy service.
To ensure HAProxy starts automatically whenever the system reboots, enable it with:
$ sudo systemctl enable haproxy


This sets HAProxy to launch on boot by creating a persistent service link in the system’s startup configuration.
To check whether HAProxy is running and active, use:
$ sudo systemctl status haproxy


This displays details about HAProxy’s current state, including whether it is running, stopped, or encountering issues.
Configuring Load Balancing with High Availability
HAProxy is managed using its configuration file and command-line interface (CLI). After installing HAProxy, a default configuration file is created at /etc/haproxy/haproxy.cfg. This file is where you set up load balancing rules and traffic handling options.
You can open and edit it using any command-line text editor of your choice, such as nano or vim.
Open the configuration file. To activate load balancing and enabling high availability, you’ll open the configuration file for modification: /etc/haproxy/haproxy.cfg.
$ sudo nano /etc/haproxy/haproxy.cfg
In this file, paste the following code:
globallog /dev/log local0
log /dev/log local1 notice
chroot /var/lib/haproxy
stats socket /run/haproxy/admin.sock mode 660 level admin
stats timeout 30s
user haproxy
group haproxy
daemon
defaults
log global
mode http
option httplog
option dontlognull
timeout connect 5000
timeout client 50000
timeout server 50000
errorfile 400 /etc/haproxy/errors/400.http
errorfile 403 /etc/haproxy/errors/403.http
errorfile 408 /etc/haproxy/errors/408.http
errorfile 500 /etc/haproxy/errors/500.http
errorfile 502 /etc/haproxy/errors/502.http
errorfile 503 /etc/haproxy/errors/503.http
errorfile 504 /etc/haproxy/errors/504.http
frontend http_front
bind *:80
default_backend http_back
backend http_back
balance roundrobin
server server1 192.168.1.5:80 check
server server2 192.168.1.6:80 check

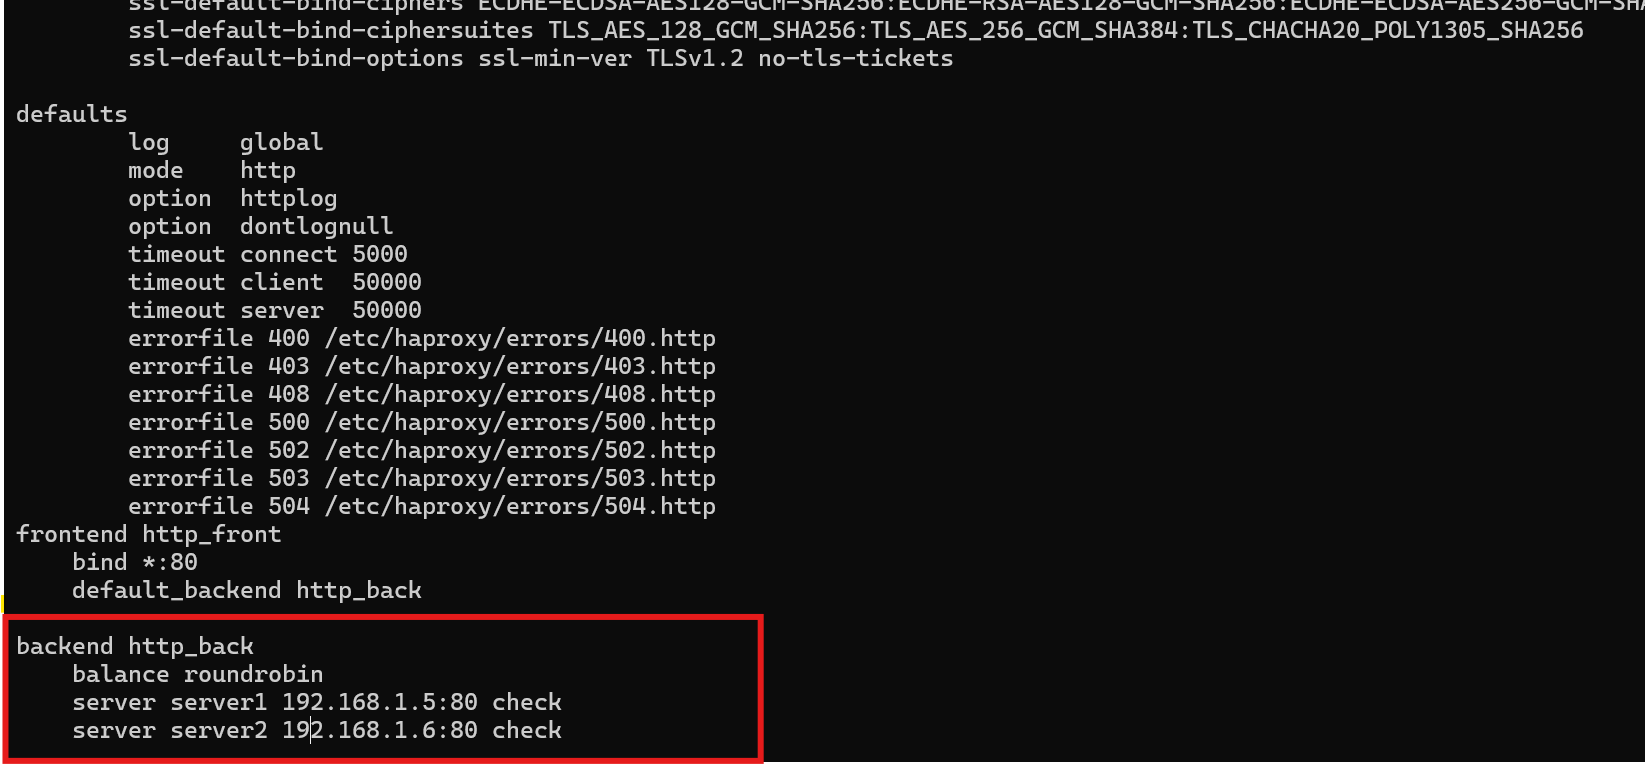
In this HAProxy configuration, load balancing is managed using the balance roundrobin method, which distributes incoming traffic evenly between the two servers. This ensures no single server is overloaded, improving performance and response times. The frontend http_front listening on port 80 and forwards incoming requests to the http_back backend. In the backend, traffic is balanced between two servers: 192.168.1.5 and 192.168.1.6.
For high availability, the check option in the backend continuously monitors the health of both servers. If one server fails, HAProxy automatically redirects all traffic to the remaining active server, preventing downtime. This failover mechanism ensures that users experience uninterrupted service even if a server goes offline, making the system more resilient and reliable.
After configuring HAProxy settings, restart all services to enable all changes using this command:
$ sudo systemctl restart haproxy
$ sudo systemctl enable haproxy


Once you’ve restarted the service, you can verify it’s running by using the following command:
$ sudo systemctl status haproxy


The above screenshot confirms that the load balancer is up for HAProxy and running on your system.
Conclusion
We have demonstrated how to install HAProxy on Ubuntu 24.04 and configuring it up for load balancing and high availability. For additional information, you may refer to the HAProxy Official Documentation. It provides comprehensive details on configuration, load balancing, performance tuning, security, and troubleshooting. However, please note that we cannot guarantee the accuracy or timeliness of external sources.
Frequently Asked Questions
sudo apt update followed by sudo apt install haproxy. This installs the latest version available in Ubuntu’s repositories. /etc/haproxy/haproxy.cfg. This is where you define frontends, backends, and load balancing rules. systemctl status haproxy to check its status. You can also verify with sudo netstat -tulnp | grep haproxy if netstat is installed. sudo systemctl enable haproxy. This sets HAProxy to launch automatically at system startup.