
GCC, the GNU Compiler Collection, is an essential component of the development system for Linux-based distributions and other operating systems. It provides front ends for programming languages such as C and C++.
Installing GCC on Ubuntu 24.04 is an easy process. This technical blog will illustrate the necessary steps to install and test GCC on your Linux system (i.e., Ubuntu 24.04).
How to Install GCC Compiler on Linux (Ubuntu 24.04)?
This technical blog will demonstrate the following topics:
- How to Install GCC Compiler on Ubuntu 24.04?
- How to Test the GCC compiler on the Ubuntu 24.04 system?
- How to Remove GCC Compiler from Ubuntu 24.04 System?
How to Install GCC Compiler on Ubuntu 24.04?
The below instructions will provide the detailed procedure for installing the GCC compiler on Linux.
Step 1: Update System Repository
At the beginning of installing any package on your Linux systems, such as Ubuntu 24.04, run the following update command:
sudo apt update |
|---|

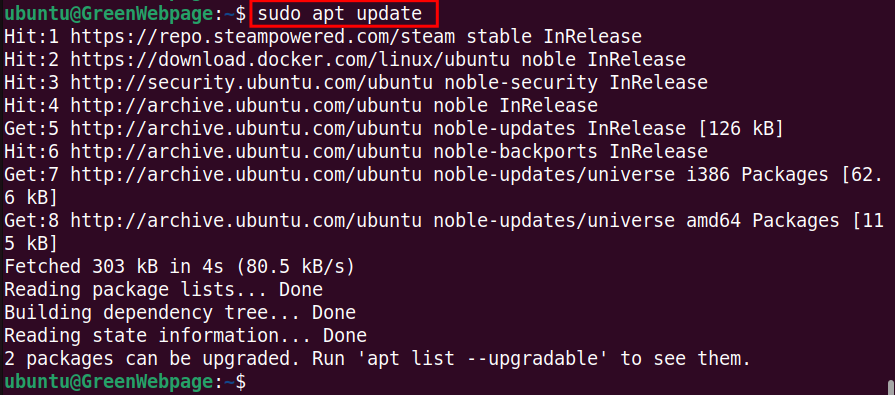
The updating of your system repository will enhance performance and boost your machine.
Step 2: Install GCC
2.1: Install GCC via Build-essential
The following command will install the necessary libraries and package files, including the GCC compiler, on your system:
sudo apt install build-essential -y |
|---|

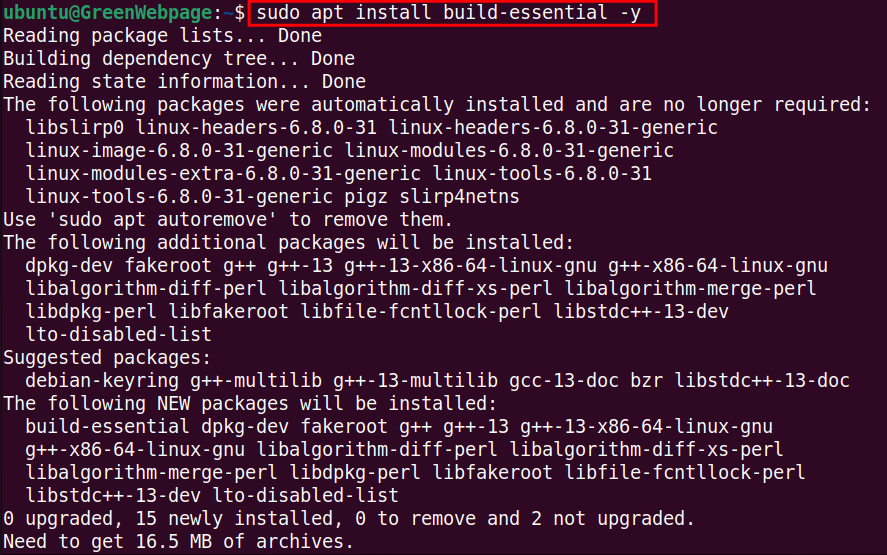

The above snapshot shows that your Linux systems have installed packages such as g++ and gcc (i.e. Ubuntu 24.04).
2.2: Install GCC compiler via APT
Alternatively, you can install the GCC compiler through the APT package installer:
sudo apt install gcc -y |
|---|

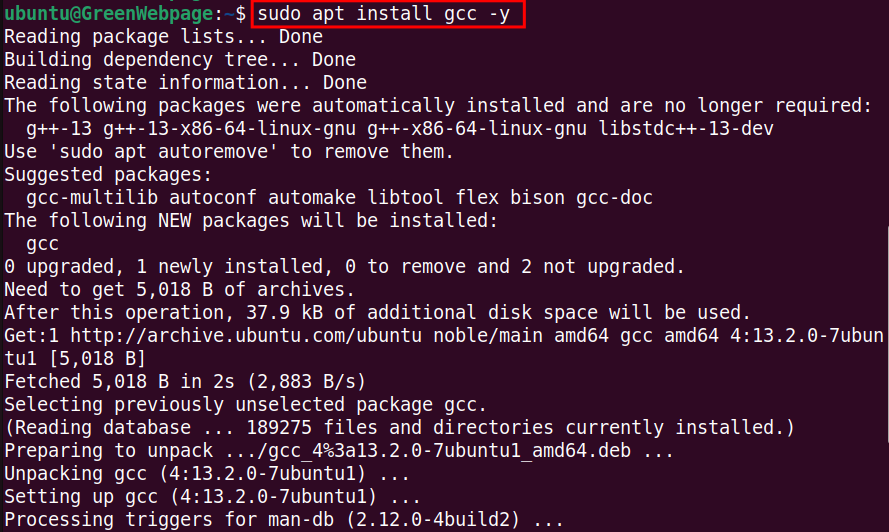

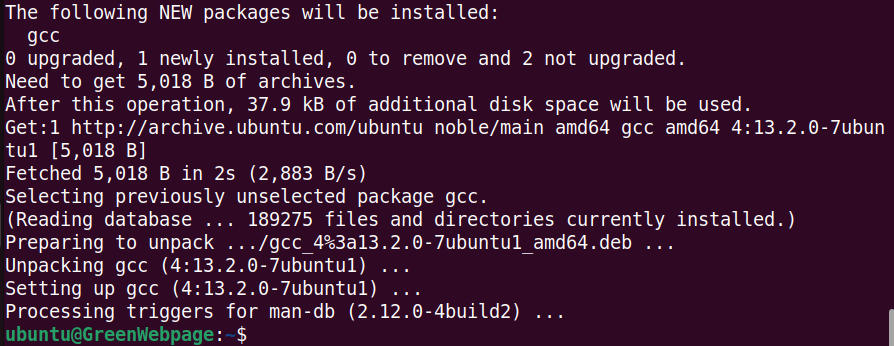
During installation, you will find that the newest version of GCC compiler is installed on your Ubuntu 24.04 machine.
Step 3: Check GCC Version
After installing the GCC compiler, print the version number using the command:
gcc --version |
|---|


The command prints the newest GCC compiler version installed on your Linux systems, like the Ubuntu 24.04 system.
How to Test the GCC compiler on the Ubuntu 24.04 system?
You can test the GCC compiler using these steps.
Step 1: Create a “test.c” file
For testing a GCC compiler, create a “test.c” file in your preferred location. For instance, this command will create a C programming file in the “Home” directory:
nano test.c |
|---|

In the test.c file, write a short script in C programming, something like “Hello world!”:
#include <stdio.h>

int main() {
printf("Hello World!\n");
printf("This is GCC test file\n");
}
|
|---|
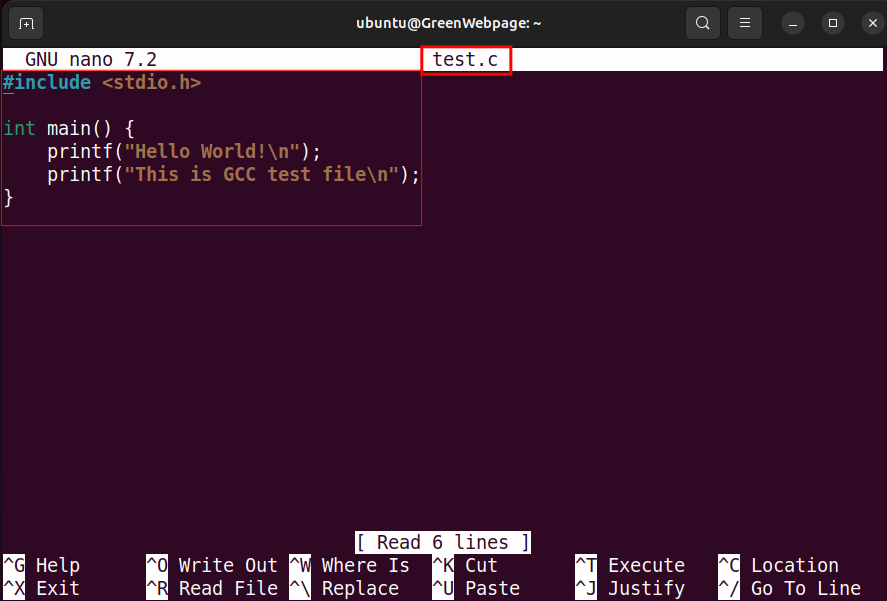

Use the Ctrl+S to save the file.
Step 2: Compile the file “test.c”
Compile the file “test.c” into an executable “test” using the command:
gcc test.c -o test |
|---|

The GCC compiler will make an executable file “test” instead of the default name.
Step 3: Run the “Test” File
You can run the “test” file to print the result with the following command
./test |
|---|


If the command prints a “Hello World!” message on your screen, it shows that the GCC compiler is installed and working perfectly on your Ubuntu 24.04, a Linux-based machine.
How to Remove GCC Compiler from Ubuntu 24.04 System?
Follow these simple instructions to remove the GCC compiler from your Ubuntu 24.04 system.
Step 1: Remove the GCC
To remove the GCC compiler from your Ubuntu 24.04 system, use this command:
sudo apt remove gcc -y |
|---|


When the above command runs, it will remove packages like gcc, g++, and build-essential from your Ubuntu 24.04 system.
Conclusion
The GCC compiler can be easily installed on any Linux distribution, including the Ubuntu 24.04 system. On Ubuntu, you can use the “sudo apt install build-essential -y” or “sudo apt install gcc -y” to install the GCC compiler. To compile the source file, simply use “gcc file.c -o file” from the terminal.