MongoDB is a database that is used for storing information to manage your project data. These data can be from websites and other applications. It is popular for manipulating data faster and more efficiently. Furthermore, MongoDB provides a powerful query language that supports complex queries.
The article covers how to install MongoDB in the Debian 12 system.
How to Install MongoDB in Debian 12?
The installation process of MongoDB can be initiated through the following procedural steps.
Step 1: Install “gnupg” and “curl”
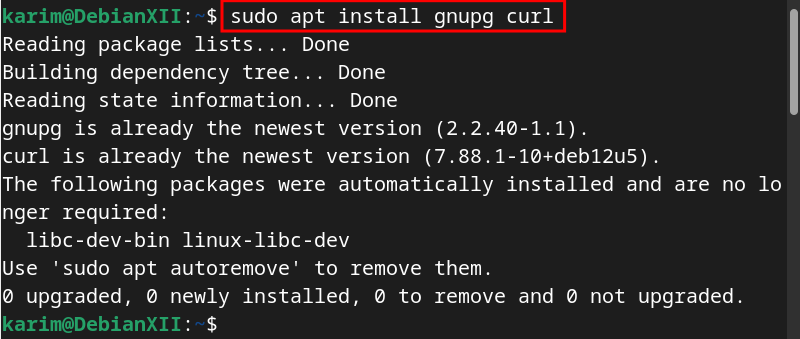
To download and fetch the required packages for MongoDB, first ensure that your system has the necessary dependencies, such as “gnupg” and “curl”:
sudo apt install gnupg curl |
|---|
You will find the above message on your screen if they are already installed.
Step 2: Download MongoDB GPG Key
Through the following command, download the MongoDB public GPG key and save it to the “/usr/share/keyrings” directory:
curl -fsSL https://www.mongodb.org/static/pgp/server-7.0.asc | \ sudo gpg -o /usr/share/keyrings/mongodb-server-7.0.gpg \ --dearmor |
|---|
The command successfully downloaded and saved the public GPG key to the specified directory on your system.
Step 3: Add MongoDB to the Source List
Execute the presented command to add the MongoDB repository to the list of package sources (i.e. sources.list.d) on your Debian 12 system:
echo "deb [ signed-by=/usr/share/keyrings/mongodb-server-7.0.gpg ] http://repo.mongodb.org/apt/debian bookworm/mongodb-org/7.0 main" | sudo tee /etc/apt/sources.list.d/mongodb-org-7.0.list |
|---|
MongoDB has been added to your system’s source list. Now, you can easily install the package on your Debian 12 system.
Step 4: Refresh System Repository
By utilizing the “update” option, your system will refresh and update the newly added files:
sudo apt update |
|---|
Step 5: Install MongoDB via APT
Upon completing the steps mentioned above, your system is now ready to install the MongoDB package on your Debian 12 system. Simply, use the APT package installer to begin the installation process:
sudo apt install mongodb-org -y |
|---|
Without encountering any errors indicating that you have completed the installation process, successfully.
Step 6: Check MongoDB Version Number
Use the “–version” with “mongod” command to check the installed version of MongoDB on your Debian 12 system:
mongod --version |
|---|
You will find the version number of MongoDB, such as “7.0.6” on your terminal screen.
How to Uninstall MongoDB from Debian 12?
Step 1: Stop MongoDB Services
To start the uninstallation process, first, you need to stop the MongoDB services on your system using the command:
sudo service mongod stop |
|---|
Step 2: Uninstall MongoDB
Next, execute the “purge” command in the following manner to start removing the MongoDB and its associated files from your system:
sudo apt purge "mongodb-org*" |
|---|
During the removal process, you can inspect the files that have been removed from your system.
Step 3: Verify MongoDB after Uninstallation
After finishing the removal process, you can verify using the command:
mongod --version |
|---|
The above message, displayed on your screen, indicates that MongoDB no longer exists on your Debian 12 system.
Conclusion
MongoDB can be installed on Debian 12 using simple commands. First, you need to prepare your system by installing the necessary dependencies, then run the command “sudo apt install mongodb-org -y” to install the MongoDB package on your system.
This article covers how to install MongoDB on your Debian 12 system. Additionally, you can remove the MongoDB via the command “sudo apt purge “mongodb-org*”.
