MongoDB is a popular NoSQL database, used in modern web applications, APIs, and real-time analytics. It’s also widely used by microservices. Debian 13 Trixie offers a stable and secure platform for MongoDB deployments. This is true whether you are running a production or development server, a VPS, a virtual private server, or a development environment.
This guide will cover all the possible ways to install MongoDB in Debian 13, from using the official MongoDB repositories to manual and container-based setups.
Table of Content
- What Is MongoDB and Why Use It on Debian 13?
- How to Install MongoDB on Debian 13
- How to Uninstall MongoDB on Debian 13
- Conclusion
What Is MongoDB and Why Use It on Debian 13?
MongoDB, a NoSQL document-oriented database, stores data as flexible JSON documents rather than rigid tables. It’s designed for high performance, scalability, and availability.
Why MongoDB Is Popular
Debian 13 is a stable operating system that’s a great choice for MongoDB production.
- Schema-flexible data storage
- High-performance read/write operations.
- Built-in replication, sharding, and replication
- Support for modern applications is excellent.
- Community and ecosystems of large size
How to Install MongoDB on Debian 13
When you select the best method for your needs, installing MongoDB in Debian 13 will be simple. Docker and Snap can be used for testing and development, but the official MongoDB repository works best for production. Debian’s stability combined with MongoDB’s flexibility creates a powerful database suitable for modern APIs, backend systems, and applications.
Method 1: Install MongoDB Using the Official MongoDB Repository (Recommended)
It is the most reliable and best method to install MongoDB in Debian 13, as it uses the latest stable release directly from MongoDB.
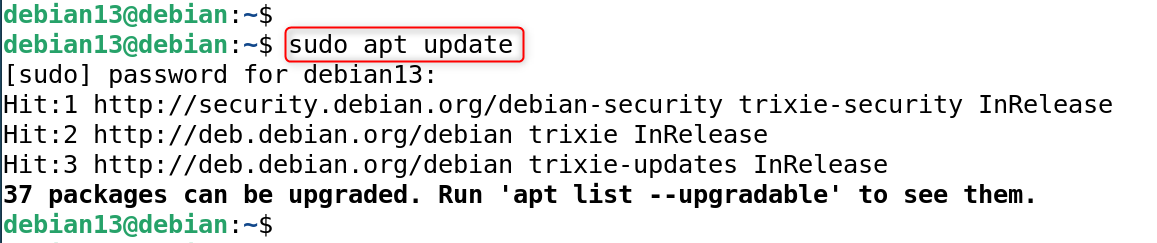
Step 1: Update the System
Updating your system will ensure compatibility with MongoDB and its kernel modules.
|
sudo apt update |
|---|

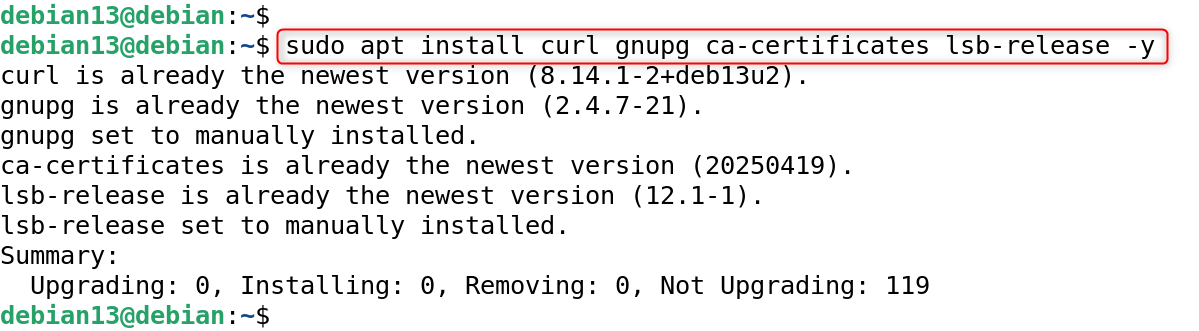
Step 2: Install Required Packages
These packages enable secure communication with MongoDB’s official repository.
|
sudo apt install curl gnupg ca-certificates lsb-release -y |
|---|

Step 3: Import MongoDB GPG Key
The GPG key is used to verify the authenticity of the MongoDB package.
|
curl -fsSL https://pgp.mongodb.com/server-7.0.asc | \ sudo gpg –dearmor -o /usr/share/keyrings/mongodb-server.gpg |
|---|


Step 4: Add MongoDB Repository
This will add MongoDB’s repository to Debian so that it can get MongoDB packages.
|
echo “deb [ signed-by=/usr/share/keyrings/mongodb-server.gpg ] \ https://repo.mongodb.org/apt/debian bookworm/mongodb-org/7.0 main” | \ sudo tee /etc/apt/sources.list.d/mongodb-org.list |
|---|

![echo "deb [ signed-by=/usr/share/keyrings/mongodb-server.gpg ] \](http://greenwebpage.com/community/wp-content/uploads/2026/01/word-image-16002-4.png)
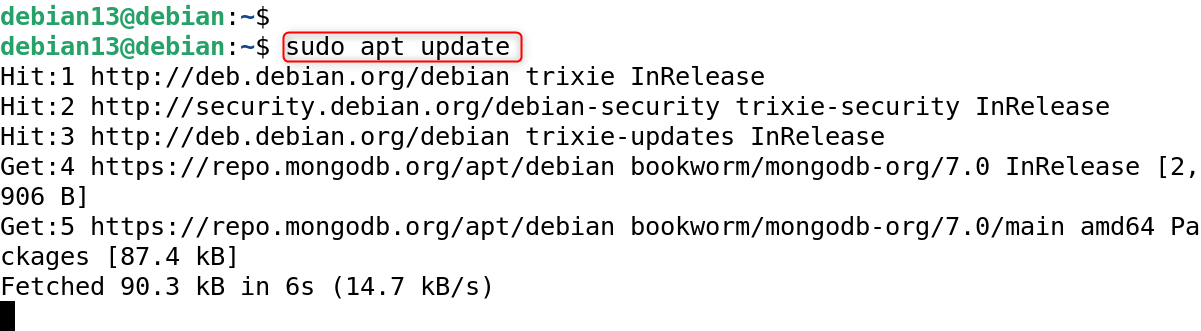
Step 5: Update Package Index
This updates the available packages and makes MongoDB accessible to APT.
|
sudo apt update |
|---|

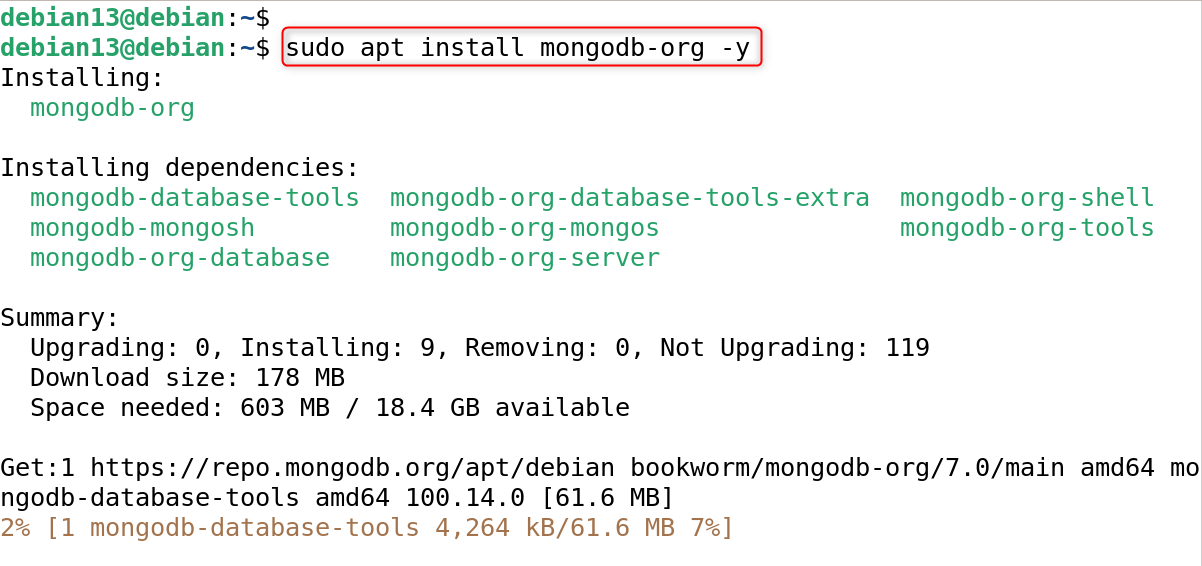
Step 6: Install MongoDB Community Edition
This installs the MongoDB server, shell, tools, and supporting utilities.
|
sudo apt install mongodb-org -y |
|---|

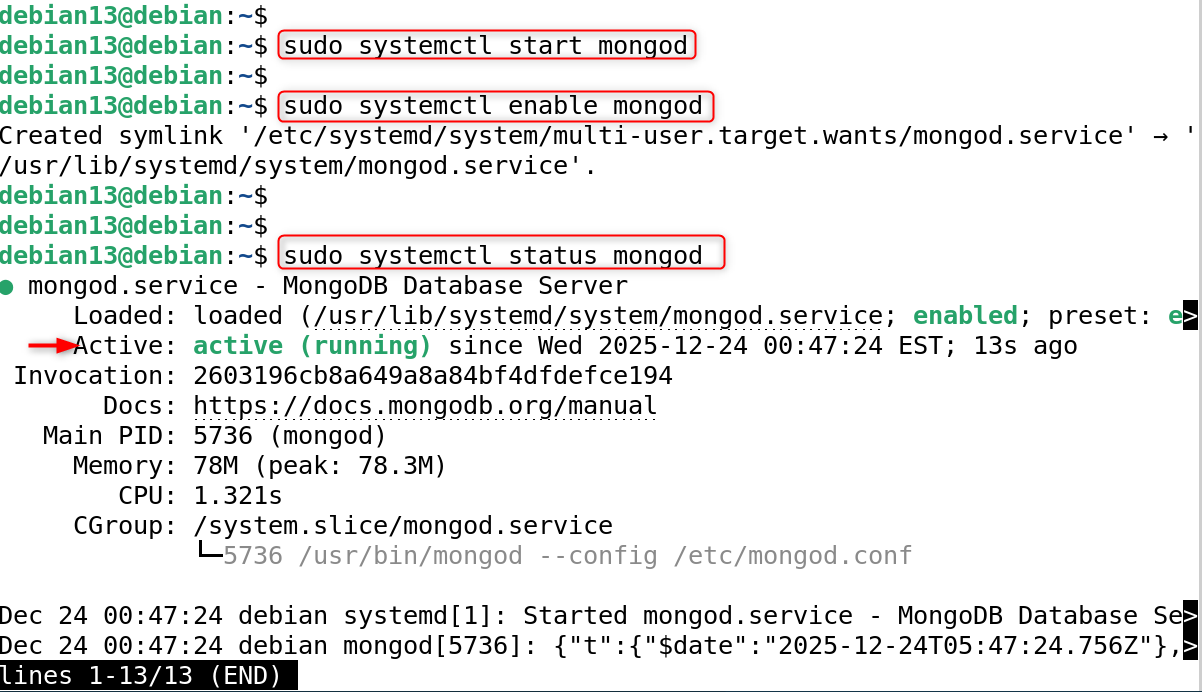
Step 7: Start and Enable the MongoDB Service
This will start MongoDB instantly and make sure it is running on boot.
|
sudo systemctl start mongod sudo systemctl enable mongod sudo systemctl status mongod |
|---|

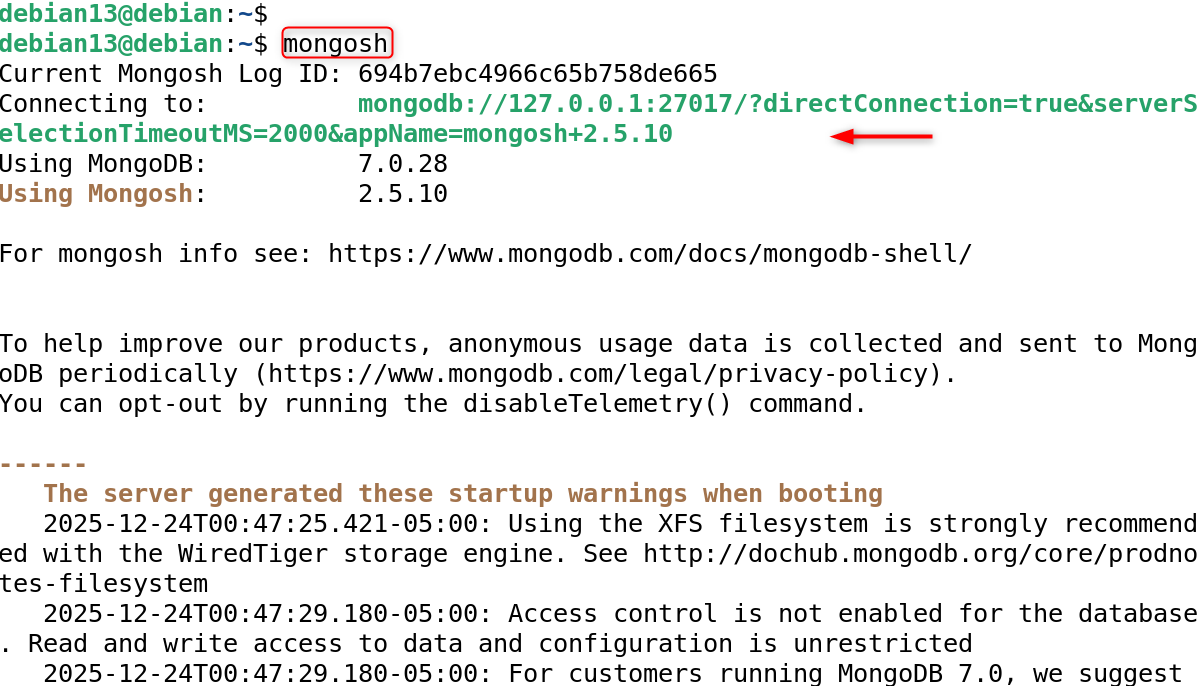
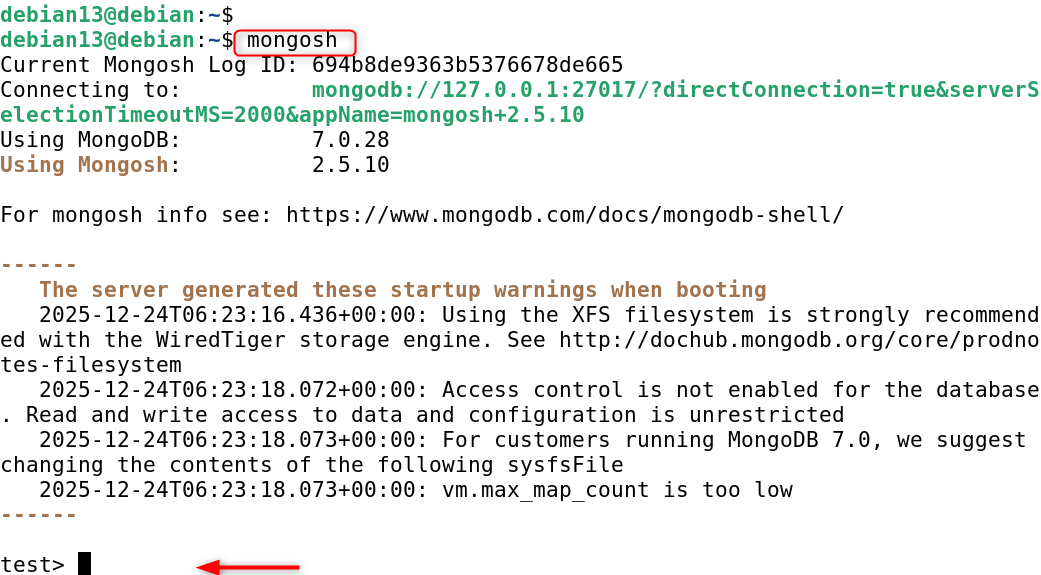
Step 8: Verify MongoDB Installation
Installation is complete if the MongoDB Shell opens.
|
mongosh |
|---|

Method 2: Install MongoDB Using Docker (Containerized Method)
Docker is the best choice if you need isolation, portability, or rapid testing.
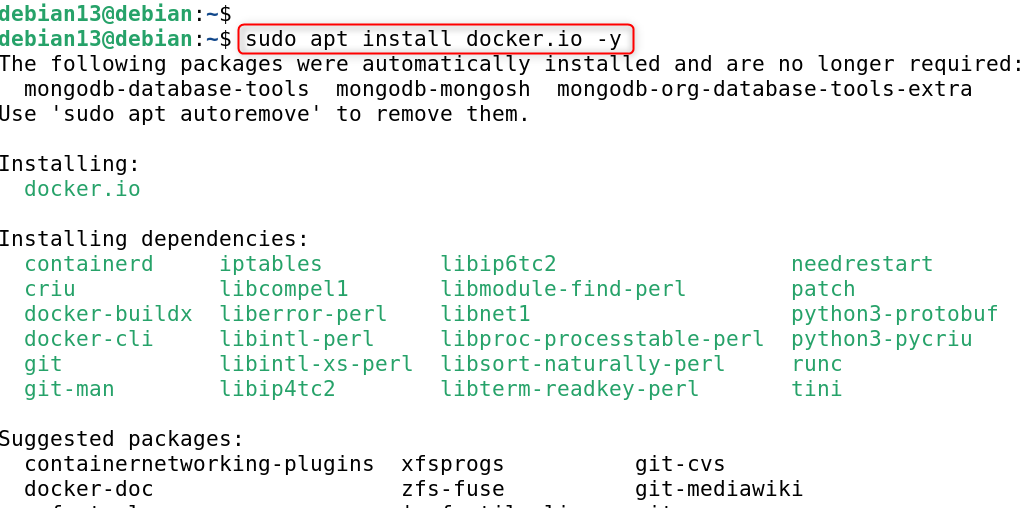
Step 1: Install Docker
Docker lets MongoDB run within a container, without affecting its host system.
|
sudo apt install docker.io -y |
|---|

Let’s enable and check the services:
|
sudo systemctl enable –now docker |
|---|


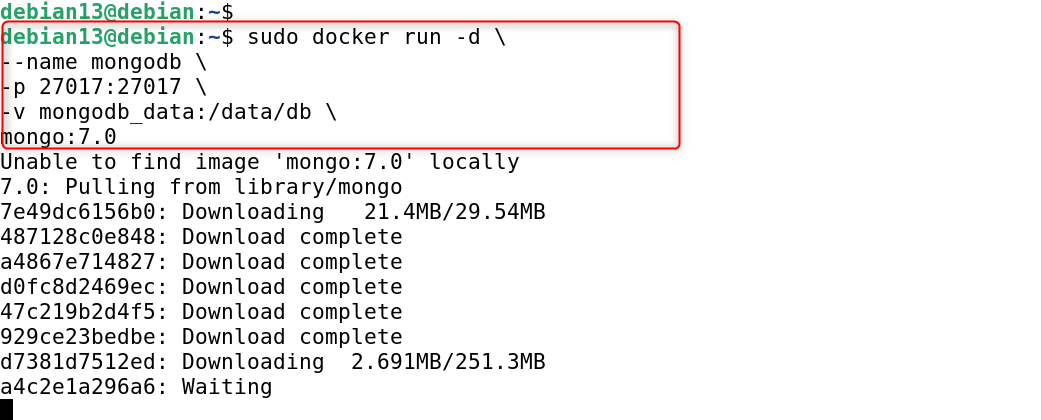
Step 2: Run MongoDB Container
This will start MongoDB with persistent storage in a container.
|
sudo docker run -d \ –name mongodb \ -p 27017:27017 \ -v mongodb_data:/data/db \ mongo:7.0 |
|---|

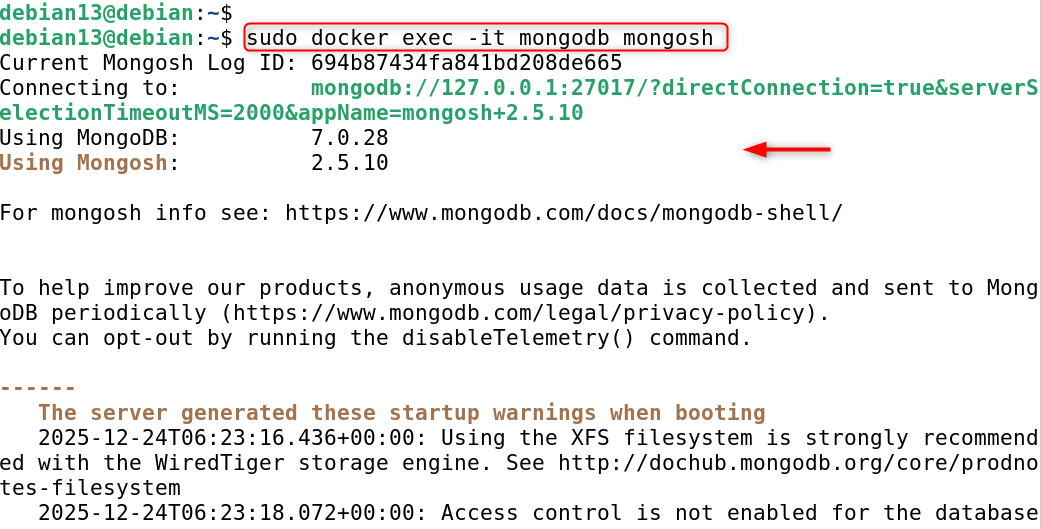
Step 3: Connect to MongoDB
You can interact with MongoDB within the container.
|
sudo docker exec -it mongodb mongosh |
|---|

Method 3: Install MongoDB Using Snap (Optional)
Snap can be used for testing and development. Let’s install MongoDB using snap:
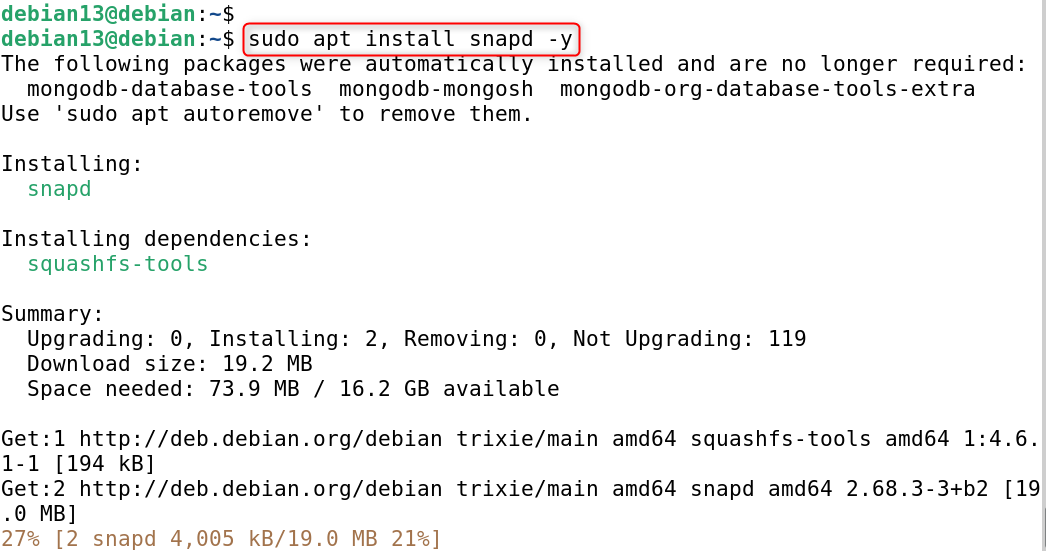
Step 1: Install Snap
Snap packages are easy to install but less common on Debian-based servers.
|
sudo apt install snapd -y |
|---|

Step 2: Install MongoDB
This will install MongoDB in a sandboxed environment.
|
sudo snap install –edge mongodb-org |
|---|


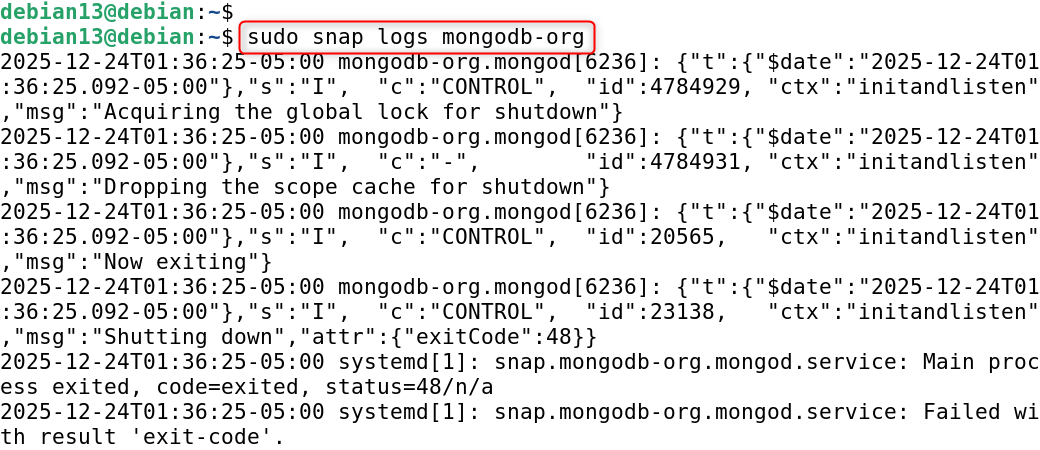
Step 3: Check MongoDB Services
This shows whether the MongoDB service is active, inactive, or disabled.
|
sudo snap services mongodb-org |
|---|


This helps verify if MongoDB started correctly or if there are errors.
|
sudo snap logs mongodb-org |
|---|

Step 4: Verify MongoDB Installation
If it connects successfully, MongoDB is running.
|
mongosh |
|---|

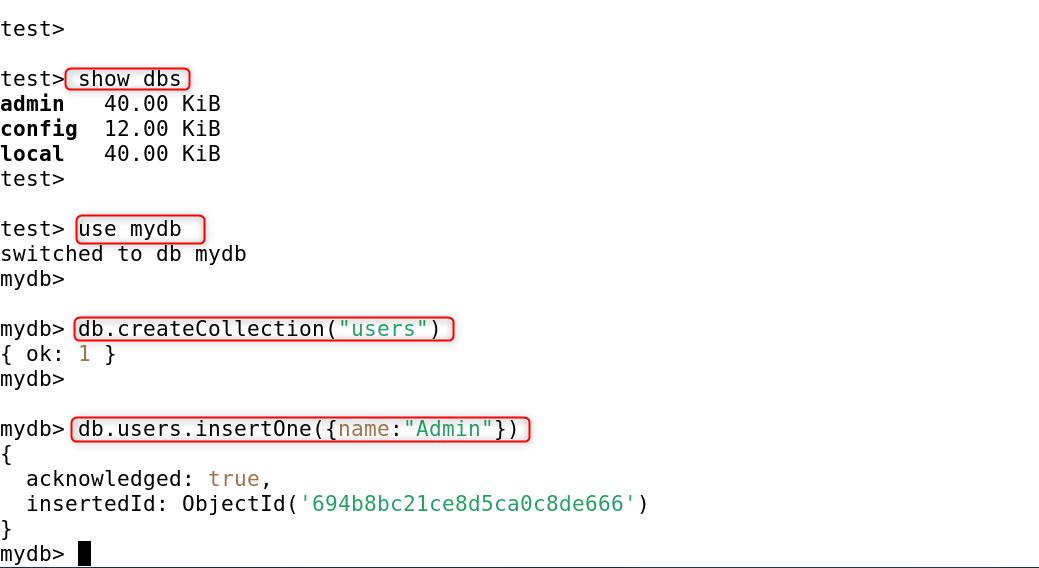
Common MongoDB Commands
These commands help manage databases and collections:
- show dbs – Displays a list of all available databases on the MongoDB server.
- use mydb – Switches to the mydb database or creates it if it does not already exist.
- db.createCollection(“users”) – Creates a new collection named users in the currently selected database.
- db.users.insertOne({name:”Admin”}) – Inserts a single document with the name Admin into the users collection.
|
show dbs use mydb db.createCollection(“users”) db.users.insertOne({name:”Admin”}) |
|---|

How to Uninstall MongoDB on Debian 13
Follow these steps if you want to completely remove MongoDB from your Debian 13 installation, whether for a fresh reinstallation or to switch databases.
Stop the MongoDB services to stop running processes.
|
sudo systemctl stop mongod |
|---|


It is important to shut down MongoDB before uninstalling.
Next, remove all the MongoDB packages installed from the official repository.
|
sudo apt purge mongodb-org mongodb-org-server mongodb-org-shell mongodb-org-tools mongodb-org-mongos -y |
|---|


Removes all MongoDB services, binaries, and dependencies that are not in use.
Delete the MongoDB configuration and data directories.
|
sudo rm -rf /var/lib/mongodb /var/log/mongodb /etc/mongod.conf |
|---|


This removes all databases, logs, and configuration files.
Remove the MongoDB repository as well as the GPG key.
|
sudo rm -f /etc/apt/sources.list.d/mongodb-org.list sudo rm -f /usr/share/keyrings/mongodb-server.gpg sudo apt update |
|---|

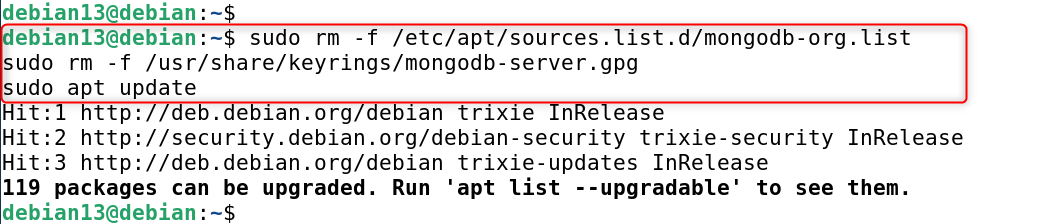
This will prevent MongoDB from being reinstalled by mistake during system updates.
Last but not least, you can check MongoDB’s removal:
|
mongod –version |
|---|


If you do not see the command, MongoDB is completely removed from Debian 13 systems.
Conclusion
Installing MongoDB in Debian 13 is best done by using the official MongoDB repositories. This involves adding the repository and the GPG key. Then, install the MongoDB package via APT. Other methods include installing MongoDB using Debian default repositories or running MongoDB inside a Docker Container. Install MongoDB, start it, then verify its status using the MongoDB Shell. Apply basic security settings for production.