Perl is a programming language popular for its powerful text-processing capabilities. As a modern programming language, it provides a vast repository of modules and extensions. Perl also offers versatile tools for system administration, web and GUI development, and more.
This technical post provides stepwise instructions on how to install, test, and uninstall Perl on Ubuntu 24.04.
How to Install Perl on Ubuntu 24.04?
By following the methods below, you can install Perl from your Ubuntu 24.04 system:
- Method 1: How to Install Perl on Ubuntu 24.04 using Perlbrew?
- Method 2: How to Install Perl on Ubuntu 24.04 via APT?
Install Curl on Ubuntu 24.04
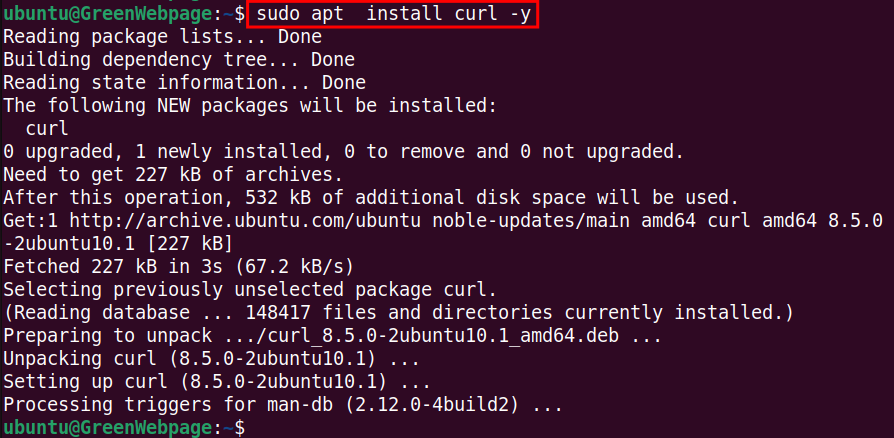
Before initiating the installation process of Perl, ensure you have installed the “curl” package on your Ubuntu 24.04:
sudo apt install curl -y |
|---|
The above command will install the “curl” package from the Ubuntu repository through the APT package manager.
Method 1: How to Install Perl on Ubuntu 24.04 using Perlbrew?
Install the Perl with Perlbrew
The Perl package can be downloaded and installed using Perlbrew. Run the command from your Ubuntu 24.04 terminal to install the complete Perl package:
curl -L http://xrl.us/installperlnix | bash |
|---|
The output shows that Perl has been installed on your Ubuntu 24.04 machine.
Method 2: How to Install Perl on Ubuntu 24.04 via APT?
Install the Perl using APT
The APT package manager enables you to install the Perl package on your Ubuntu 24.04. Simply, copy the following command to your terminal:
sudo apt install perl -y |
|---|
After the installation of Perl is complete, you can inspect the package files on your screen.
Confirm Perl Installation on Ubuntu 24.04
Now, let’s confirm the Perl installation by checking its installed version:
perl -v |
|---|
After the successful installation of the Perl, you will find the version number (i.e. v5.38.2) on the terminal screen.
How to Test the Perl with Script?
The following example will illustrate how to write and run the Perl script on the Ubuntu 24.04 terminal.
Create a Perl Script File
First, use a text editor (i.e Nano) to create and open a script file with the “.pl” extension:
nano greetings_green.pl |
|---|
Type Your Perl Script
Write your script for Perl. Following is the simple test script:
#!/usr/bin/perl print "Welcome to Green Webpage.\n"; |
|---|
Save the script file using Ctrl + S and return to the terminal window with Ctrl + X.
Execute the Perl Script
Make the Perl script file executable using the following command:
chmod +x greetings_green.pl |
|---|
Run the Perl Script
Finally, test the script file with the following syntax:
./greetings_green.pl |
|---|
As shown above, the Perl script file has successfully run and displayed the output on your terminal screen
How to Remove Perl from Ubuntu 24.04?
The following steps will be performed to remove the Perl from your Ubuntu 24.04 machine.
Uninstall the Perl Package
Open the terminal window and simply run the command below to remove the Perl package from your system:
sudo apt remove --perl -y |
|---|
After executing the purging or removing command, the Perl package is no longer available on your Ubuntu 24.04 system.
Conclusion
It is easy to install the Perl package on the Ubuntu 24.04 system. You can utilize either Perlbrew or the APT package manager. For Perlbrew, run the command “curl -L http://xrl.us/installperlnix | bash”, while “sudo apt install perl” will be used for the APT package manager.
