Portainer is a robust tool for container management that offers an intuitive web interface for easy management of Docker environments. It allows users to effortlessly control containers, images, networks, and volumes using a graphical interface rather than needing to navigate Docker’s intricate command line. From system preparation to the first login into the Portainer web interface, this manual will guide you through all the steps necessary for installing Portainer on Debian 12.
Table of Contents
- Prerequisites
- Installing Docker
- Installing Portainer
- Configuring Portainer
- Setting Up Firewall Access
- Enabling Portainer to Start on Boot
- Accessing Portainer UI
- Troubleshooting
- Updating Portainer
- Conclusion
Prerequisites
Before installing Portainer, ensure the following components are available:
- Debian 12 (Bookworm) is already installed and updated.
- Access to a user account with sudo permission.
- Available internet for package downloads.
- Recommended – 1GB RAM.
Installing Docker
Portainer needs the installation of Docker first. Follow these steps to install it on Debian 12:
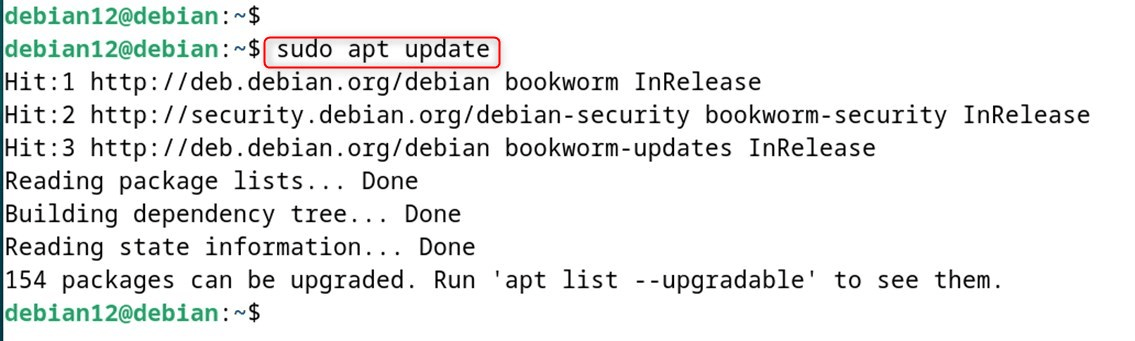
Step 1: Update System Repository
First, make sure the system repository is updated:
sudo apt update |
|---|

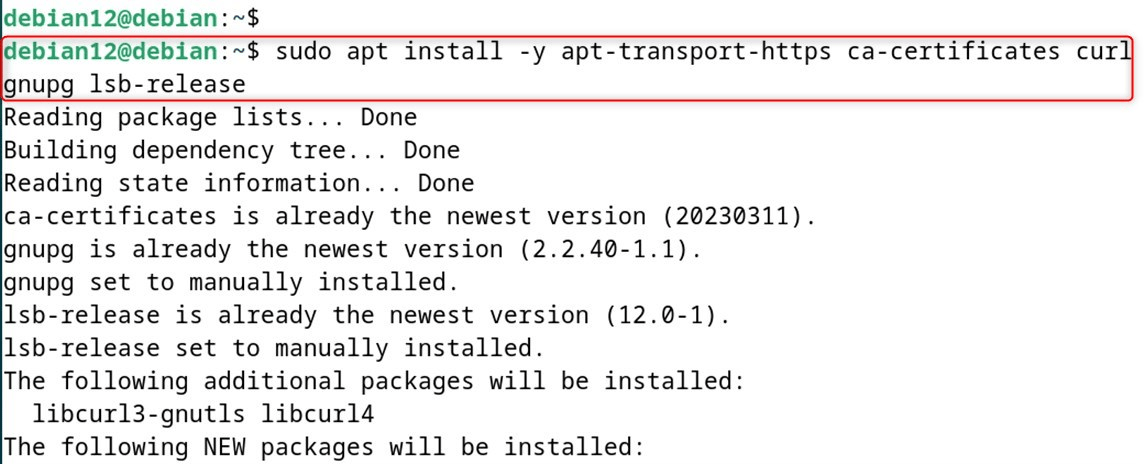
Step 2: Install Required Dependencies
After that, users need to install the essential packages that are for further Docker installation:
sudo apt install -y apt-transport-https ca-certificates curl gnupg lsb-release |
|---|

Step 3: Adding Docker’s Official GPG Key
Then, users need to input the GPG key to ensure package authenticity. It accepts policy framework and public key for verifying packages’ GPG signatures:
|
curl -fsSL https://download.docker.com/linux/debian/gpg | sudo gpg –dearmor -o /usr/share/keyrings/docker-archive-keyring.gpg |
|---|


Step 4: Setting Up the Docker Repository
Add the Docker repository to your system:
|
echo “deb [arch=$(dpkg –print-architecture) signed-by=/usr/share/keyrings/docker-archive-keyring.gpg] https://download.docker.com/linux/debian $(lsb_release -cs) stable” | sudo tee /etc/apt/sources.list.d/docker.list > /dev/null |
|---|

![echo "deb [arch=$(dpkg --print-architecture) signed-by=/usr/share/keyrings/docker-archive-keyring.gpg] https://download.docker.com/linux/debian $(lsb_release -cs) stable" | sudo tee /etc/apt/sources.list.d/docker.list > /dev/null](http://greenwebpage.com/community/wp-content/uploads/2025/05/word-image-14154-4.png)
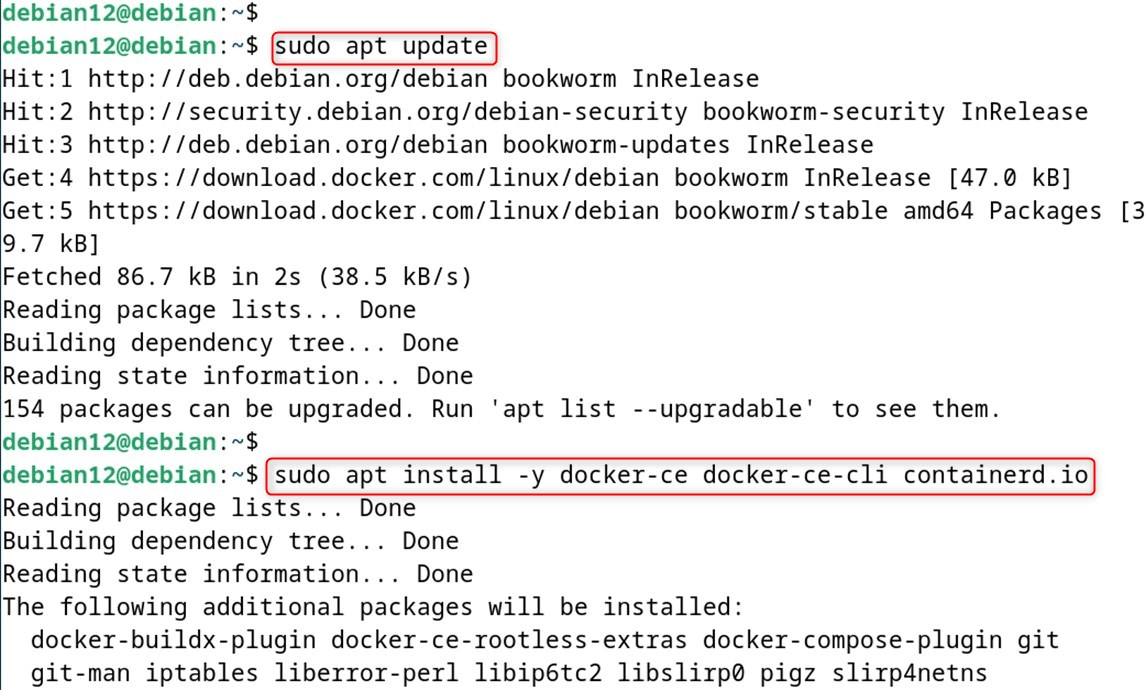
Step 5: Install Docker Engine
Update unused packages and install the program:
sudo apt update sudo apt install -y docker-ce docker-ce-cli containerd.io |
|---|

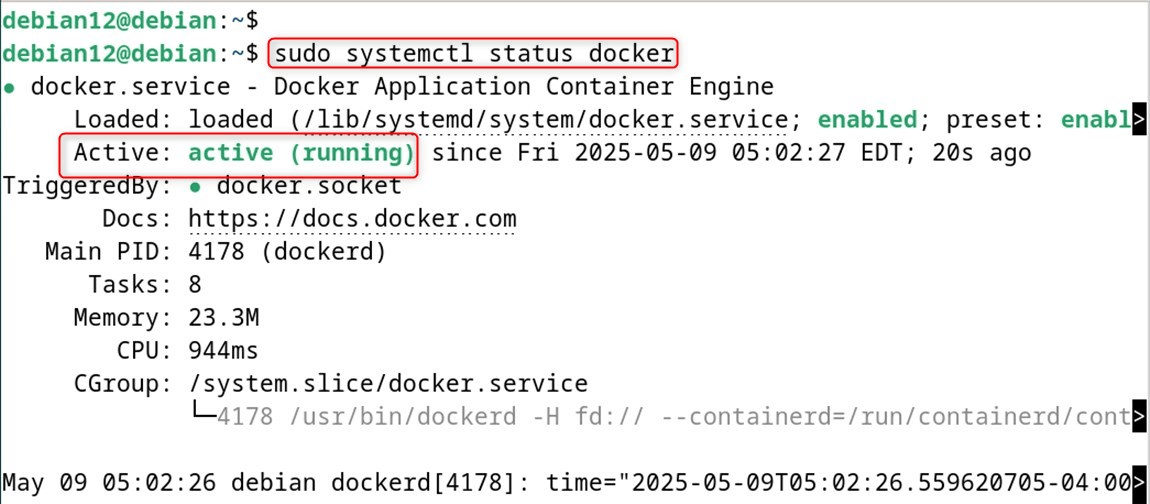
Step 6: Verify Docker Installation
You should be able to see information indicating that Docker has been installed and activated:
sudo systemctl status docker |
|---|

Step 7: Add Your User to the Docker Group (Optional)
If you want command lines such as “docker ps” to work without sudo, append your account to the Docker group:
sudo usermod -aG docker $USER |
|---|


Remember: You can refresh your session with the following command without logging out and then log back in as described above:
newgrp docker |
|---|


Authenticate that the commands can be run without sudo:
docker –version |
|---|


Installing Portainer
There are two methods for deploying Portainers. This guide concentrates on the Portainer CE since it’s free and ideal for most users.
Step 1: Creating a Volume
So that the container’s data won’t be deleted when the container is stopped, create a Docker volume:
docker volume create portainer_data |
|---|


Step 2: Install the Portainer Server
Portainer can be installed in two different methods: we can either use Docker CLI or Docker Compose. Both methods will be discussed.
Option A: Using Docker CLI
Let’s start the Portainer installation. It can occur via the following command:
docker run -d -p 8000:8000 -p 9443:9443 –name portainer –restart=always -v /var/run/docker.sock:/var/run/docker.sock -v portainer_data:/data portainer/portainer-ce:latest |
|---|


Let’s analyze the command:
- -d: Start the container in detached mode (background mode)
- -p 8000:8000: Map port 8000 on the host to port 8000 in the container (permission for edge agent)
- -p 9443:94443: Map port 9443 on the host to port 9443 in the container(the web interface)
- -v portainer_data: Mount port Docker socket with Portainer to communicate with the Docker daemon
- name: Name the container as “portainer”
- :volatile: Mount Portainer data volume with persistent settings
Option B: Using Docker Compose Command
Docker Compose first needs to be installed.
sudo apt install -y docker-compose |
|---|
Create a Docker Compose file:
mkdir -p ~/portainer cd ~/portainer nano docker-compose.yml |
|---|
Add the following content to the file:
version: ‘3’ services: portainer: image: portainer/portainer-ce:latest container_name: portainer restart: always ports: – “8000:8000” – “9443:9443” volumes: – /var/run/docker.sock:/var/run/docker.sock – portainer_data:/data volumes: portainer_data: |
|---|
Just modify it with an editor of your choice or run Docker Compose on the URL.
docker-compose up -d |
|---|
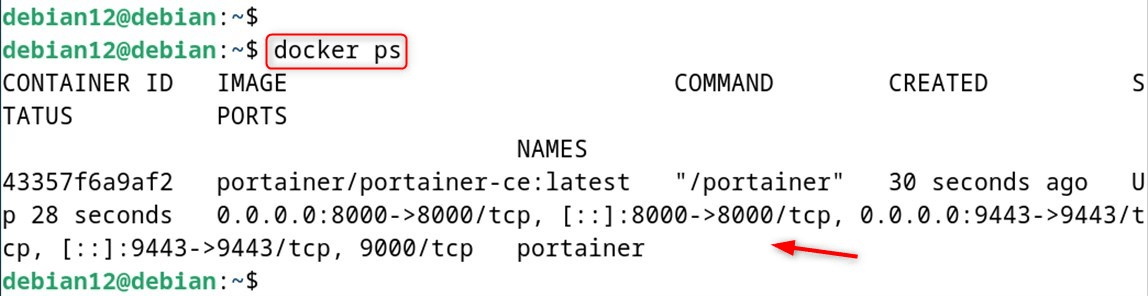
Step 3: Verify Portainer Installation
Ensure the Portainer container is listed:
|
docker ps |
|---|

Configuring Portainer
The subsequent steps are done so Portainer can be completed with the initial setup.
Step 1: Access the Portainer Web Interface
Head of an Internet browser and access:
|
https://your_server_ip:9443 |
|---|

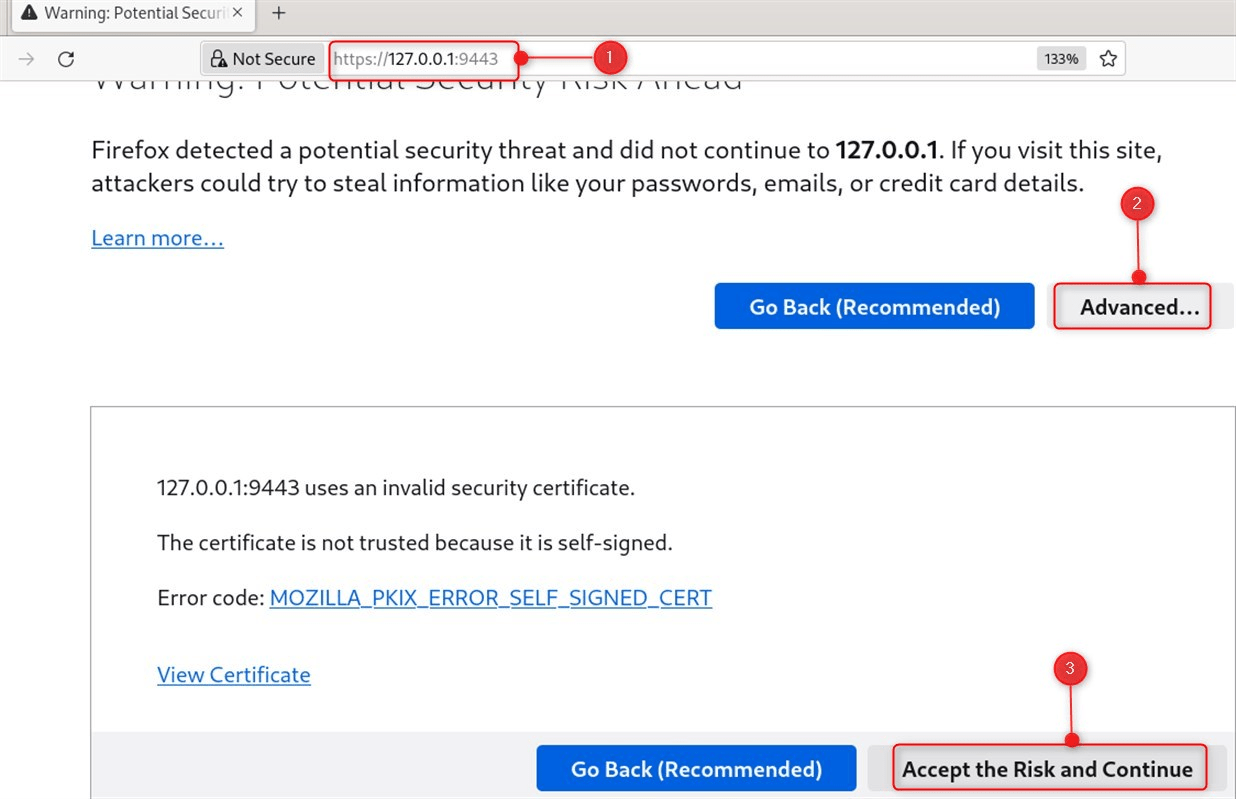
Note: Remember that Portainer includes a self-signed SSL Certificate by default, and your browser may issue a security warning. You can click “Advanced” and “Accept the Risk and Continue” or any other equivalent statement given by your browser.
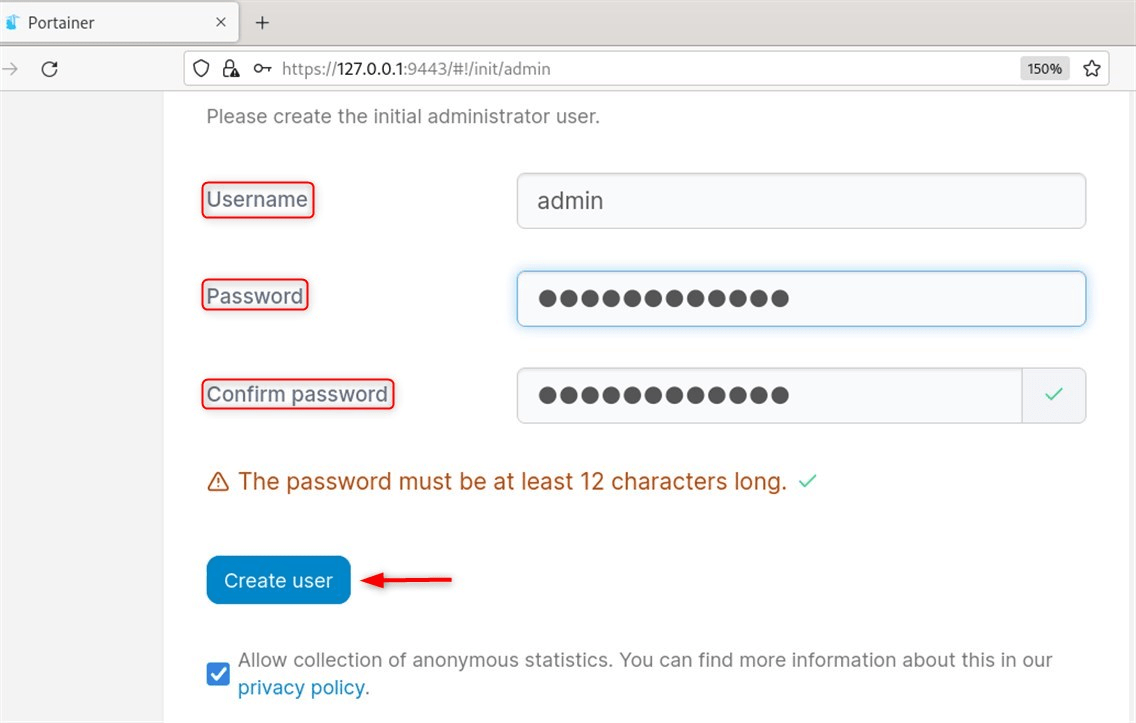
Step 2: Create an Admin User
You can set the password on the first setup page. Set a Username (recommended as simply “admin”). Set a password and click on Create user:

Step 3: Select Docker Environment
After the user creation step, select Get Started in the Docker environment section. This should connect Portainer with your local Docker environment.


Setting Up Firewall Access
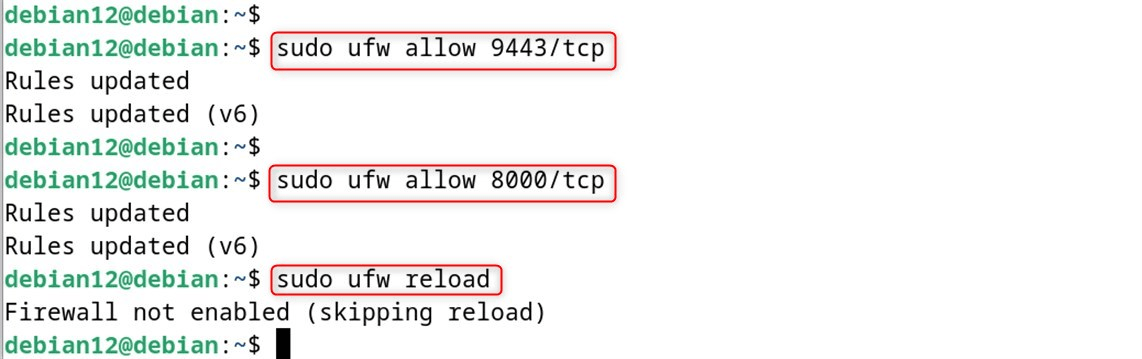
If your firewall is enabled, you need to allow access to the Portainer’s ports.
Using UFW (Uncomplicated Firewall)
If so, allow permission to TCP ports 8000 and 9443:
sudo ufw allow 9443/tcp sudo ufw allow 8000/tcp sudo ufw reload |
|---|

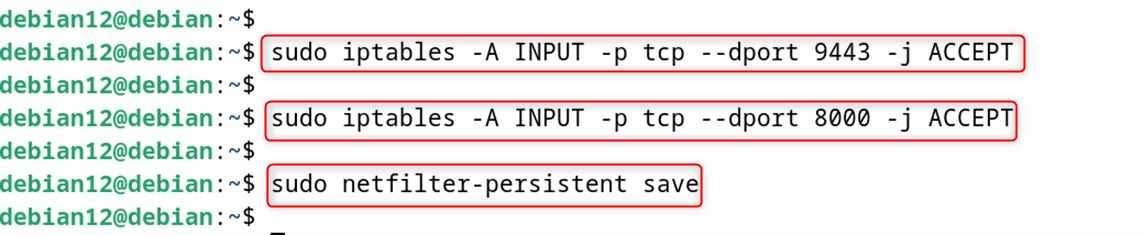
Using iptables
If so, use iptables directly:
sudo iptables -A INPUT -p tcp –dport 9443 -j ACCEPT sudo iptables -A INPUT -p tcp –dport 8000 -j ACCEPT sudo netfilter-persistent save |
|---|

Enabling Portainer to Start on Boot
Thanks to the –restart=always flag used during installation, Portainer starts automatically once Docker starts. To make sure Docker itself is set to boot at startup:
sudo systemctl enable docker |
|---|


Accessing Portainer UI
You may access Portainer web GUI at:
|
https://your_server_ip:9443 |
|---|

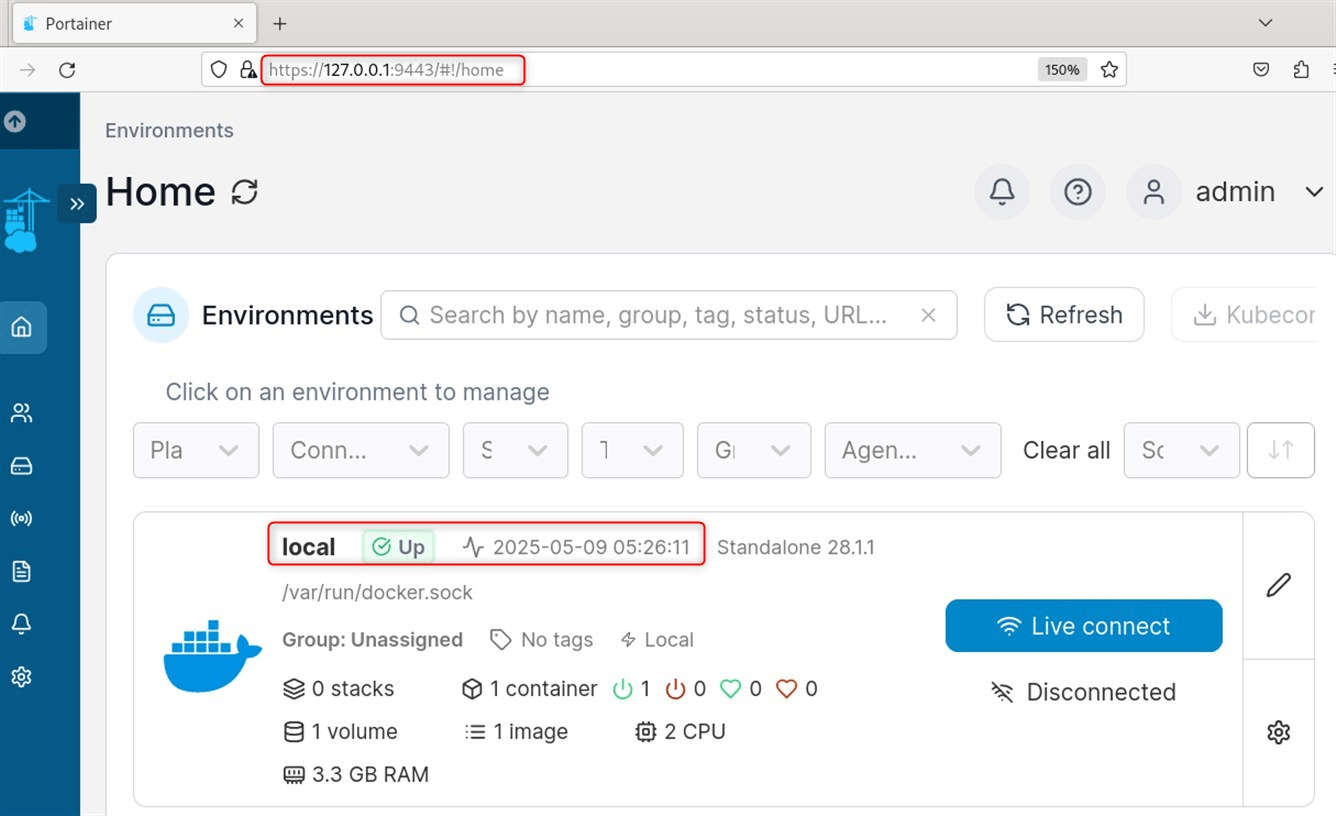
Log in with the recently created admin credentials from the initial setup.
Troubleshooting
Addressing the issues stated below can help offer solutions to problems relevant to your particular situation:
Problem: Cannot access the Portainer web interface
Solutions:
Check whether the Portainer container is operational.
|
docker ps | grep portainer |
|---|


Verify that the ports are correctly configured or mapped:
|
docker port portainer |
|---|

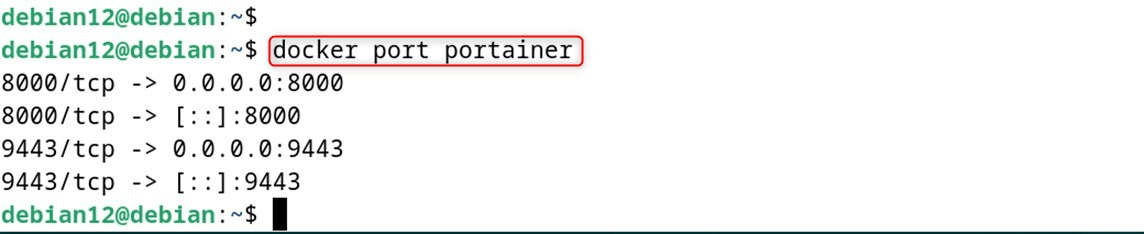
Check that your firewall is permitting access to ports 8000 and 9443.
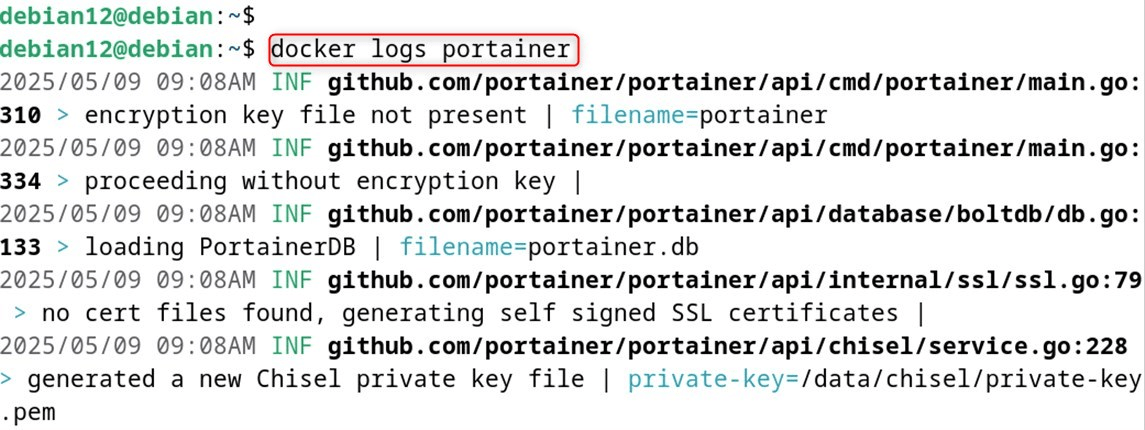
If the container is not running, check the logs.
|
docker logs portainer |
|---|

Problem: Permission issues with Docker socket
Solution: If Portainer cannot seem to connect, verify the access rights set on the Docker socket:
|
ls -la /var/run/docker.sock |
|---|


The Docker socket needs to be assigned to the group Docker. If not, you will need to alter permissions:
|
sudo chown root:docker /var/run/docker.sock |
|---|


Problem: Portainer shows “No environments available.”
Solution: This indicates that Portainer is not able to reach the Docker daemon. Restart Portainer. Use command:
|
docker restart portainer |
|---|


Updating Portainer
In order to update Portainer, execute the following Command to pull the desired version. To do this, branch off of the previous commands issued via the console. Here is an example:
Step 1: Stop and Remove the Current Container
docker stop portainer docker rm portainer |
|---|


Step 2: Pull the Latest Image
|
docker pull portainer/portainer-ce:latest |
|---|


Step 3: Create a New Container with the Latest Image
|
docker run -d -p 8000:8000 -p 9443:9443 –name portainer –restart=always -v /var/run/docker.sock:/var/run/docker.sock -v portainer_data:/data portainer/portainer-ce:latest |
|---|

This is noted that it contains data saved under the common volume.
Conclusion
You have successfully installed Portainer in Debian 12 and have set it up for configuring your Docker infrastructure. Through Portainer, you can Dockerize, start and stop containers, Compose stacks using Docker Compose, Monitor utilization of resources by the container, Control Docker Swarm (if it has been set up), Access logs and output from the console, and a number of other functions. If you wish to learn further about managing Portainer, read the official documentation.
Frequently Asked Questions
sudo apt install docker.io or follow Docker’s official installation guide for more control over versions and setup. portainer_data.