Although Python 2 has been officially deprecated since January 1, 2020, it is still required for legacy applications and scripts. This tutorial will guide you through installing Python 2 on Ubuntu 24.04. Although it is preferred to use Python 3, several legacy executables, scripts, or dependencies only work with Python 2. Like its predecessors, Ubuntu 24.04 will not come bundled with Python 2, which means you will have to install it yourself.
This guide walks you through installing Python 2, from compiling the source code and setting up pip.
Table of Contents
How to Install Python 2 on Ubuntu 24.04?
- Method 1: Compiling Python 2 from Source
- Method 2: Set Up pip for Python 2.7
- Method 3: Use Virtual Environments
How to Install Python 2 on Ubuntu 24.04?
There is no single approach for installing Python 2 on Ubuntu 24.04, and you may choose from several available options depending on your requirements. Complete the following steps if you are on Ubuntu 24.04 and want to install Python 2.
Method 1: Compiling Python 2 from Source
If the installed version does not fit your needs, or the installation needs some tweaking, it can be done by compiling it from the source file.
Step 1: Install Build Dependencies
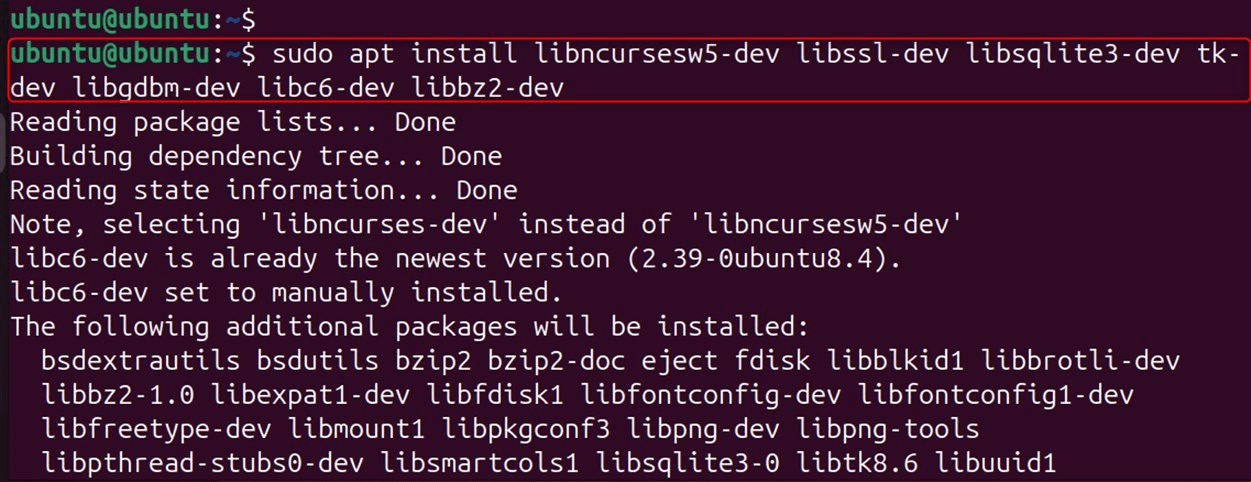
You will need some additional tools and libraries for compiling Python. Use the command below to install them:
sudo apt update
sudo apt install build-essential checkinstall
sudo apt install libncursesw5-dev libssl-dev libsqlite3-dev tk-dev libgdbm-dev libc6-dev libbz2-dev
Step 2: Download Python 2 Source Code
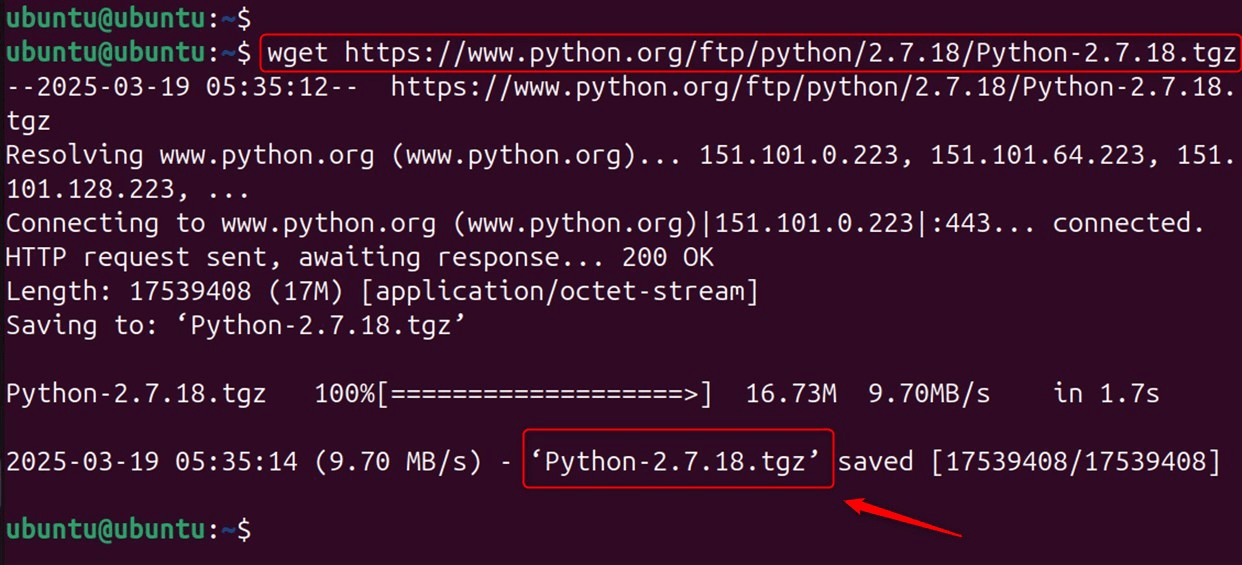
Head over to the official Python website to fetch the version of your choice. For instance, here is the link for the 2.7.18 version:
wget https://www.python.org/ftp/python/2.7.18/Python-2.7.18.tgz
Step 3: Extracting and Compiling Python
Once the file has been downloaded, here is how you extract and compile it:
tar -xvf Python-2.7.18.tgz
cd Python-2.7.18
./configure --enable-optimizations
make
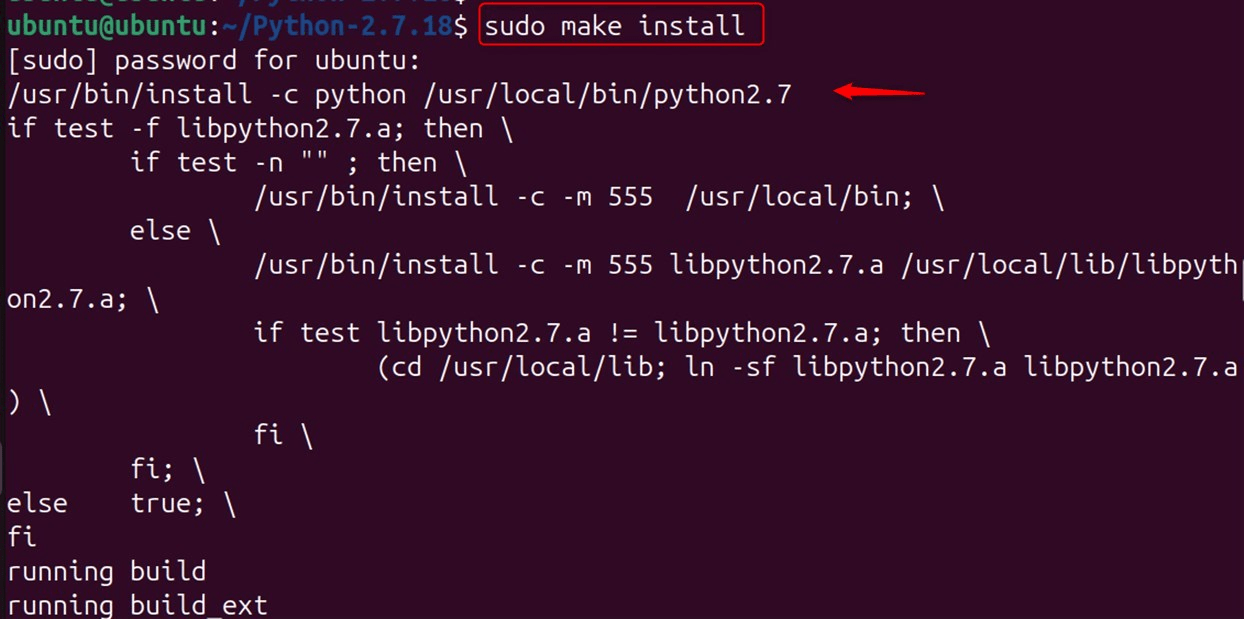
sudo make install
Step 4: Confirm the Installation
Run this command in the terminal to confirm the installation:
python2 --version

Method 2: Set Up pip for Python 2.7
Since Python 2.7 is deprecated, setting up pip for it on Ubuntu 24.04 requires a manual installation process. Below is a step-by-step guide to installing pip for Python 2.7 securely:
Step 1: Download get-pip.py for Python 2
The official method for installing pip is by using get-pip.py. However, the original URL for get-pip.py no longer works for Python 2.7. Instead, use the following command:
To setup Python 2 packages, you’ll need to install pip:
curl https://bootstrap.pypa.io/pip/2.7/get-pip.py -o get-pip.py

This script installs pip for Python 2.7.
Step 2: Install pip for Python 2.7
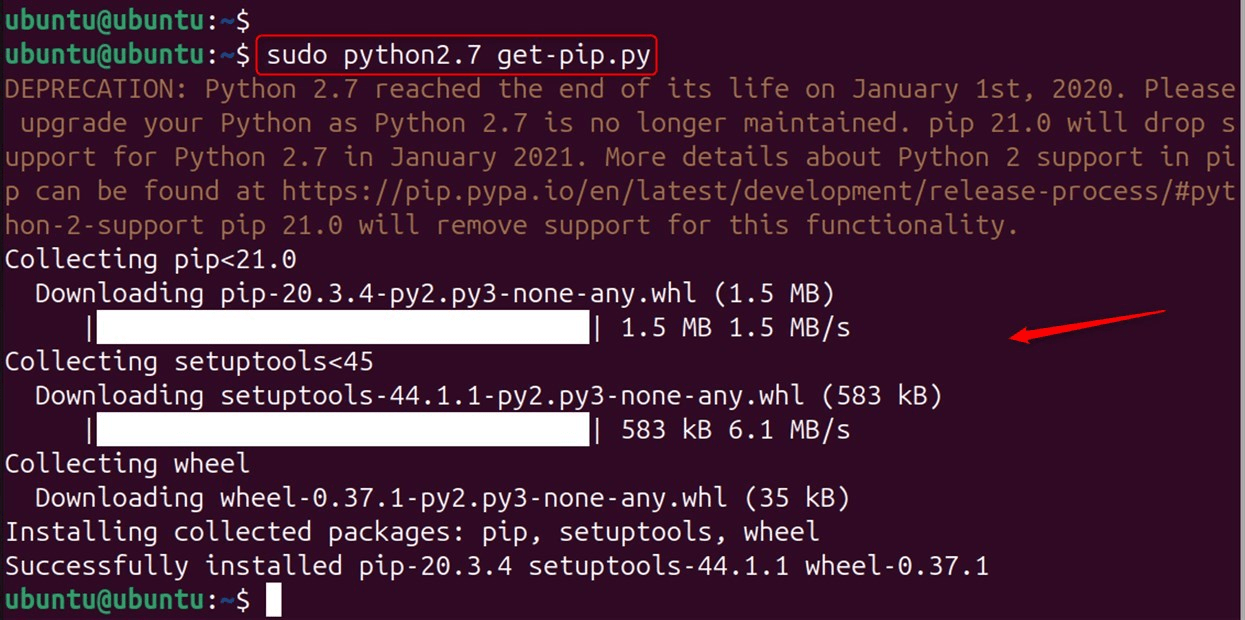
Now, use Python 2.7 to run the script. This installs pip for Python 2.7:
sudo python2.7 get-pip.py
Step 3: Verify pip Installation
Check if the pip is installed correctly:
pip2 --version
or
pip2.7 --version

This confirms that pip is set up for Python 2.7.
Step 4: Upgrade pip (Optional)
Since Python 2 is deprecated, the last available pip version (20.3.4) is also outdated. If necessary, upgrade pip:
pip2 install --upgrade pip

This ensures you have the latest pip version available for Python 2.7.
Step 5: Install Packages with pip
To install Python 2 packages, use:
pip2 install package_name
For example, installing requests:
pip2 install requests

Step 6: Fix Path Issues (If Needed)
If pip2 is not recognized globally, create a symbolic link:
sudo ln -s /usr/local/bin/pip2 /usr/bin/pip2

Then, try running:
pip2 --version

Method 3: Use Virtual Environments
Even though Python 2 is deprecated, you can still set it up using virtual environments. This approach helps isolate Python 2 from the system, preventing conflicts with Python 3.
If you need Python 2.7 for specific applications, use virtual environments to avoid system conflicts.
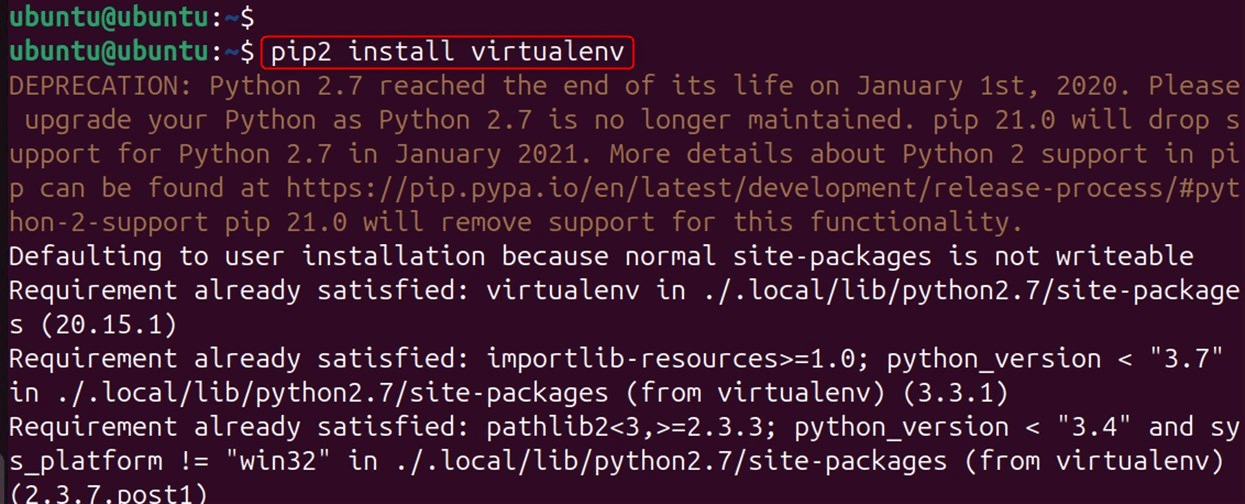
Step 1: Install Virtualenv for Python 2
virtualenv is used to create isolated environments for Python 2. Ensure pip is installed for Python 2:
curl https://bootstrap.pypa.io/pip/2.7/get-pip.py -o get-pip.py
sudo python2.7 get-pip.py
pip2 install virtualenv
Step 2: Create a Virtual Environment for Python 2
Now, set up a virtual environment specifically for Python 2. -p python2.7 specifies Python 2 as the interpreter. my_python2_env is the name of the virtual environment (you can change it):
virtualenv -p python2.7 my_python2_env

Step 3: Activate the Python 2 Virtual Environment
After creating the virtual environment, activate it. Now, running Python will use Python 2 instead of Python 3:
source my_python2_env/bin/activate

Step 4: Install Python 2 Packages in Virtual Environment
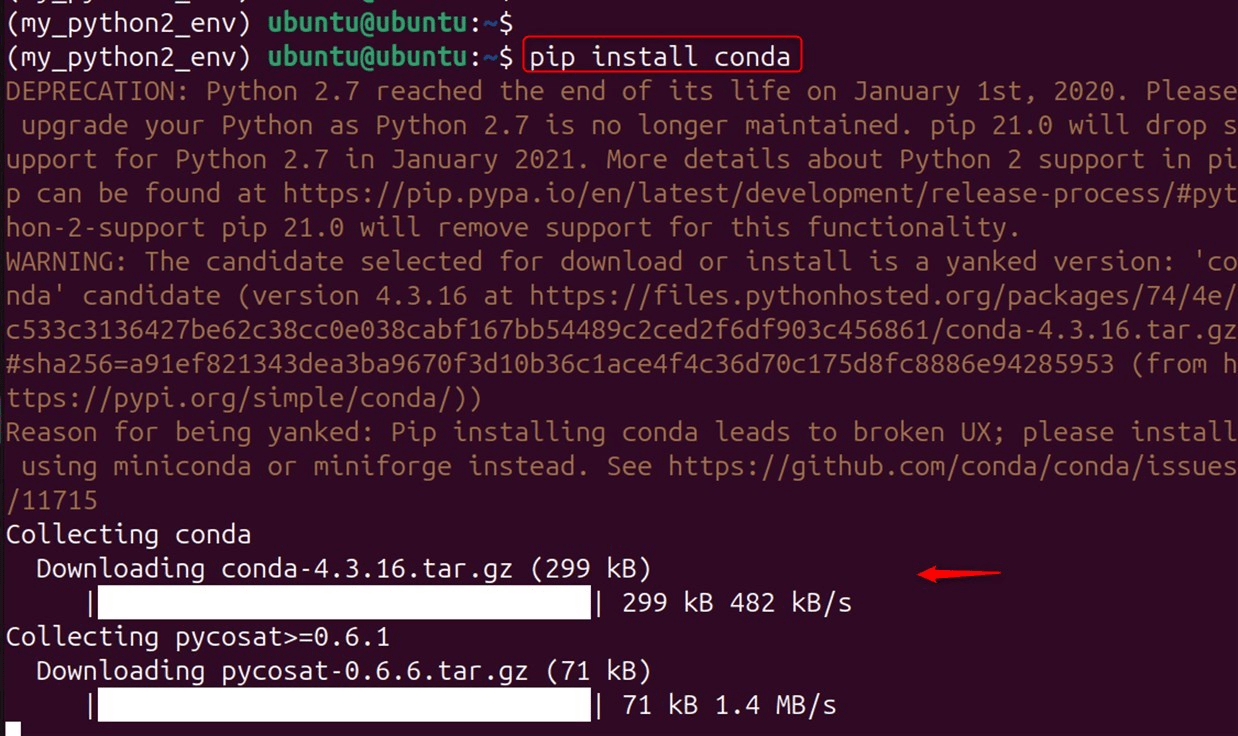
Inside the virtual environment, you can install Python 2 packages using pip. This ensures packages are installed only inside the virtual environment, avoiding conflicts with system packages:
pip install conda
Step 5: Deactivate the Virtual Environment
When done working in Python 2, exit the virtual environment:
deactivate

This restores the system’s default Python version.
This guide walks you through the process of setting up and running Python 2 regardless of how you manage the version, whether it’s through a pip install or source compile.
Final Words
While dealing with legacy software, it is advisable to use a virtual machine since it enables users to interact with other operating systems without worrying about the central machine settings. Both of the other methods will compile Python 2 from the source code and install pip for Python 2.7. With these steps, Python 2 is successfully installed on Ubuntu 24.04. Python 2 is not supported anymore, so use it on a need-only basis and switch over to Python 3 for new developments.
Frequently Asked Questions
sudo apt update && sudo apt install python2. This will install the Python 2.x version available in the repository. update-alternatives to set Python 2 as the default version, but it's not recommended due to compatibility issues with modern applications that rely on Python 3. 


Leave feedback about this