
Swift is a modern programming language available for free. It can be configured on operating systems like Windows, Linux system (Ubuntu), and more.
Currently, it is becoming one of the fastest programming languages due to its performance, speed, and simple syntax. Swift’s frameworks can be utilized for building complex web development projects.
This article provides simple steps for installing Swift on the Ubuntu 24.04 system.
How to Install Swift on Ubuntu 24.04?
You can install Swift with the following main steps:
How to Download the Latest “Swift” on Ubuntu 24.04?
How to Configure “Swift” on Ubuntu 24.04?
How to Launch and Test “Swift” on Ubuntu 24.04?
Step 1: Verify Ubuntu Version
To install the right version of Swift on your system, first check the Ubuntu release and codename using the command:
lsb_release -a

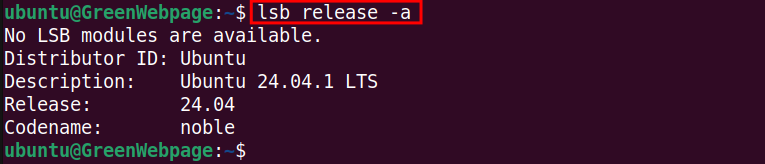
The output on the screen confirms the installed version, as such Ubuntu 24.04.1 on your system.
Step 2: Update Ubuntu Repository
Update your Ubuntu repository list to check the missing or outdated files on your machine:
sudo apt update

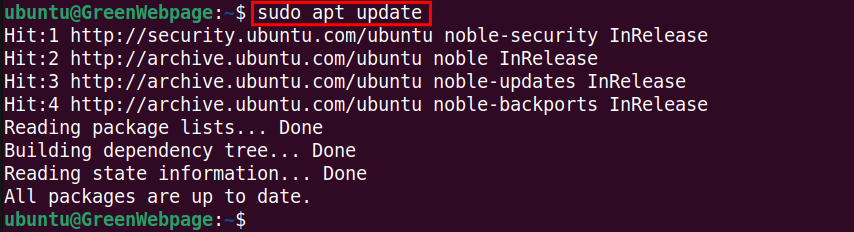
The screenshot above shows that installed packages are up to date. Thus, your Ubuntu 24.04 is ready to configure the Swift package.
How to Download the Latest “Swift” on Ubuntu 24.04?
The provided steps will download the Swift package on your Ubuntu 24.04.
Step 1: Download the Latest “Swift” Binary
Download the latest release of Swift like 5.10.1 for your Ubuntu 24.04 machine:
wget https://download.swift.org/swift-5.10.1-release/ubuntu2404/swift-5.10.1-RELEASE/swift-5.10.1-RELEASE-ubuntu24.04.tar.gz

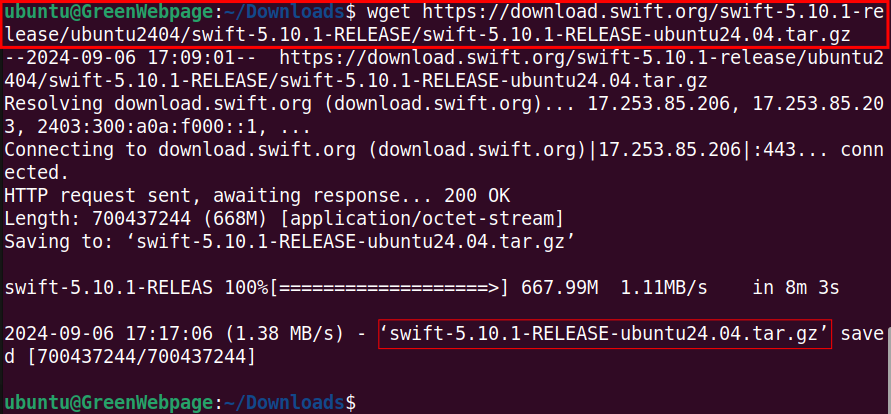
The swift 5.10.1 release has been saved to the present working directory, such as “/Downloads”.
Step 2: Import “Swift” GPG Keys
Run the following script to Import the Swift GPG keys to your machine:
wget -q -O - https://swift.org/keys/all-keys.asc | gpg --import -

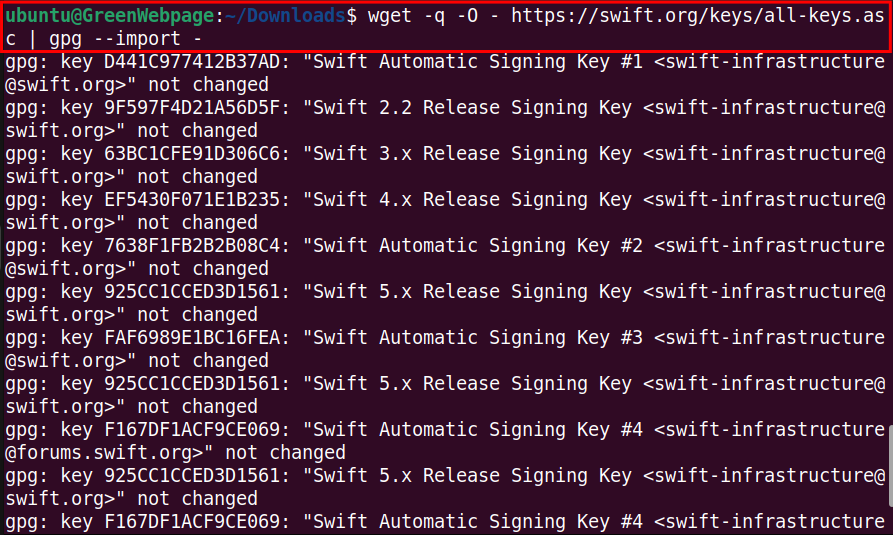

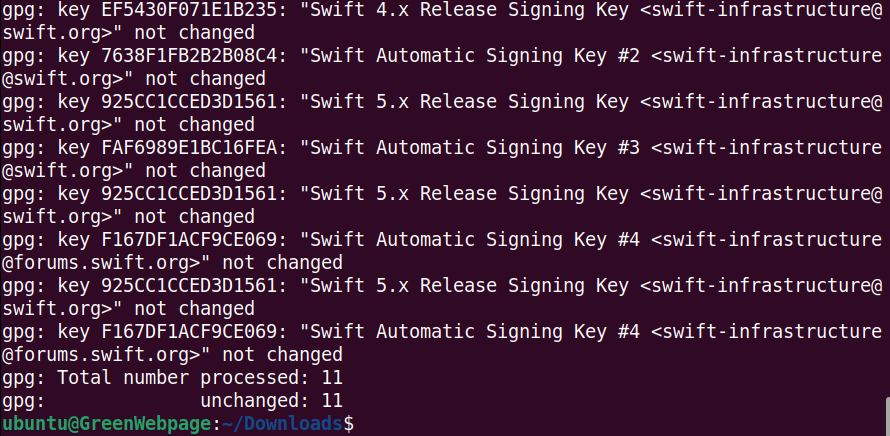
This command ensures that the downloaded Swift package on your Ubuntu 24.04 is authentic and from a trusted source.
Step 3: Refresh Swift Keys on Ubuntu
To ensure you have added the latest version of the GPG keys, refresh the Swift GPG keys from the Ubuntu keyserver via the command:
gpg --keyserver hkp://keyserver.ubuntu.com --refresh-keys Swift

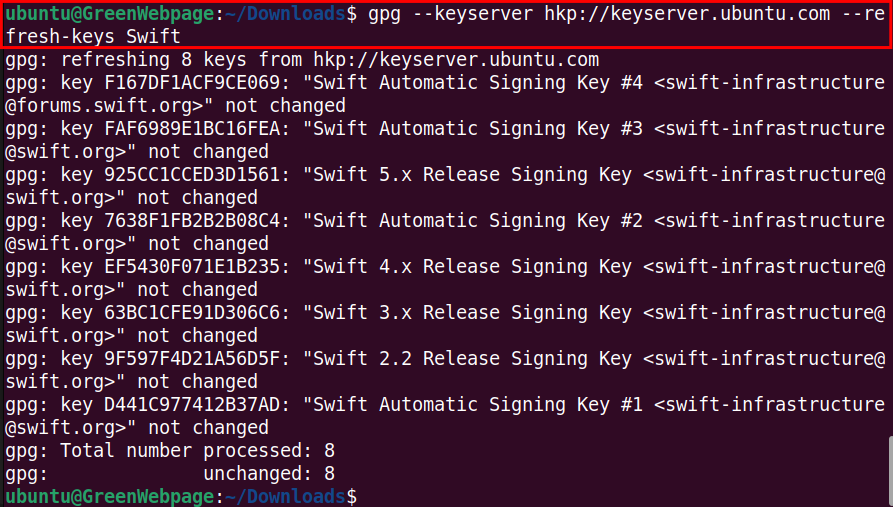
With the above command, you will get the updated GPG keys to verify Swift packages.
Step 4: Download Swift Signature File
To verify the Swift package file, first download the signature file using the following command:
wget https://download.swift.org/swift-5.10.1-release/ubuntu2404/swift-5.10.1-RELEASE/swift-5.10.1-RELEASE-ubuntu24.04.tar.gz.sig

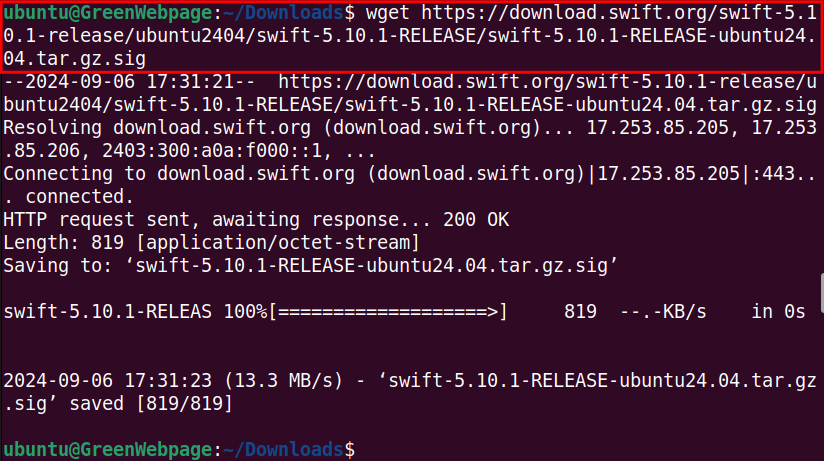
The Swift signature file will be downloaded with the “.sig” extension. Make sure you have downloaded the correct file.
Step 5: Verify the Swift File
You can verify the authenticity of the downloaded Swift file through the given below command:
gpg --verify swift-5.10.1-RELEASE-ubuntu24.04.tar.gz.sig swift-5.10.1-RELEASE-ubuntu24.04.tar.gz

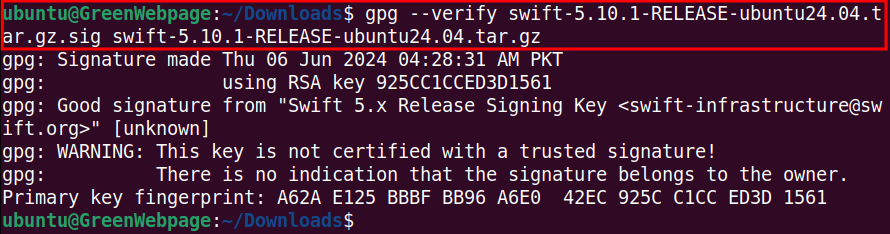
After execution of the command, you will see a message (i.e. Good signature) confirming that the Swift signature is valid.
How to Configure “Swift” on Ubuntu 24.04?
To properly configure the Swift package, perform these commands from the terminal.
Step 1: Extract the Swift Binary
Now, locate the downloaded Swift tarball file and run the command to extract the Swift binary to the current directory:
tar xzf swift-5.10.1-RELEASE-ubuntu24.04.tar.gz


For example, if you have downloaded the Swift binary to the Downloads folder, first navigate to the folder using the command: “cd Downloads”
Step 2: Move Swift to “/opt” Directory
Execute the command to move the Swift directory to the “/opt” directory:
sudo mv swift-5.10.1-RELEASE-ubuntu24.04 /opt/swift


Moving Swift files to a standard system path, such as /opt, is mainly used for system-wide access to the package.
Step 3: Add Swift to System “PATH”
Now, add Swift to your PATH through the following command:
echo "export PATH=\$PATH:/opt/swift/usr/bin" >> $HOME/.profile


This command allows you to run the Swift from any terminal session on your Ubuntu 24.04.
Step 4: Update the PATH (/.profile)
After adding Swift to the PATH (/.profle), use the “source” command to update and apply the changes immediately:
source $HOME/.profile


Step 5: Check the Swift Version
Finally, confirm the Swift installation on your Ubuntu 24.04 with the command:
swift --version


The above code will verify that you have successfully configured Swift 5.10.1, which is the latest version available for Ubuntu 24.04.
How to Launch and Test “Swift” on Ubuntu 24.04?
You can launch, build, run, and test your Swift project from the Ubuntu 24.04 terminal.
Step 1: Launch Swift
To launch Swift, simply open your Ubuntu terminal and type the keyword “swift”:
swift

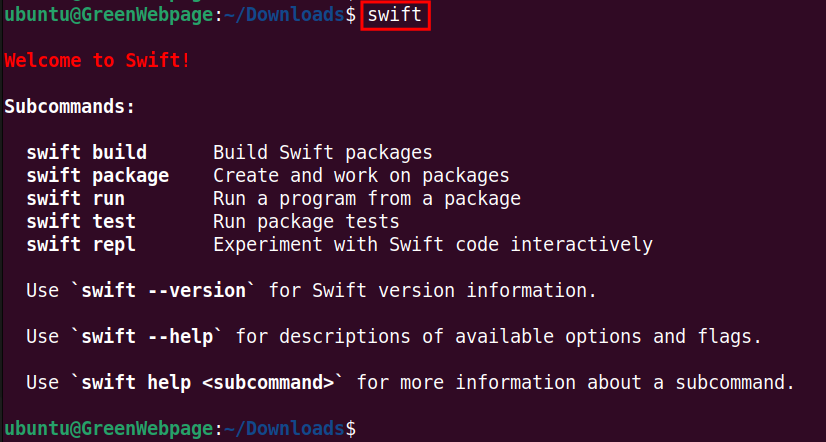
You will see the greeting message “Welcome to Swift!” confirming that Swift is working properly on your Ubuntu 24.04.
Step 2: Test “Swift”
You can test Swift in the terminal, using the below syntax:
swift repl
print("Hello Swift!")

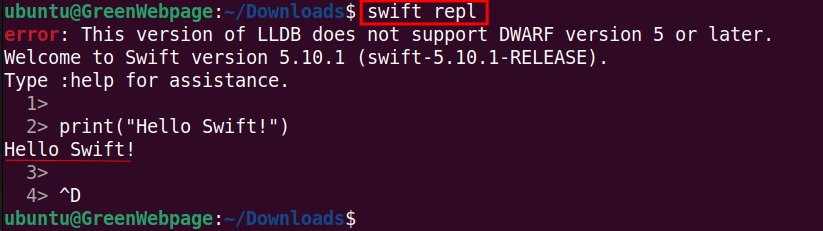
If the script prints the statement, “Hello Swift!”, it means Swift is running on your Ubuntu 24.04 system.
Conclusion
Install and configure Swift on Ubuntu 24.04 through simple steps. First, download the Swift tarball file, extract it, and move it to your system PATH. Then, start using it for development.