If you self-host a chat interface like Open WebUI in front of Ollama, the default setup is fine on your laptop but risky on the internet. Ollama has no login at all. Anyone who can reach port 11434 can list your models, run prompts on your GPU, and in some setups pull or delete models.
Automated scanners look for exactly this. An exposed AI server costs you electricity and GPU time at best. At worst, it leaks your chat history, documents, and API keys, or gives an attacker a path to the host.
This guide walks through how to secure a publicly accessible AI web interface on Linux, step by step, with configs you can copy. Every step was tested on a real server, and each one fixes a specific mistake I have seen in real setups.
Quick Outline
- Why Exposing an AI Web Interface to the Internet Is Dangerous
- Should You Expose Your Self-Hosted AI Interface to the Public Internet?
- How to Secure and Protect a Public AI Web Interface on Linux
- Common Security Mistakes When Hosting AI Interfaces on Linux
- Frequently Asked Questions
Why Exposing an AI Web Interface to the Internet Is Dangerous
Three things make AI servers attractive targets.
- Free compute. A GPU is expensive. Attackers who find an open Ollama or OpenAI-compatible endpoint can use it for their own prompts, sometimes for hours before you notice.
- Private data. Chat history, uploaded PDFs, system prompts, and connected knowledge bases often hold internal documents and credentials.
- Tools and code execution. Many web UIs let the model run code, browse the web, or read files. If someone gets into your account, those features become a way into your server.
A quick check of your own risk: from a different network, run curl http://YOUR_SERVER_IP:11434/api/tags. If you get a list of models back, your Ollama API is open to the world today. (See our full setup walkthrough on running a private ChatGPT-style assistant on a VPS).
Should You Expose Your Self-Hosted AI Interface to the Public Internet?
The safest public port is the one you never open. Pick the lightest option that meets your needs.
Option | Best for | Public ports needed | Effort |
|---|---|---|---|
VPN (WireGuard or Tailscale) | You and a few trusted users | None (or one UDP port) | Low |
Cloudflare Tunnel with Access | Small teams who want SSO without opening ports | None | Medium |
Reverse proxy with HTTPS and login | Public sites, many users, custom domain | 80 and 443 | Medium to high |
If only you and a few coworkers use the interface, a VPN is simpler and safer than anything below. The rest of this guide covers the reverse proxy route, because that is where most mistakes happen.
How to Secure and Protect a Public AI Web Interface on Linux
Keep the AI backend on localhost, put an Nginx reverse proxy with HTTPS in front, turn off open signups, add rate limiting and fail2ban, lock down SSH and the firewall, and never publish Docker ports directly. If you can avoid public access entirely, use a VPN such as WireGuard or Tailscale instead.
Step 1: Update Linux and Harden SSH Access
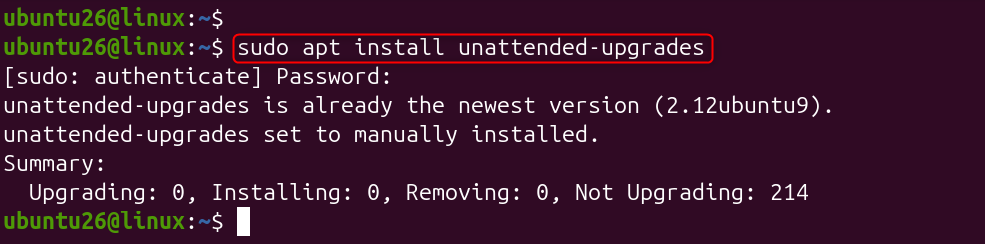
Start with the basics, because most compromises still come from weak SSH or old packages. If you have not configured key-based login yet, review how to securely use SSH to connect to a remote server before turning off password authentication
sudo apt update && sudo apt upgradesudo apt install unattended-upgrades

Use SSH keys and turn off password login. In /etc/ssh/sshd_config set:
PasswordAuthentication noPermitRootLogin no

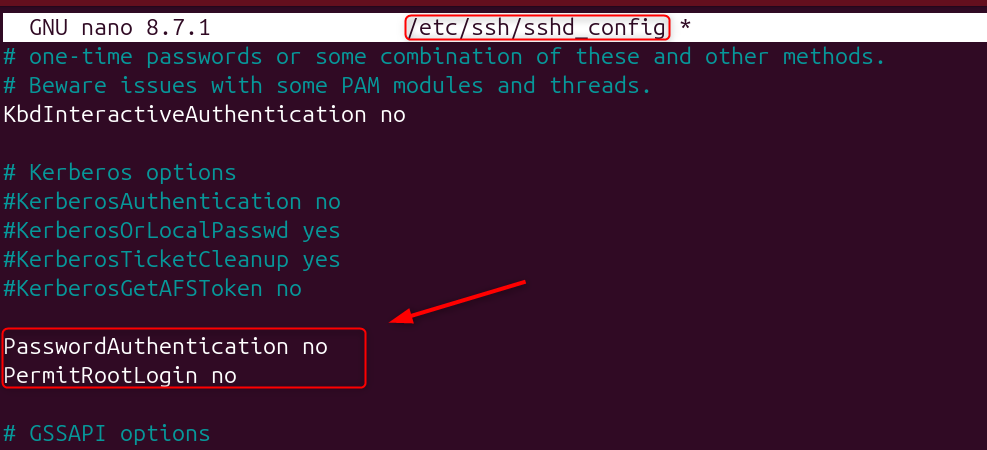
Test a second SSH session before you close the first, then run sudo systemctl restart ssh. Locking yourself out of a remote server is an easy way to ruin an afternoon.
Step 2: Configure UFW Firewall Rules for a Self-Hosted AI Server
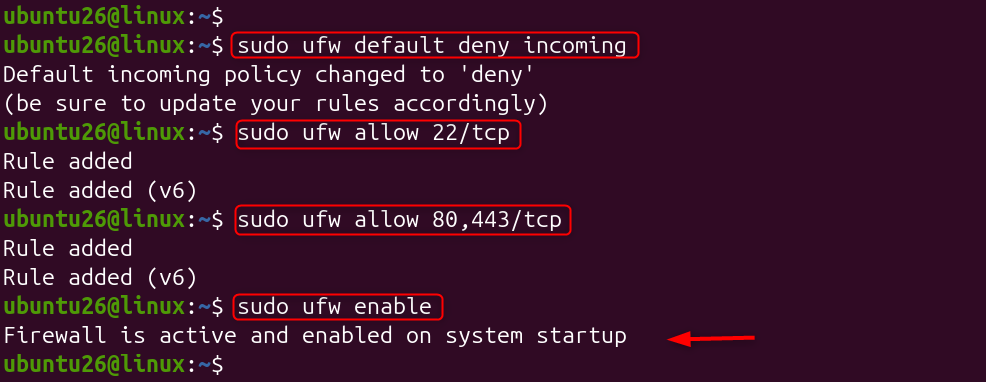
Allow only SSH, HTTP, and HTTPS. using UFW firewall rules.
sudo ufw default deny incomingsudo ufw allow 22/tcp
sudo ufw allow 80,443/tcp
sudo ufw enable

Here is the part that surprises people. Docker adds its own iptables rules, so a container started with -p 3000:8080 can be reachable from the internet even when ufw shows the port as blocked. The fix is to bind published ports to localhost only, which Step 3 does.
Step 3: Secure Ollama and Open WebUI with localhost binding
Never publish the model server or the web UI directly. Bind them to 127.0.0.1 and let only the reverse proxy reach them.
For Open WebUI in Docker (keep these essential Docker commands handy for inspecting and managing running containers):
docker run -d --name open-webui --restart always \-p 127.0.0.1:3000:8080 \
-v open-webui:/app/backend/data \
-e ENABLE_SIGNUP=false \
-e WEBUI_SECRET_KEY="$(openssl rand -hex 32)" \
-e OLLAMA_BASE_URL=http://host.docker.internal:11434 \
--add-host=host.docker.internal:host-gateway \
ghcr.io/open-webui/open-webui:main

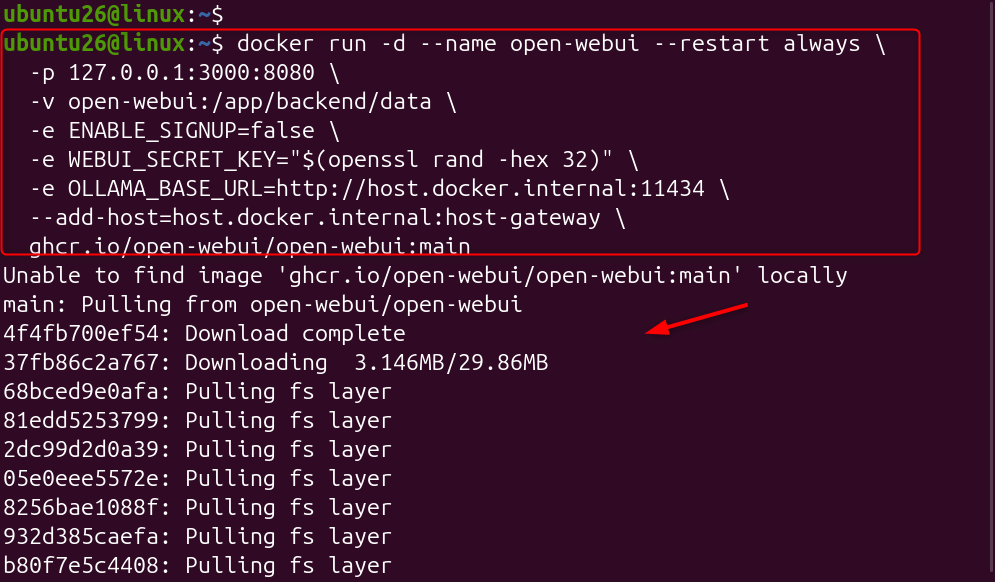
For Ollama, leave OLLAMA_HOST at its default of 127.0.0.1:11434. If Ollama runs as a systemd service, check what it is listening on with ss -tlnp | grep 11434. You want to see 127.0.0.1, not 0.0.0.0 or *. If the container cannot reach a loopback-only Ollama, you can bind Ollama to the Docker bridge address instead of all interfaces.
One gotcha with Open WebUI: the first account created becomes the admin. Create your admin account before you expose the site, then keep signups off.
Step 4: Configure Nginx Reverse Proxy with HTTPS for Open WebUI
A reverse proxy gives you TLS, rate limits, and one place to apply rules. Install Nginx and Certbot, then get a certificate:
sudo apt install nginx certbot python3-certbot-nginx -ysudo certbot --nginx -d ai.example.com

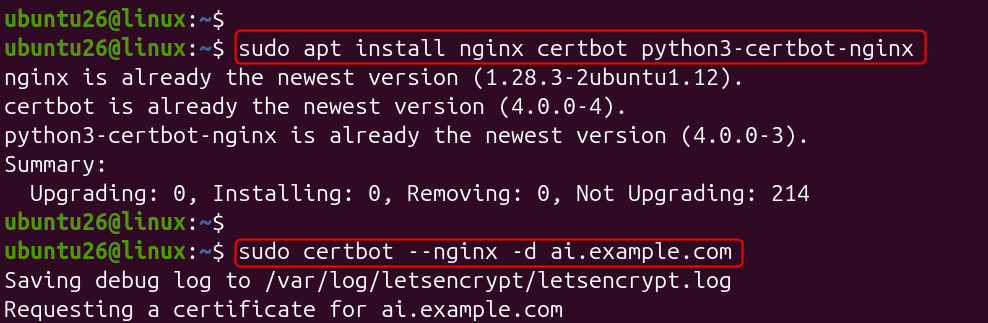
Then use a config like this. The WebSocket headers and proxy_buffering off matter, because without them, streamed AI responses stall or cut off.
limit_req_zone $binary_remote_addr zone=ai:10m rate=10r/s;server {
listen 80;
server_name ai.example.com;
return 301 https://$host$request_uri;
}
server {
listen 443 ssl;
server_name ai.example.com;
ssl_certificate /etc/letsencrypt/live/ai.example.com/fullchain.pem;
ssl_certificate_key /etc/letsencrypt/live/ai.example.com/privkey.pem;
add_header Strict-Transport-Security "max-age=31536000" always;
add_header X-Content-Type-Options nosniff always;
client_max_body_size 25m;
location / {
limit_req zone=ai burst=20 nodelay;
proxy_pass http://127.0.0.1:3000;
proxy_http_version 1.1;
proxy_set_header Host $host;
proxy_set_header X-Real-IP $remote_addr;
proxy_set_header X-Forwarded-For $proxy_add_x_forwarded_for;
proxy_set_header X-Forwarded-Proto $scheme;
proxy_set_header Upgrade $http_upgrade;
proxy_set_header Connection "upgrade";
proxy_buffering off;
proxy_read_timeout 300s;
}
}
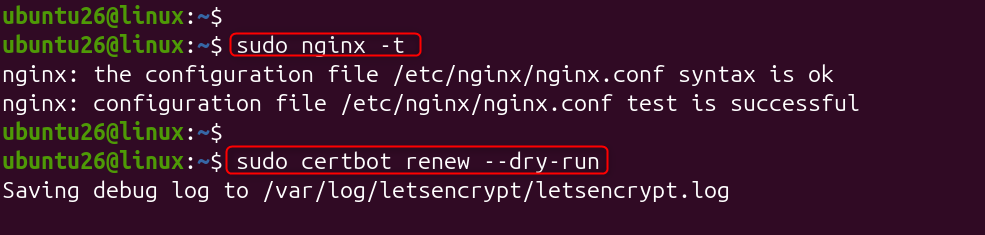
Run sudo nginx -t before you reload. Certbot sets up automatic renewal, and sudo certbot renew –dry-run confirms it works.
sudo nginx -tsudo certbot renew --dry-run

Step 5: Secure Open WebUI Login, User Accounts, and Authentication
Strong authentication matters more than any other layer, because a stolen login gives full access to chats and tools.
- Disable open registration. The ENABLE_SIGNUP=false flag above does this. Add users manually from the admin panel.
- Use long, unique passwords or, better, single sign-on. If you already run an identity provider, Open WebUI supports OIDC. A proxy such as oauth2-proxy or Authelia in front of Nginx adds SSO and two-factor login to apps that lack it.
- Set a stable secret key. WEBUI_SECRET_KEY keeps sessions valid across restarts, and a random value stops anyone from forging tokens.
- Use separate roles. Give regular users the user role, and keep the admin account for you only.
If you cannot add SSO, Nginx basic auth in front of the app is a crude but effective second gate: sudo apt install apache2-utils and sudo htpasswd -c /etc/nginx/.htpasswd yourname, then add auth_basic and auth_basic_user_file to the location block.
Step 6: Configure Nginx Rate Limiting and Fail2ban on Linux
The limit_req line in the Nginx config slows down brute force attempts and stops one client from hogging your GPU. Add fail2ban so repeat offenders get blocked at the firewall.
sudo apt install fail2ban -ysudo tee /etc/fail2ban/jail.local <<'EOF'
[sshd]
enabled = true
maxretry = 5
bantime = 1h
[nginx-limit-req]
enabled = true
logpath = /var/log/nginx/error.log
maxretry = 10
bantime = 1h
EOF
sudo systemctl restart fail2ban

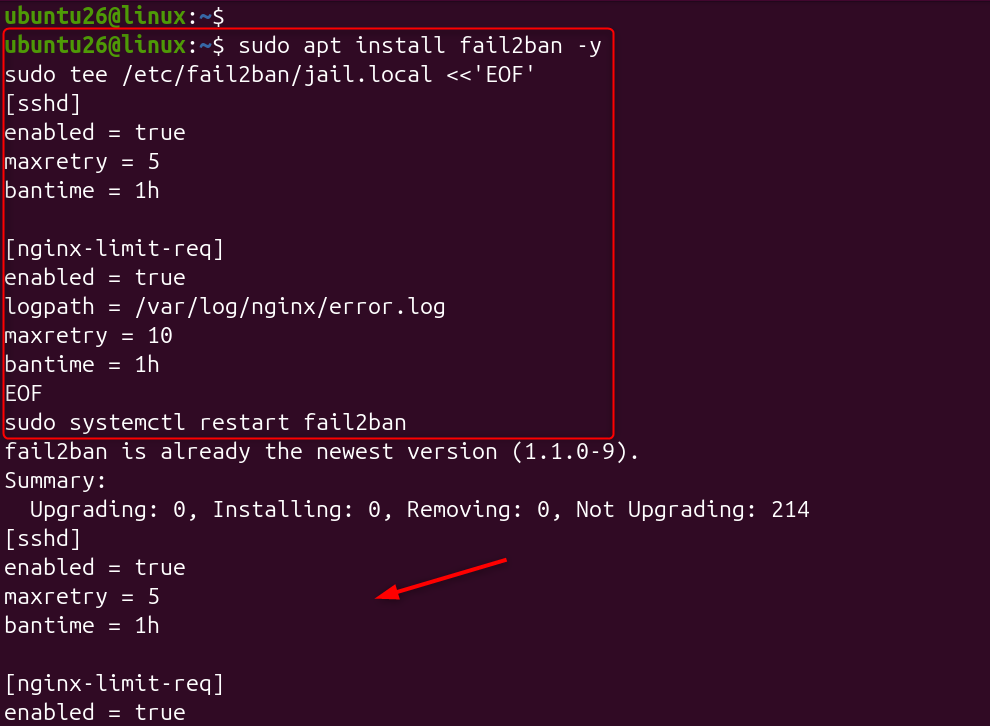
Check the result with sudo fail2ban-client status. Make sure your own IP is on the ignoreip list if you test limits yourself.
Step 7: Protect Your AI Interface Against Prompt Injection and Unsafe Tools
This step is new compared with normal web app security, and most guides skip it. A language model can be tricked by text it reads, a problem known as prompt injection. If your interface can run code, call tools, or read local files, a malicious document or web page can try to steer the model into using them.
- Turn off code execution and tool features you do not use.
- Run any code execution in a sandbox, not on the host.
- Do not mount your home folder or /etc into the container.
- Give the container its own non-root user, and use read_only: true where the app allows it.
- Keep API keys for other services in a secrets store, not in the chat settings.
Follow our full checklist for self-hosting AI applications on a Linux VPS. Treat any enabled tool as if it were a shell account, because in practice it can be.
Step 8: Protect AI Chat Logs and User Privacy
Nginx access logs record IP addresses and URLs but not POST bodies, so your prompts are not logged by default. Keep it that way, and do not turn on debug logging that dumps request bodies. Set log rotation with logrotate, and decide how long you keep chat history in the app. If you serve other people, tell them what you store.
Step 9: Update and Back Up Your Self-Hosted AI Interface
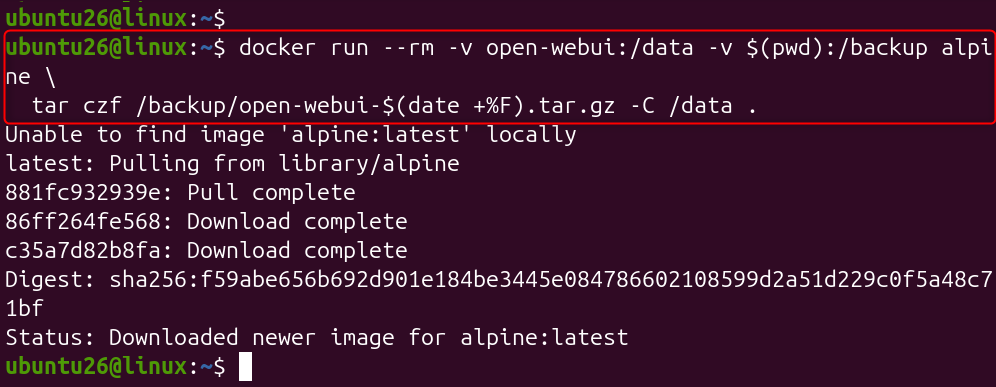
AI web UIs move fast, and security fixes ship often. Pin your image to a specific version tag instead of main once the setup works, then update on a schedule. Back up the Docker volume that holds chats and settings:
docker run --rm -v open-webui:/data -v $(pwd):/backup alpine \tar czf /backup/open-webui-$(date +%F).tar.gz -C /data .

Store the backup off the server, and test a restore at least once.
Step 10: Test Your AI Server’s Security from an External Network
A config that looks right can still be open. Check from another machine or a phone on mobile data.
- nmap -Pn YOUR_SERVER_IP should show only ports 22, 80, and 443.
- curl http://YOUR_SERVER_IP:11434/api/tags should time out or be refused.
- curl -I http://ai.example.com should redirect to HTTPS.
- On the server, ss -tlnp should show 3000 and 11434 bound to 127.0.0.1 only.
- Try signing up with a new account. It should fail.
Common Security Mistakes When Hosting AI Interfaces on Linux
- Publishing -p 11434:11434 or -p 3000:8080 without the 127.0.0.1: prefix.
- Trusting ufw alone while Docker rewrites iptables underneath it.
- Leaving signup open and having a stranger become a user, or the first admin.
- Skipping HTTPS because the site is “just for a few people”. Passwords then travel in plain text.
- Running the container as root with the Docker socket mounted. That is root on the host.
- Never updating the image after the first install.
Frequently Asked Questions
Is it safe to expose Ollama to the internet?
No. Ollama has no built-in authentication, so anyone who reaches its port can use your models and GPU. Keep it on 127.0.0.1 and put a reverse proxy with authentication in front, or reach it through a VPN.
How do I secure Open WebUI on Linux?
Bind it to localhost, serve it through Nginx with HTTPS, set ENABLE_SIGNUP=false, create your admin account first, add rate limiting and fail2ban, and keep the image updated. Turn off tools and code execution you do not need.
Do I need a reverse proxy for a self-hosted AI interface?
If the site is public, yes. A reverse proxy gives you TLS, rate limits, and a single entry point. If only you use it, a VPN such as WireGuard or Tailscale removes the need for public ports altogether.
Does ufw protect Docker containers?
Not reliably. Docker manages iptables itself, so published ports can bypass ufw rules. Bind ports to 127.0.0.1 in your run command or compose file, or manage the DOCKER-USER iptables chain.
What is the best way to add two-factor authentication to a self-hosted AI web app?
Use single sign-on through an identity provider and put oauth2-proxy or Authelia in front of Nginx. Many AI web interfaces do not offer built-in two-factor login, so the proxy layer adds it without changing the app.