SSH key is a set of cryptographic keys which is used to create secure communication channels. This key pair is composed of private and public keys and enables secure authentication without the need for passwords.
When connecting remotely, the server recognizes your public key and grants you access. SSH uses different algorithms, such as RSA, DSA, ECDSA, and Ed25519, to generate this pair of keys.
This post covers the procedure for establishing SSH keys on Ubuntu 22.04.
How to Set Up SSH Keys on Ubuntu 22.04?
These are the essential steps to set up SSH keys on the Ubuntu 22.04 operating system.
Step 1: Install OpenSSH Server
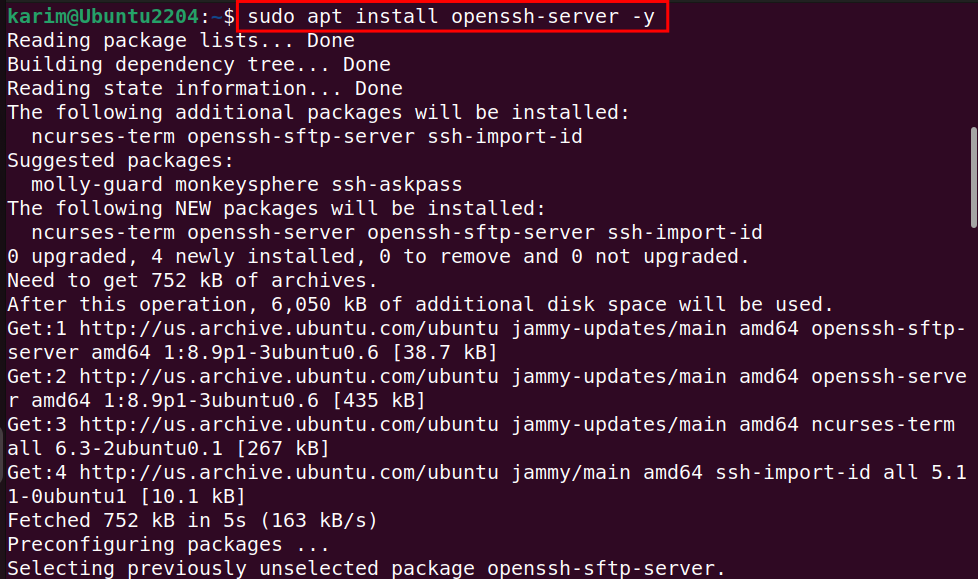
For secure communication via SSH and set up SSH keys on your Ubuntu 22.04 system, it is necessary to install the OpenSSH server:
sudo apt install openssh-server -y |
|---|
If the command runs without any error, it confirms that the package is successfully installed on your Ubuntu machine.
Step 2: Check OpenSSH Server Status
Run the command to check that the OpenSSH server is running properly on your machine:
sudo systemctl status ssh |
|---|
Make sure the status is Active after executing the command.
Step 3: Generate SSH Key Pair
After installing the OpenSSH server, you can now generate an SSH key pair using the simple command:
ssh-keygen |
|---|
The output will provide information about the default SSH key pair, including your key’s location, algorithm(RSA), and bits (3072).
You can also specify algorithms and bits as per your requirements using the syntax:
ssh-keygen -t <algorithm: rsa,dsa> -b <bits: 2048,3072> |
|---|
Step 4: Locate the SSH Keys
To check for SSH keys in your local directory, navigate to ~/.ssh, and then run the command to view the generated SSH key pairs:
ls |
|---|
There will be two files, id_rsa and id_rsa.pub in your ~/.ssh folder, where the id_rsa file is the private key, while the id_rsa.pub file is the public key in the SSH key pair.
Step 5: Copy SSH Key to Server
Use the following syntax to add the generated public key to the remote server:
ssh-copy-id techpub@127.0.0.1 |
|---|
When the command executes, it will prompt a few questions, and answer them accordingly.
Don’t forget to replace the techpub@127.0.0.1 with your own/preferred server.
Step 6: Copy a Particular Key to Server
OpenSSH allows you to copy a particular key to the server. Use the -i option followed by the key’s path in the following way:
ssh-copy-id -i ~/.ssh/id_rsa.pub techpub@127.0.0.1 |
|---|
This command adds the SSH key to the remote server. You can verify the number of keys added to the server in the output.
Step 7: Test the SSH Connection
After completing the aforementioned process to set up an SSH key, run the command to test the connection:
ssh techpub@127.0.0.1 |
|---|
If you have successfully logged into the remote server from your terminal, the SSH key is set up correctly.
How to Remove the SSH Key From the Remote Server?
You can remove the SSH key from the remote server at any time with these steps.
Step 1: Navigate the SSH Keys
To remove the SSH key from the remote server, log in to it, and then run the following command to navigate the keys:
sudo nano ~/.ssh/authorized_keys |
|---|
Step 2: Remove the SSH Key
The command sudo nano ~/.ssh/authorized_keys will open the key files in the Nano editor. Navigate to the line containing the key you want to remove, and then use Ctrl + K on your keyboard to delete the key:
To exit the Nano editor after removing the key, press Ctrl + X.
Step 3: Exit the SSH session
To exit or logout from the remote server session, simply type:
exit |
|---|
After using the exit command, you will be logged out and then the remote connection will be closed.
Conclusion
Setting up SSH keys on Ubuntu 22.04 enhances security while establishing a connection to a remote server. Installing OpenSSH packages is a prerequisite to generating and setting up SSH keys.
Utilize the command sudo apt install openssh-server -y to install the package and then use the ssh-keygen command to generate an SSH key with the RSA algorithm. This post illustrated the procedure of how to set up an SSH key on Ubuntu 22.04.
