SMTP is the protocol used for mailing. The SMTP server can be configured by installing Postfix on Linux systems. Postfix is a popular mail transfer agent that effectively manages the sending and receiving of emails on the server.
The main objective of this post is to guide you about the configuration of SMTP servers on Linux-based systems including Ubuntu 24.04.
How to configure the SMTP server on Linux?
For configuration of the SMTP server on your Linux-based systems, follow these instructions.
Step 1: Update Your System Packages
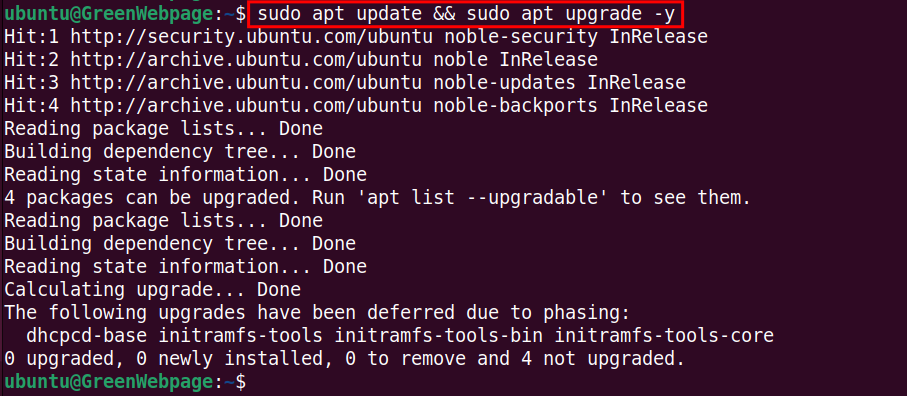
It is a necessary step for Linux users to make sure that all the system files are updated:
sudo apt update && sudo apt upgrade -y |
|---|
If needed, the above command will install any available updates for the installed packages.
Step 2: Install Postfix
After installing the available updates, you can configure the SMTP server by setting up the Postfix on your Linux-based system:
sudo apt install postfix -y |
|---|
While setting up the Postfix package, you will be prompted with a few questions. Respond to them accordingly:
Installing Postfix on a Linux server is essential for setting up a reliable and secure SMTP server.
You can further edit the “/etc/postfix/main.cf” file according to your needs.
Step 3: Backup Postfix Configuration
Before making changes to the main configuration file of Postfix, it is better to create a backup of the Postfix main configuration file:
sudo cp /etc/postfix/main.cf /etc/postfix/main.cf.backup |
|---|
The above command created a backup copy of the main configuration file. Now, you can safely edit the file.
Step 4: Edit the Postfix Configuration
Let’s make some necessary changes in the main Postfix configuration file. Run the command to open the file:
| sudo nano /etc/postfix/main.cf |
|---|
In the Postfix configuration file, locate the “inet_interfaces” parameter and update it with the following option:
inet_interfaces = loopback-only |
|---|
Save the Postfix configuration file using Ctrl + S and return to the main terminal window.
Step 5: Enable Postfix
Use this command to automatically start the Postfix service when the system reboots:
sudo systemctl enable postfix |
|---|
If you see the above message “enable postfix”, it means that the Postfix is now enabled on your Linux system.
Step 6: Start Postfix
Execute the provided command to start the Postfix service immediately, without rebooting the system:
sudo systemctl start postfix |
|---|
After executing this command, you don’t need to reboot your system to apply the changes to the Postfix.
Step 7: Allow Postfix Firewall
Run the following three commands to allow the firewall for Postfix SMTPS access.
This command will allow Postfix:
sudo ufw allow Postfix |
|---|
You can utilize this command to allow Postfix SMTPS on your Linux system:
sudo ufw allow "Postfix SMTPS" |
|---|
Run the command to allow Postfix to accept incoming email submissions from clients:
sudo ufw allow "Postfix Submission" |
|---|
These commands are essential to allow traffic for Postfix, SMTPS, and email submissions from clients through the firewall.
Step 8: Restart Postfix
Your Linux machine now needs to restart the Postfix service for the changes to take effect:
sudo systemctl restart postfix.service |
|---|
After executing the command, if you see no output on your screen, it indicates that the Postfix service has started successfully.
Step 9: Test SMTP Server on Your Linux
Let’s test the Postfix SMTP server using the following commands:
telnet localhost 25 EHLO localhost MAIL FROM:you@example.com RCPT TO:recipient@example.com DATA Subject: Test Email This is a Test email for Postfix. . QUIT |
|---|
When you run the above commands and observe the same output as mentioned above, it indicates that the SMTP server has been successfully configured on the Linux system.
Conclusion
SMTP server can be configured by setting up the Postfix on your Linux-based system. To install Postfix, use the command “sudo apt install postfix -y” and do some necessary edits in the “/etc/postfix/main.cf” configuration file. You can test the SMTP server by using the command “telnet localhost 25” on your Linux machine (i.e. Ubuntu 24.04).
