
OpenClaw is a powerful AI agent designed to perform tasks on your behalf directly on your computer. If ChatGPT is an “Advisor” that tells you the steps on how to do something, then OpenClaw is a “Worker” that performs those steps itself within your browser or computer.
OpenClaw is an “Autonomous” meaning that you tell it the task, then you can sit and take tea, and it will work on your browser or computer in the background.
In this guide, we will walk through the complete process of installing and configuring the OpenClaw AI assistant on Ubuntu 24.04.
Key Features of OpenClaw
- Browser Control: It can open the browser, browse any website, click the buttons, and fill in the forms.
- Open Source: OpenClaw is an open source. It means that its code is available publicly. Anyone can modify its source code, unlike ChatGPT, which is closed source.
- Visual Reasoning: OpenClaw can see the elements of your screen. If you ask the agent to go to the Amazon website, find a cheap mouse, and add it to the shopping cart. It will recognize the screen elements and do the task automatically.
Prerequisites
To ensure a smooth experience while running the OpenClaw AI agent on Ubuntu 24.04, your system should meet the following minimum requirements.
- Memory (RAM): 4 GB minimum (8 GB recommended).
- Processor (CPU): Dual Core (Intel/AMD) 64-bit.
- Storage (Hard disk): At least 5 GB of free hard disk space.
- Python: Python 3.10 or higher version must be installed.
- Network: A stable, high-speed Internet connection.
- API Access: A valid API key from OpenAI (GPT-4) or Anthropic (Claude).
Installing OpenClaw on Ubuntu 24.04
Open the terminal from the apps or by using the shortcut (CTRL + Alt + T) key. Execute the following one-line command to install OpenClaw and any required dependencies.
curl -fsSL https://openclaw.ai/install.sh | bash

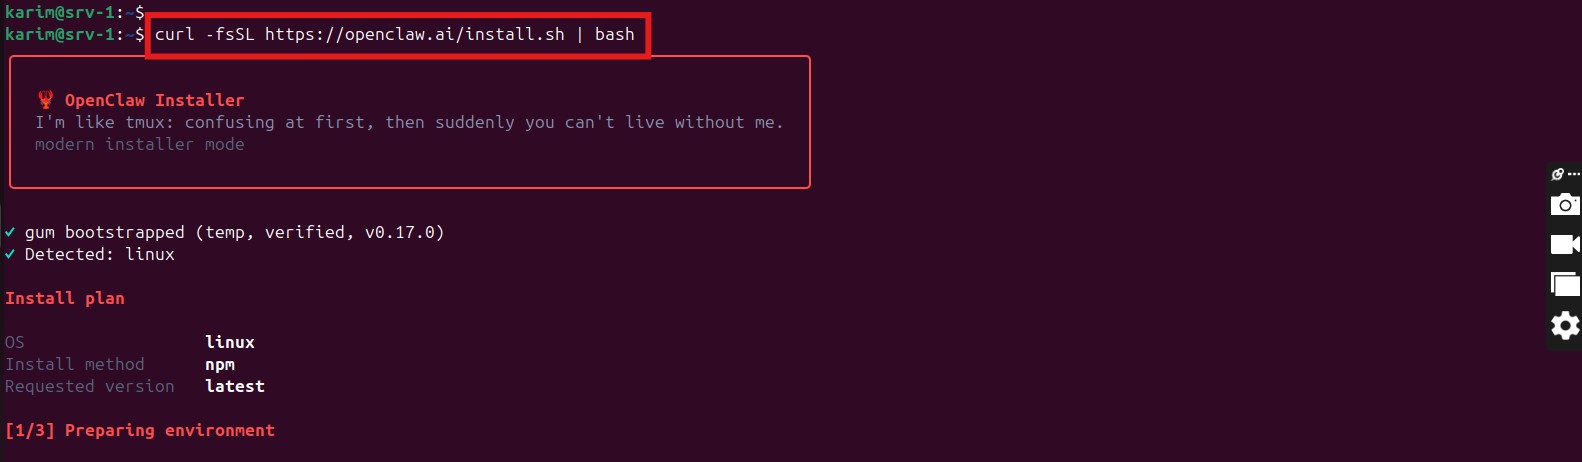
You can move ahead and configure the OpenClaw on Ubuntu 24.04 by following the step-by-step wizard after installation.
Configuring OpenClaw on Ubuntu 24.04
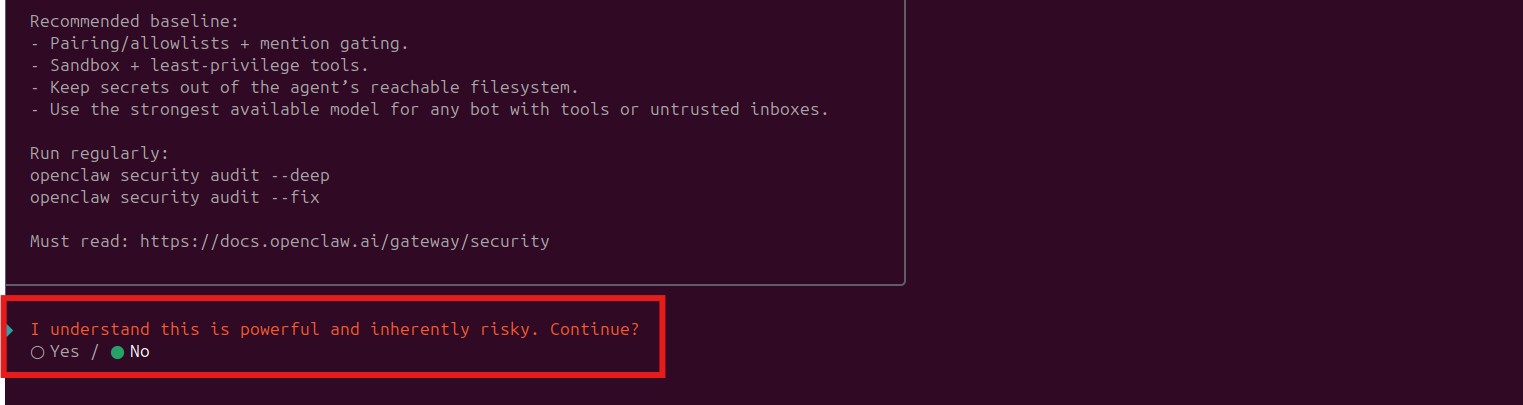
Since the OpenClaw AI agent takes control of your computer system, it can read your sensitive files and manage browser data. You are shown a “Safety Disclaimer”. Choose Yes with your keyboard and then hit Enter to acknowledge the risk and proceed.

To install OpenClaw with default settings (which is the recommended method), choose Quick Start and hit Enter. This will skip the long configuration and save time.


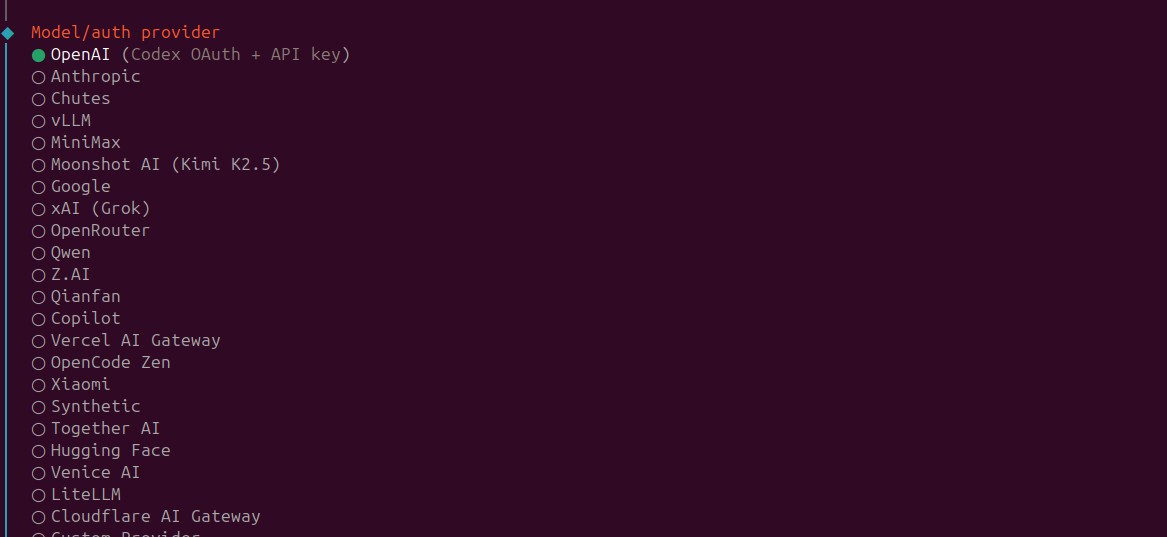
Think of OpenClaw as a robot that has hands and feet (browser and system control) but does not have a brain. In this step, you are asked to choose a brain of a specific model, like OpenAI, Gemini, etc. Select OpenAI (or your preferred provider) and hit Enter.

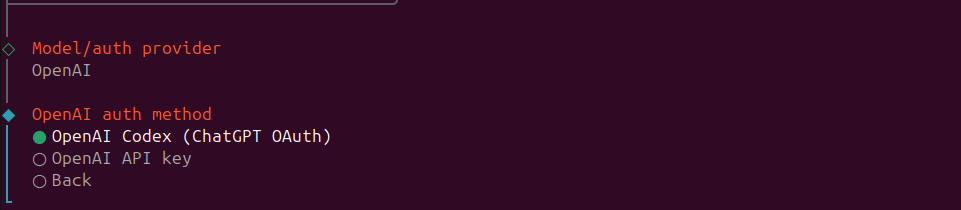
In the next screen, choose your preferred authentication method (providing an API key or signing in).

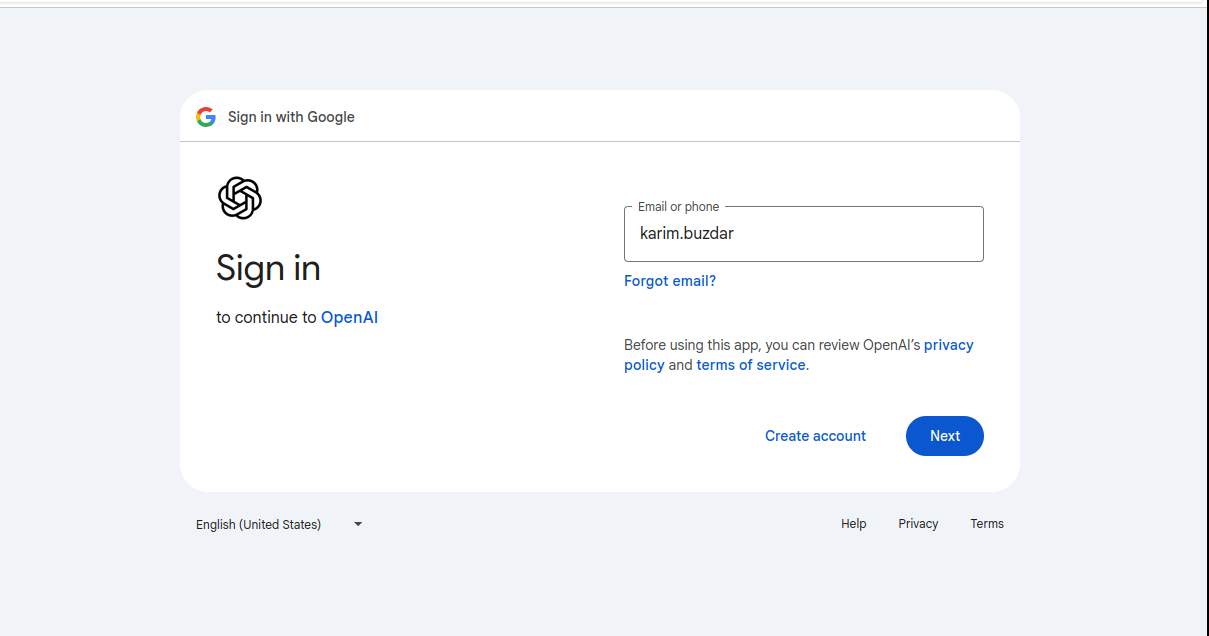
Follow the prompts to provide your Email ID or use the Gmail login option for OpenAI authentication. This securely links your AI model to the OpenClaw agent.

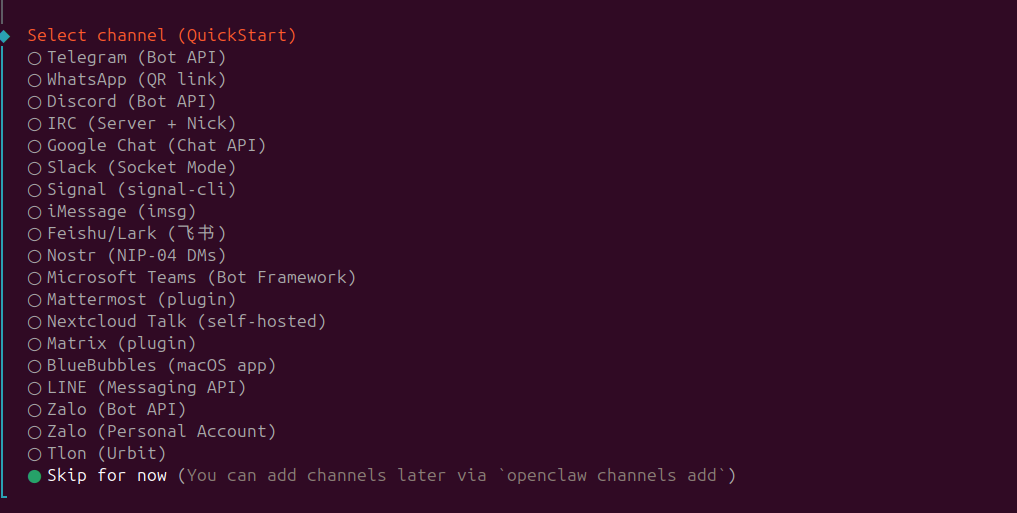
You are asked to choose a channel. A channel is a remote interface you use to interact with OpenClaw and give it commands for a specific task. Choose Skip for now to finish the setup first.

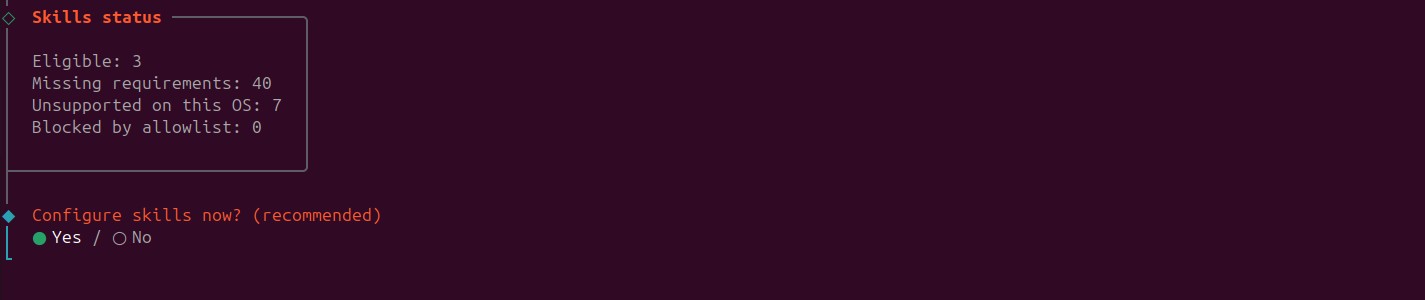
Skills are the tools of an OpenClaw. With skills, it will perform the original task suppose creating a file, opening a browser, scraping data from the Internet, and running system commands. Choose No and press Enter. You can later install the skills from the dashboard.

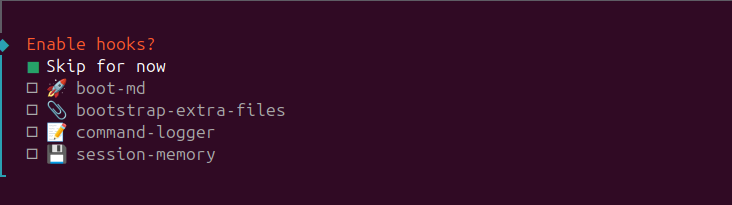
You will be asked to enable hooks, which are used for advanced logging and external integrations. Choose Skip for now.

Configuration is now complete, and the dashboard will open in your default browser.
Launching OpenClaw on Ubuntu 24.04
Once the installation is complete, you can access the graphical interface of your AI assistant through any web browser.
After ensuring OpenClaw service is running, enter the following address in your browser. Note down the correct port so you do not make a mistake while typing.

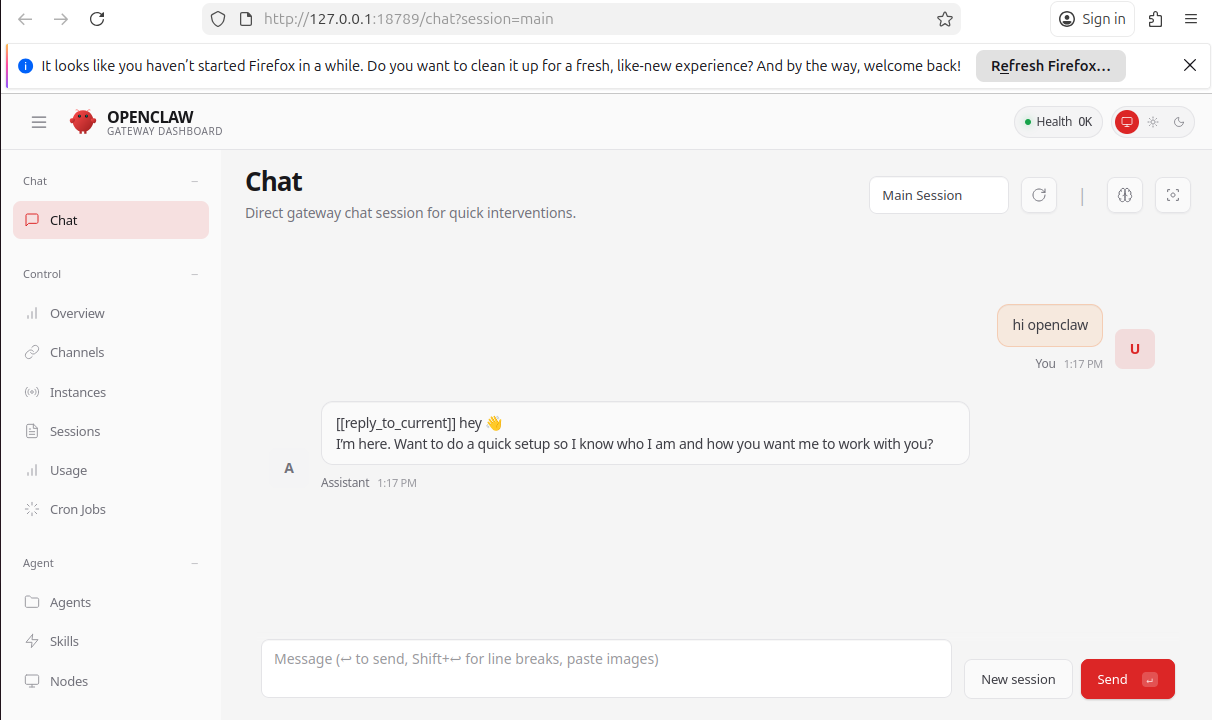
You will see a dashboard of OpenClaw where you can manage your sessions, monitor health status, and configure communication channels like WhatsApp.
If chat on the OpenClaw dashboard works, that means your setup is 100% complete.
Troubleshooting OpenClaw
If you see a “command not found” error after installation, it means the global path is not set. Run this command to fix it:
export PATH="/home/$(whoami)/.npm-global/bin:$PATH"
Removing OpenClaw on Ubuntu 24.04
If you no longer need OpenClaw or need its fresh installation on Ubuntu 24.04, you can delete it from your system.
Step 1: Delete Configuration and Data
OpenClaw stores all your personal settings, API keys, WhatsApp session, and other data in a directory. To delete everything, run:
rm -rf ~/.openclaw


Step 2: Remove the Executable File
Finally, remove the main executable and any locally installed dependencies to free up space:
rm $(which openclaw)


That concludes our guide on installing and managing OpenClaw on Ubuntu 24.04.
Conclusion
In this article, we have taught you to install and configure the OpenClaw AI agent on Ubuntu 24.04. Run the command, curl -fsSL https://openclaw.ai/install.sh | bash, in the terminal, and follow the step-by-step wizard for installation and configuration.
At Green Webpage, we are thrilled to announce that we have doubled the RAM for the VPS plans at no extra cost! Use the 40low coupon at checkout, and receive 40% OFF lifetime discount.
Note: This coupon is available for all VPS plans, and it applies only to monthly billing cycles.