
Oracle Database Express Edition is a lightweight, free version of Oracle Database. It is widely used for testing, development, and learning. Oracle XE installed on a Ubuntu 24.04 Virtual Private Server enables database administrators and developers to utilize enterprise-grade Oracle functionality without incurring licensing fees, while maintaining control over their server environment.
This guide will show you how to install Oracle XE for Ubuntu 24.04 on a VPS. You’ll also learn about the configuration of the database, the verification of the installation, and the basic post-installation steps.
Table of Content
- What Is Oracle XE and Why Use It?
- How to Install Oracle XE on Ubuntu 24.04 VPS (Step-by-Step Guide)
- Common Issues and Fixes
- Best Practices for Oracle XE on Ubuntu VPS
- Conclusion
What Is Oracle XE and Why Use It?
Oracle XE is a free version of Oracle Database that’s designed for smaller workloads, learning, and development environments. It contains core Oracle database functionality while restricting CPU, memory, and storage usage. Oracle XE allows developers to test and build Oracle-based applications without having to pay for a license.
How to Install Oracle XE on Ubuntu 24.04 (Step-by-Step Guide)
Oracle XE can be installed on Ubuntu 24.04 Virtual Private Servers to provide developers with a powerful Oracle database at no charge. Oracle XE can be quickly deployed for testing and development by installing the required dependencies, converting RPM packages, configuring the database, and securing access. Oracle XE on Linux VPS can be configured correctly and using best practices to provide a reliable Oracle environment.
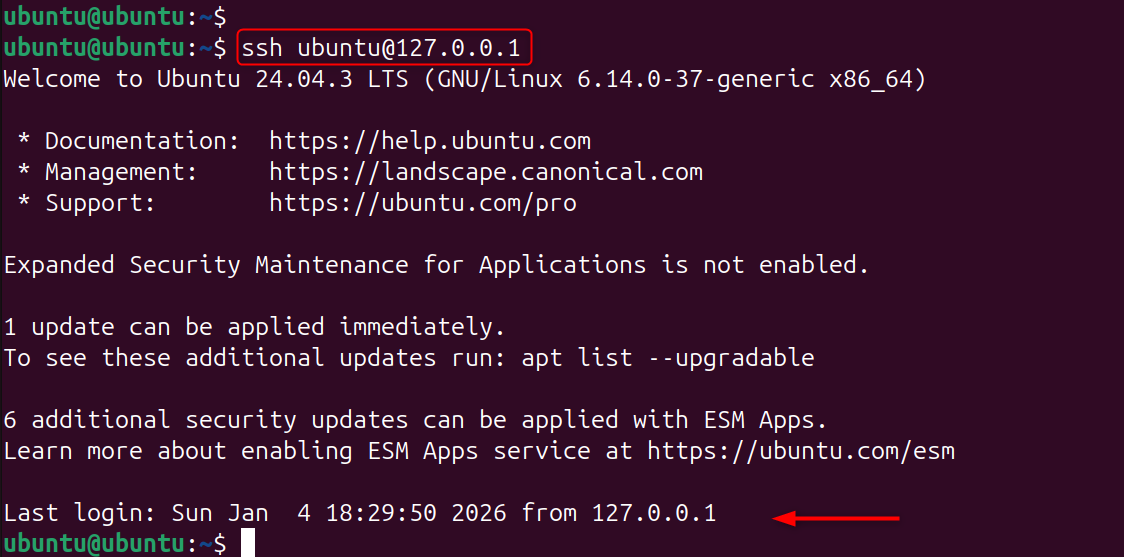
Step 1: Connect to Your Ubuntu VPS
Connect to your VPS via SSH before you install any packages or configure the system. All installation steps will be performed on the server.
|
ssh username@your_vps_ip |
|---|

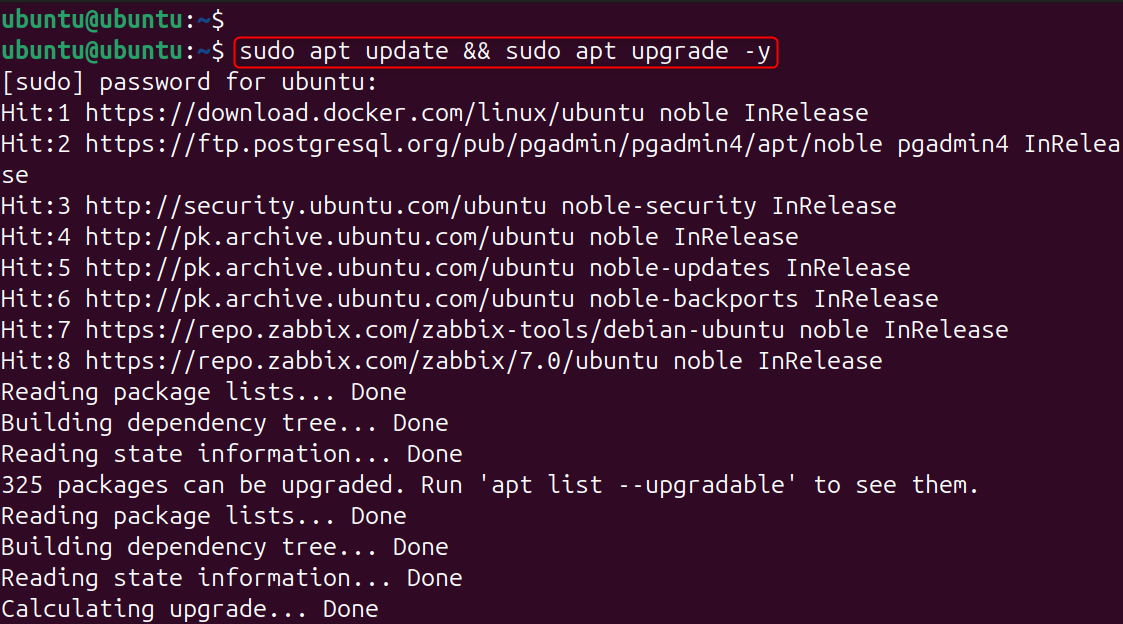
Step 2: Update System Packages
Updated system packages are compatible and avoid dependency conflicts when installing. Before installing Oracle XE, this step will also apply important security patches.
|
sudo apt update && sudo apt upgrade -y |
|---|

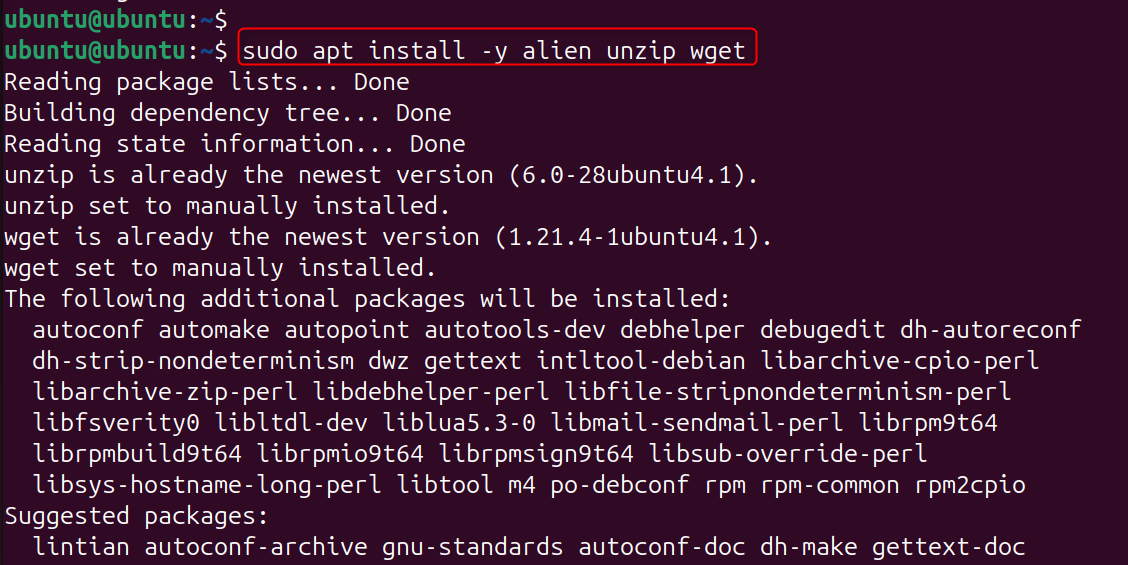
Step 3: Install Required Dependencies
Oracle XE needs several system libraries in order to work correctly on Ubuntu. Installing these dependencies ahead of time prevents installation failures.
|
sudo apt install -y alien unzip wget |
|---|

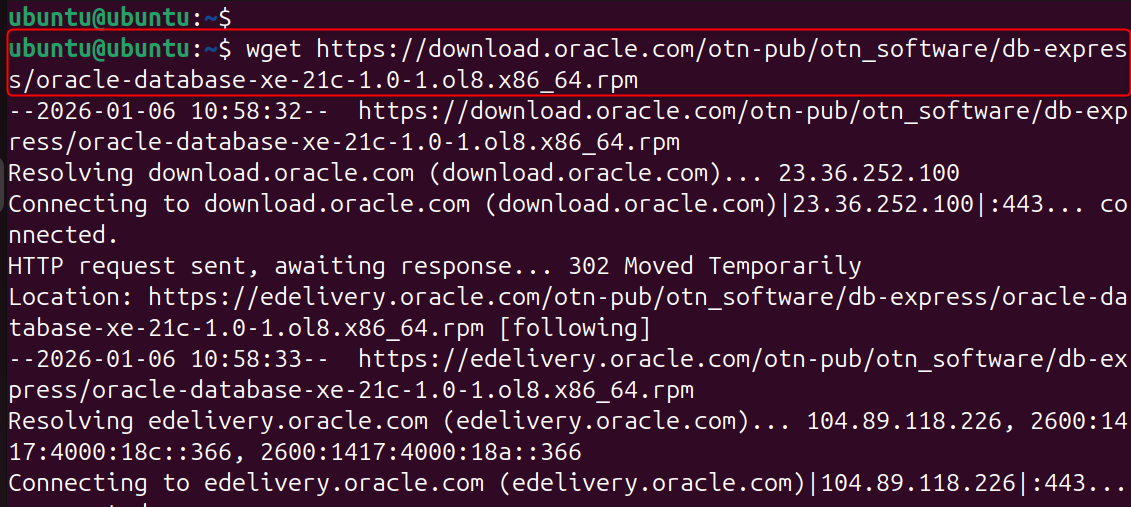
Step 4: Download Oracle XE for Linux
Oracle XE can be downloaded as an RPM package for Debian-based operating systems. Oracle must be manually downloaded. This step will fetch the official Oracle XE Installer.
|
wget https://download.oracle.com/otn-pub/otn_software/db-express/oracle-database-xe-21c-1.0-1.ol8.x86_64.rpm |
|---|

Note: You may need to accept Oracle’s license agreement on their website before downloading.
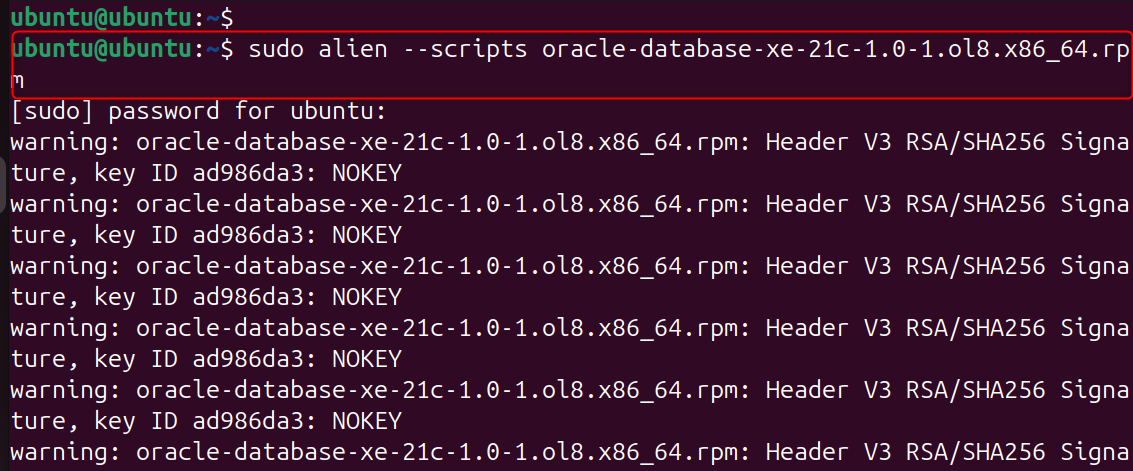
Step 5: Convert RPM Package to DEB Format
Ubuntu only supports DEB packages. Therefore, the Oracle RPM package needs to be converted with alien. Oracle XE can now be installed on Ubuntu 24.04.
|
sudo alien –scripts oracle-database-xe-21c-1.0-1.ol8.x86_64.rpm |
|---|

Step 6: Install Oracle XE Package
Install the DEB package generated by dpkg. This step copies Oracle databases and prepares the system services.
|
sudo dpkg -i oracle-database-xe-21c_1.0-2_amd64.deb |
|---|


Step 7: Configure Oracle XE Database
Oracle XE needs to be configured after installation. This step creates a default database, sets the database passwords, and configures listeners.
|
sudo nano oracle-database-xe-21c-1.0/etc/init.d/oracle-xe-21c |
|---|

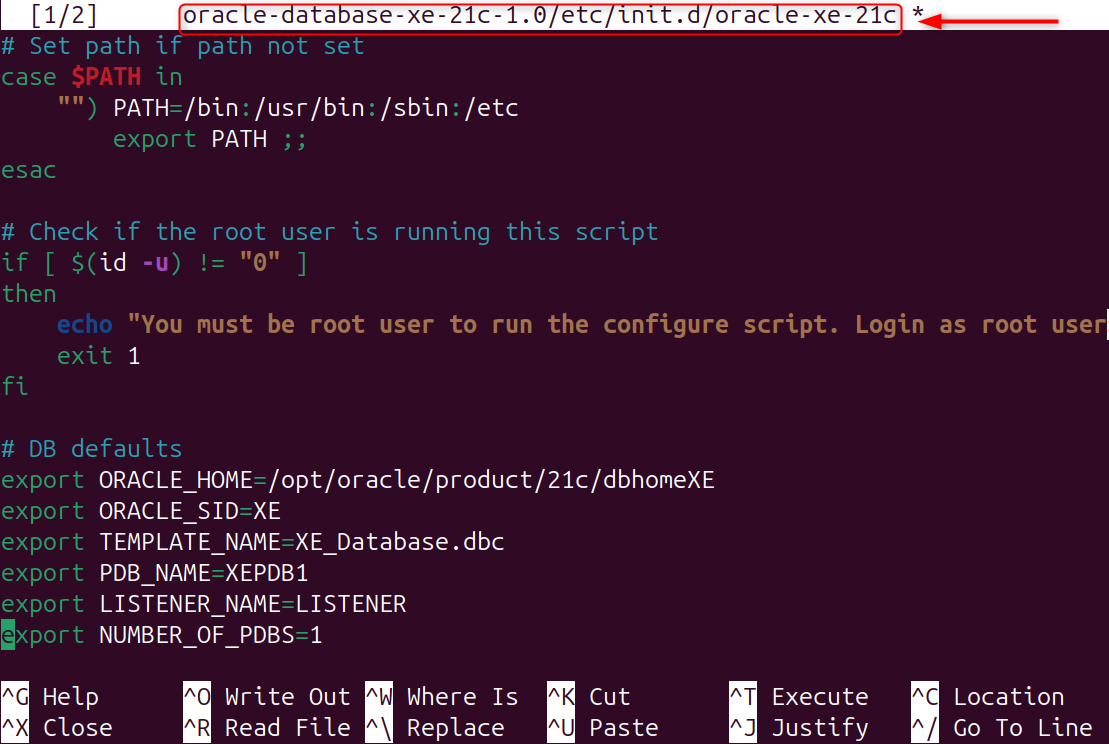
You can set:
- Set SYS and SYSTEM passwords
- Confirm database ports
- Enable automatic startup
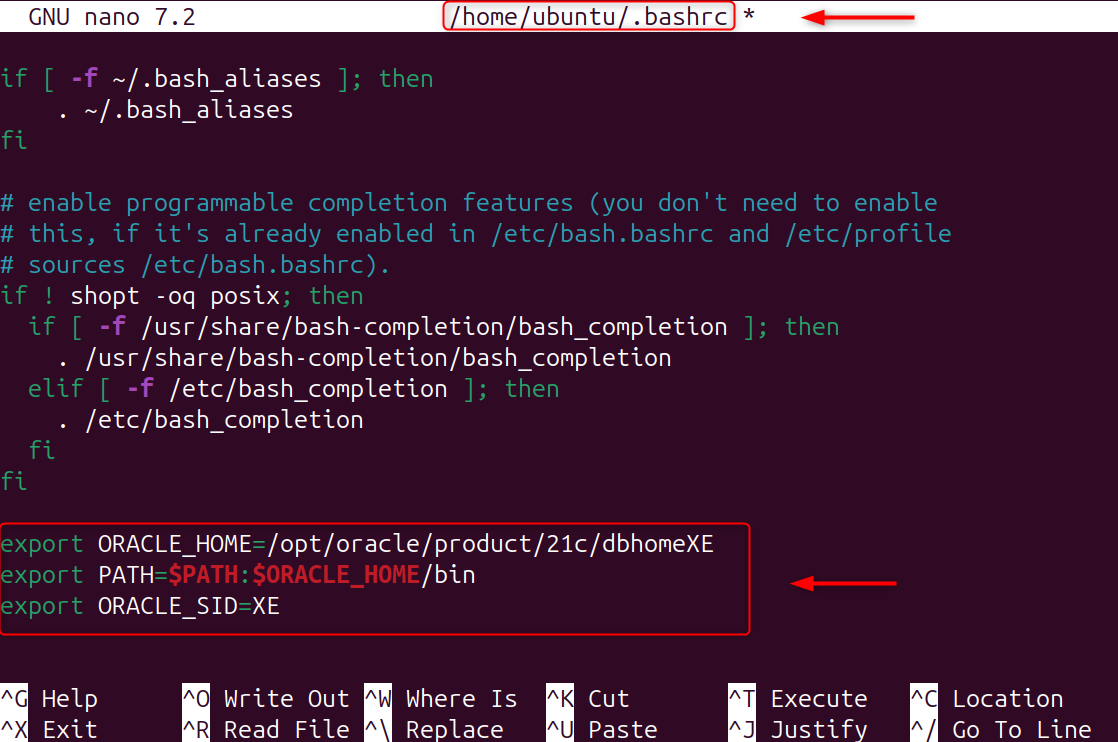
Step 8: Set Oracle Environment Variables
Oracle tools need environment variables to find database binaries and libraries. These variables allow you to use Oracle utilities such as sqlplus.
|
nano ~/.bashrc |
|---|
Add:
|
export ORACLE_HOME=/opt/oracle/product/21c/dbhomeXE export PATH=$PATH:$ORACLE_HOME/bin export ORACLE_SID=XE |
|---|

Apply changes:
|
source ~/.bashrc |
|---|


Note: Assure that the Oracle database service has been configured to automatically start at boot and is currently running. This ensures database availability even after the server restarts.
|
sudo systemctl start oracle-xe-21c sudo systemctl enable oracle-xe-21c |
|---|
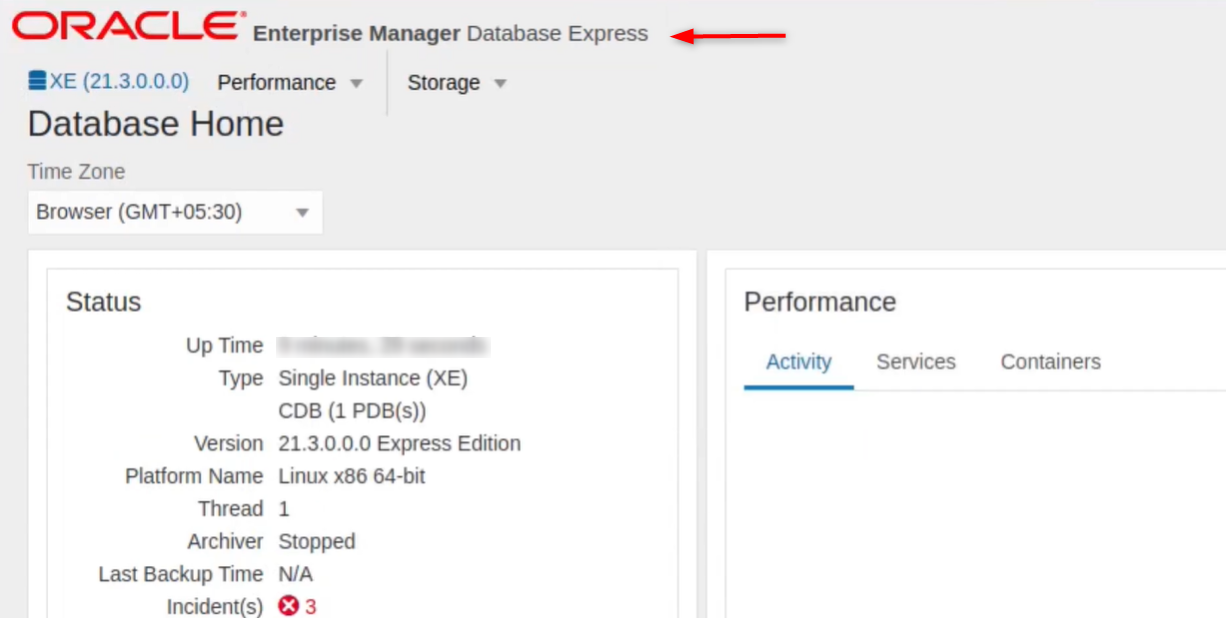
Step 9: Verify the Oracle Enterprise Manager login from the browser
Oracle XE has been verified as installed and operational. You can now connect to your database.
|
https://localhost:1521 |
|---|

If connected successfully, Oracle XE is running correctly.
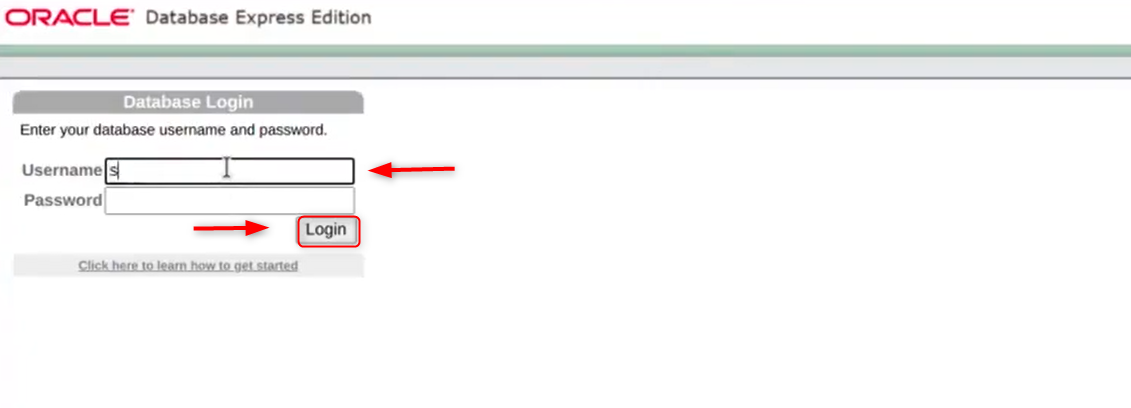
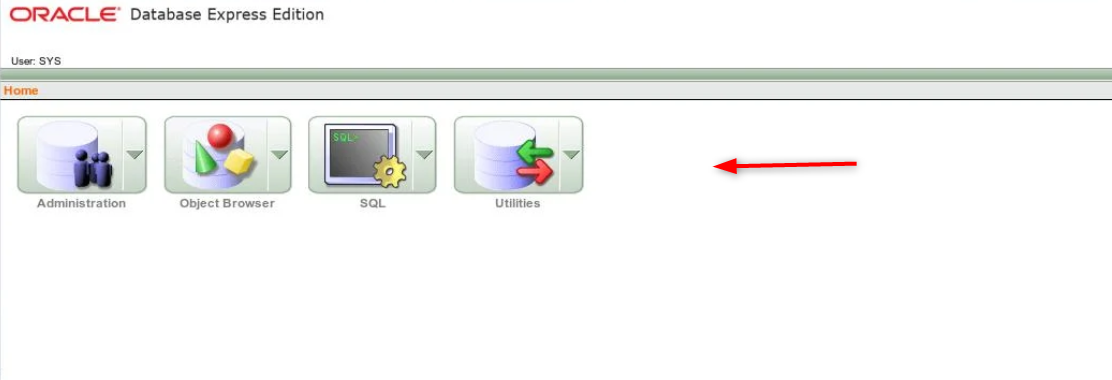
Step 10: Connect to Oracle XE as SYSTEM User
Test user access to confirm proper database configuration.

This step is crucial for database management and application development.

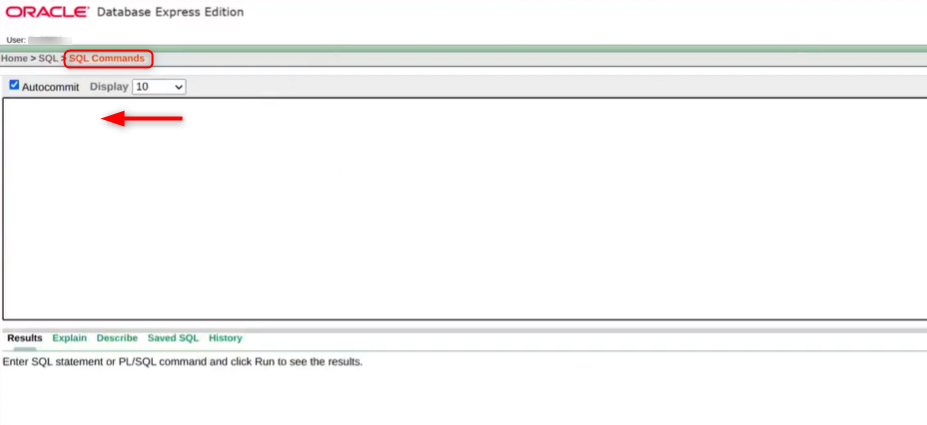
After navigating SQL, you can navigate to the SQL Commands. Here, you can execute statements:

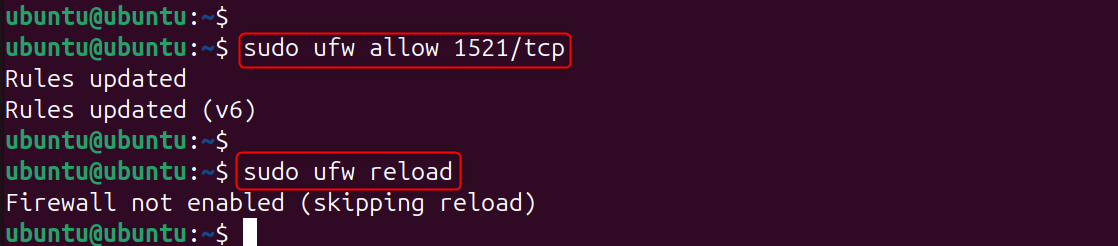
Step 11: Enable Remote Database Access (Optional)
Oracle XE defaults to listening on localhost. Firewall rules must be changed to allow remote connections.
This step is helpful for remote development environments.
|
sudo ufw allow 1521/tcp sudo ufw reload |
|---|

Step 12: Update and Secure Oracle XE on a VPS
When running databases on VPS public servers, security is crucial. Best practices include:
- Strong passwords
- Firewall restrictions
- Limiting remote access
- Regular updates
These steps reduce the risk of unauthorized access.
Common Issues and Fixes
- sqlplus command not found: Ensure ORACLE_HOME and PATH are set correctly.
- Listener not starting: Restart the Oracle XE service.
- Low memory errors: Upgrade VPS RAM or reduce background services.
Best Practices for Oracle XE on Ubuntu VPS
- Use Oracle XE for development only
- Monitor disk usage
- Regularly back up your databases
- Avoid exposing ports publicly
- Use SSH tunneling for remote access
These practices ensure stable and secure operation.
Conclusion
Installing Oracle XE requires installing the required dependencies. You can then download the Oracle XE package and convert it into a DEB using Alien. Then, you install the package and run the Oracle Configuration script. Oracle XE is fully functional and available for testing and development on a Linux VPS after setting the Oracle environment variables.