phpMyAdmin is a free and open-source web-based database management tool written in PHP. With phpMyAdmin installed on Debian 12, system administrators and developers have a visual front end to aid in managing databases easily. Once set up and installed, it allows you to perform database management tasks on a running MySQL server via a web browser.
For new users, the command line can be complex when trying to manage MySQL or MariaDB databases. This is where phpMyAdmin, a robust web-based database management tool for MySQL/MariaDB, can help. If you are using Debian 12 and you would like to learn how to install phpMyAdmin, you can use this guide, which will provide you with clear and easy instructions.
How to Install phpMyAdmin on Debian 12: Step-by-Step Guide
phpMyAdmin is a user-friendly database management tool that is robust, web-based MySQL database client. Since phpMyAdmin is a web application, you will need a running web server. We’ll go with Apache, the most commonly used open-source web server.
Prerequisites for phpMyAdmin Installation
To install phpMyAdmin on Debian 12, make sure that you have met the following prerequisites:
- A new installation of Debian 12 with root or sudo privileges
- Apache web server or Nginx (this guide will be using Apache)
- Database server (MySQL or MariaDB)
- PHP with necessary extensions
Step 1: Update Debian 12 System Packages
First of all, make sure your system is up-to-date with all the latest package information and security updates. This is an important step in ensuring your system is balanced and secure.
|
sudo apt update && sudo apt upgrade -y |
|---|

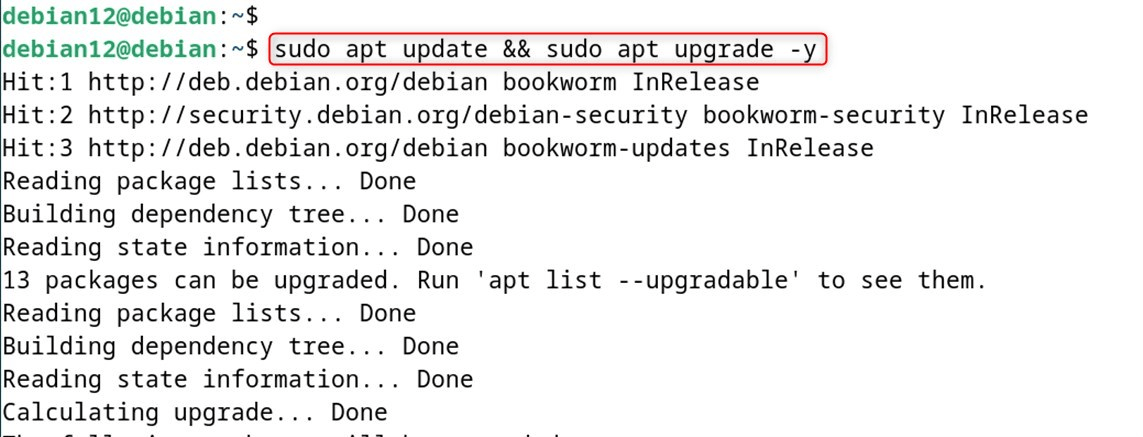
This command refreshes the whole list of packages and upgrades all installed packages to their latest available versions. The -y option automatically answers all prompts, and makes the updating process more seamless.
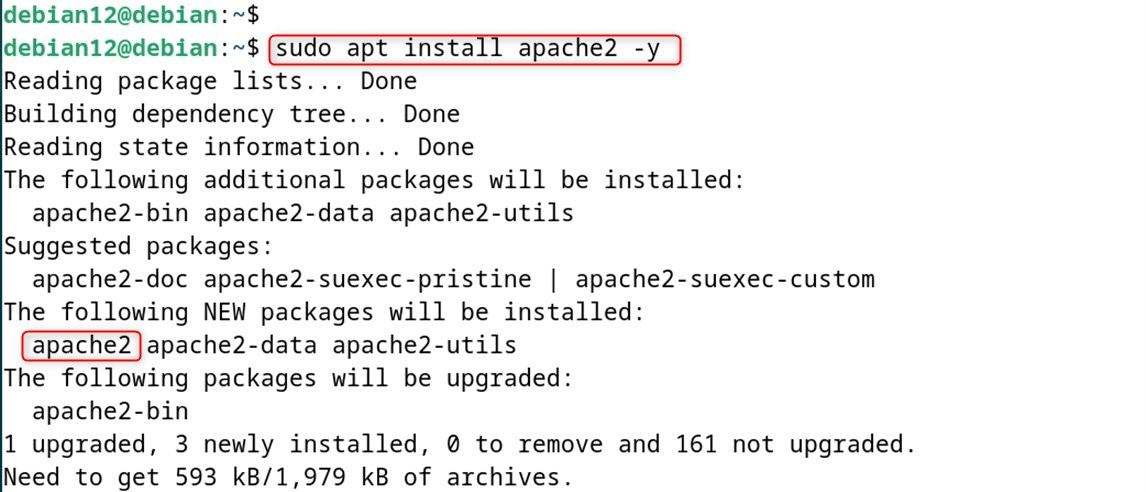
Step 2: Install Apache (Web Server)
phpMyAdmin is mostly used with Apache. The first step to use a working version is to install Apache on your Debian 12 with the command:
|
sudo apt install apache2 -y |
|---|

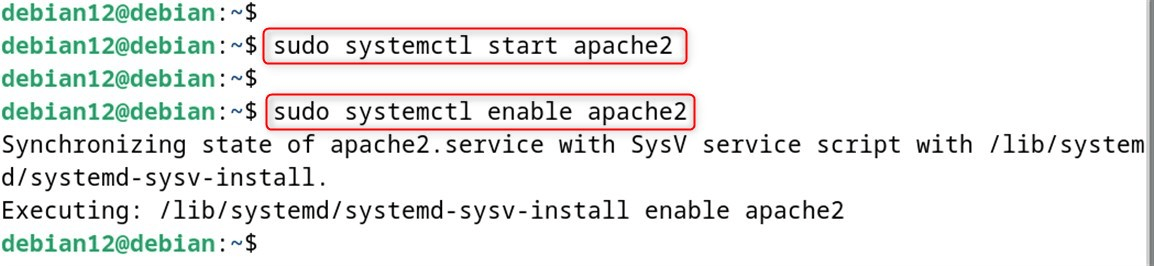
Once installed, start Apache and enable it to start on boot:
|
sudo systemctl start apache2 sudo systemctl enable apache2 |
|---|

Verify the installation of Apache with its status:
|
sudo systemctl status apache2 |
|---|

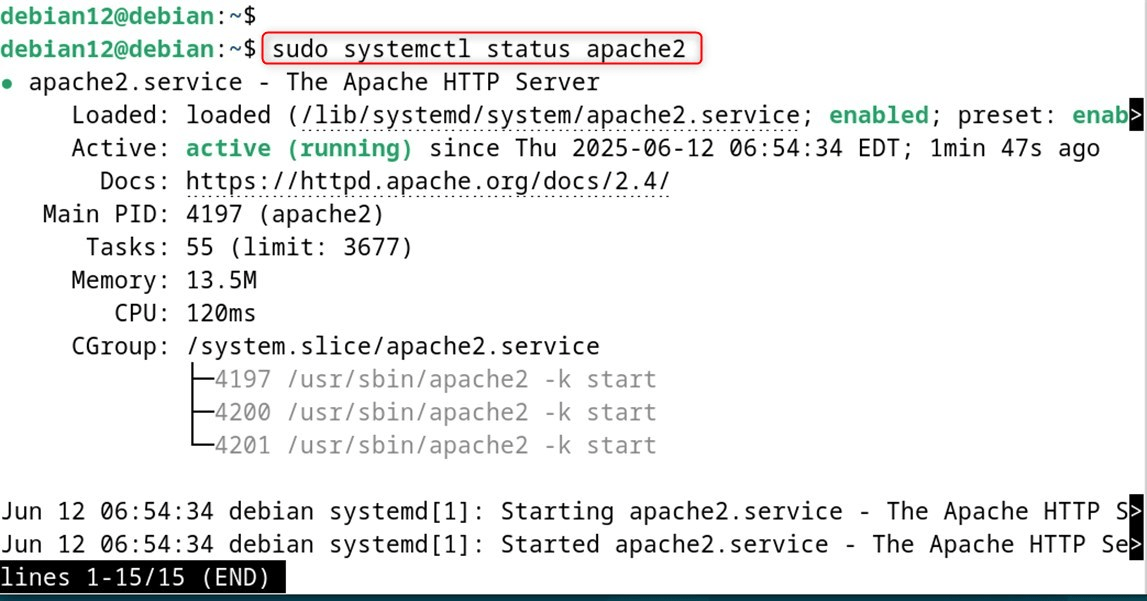
You should get an output as shown above indicating that Apache are up and running on your Debian 12 system.
Step 3: Install and Secure MariaDB or MySQL
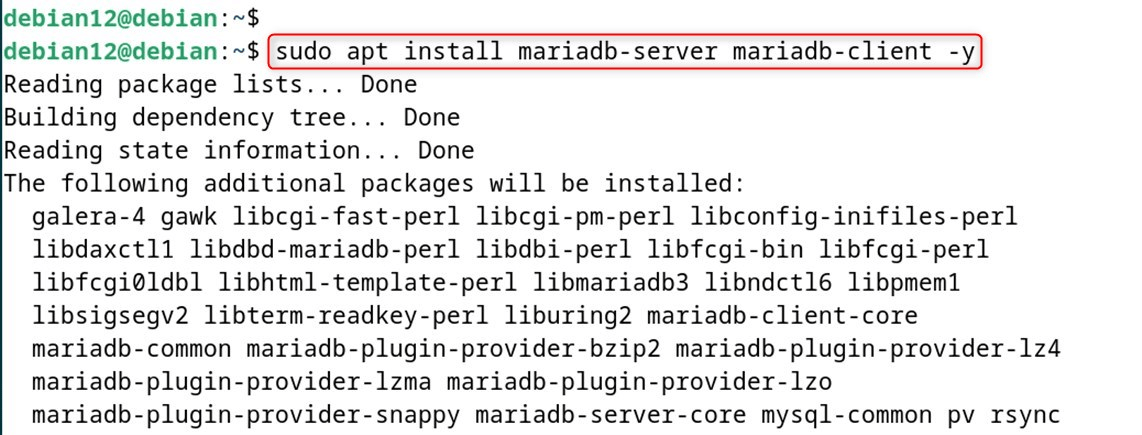
If you have not yet installed a database server, install MariaDB, an open-source, fully compatible drop-in replacement for MySQL.
|
sudo apt install mariadb-server mariadb-client -y |
|---|

Next, run the commands below to set up MariaDB to automatically start up when the server boots.
|
sudo mysql_secure_installation |
|---|

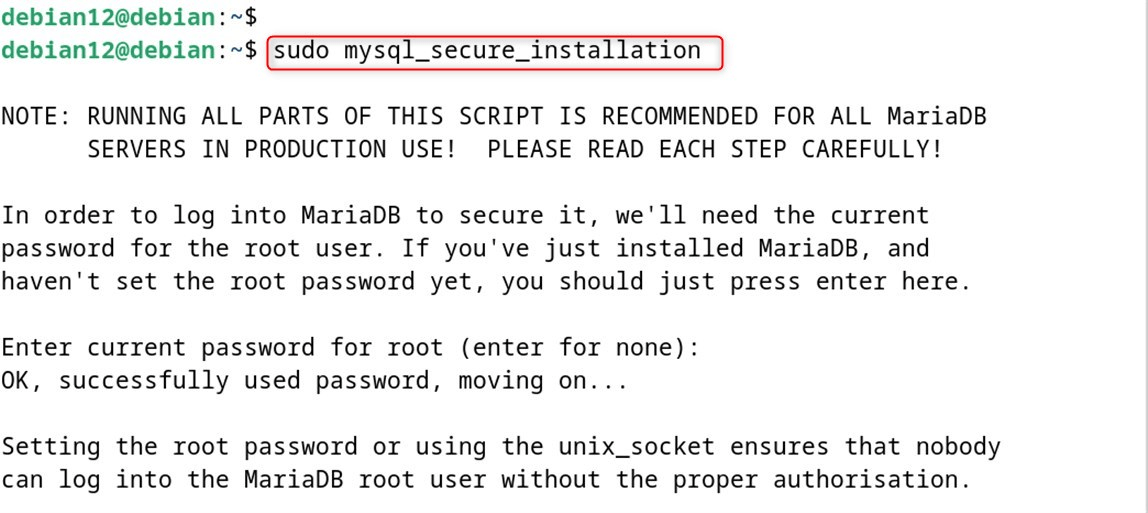
Now you should be prompted to answer a few questions
- Set a root password
- Remove anonymous users
- Disallow root login remotely
- Remove the test database
- Reload privilege tables
Select yes (y) to each prompt, and you will secure your database server.
Step 4: Install PHP and Required Extensions
phpMyAdmin is based on PHP, so install PHP and some related modules for the best usability:
|
sudo apt install php php-mysql php-mbstring php-zip php-gd php-json php-curl libapache2-mod-php -y |
|---|

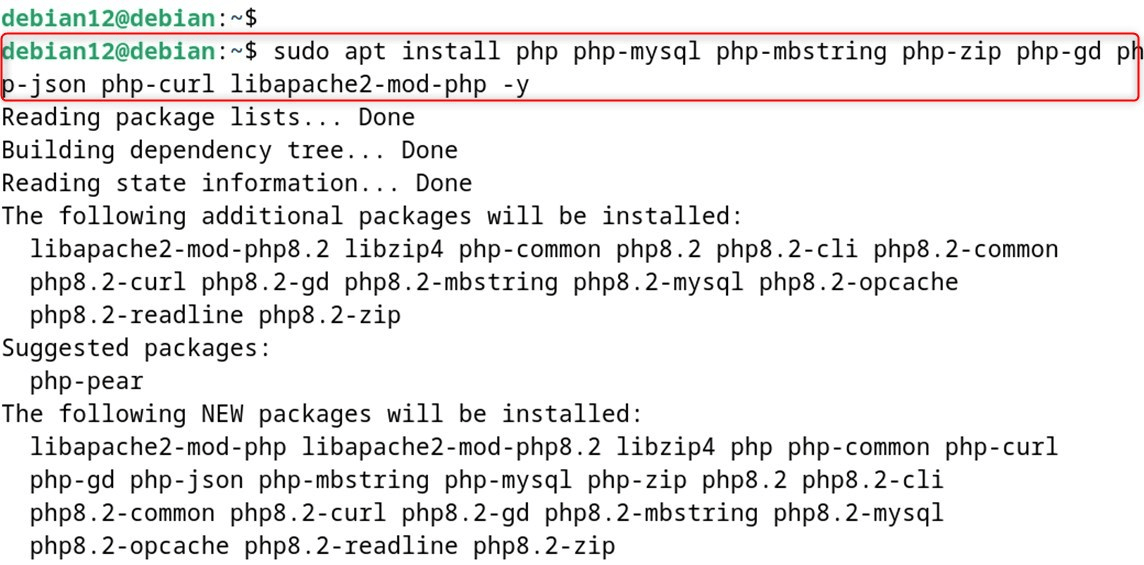
Note that those PHP extensions are essential:
- php-mysql: This allows PHP and MySQL to talk to one another.
- php-mbstring: A module for PHP applications that need multi-byte string functions
- php-zip: Enables zip archive handling functionality
- php-gd: For image function processing
- php-json: A module about the processing of JSON data.
- php-curl: Allows you to make HTTP requests
To load the PHP module, Apache needs to be restarted:
|
sudo systemctl restart apache2 |
|---|


Step 5: Download and install phpMyAdmin
If you prefer managing your databases with phpMyAdmin, download and install phpMyAdmin as follows.
|
sudo apt install phpmyadmin -y |
|---|

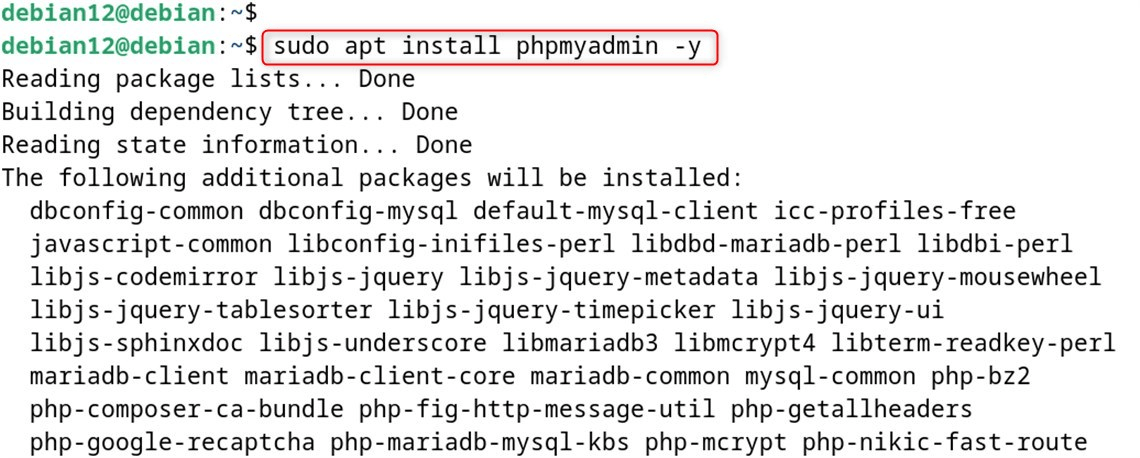
To get the stable version, you have to install phpMyAdmin from Debian 12 repository (not the “oldstable” one we’ve seen above).
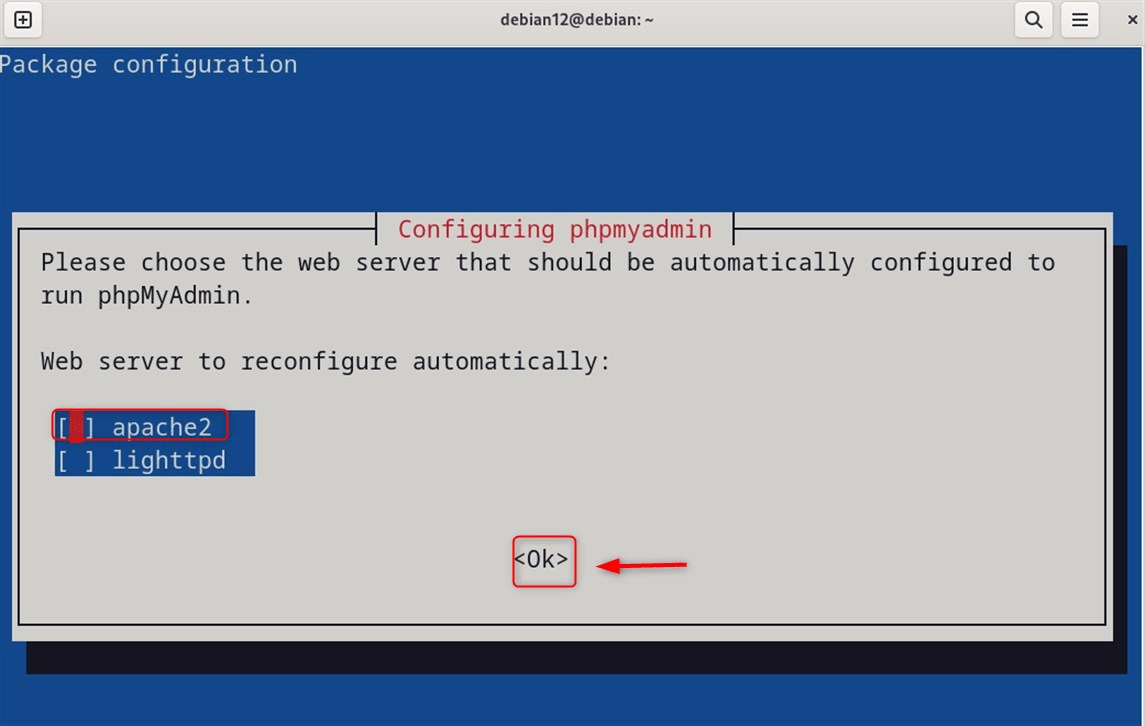
At the time of installation, you will receive multiple configuration prompts. Select web server: apache2.

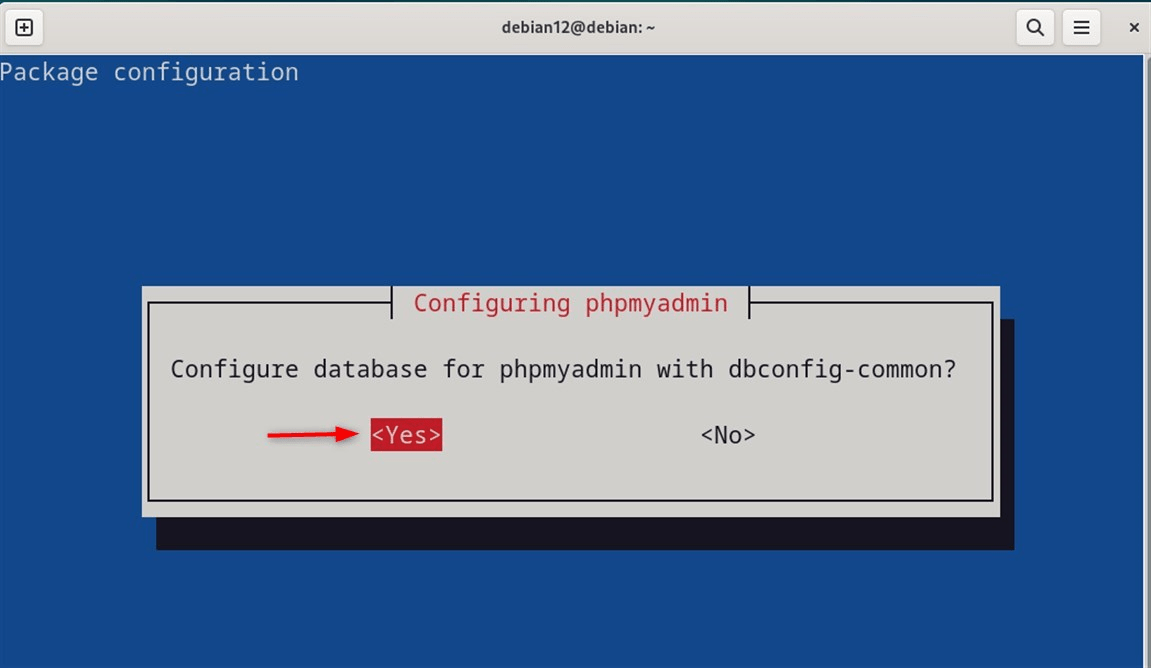
Configure database: “Yes” will automatically configure the database for you:

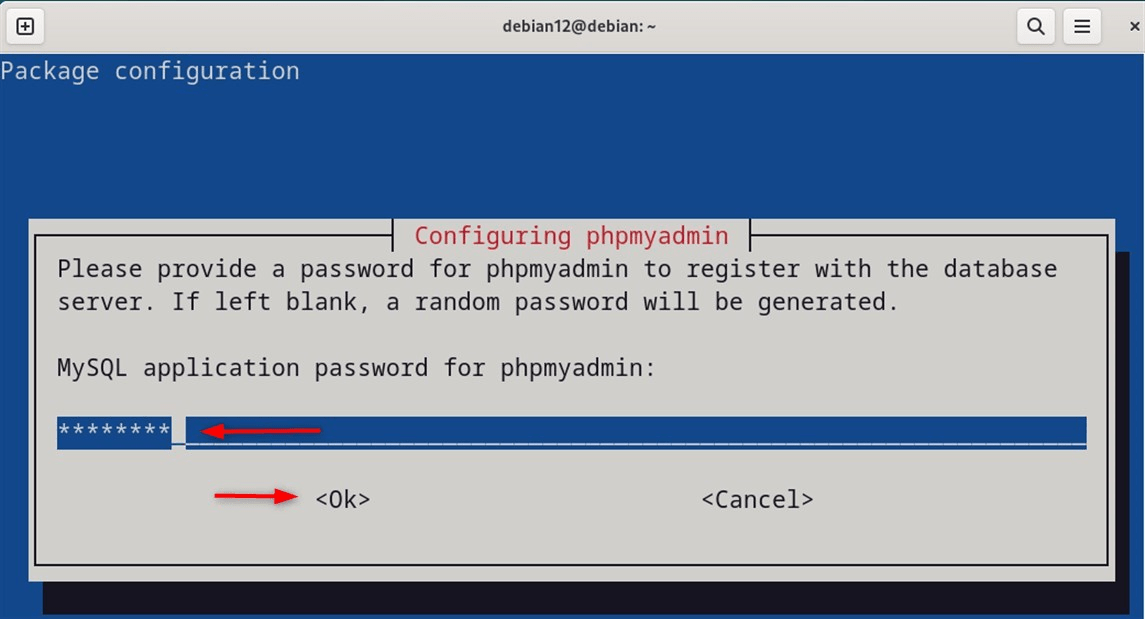
Use a strong password for phpMyAdmin’s database user:

It sets up Apache to host phpMyAdmin and some needed database tables.
Step 6: Configure Apache for phpMyAdmin
To complete the installation, you can tell Apache how to access the new files. It should mean you don’t need to do any Apache setup at all once the Debian package is installed, but make sure the Apache config and VirtualHosts files are there:
|
sudo ls /etc/apache2/conf-enabled/ | grep phpmyadmin |
|---|


If there is no phpMyAdmin configuration file, enable it yourself:
|
sudo ln -s /etc/phpmyadmin/apache.conf /etc/apache2/conf-available/phpmyadmin.conf sudo a2enconf phpmyadmin sudo systemctl reload apache2 |
|---|

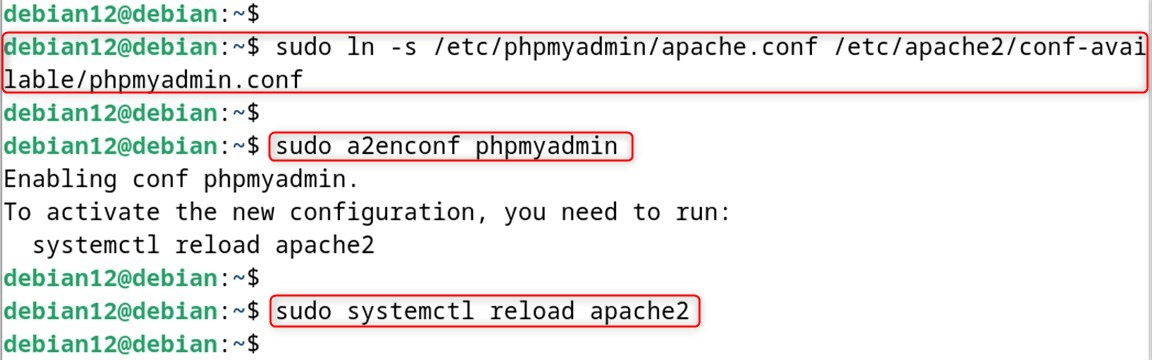
Finally, restart Apache to take the configuration changes into effect:
|
sudo systemctl restart apache2 |
|---|


Step 7: Create MySQL User for phpMyAdmin Access
For security purposes, you do not use the root MySQL user, and do not use that user with phpMyAdmin.
|
sudo mysql -u root -p |
|---|

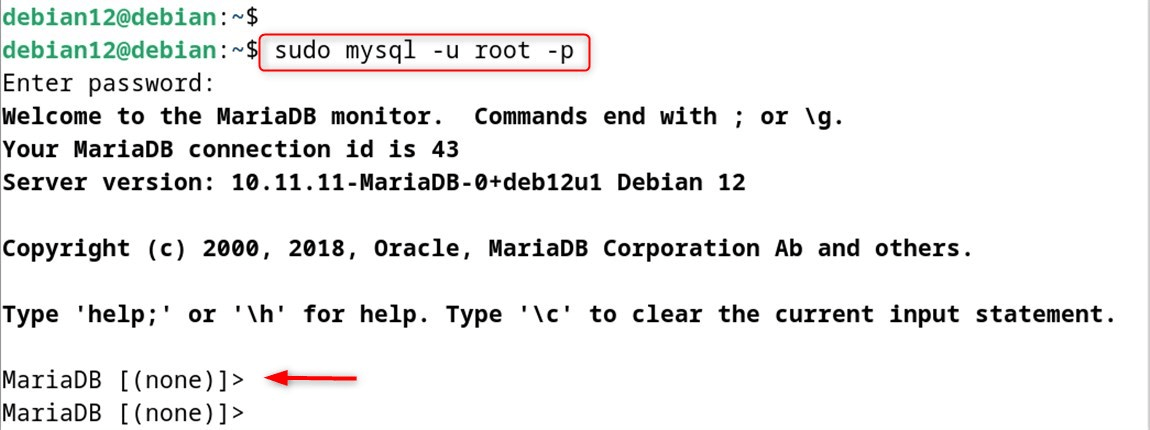
And now at the MySQL prompt, type these commands:
|
CREATE USER ‘phpmyadmin_user’@’localhost’ IDENTIFIED BY ‘strong_password_here’; GRANT ALL PRIVILEGES ON *.* TO ‘phpmyadmin_user’@’localhost’ WITH GRANT OPTION; FLUSH PRIVILEGES; EXIT; |
|---|

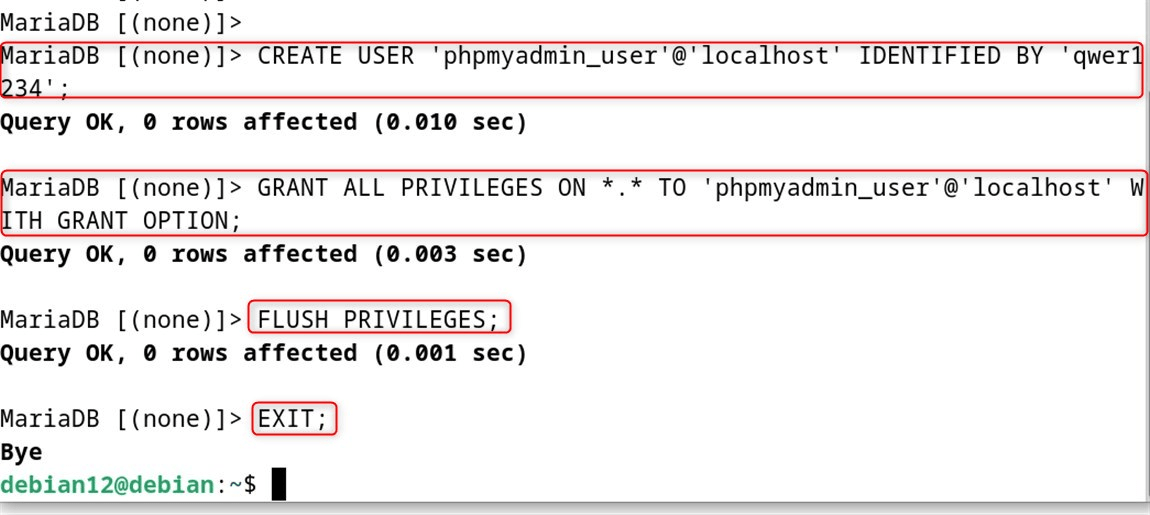
Make sure to substitute your strong_password_here with a secure password according to best practice.
Step 8: Setting up the Firewall (If Used)
If you are using the UFW firewall in Debian 12, then allow HTTP port traffic:
|
sudo ufw allow http sudo ufw reload |
|---|

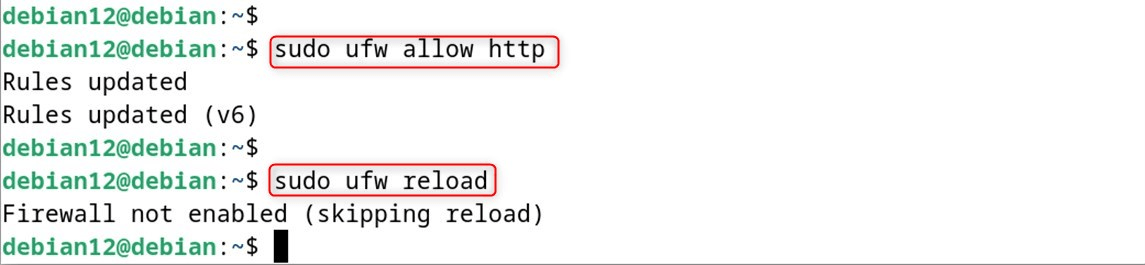
This means phpMyAdmin is reachable through your web browser.
Step 9: Log in to the phpMyAdmin Web Interface
Whatever you do, launch your web browser and click on:
|
http://your_server_ip/phpmyadmin |
|---|
Or if accessing locally:
|
http://localhost/phpmyadmin |
|---|


Now that phpMyAdmin is installed, you can manage your MySQL databases within a web-based GUI. Now, connect using the MySQL user name and password you created in Step 7.
Step 10: Secure phpMyAdmin Installation
We can also secure phpMyAdmin further with the following hardening tips.
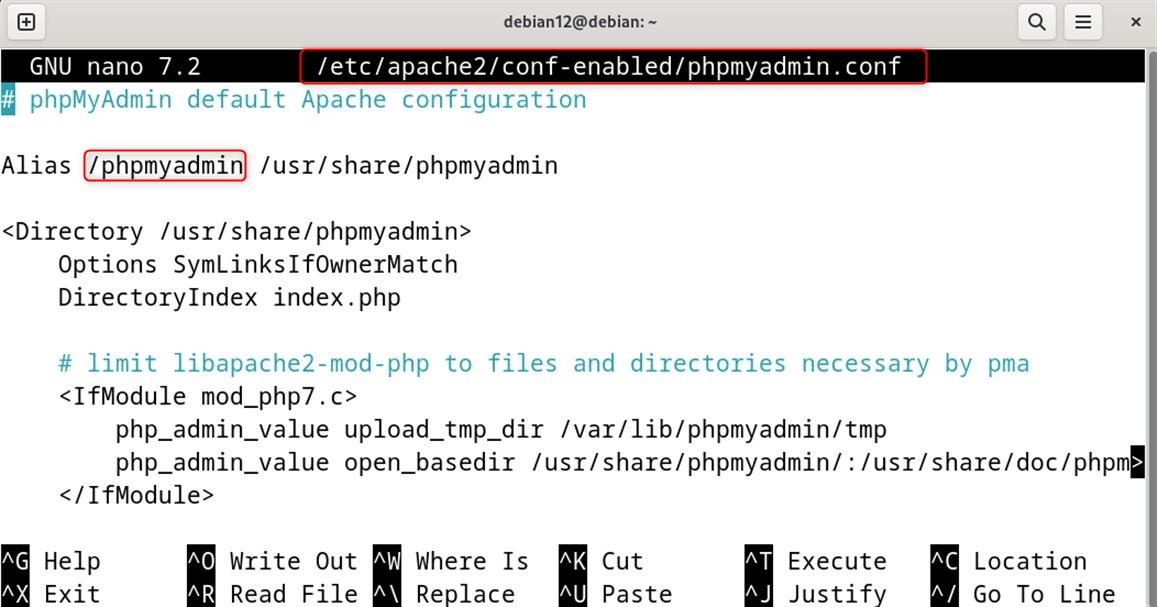
Change Default Access URL
Change Apache configuration to use a custom URL:
|
sudo nano /etc/apache2/conf-enabled/phpmyadmin.conf |
|---|
First step, change the alias from /phpmyadmin to something less obvious, such as /database-admin.

Enable HTTPS
Now, install SSL certificate and enable HTTPS secure access in Apache for PhpMyAdmin. This keeps your logins and information sent on Internet safe.
Restrict Access by IP
To restrict access to phpMyAdmin only from certain IPs, you can do so by adding access control directives to the configuration file.
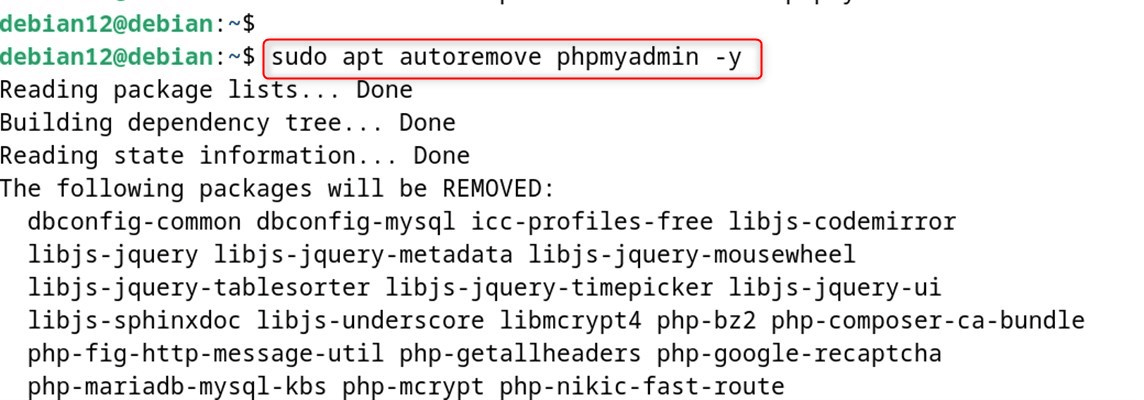
Uninstall phpMyAdmin on Debian 12
To remove phpMyAdmin on Debian 12, run sudo apt remove phpmyadmin to uninstall the package while keeping configuration files. You can choose sudo apt purge phpmyadmin to completely remove both the package and its configuration files.
If you installed phpMyAdmin manually just remove its directory (usually /var/www/html/phpmyadmin or /usr/share/phpmyadmin) and remove the web server configuration which points at it.
|
sudo apt autoremove phpmyadmin -y |
|---|

By following these steps, you will have a safe and working installation. Up to date and secure, phpMyAdmin will perform better and protect you from many cyber threats.
Conclusion
To install phpMyAdmin on Debian 12, start by updating your package list: sudo apt update And then install phpMyAdmin and also required packages: sudo apt install phpmyadmin php-mbstring php-zip php-gd php-json php-curl While installing, choose your web server (apache2 or nginx), chose “Yes” to configure the database with dbconfig-common and create a password for phpMyAdmin to log into the application.
After that, enable required PHP extensions using sudo phpenmod mbstring and restart your webserver by typing sudo systemctl restart apache2 (for Apache) or sudo systemctl restart nginx (for Nginx). The you can access phpmyadmin via web browser with address http://your-server-ip/phpmyadmin and login with your MySQL/MariaDB credentials to manage your databases from a web interface.
Frequently Asked Questions
sudo apt update and then sudo apt install phpmyadmin. Follow the on-screen prompts to configure it. http://localhost/phpmyadmin or your server’s IP address followed by /phpmyadmin. mbstring, zip, gd, json, and mysqli.