Running out of disk space on your Ubuntu server or desktop is one of the most frustrating operational surprises, and tracking down the culprit using the traditional du command alone can take far too long. ncdu (NCurses Disk Usage) solves that problem instantly by giving you an interactive, keyboard-navigable terminal interface that shows exactly which directories and files are consuming your storage.
This guide covers every method to install ncdu on Ubuntu 26.04 LTS, how to navigate the interface effectively, and the most useful flags for advanced disk analysis in production environments.
Table of Contents
- What is ncdu and why is it better than the du command?
- Prerequisites before installing ncdu on Ubuntu 26.04
- How to Install ncdu on Ubuntu 26.04/Linux
- Method 1: Install ncdu via apt (recommended)
- Method 2: Install ncdu via Snap
- Verify the ncdu installation
- How to use the ncdu Command Line
- Practical use cases for disk space management
- How to uninstall ncdu from Ubuntu 26.04
- Conclusion
- Frequently asked questions
What is ncdu and why is it better than the du command?
ncdu stands for NCurses Disk Usage. It is a lightweight, terminal-based disk space analyzer written in C that uses the ncurses library to render a fast, interactive text interface directly in the terminal window. You run it on a directory, it scans the entire tree in seconds, and then presents an immediately sortable, navigable view of what is consuming your storage, from the largest directories at the top all the way down to individual files.
The traditional du command on Linux dumps a flat list of directory sizes to standard output, which becomes unwieldy the moment you have more than a handful of directories to review. It offers no interactivity, no real-time sorting, and no way to drill down into a subdirectory without writing another command. ncdu replaces that entire workflow with a single command that stays open, allows you to navigate directories with arrow keys, and lets you delete files directly from the interface.
Prerequisites before installing ncdu on Ubuntu 26.04
ncdu has minimal requirements. Before proceeding with any installation method, confirm the following on your Ubuntu 26.04 LTS system.
- Operating system: Ubuntu 26.04 LTS (desktop or server edition, 64-bit)
- User privileges: A non-root user account with sudo access
- Internet connection: Required to download packages from the apt repository or the Snap store
- Terminal access: Direct console, SSH session, or any terminal emulator
How to Install ncdu (NCurses Disk Usage) on Ubuntu 26.04/Linux
ncdu (NCurses Disk Usage) is a disk utility for Unix systems. Its name refers to its similar purpose to the du utility, but ncdu uses a text-based user interface under the [n]curses programming library.
Learn how to install ncdu on Ubuntu/Linux through the following methods.
Method 1: Install ncdu via apt (recommended)
Installing ncdu from Ubuntu’s official apt repository is the simplest, fastest, and most reliable method. The package is maintained in Ubuntu’s universe repository and is fully compatible with Ubuntu 26.04 LTS. This method also ensures ncdu receives security updates automatically alongside your regular system upgrades.
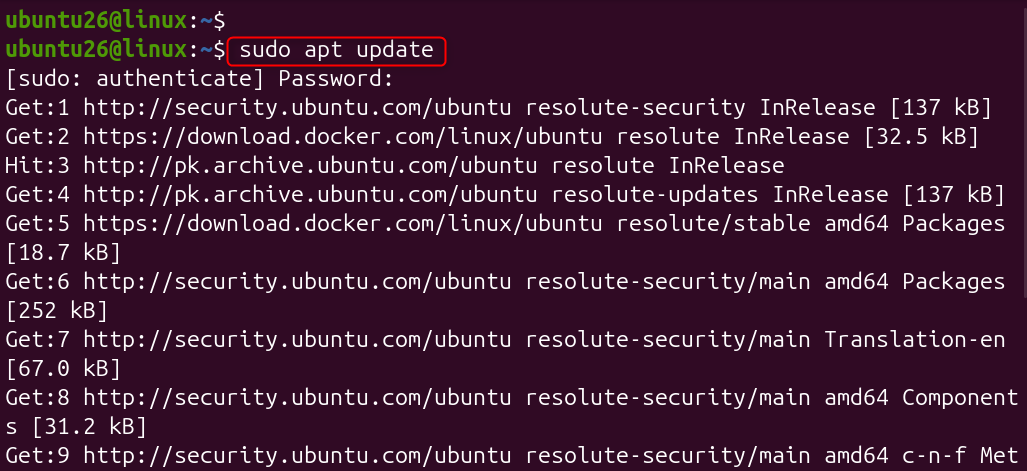
1. Update the package index
Refresh the apt package index to ensure you get the latest available version
sudo apt update |
|---|

2. Install ncdu
Install ncdu from Ubuntu’s official universe repository
sudo apt install ncdu -y |
|---|

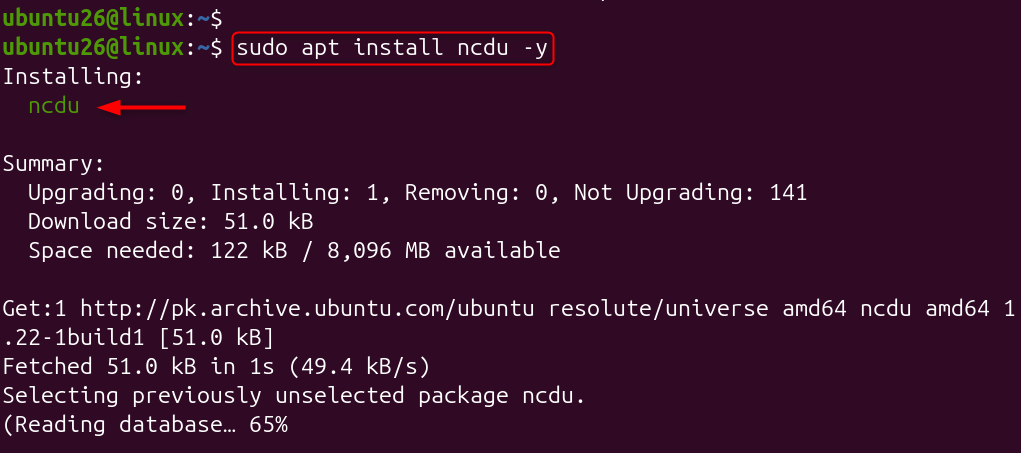
The installation completes in a few seconds. No reboot is required, and ncdu is ready to use immediately after the package manager finishes.
3. Verify the installed ncdu version
Display the installed ncdu version through the command below.
ncdu –version |
|---|


Method 2: Install ncdu via Snap
Ubuntu 26.04 LTS ships with Snap support enabled by default. While the apt method is recommended for most users, the Snap version provides an additional installation path that is fully sandboxed and manages its own updates independently of the system’s apt index.
1. Install ncdu from the Snap Store
The snap version of ncdu runs inside a confinement sandbox that restricts filesystem access.
sudo snap install ncdu |
|---|


2. Grant the Snap access
Grant the Snap access to scan your home directory and mounted filesystems.
sudo snap connect ncdu:home sudo snap connect ncdu:removable-media sudo snap connect ncdu:mount-observe sudo snap connect ncdu:system-backup |
|---|

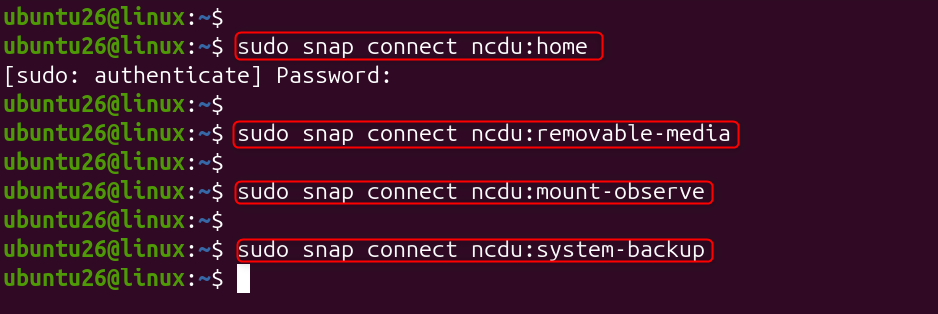
Note: Even after applying all the snap connect permissions above, it may not be able to scan all mounted drives or system directories. For complete system-wide disk analysis, including /var, /opt, and external mounts, the apt installation method is always preferred.
Which method should you choose?
For the vast majority of users on Ubuntu 26.04 LTS, Method 1 (apt) is the right choice; it is the simplest, is always kept up to date by Ubuntu’s security team, and provides a system-integrated package that can be removed cleanly with apt remove.
Verify the ncdu installation
Regardless of the installation method used, confirm that ncdu is installed correctly and the binary is accessible in your shell’s PATH before using it on a production system.
Display the installed ncdu version.
ncdu –version |
|---|

Confirm the binary location on the filesystem
which ncdu |
|---|


View the full help text, including all available flags
ncdu –help |
|---|

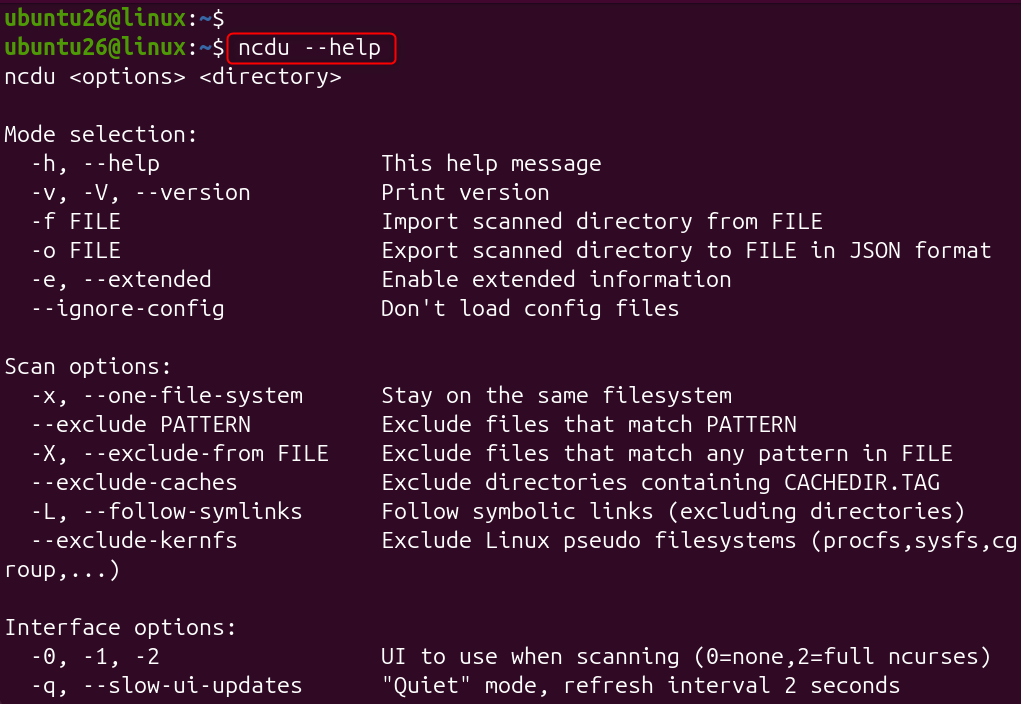
A successful install prints the version string (for example, ncdu 2.7), and the binary path resolves to /usr/bin/ncdu for apt installs or /usr/local/bin/ncdu for source builds. If the command is not found, see the Troubleshooting section below.
How to use the ncdu Command Line
Launching ncdu is as simple as typing its name followed by the directory you want to analyse. If no directory is given, ncdu scans the current working directory. The tool immediately begins scanning and then displays an interactive sorted list of all subdirectories by size, with the largest entries at the top.
Basic usage: scan a specific directory
Scan the current working directory.
ncdu |
|---|

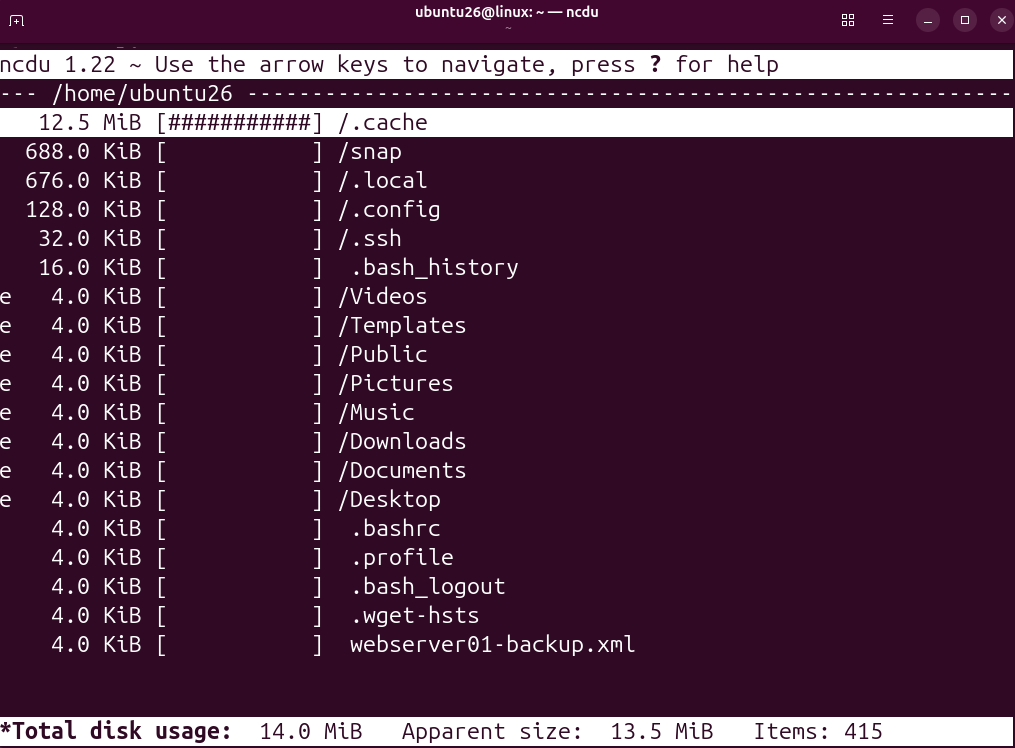
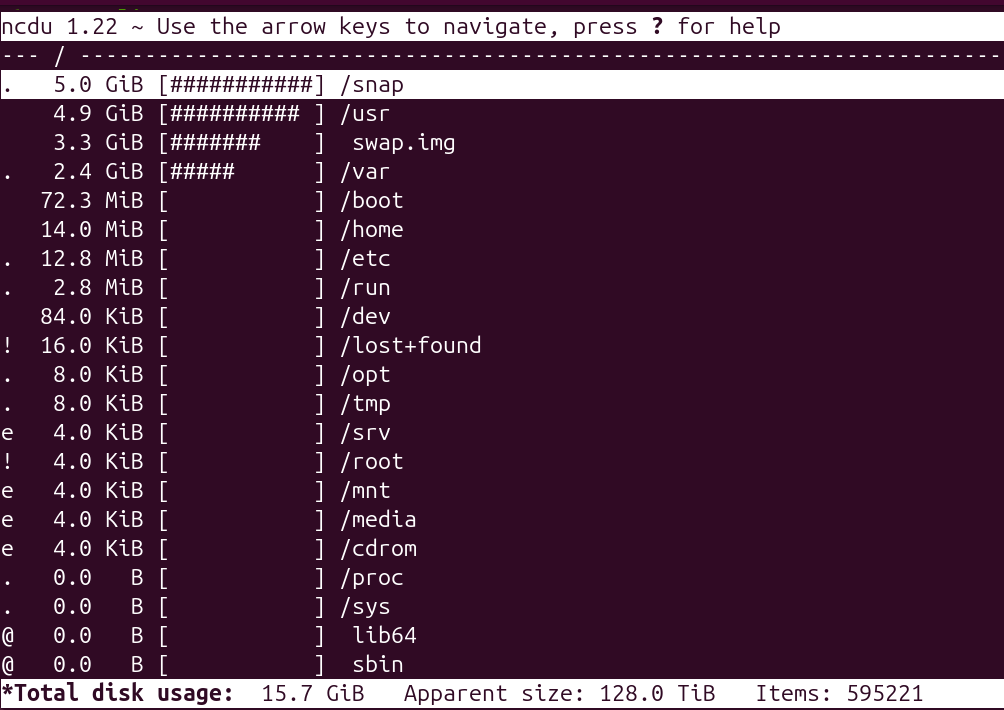
Scan the root filesystem: the most common command for full disk audits.
ncdu / |
|---|

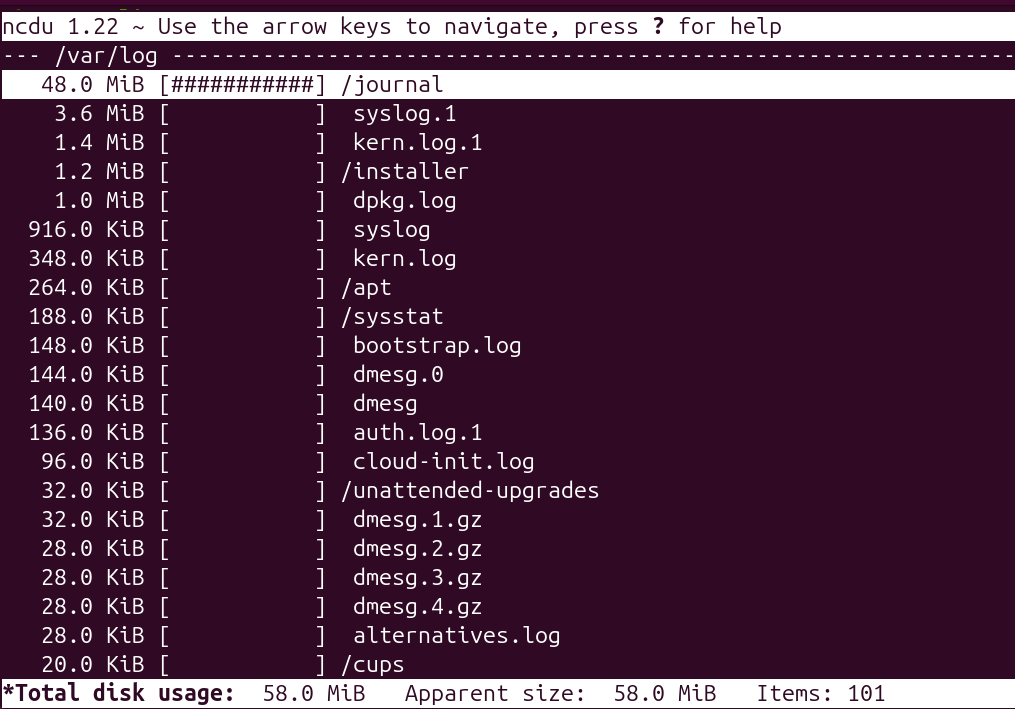
Scan a specific directory, e.g.,/var/log to find large log files.
ncdu /var/log |
|---|

Scan the home directory of the current user.
ncdu ~ |
|---|

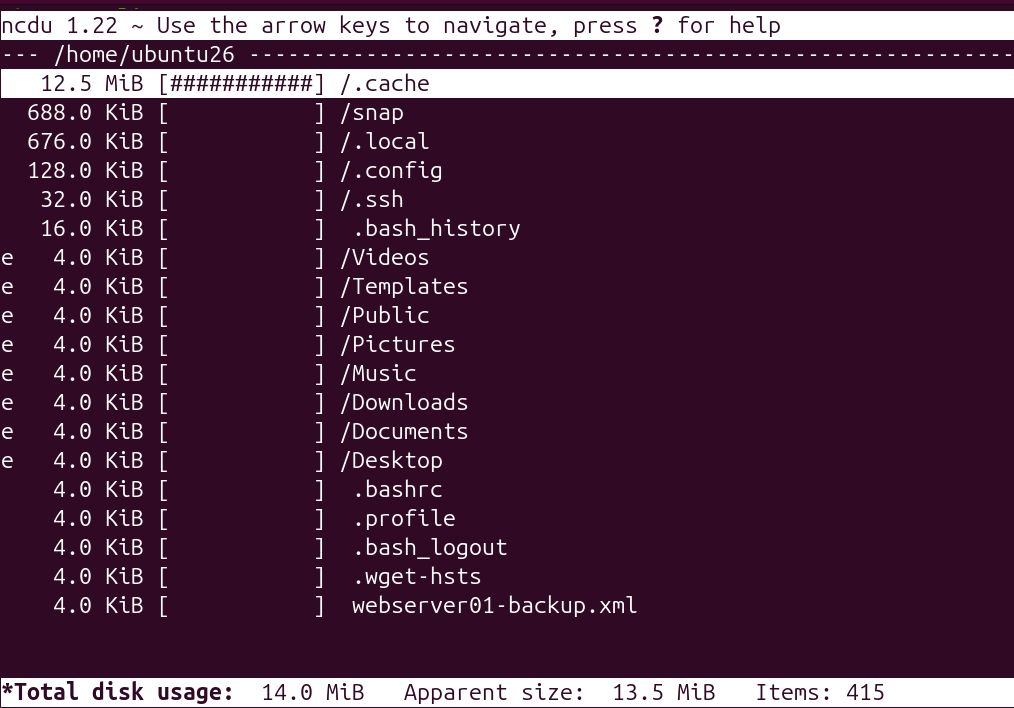
Once the scan completes, ncdu presents an ncurses screen showing each subdirectory or file with its size, a visual bar indicating proportional usage relative to the largest item on screen, and the percentage of total space it occupies. The list is sorted by size in descending order automatically, so the biggest space consumers are always at the top of the view.
Scan as root for a complete system-wide analysis
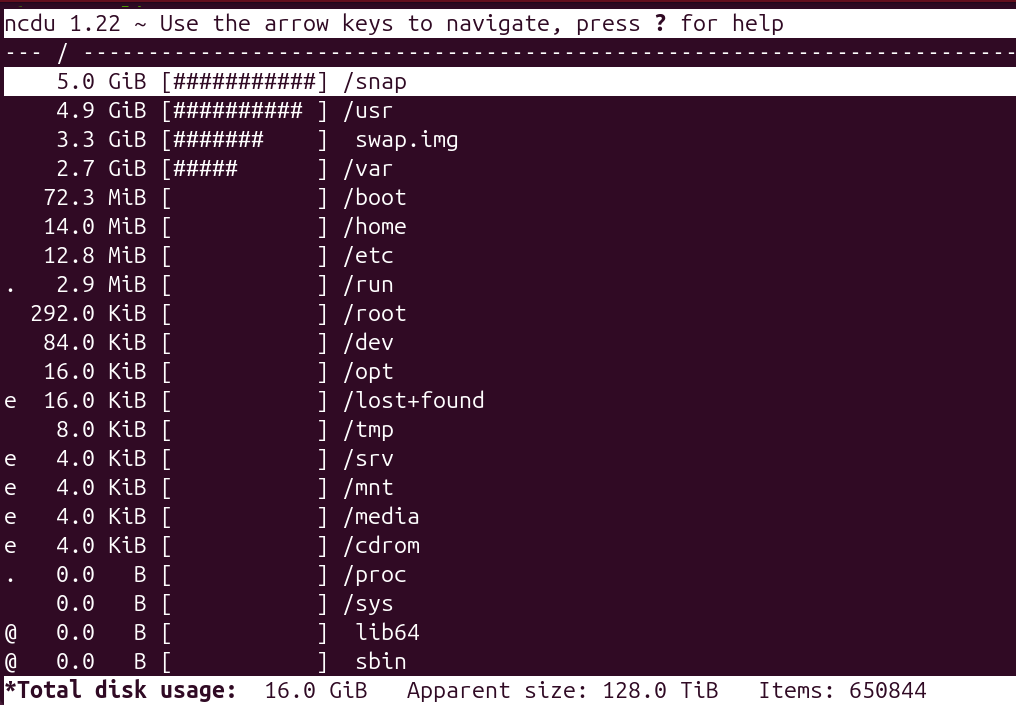
Run as root to access all directories without permission errors. Use sudo to scan the entire filesystem as root.
sudo ncdu / |
|---|

Practical use cases for disk space management on Ubuntu
The ncdu command provides a convenient way to review files and the disk space being used on Linux systems. Let’s learn how to use ncdu to find and free disk space on ubuntu/linux.
Find what is filling up the root partition
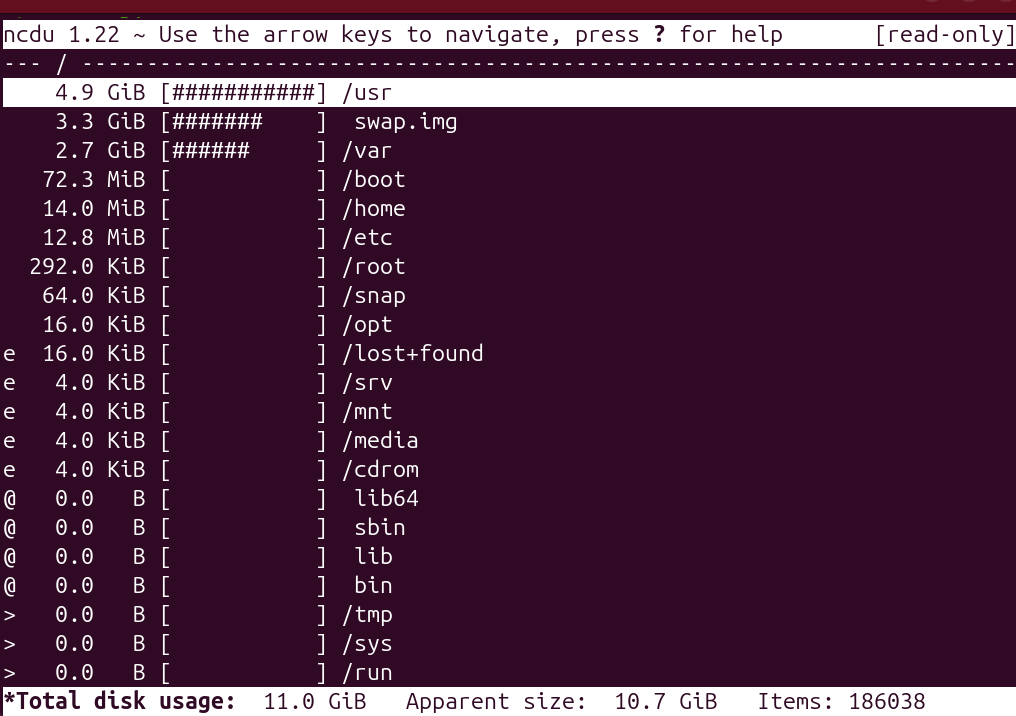
A full / partition is one of the most common Ubuntu server emergencies. When df -h shows 100% usage on the root filesystem, the fastest path to diagnosing the cause is a single command.
Find and free disk space on Ubuntu
Scan the root, stay on the local disk, and use read-only mode to prevent accidents.
sudo ncdu -x -r / |
|---|

Identify large log files consuming /var/log
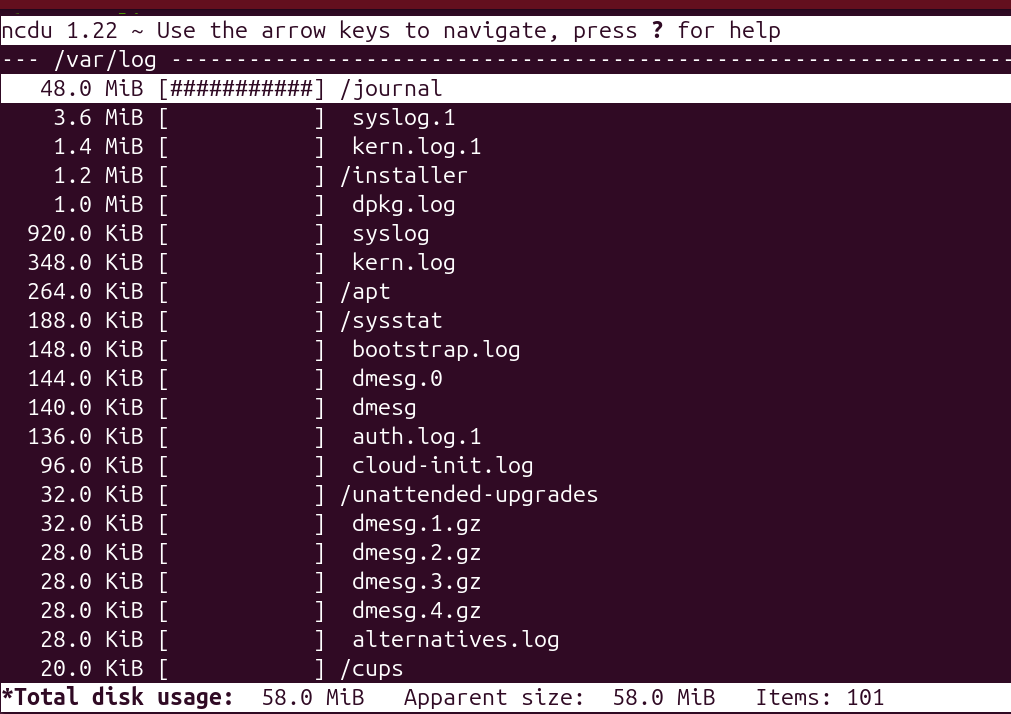
Log directories on busy Ubuntu servers accumulate gigabytes silently over time. Scanning /var/log directly with ncdu lets you identify oversized logs in seconds and decide which to truncate or rotate.
Focus the scan on the log directory only.
sudo ncdu /var/log |
|---|

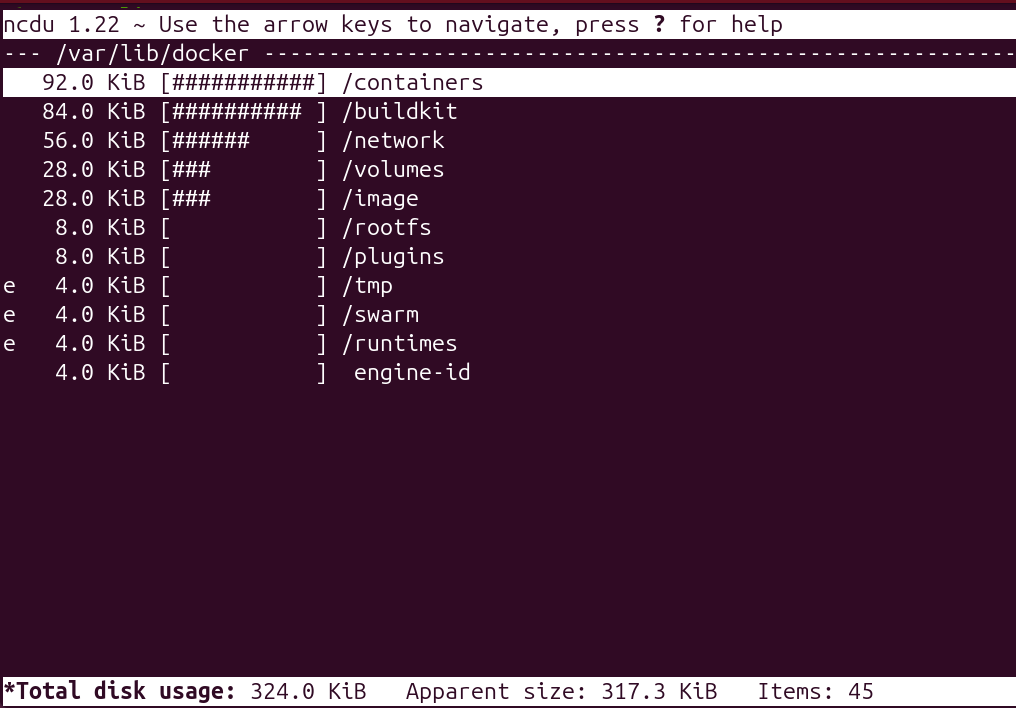
Audit Docker image and container storage
Docker’s storage directory at /var/lib/docker can quietly consume tens of gigabytes from unused images, stopped containers, and orphaned volumes. ncdu makes the breakdown immediately visible.
Inspect Docker’s disk footprint directory by directory.
sudo ncdu /var/lib/docker |
|---|

How to uninstall ncdu from Ubuntu 26.04
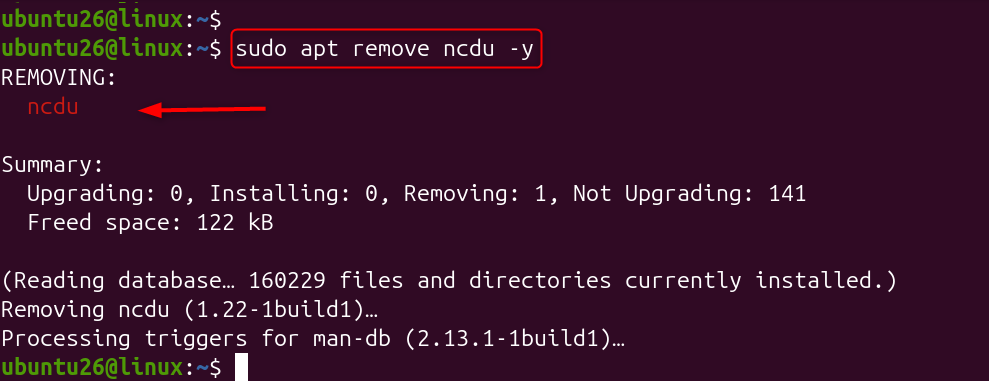
Removing ncdu from Ubuntu 26.04 is straightforward regardless of which installation method was used. Choose the command matching your original install path.
Uninstall if installed via apt.
sudo apt remove ncdu -y |
|---|

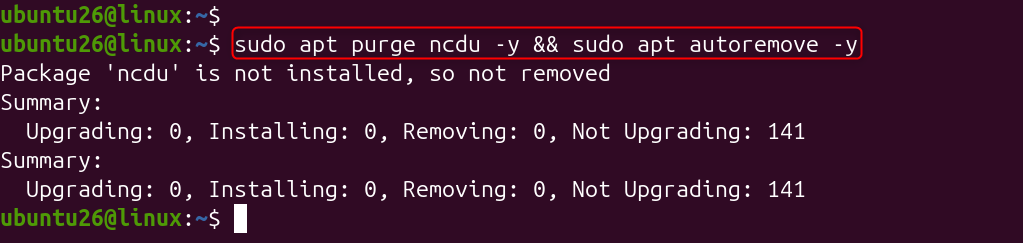
Purge the package and remove any associated configuration files
sudo apt purge ncdu -y && sudo apt autoremove -y |
|---|

Conclusion
Installing ncdu (disk usage analyzer) on Ubuntu is quick and straightforward. You can grab it directly from the default package repositories. Run the sudo apt update and sudo apt install ncdu commands in your terminal to update your package list and install the tool.
Frequently asked questions
1. What are the steps to install ncdu on Ubuntu/Linux?
To install ncdu on Ubuntu/Linux, update the package list and install it using the command: sudo apt update && sudo apt install ncdu. After installation, verify it with: ncdu –version.
2. How to check disk space usage on Ubuntu?
To check disk space usage on Ubuntu, the quickest method is to use the df -h command in the terminal. df -h. This displays all mounted drives, their total sizes, used space, and available free space in human-readable sizes like Gigabytes (GB).
3. How do I install a disk usage analyzer tool on Ubuntu?
Install the ncdu disk usage analyzer on Ubuntu by running: sudo apt update && sudo apt install ncdu. Start analyzing disk usage with: ncdu.
4. How to install ncdu on Linux?
You can install ncdu on Linux using the package manager for your system. Use sudo apt install ncdu on Debian-based systems, sudo dnf install ncdu on CentOS/RHEL-based systems, or sudo pacman -S ncdu on Arch Linux.
5. How to install ncdu on Amazon Linux 2?
Install ncdu on Amazon Linux 2 by enabling the EPEL repository with sudo amazon-linux-extras install epel and then installing ncdu using sudo yum install ncdu. Verify the installation with ncdu –version.