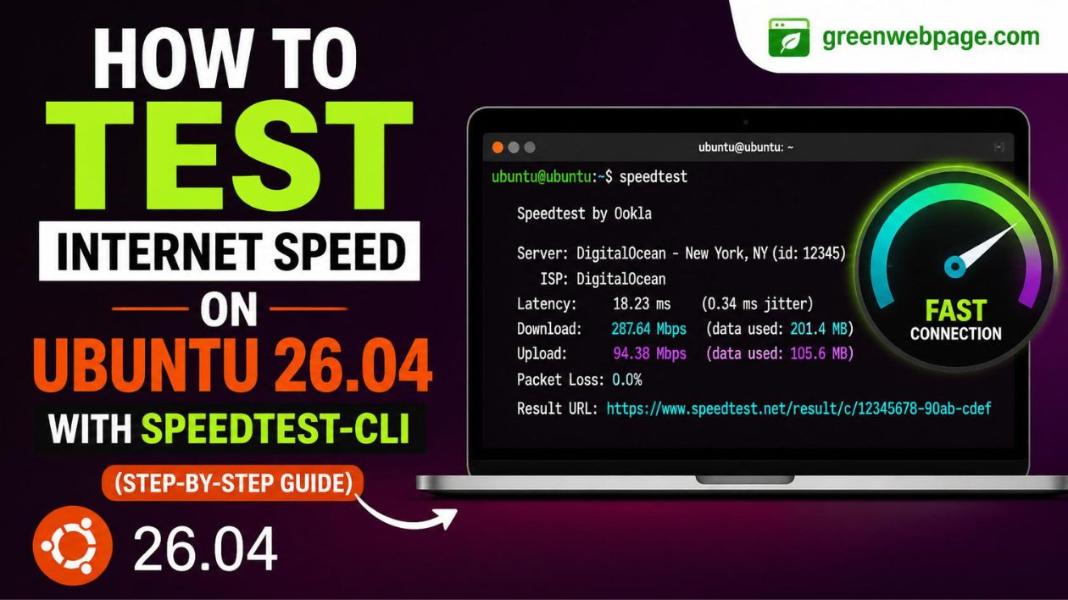
Testing internet speed is essential for diagnosing slow deployments, validating bandwidth-tier upgrades, benchmarking a new VPS, or troubleshooting high-latency connections before opening a support ticket with your ISP. Because Ubuntu 26.04 LTS servers typically run headless with no browser available, web-based tools like Speedtest.net or Google’s Internet Speed Test simply aren’t an option. Speedtest-CLI solves this completely; it brings the full Speedtest.net measurement infrastructure to the terminal in a single command.
This step-by-step guide covers how to test internet speed on Ubuntu 26.04, explains every useful flag, and answers the most common questions sysadmins ask about command-line internet speed testing on Linux.
TABLE OF CONTENTS
- What is Speedtest-CLI and why use it on Ubuntu?
- Prerequisites and system requirements
- How to Test Internet Speed on Ubuntu 26.04 with Speedtest-CLI
- Method 1: Install speedtest-cli via apt (Community tool)
- Method 2: Install the official Ookla Speedtest CLI via Snap
- Method 3: Install speedtest-cli via pip3
- Verify the installation
- How to run an internet speed test from the terminal
- Useful flags and advanced usage
- Conclusion
- Frequently asked questions
What is Speedtest-CLI and Why Use It on Ubuntu?
Speedtest-CLI is an open-source, Python-based command-line tool that interfaces directly with the Speedtest.net server network to measure three core network metrics from a Linux terminal: ping latency (in milliseconds), download bandwidth (in Mbps), and upload bandwidth (in Mbps).
Two distinct tools share a similar name and use case: the community-maintained speedtest-cli Python script (available on PyPI and in Ubuntu’s apt repository) and the official Ookla Speedtest CLI binary (distributed as a Snap package). Both produce accurate, repeatable results and are suitable for production Ubuntu server environments.
On Ubuntu 26.04 LTS server installations, no web browser is installed by default. This makes browser-based speed testing at Speedtest.net, Fast.com, or Google’s internet speed test impossible without installing a full desktop environment, which is neither practical nor desirable on a minimal server image. Speedtest-CLI removes that dependency entirely and delivers the same measurement accuracy in a lightweight terminal tool that runs over any SSH session.
Prerequisites and System Requirements
Before installing speedtest-cli on Ubuntu 26.04, confirm your environment meets the following basic requirements.
● Operating system: Ubuntu 26.04 LTS (server or desktop, 64-bit)
● User account: A non-root user with sudo privileges, or the root user directly
● Internet access: Required to download packages and to contact Speedtest.net servers
● Python 3: Pre-installed on Ubuntu 26.04 (required for the pip3 and apt methods)
● Terminal access: Local console, SSH session, or any terminal emulator
How to Test Internet Speed on Ubuntu 26.04 with Speedtest-CLI
Using Speedtest-CLI helps verify ISP performance, troubleshoot network issues, and monitor connection quality directly from the Ubuntu command line. This step-by-step guide covers installation, running speed tests, and interpreting download speed, upload speed, and latency results accurately.
Learn how to test internet speed on Ubuntu 26.04 using Speedtest-CLI with a simple, terminal-based method trusted by Linux administrators and network professionals.
Method 1: Install speedtest-cli via apt (Community Tool)
The speedtest-cli Python package is available in Ubuntu’s default apt repositories. This is the simplest installation method and the right choice for most Ubuntu 26.04 users who want a quick, no-configuration speed test from the terminal. The package is maintained by the community and interfaces with Speedtest.net’s infrastructure.
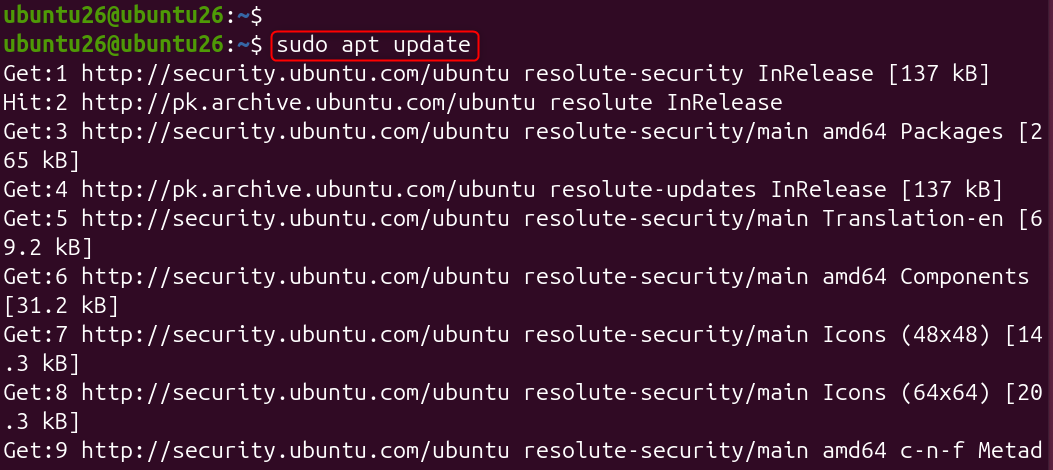
1. Update the package index
Refresh apt to ensure you install the latest available version
sudo apt update |
|---|

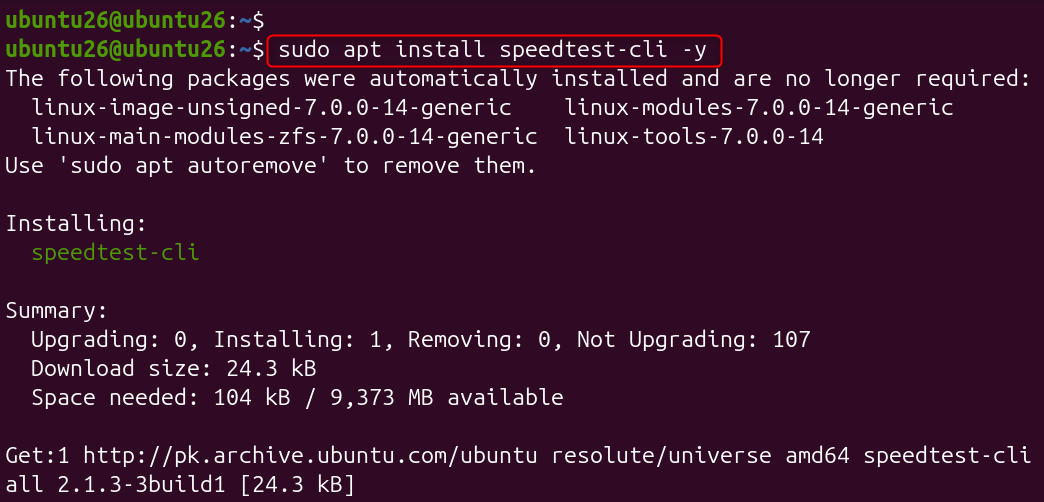
2. Install speedtest-cli
Install the speedtest-cli package from Ubuntu’s repository
sudo apt install speedtest-cli -y |
|---|

3. Confirm the installation
Print the installed version to confirm successful installation
speedtest-cli –version |
|---|


Method 2: Install the Official Ookla Speedtest CLI via Snap
Ookla, the company behind Speedtest.net, provides its own official command-line tool called Speedtest CLI. Unlike the community speedtest-cli package, this is Ookla’s proprietary binary and provides additional metrics, including jitter and packet loss. On Ubuntu 24.04 and later (including Ubuntu 26.04), the recommended install path is via Snap because Ookla’s apt repository does not yet support the newer Ubuntu codenames.
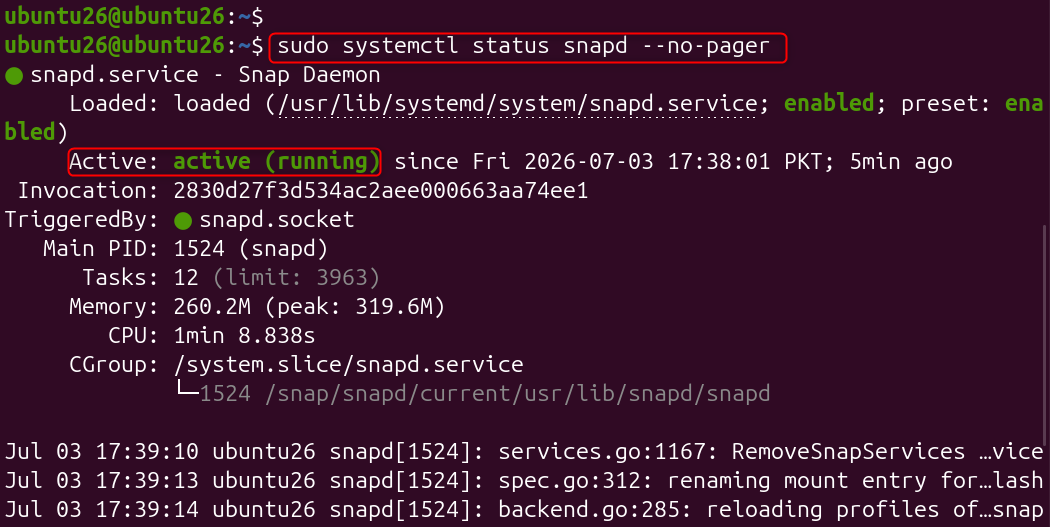
1. Install Snap support (already enabled on Ubuntu 26.04 by default)
Confirm snapd is installed and running
sudo systemctl status snapd –no-pager |
|---|

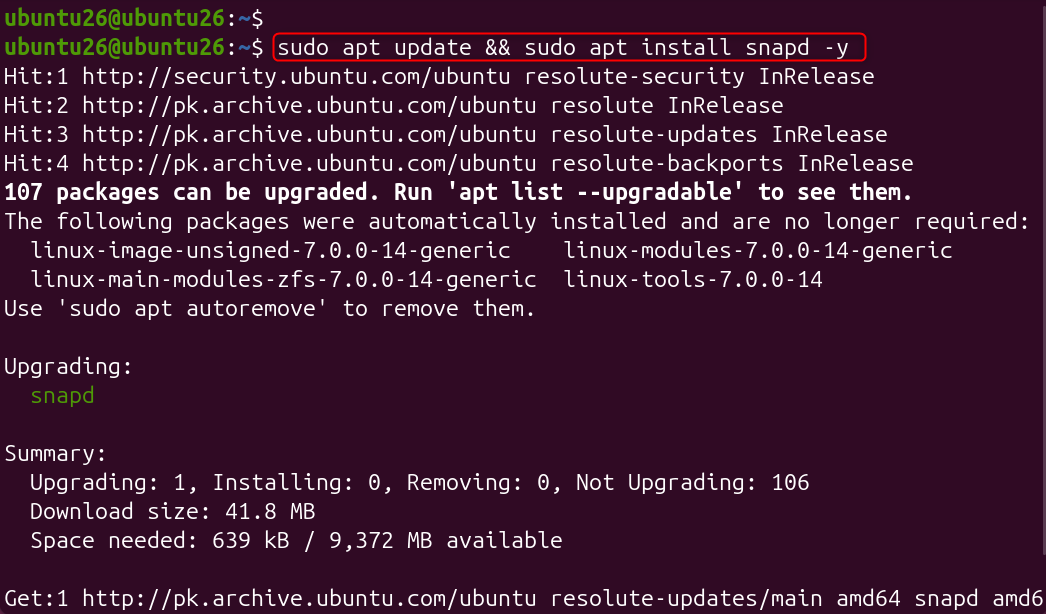
If snapd is not installed, install it first
sudo apt update && sudo apt install snapd -y |
|---|

2. Install the Ookla Speedtest CLI Snap
Install the official Ookla Speedtest CLI from the Snap Store
sudo snap install speedtest |
|---|


3. Accept the licence and run the tool
First run asks you to accept Ookla’s licence, type YES when prompted
speedtest |
|---|

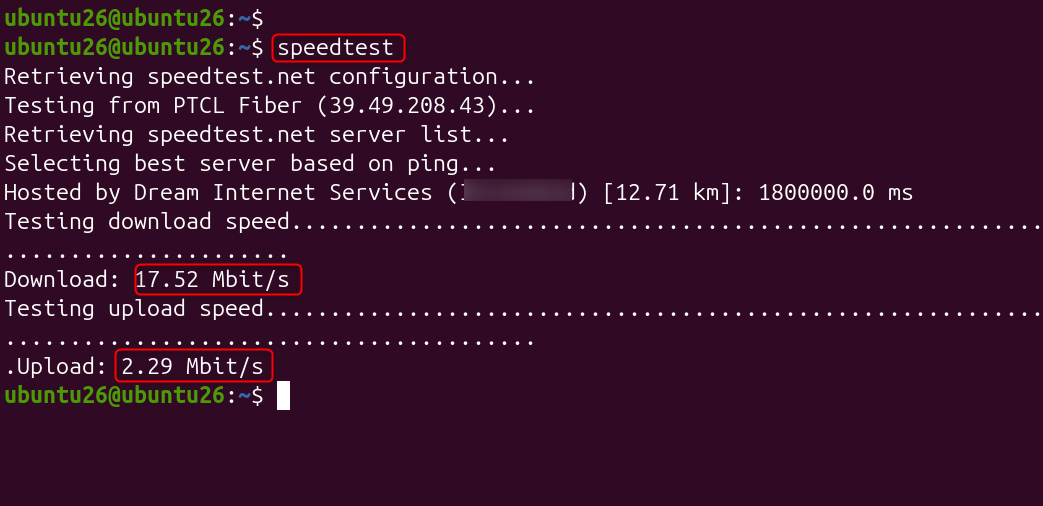
Licence notice Ookla’s official Speedtest CLI requires you to accept a licence agreement on first use. Type YES when prompted and press Enter. The licence must be accepted before the tool will produce results. This only happens once per installation.
Method 3: Install speedtest-cli via pip3
Installing speedtest-cli through pip3 (Python’s package manager) gives you the latest upstream release directly from PyPI, which may be newer than the version in Ubuntu’s apt repository. This method is also useful when you want to install the tool inside a Python virtual environment for scripting or automation projects without affecting system-wide packages.
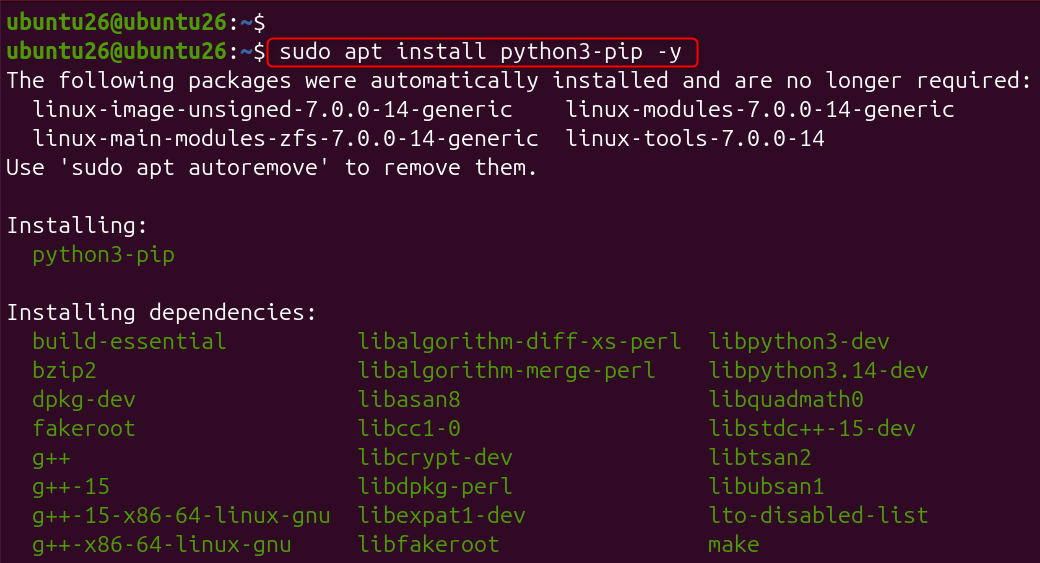
1. Install pip3 if not already present
Install the Python 3 pip package manager
sudo apt install python3-pip -y |
|---|

2. Install speedtest-cli via pip3
Install the latest speedtest-cli release from PyPI
pip3 install speedtest-cli |
|---|


If you see a PATH warning, either use the full path or add ~/.local/bin to PATH
echo ‘export PATH=”$HOME/.local/bin:$PATH”‘ >> ~/.bashrc && source ~/.bashrc
Which method should you choose?
For most Ubuntu 26.04 users, Method 1 (apt) is the correct choice; it is the simplest, integrates with the system package manager, and requires no additional setup. Use Method 2 (Snap) if you specifically want Ookla’s official binary with jitter and packet loss metrics. Use Method 3 (pip3) only if you need the latest PyPI release or are embedding speedtest-cli into a Python project.
Verify the Installation
Regardless of which installation method you used, confirm speedtest-cli is accessible and working before running a full test.
For the apt or pip3 install (community speedtest-cli)
speedtest-cli –version |
|---|


Confirm the binary location
which speedtest-cli |
|---|


For the Ookla Snap install
speedtest –version |
|---|


Note: A successful apt or pip3 install prints a version string such as speedtest-cli 2.1.3. Which command should return /usr/bin/speedtest-cli for apt installs or /home/user/.local/bin/speedtest-cli for pip3 installs. The Ookla Snap binary resolves to /snap/bin/speedtest.
How to Run an Internet Speed Test from the Terminal
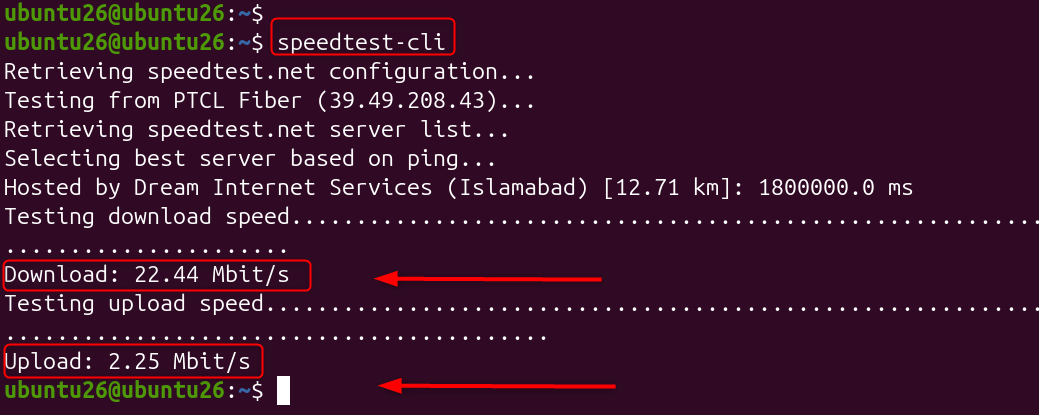
Running speedtest-cli requires no configuration. The tool automatically selects the best Speedtest.net server near your location based on ping latency and runs the full download and upload measurement cycle. A single command is all it takes.
1. Run a standard speed test
Run a full speed test against the automatically selected nearest server
speedtest-cli |
|---|

2. Run a simplified output (ping, download, upload only)
–simple suppresses progress output and prints only the three key metrics
speedtest-cli –simple |
|---|


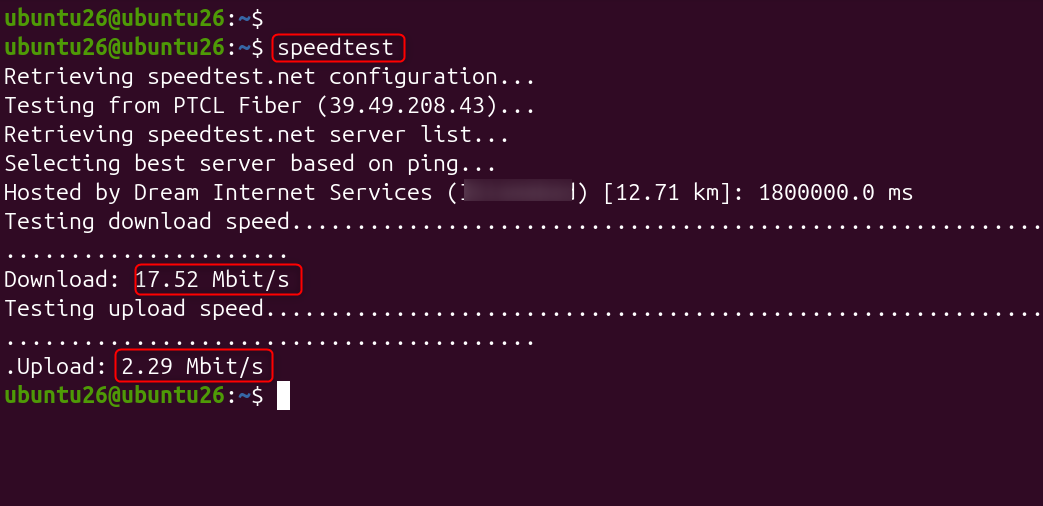
3. Run the Ookla official CLI (with jitter and packet loss)
Full test with the official Ookla binary
speedtest |
|---|
Useful Flags and Advanced Usage
Both speedtest-cli tools accept a range of flags that make them significantly more powerful for production monitoring, ISP comparison, and scripting workflows.
Flag / Option | Purpose | Example Command |
|---|---|---|
–simple | Show only ping, download, and upload results, without progress bars. | speedtest-cli –simple |
–share | Generate a shareable Speedtest.net result image URL. | speedtest-cli –share |
–bytes | Display speeds in MB/s instead of Mbit/s. | speedtest-cli –bytes |
–no-upload | Skip the upload test for a faster, download-only measurement. | speedtest-cli –no-upload |
–no-download | Skip the download test and measure only the upload speed. | speedtest-cli –no-download |
–list | List all available Speedtest.net servers near you. | speedtest-cli –list |
–server ID | Test against a specific server using its numeric ID. | speedtest-cli –server 1234 |
–json | Output results in JSON format for scripting and automation. | speedtest-cli –json |
–quiet | Suppress all output except errors, useful for cron jobs or scripts. | speedtest-cli –quiet |
–timeout N | Set a maximum timeout in seconds for each test operation. | speedtest-cli –timeout 30 |
Conclusion
Install Speedtest CLI on Ubuntu 26.04 using: sudo apt update && sudo apt install speedtest-cli -y. Run the internet speed test with: speedtest-cli. View download speed, upload speed, ping latency, and server details directly in the terminal.
Frequently Asked Questions
1. How can I test internet speed using Google Speed Test?
Search for “test internet speed Google” in Google Search and run the built-in speed test powered by Measurement Lab.
2. Does Google Fiber offer its own internet speed test?
Yes, Google Fiber provides a dedicated speed test to measure download speed, upload speed, and latency for home connections.
3. What is the best internet speed test app or device?
Reliable internet speed test apps and dedicated testing devices provide more consistent results than browser tests on congested networks.
4. How do I test internet speed on a PC?
Use a trusted browser-based speed test or desktop app, connect via Ethernet if possible, and close bandwidth-heavy applications before testing.
5. Which internet speed test is the most accurate? Who provides it?
The most accurate speed tests use nearby servers, multiple connections, and transparent methodologies, with results varying based on your ISP and location rather than a single provider.