It is important to keep services running on a Linux Virtual Private Server. This includes APIs, databases, and background workers. Downtime can happen without warning when a service such as Nginx or MySQL crashes. Monit is an easy-to-use monitoring tool that detects and restarts services that have failed. Monit automatically restarts critical services like Nginx or PHP-FPM if they crash or stop responding. This lightweight monitoring solution helps to maintain high availability and reduces the need for manual intervention. It also ensures that essential services are quickly recovered from failures.
This guide will show you how to install Monit, configure it, and then use it to monitor and restart services that fail on a Linux VPS.
Table of Content
- What Is Monit and Why Use It?
- Setting Up Monit to Restart Failed Services on a Linux VPS
- Best Practices for Using Monit on a Linux VPS
- Common Use Cases for Monit
- Conclusion
What Is Monit and Why Use It?
Monit is an easy-to-use but powerful daemon for monitoring system services, processes, and files. Monit can send an alert and automatically restart a service when it fails. Monit, unlike heavy monitoring systems, is easy to install and perfect for small-medium VPS servers that require reliability.
Setting Up Monit to Restart Failed Services on a Linux VPS
Setting up Monit on a Linux Virtual Private Server to restart failed services involves installing the Monit Monitoring Daemon, configuring specific checks to monitor processes or ports, and configuring the service-specific check.
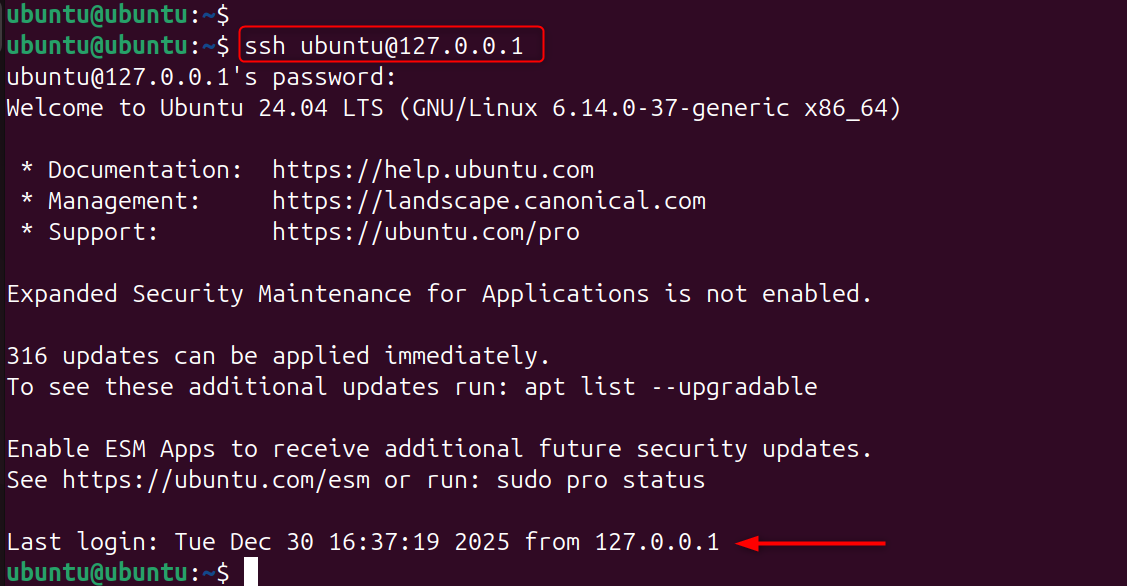
Step 1: Connect to Your Linux VPS
You must first access your server using SSH. You can then run installation commands on your VPS and edit configuration files.
|
ssh username@your_vps_ip |
|---|

Monit can monitor real production services by working directly on the server.
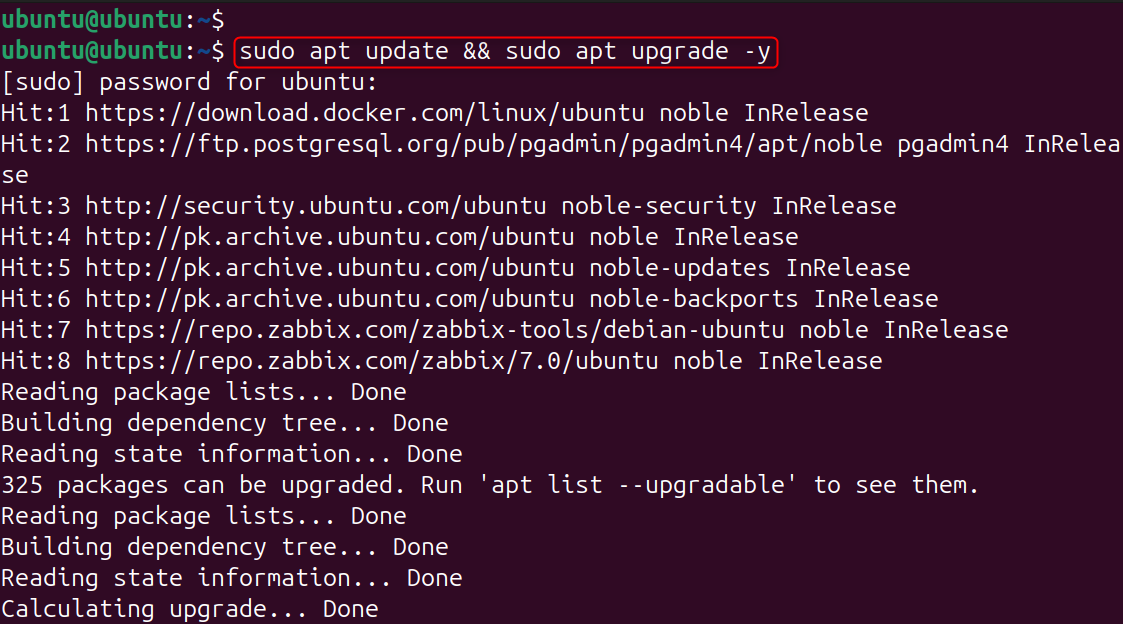
Step 2: Update System Packages
Before installing any new software, it is important to update system packages. This will ensure compatibility and security. This step avoids conflicts in dependency during Monit’s installation. Start with the latest system.
|
sudo apt update && sudo apt upgrade -y |
|---|

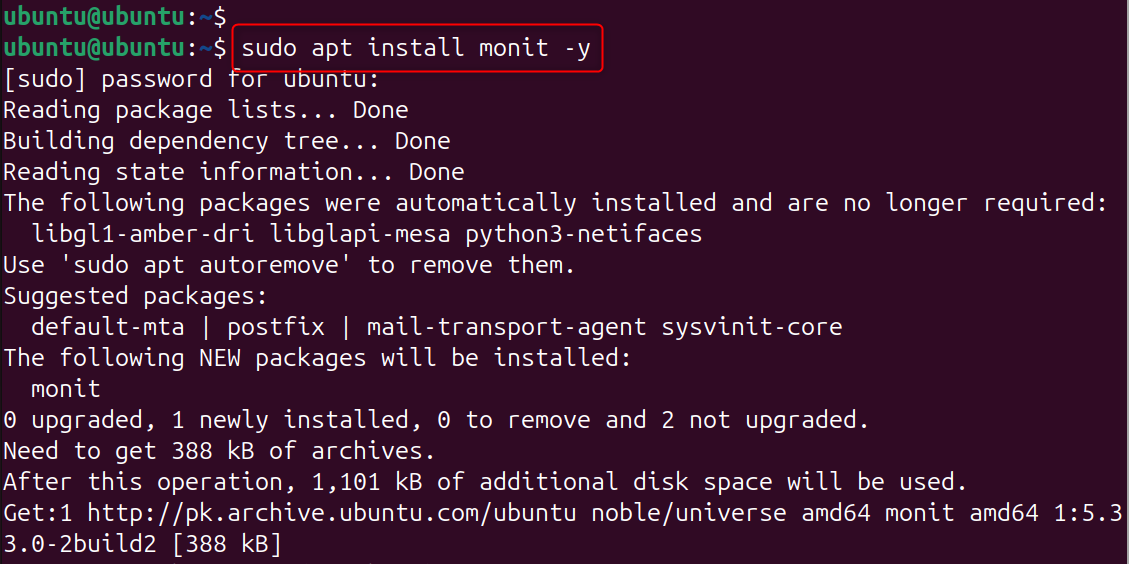
Step 3: Install Monit
Monit can be found in the default repositories for most Linux distributions. It is easy to update and integrate Monit via the package manager.
|
sudo apt install monit -y |
|---|

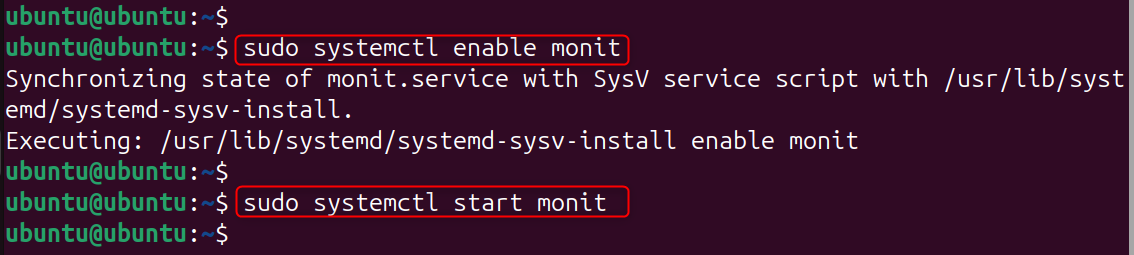
Step 4: Enable and Start the Monit Service
Monit should be enabled after installation so that it will start automatically when the computer boots. You can test your configurations immediately by starting them instantly.
|
sudo systemctl enable monit sudo systemctl start monit |
|---|

The service is monitored even after a reboot.
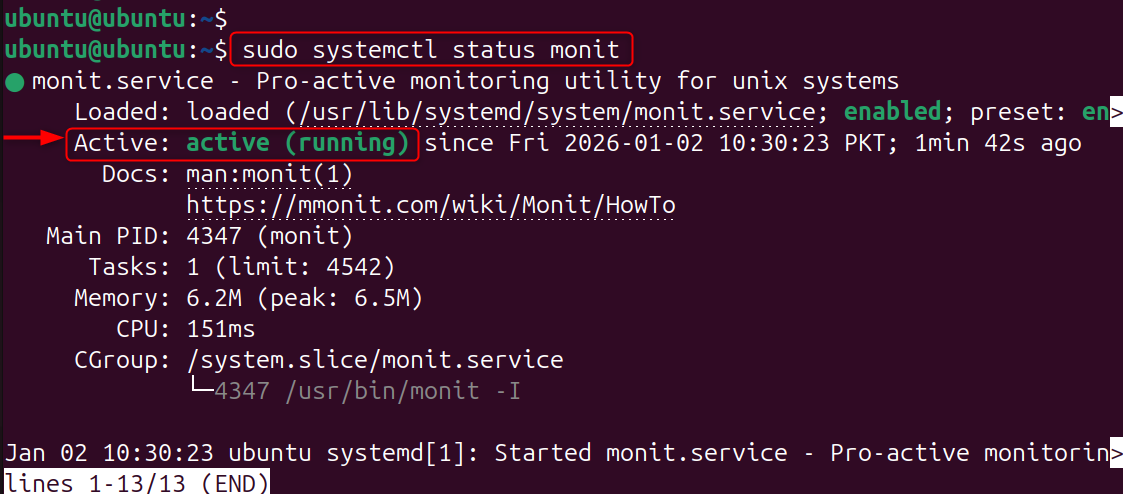
Step 5: Verify Monit Status
Monit is ready to monitor services when they’re running properly. If Monit is inactive, no monitoring actions will occur.
|
sudo systemctl status monit |
|---|

Step 6: Understand Monit Configuration Structure
Monit’s configuration file is the main one that controls global settings. Individual service checks are stored in their own directory.
|
/etc/monit/monitrc /etc/monit/conf-enabled/ |
|---|
This modular structure makes Monit easier to manage and scale.
Step 7: Secure the Monit Configuration File
Monit configuration files may contain sensitive data. File permissions can be restricted to prevent unauthorized access. Monit will not function correctly if you do not follow this step.
|
sudo chmod 600 /etc/monit/monitrc |
|---|


Step 8: Configure Monit Check Interval
Monit monitors services at pre-defined intervals. The shorter the interval, the faster you can recover. Longer intervals will reduce system load.
|
set daemon 60 |
|---|

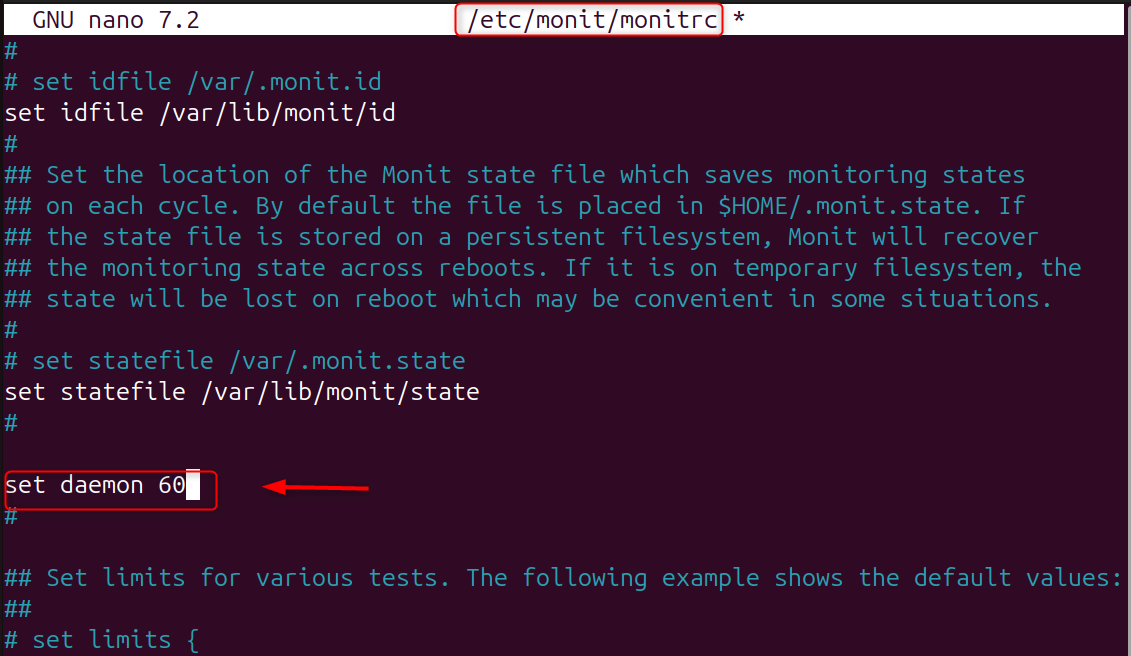
The right interval is the balance between performance and responsiveness.
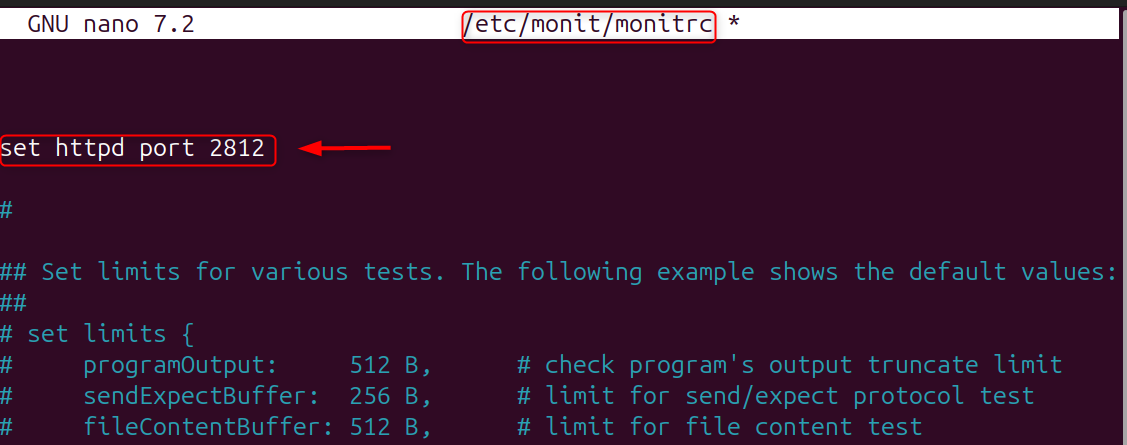
Step 9: Enable Monit Web Interface (Optional)
Monit’s web interface lets you monitor services from your browser. This is useful for quick status checking and manual restarts.
|
set httpd port 2812 |
|---|

Step 10: Restart Monit to Apply Changes
Monit must be restarted after any configuration change. It ensures that new rules will be loaded correctly.
|
sudo systemctl restart monit |
|---|


The monitored services will not be affected by restarting Monit.
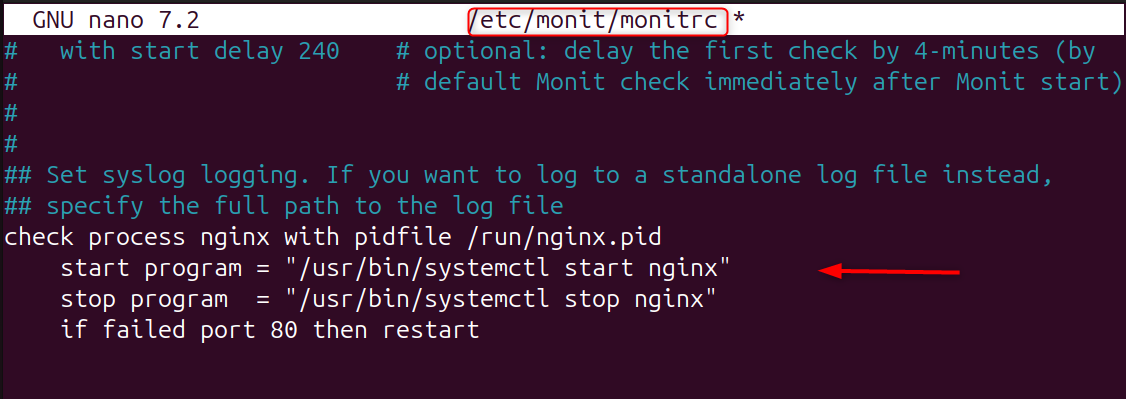
Step 11: Configure Monit to Monitor Nginx
Monitor Nginx to ensure that your web server restarts automatically in the event of a crash. This configuration attempts to restart the process if necessary.
|
check process nginx with pidfile /run/nginx.pid start program = “/usr/bin/systemctl start nginx” stop program = “/usr/bin/systemctl stop nginx” if failed port 80 then restart |
|---|

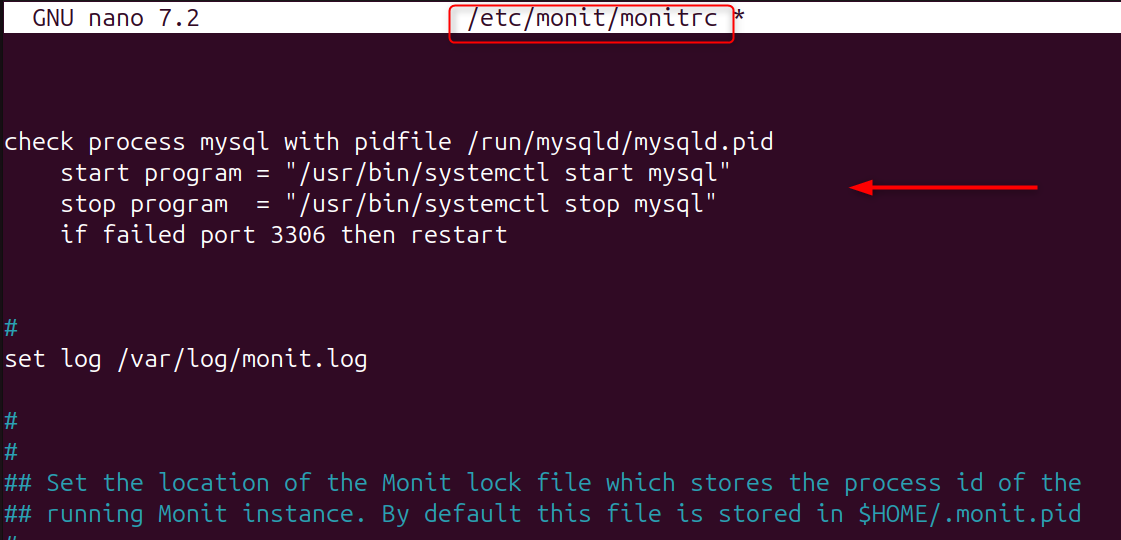
Step 12: Monitor MySQL or MariaDB
Database uptime for dynamic applications is crucial. Monit monitors database processes as well as TCP ports. Automatic restarts reduce downtime.
|
check process mysql with pidfile /run/mysqld/mysqld.pid start program = “/usr/bin/systemctl start mysql” stop program = “/usr/bin/systemctl stop mysql” if failed port 3306 then restart |
|---|

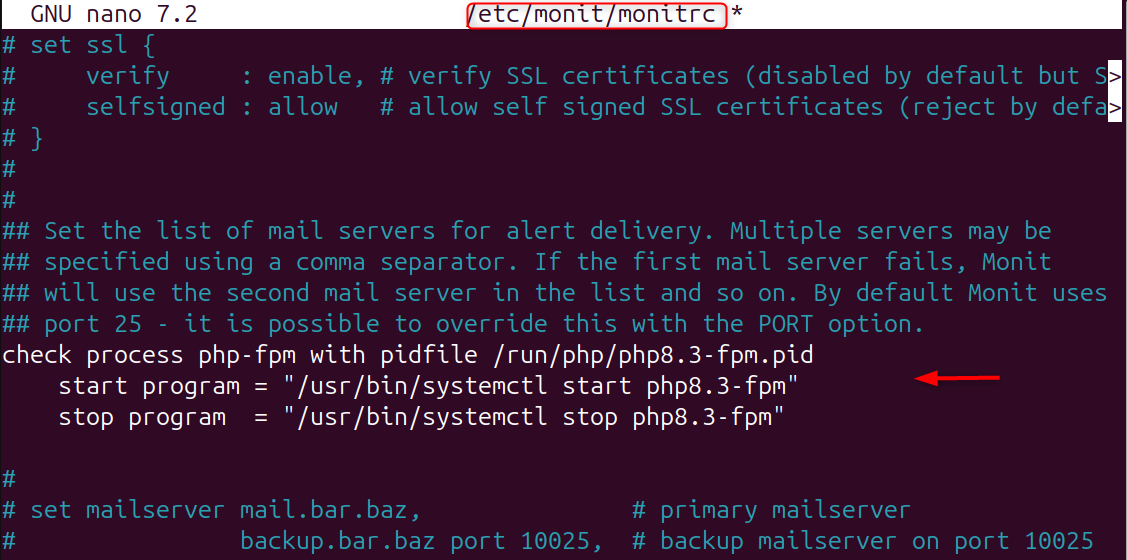
Step 13: Monitor PHP-FPM
PHP-FPM crashes are a common cause of 502 errors. Monit restarts PHP-FPM instantly when it fails.
|
check process php-fpm with pidfile /run/php/php8.3-fpm.pid start program = “/usr/bin/systemctl start php8.3-fpm” stop program = “/usr/bin/systemctl stop php8.3-fpm” |
|---|

Step 14: Reload Monit Configuration
Reload Monit after adding service checks to apply the rules. This prevents the daemon from being restarted unnecessarily.
|
sudo monit reload |
|---|


Step 15: Test Monit by Stopping a Service
Monit is tested to ensure it works as expected. Stopping a service manually allows you to confirm that automatic recovery is working. Monit will restart the service at the interval configured.
|
sudo systemctl stop nginx |
|---|


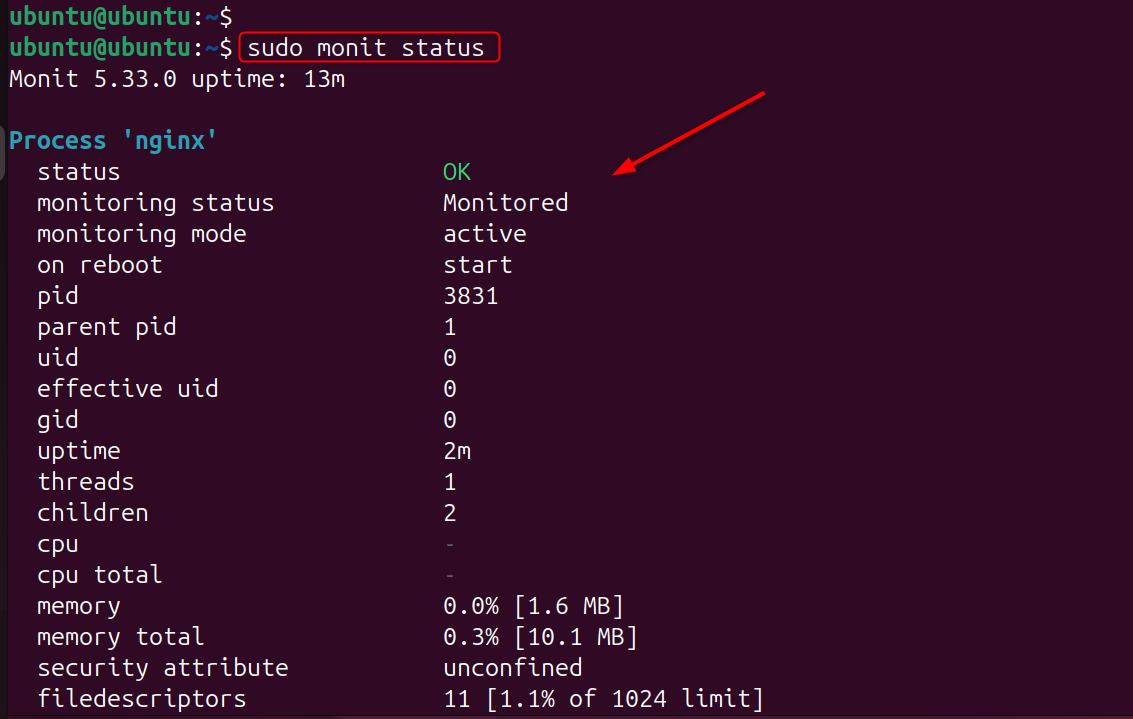
Step 16: View Monit Status
Monit is a command-line interface that allows you to check on the status of services monitored.
|
sudo monit -t |
|---|


Useful for quick checks and troubleshooting.
|
sudo monit status |
|---|

Step 17: Configure Email Alerts (Optional)
Monit can send email alerts to administrators when services fail or recover. This allows administrators to react quickly when issues arise.
|
set alert admin@example.com set mailserver smtp.example.com |
|---|


Best Practices for Using Monit on a Linux VPS
- Monitor only critical services
- Use secure credentials
- Keep check intervals reasonable
- Test configurations after changes
- Combine Monit with backups
These practices ensure reliable monitoring without overloading your VPS.
Common Use Cases for Monit
- Restart crashed web servers
- Monitor databases
- Detect high resource usage
- Ensure background workers keep running
- Improve uptime on small VPS setups
Monit is ideal for proactive service management.
Conclusion
Setting up Monit on a Linux Virtual Private Server to restart failed services involves installing the Monit Monitoring Daemon, configuring specific checks to monitor processes or ports, and configuring service-specific checks. Monit will automatically restart critical services like Nginx or PHP-FPM if they crash or stop responding. This lightweight monitoring solution helps to maintain high availability and reduces the need for manual intervention. It also ensures that essential services are quickly recovered from failures.