


One of the best options for efficiently managing multiple sites on a single Linux server and saving infrastructure costs is to host multiple websites on a single server. Name-based virtual hosts enable multiple web hosts on a single IP address, and they are particularly useful in shared hosting, VPS, development servers, and production web deployments.
Virtual hosting is a web server feature that allows the hosting of multiple websites, applications, landing pages, blogs, and web-based business platforms on a single server, without the need for separate dedicated servers for each domain.
This is a step-by-step guide that covers all the details needed to install multiple sites on a single Linux server using name-based virtual hosts, configure virtual host files, create directories for your sites, manage your DNS records, run tests, and enhance web hosting security.
Table of Content
- What Are Name-based Virtual Hosts?
- Why Use Virtual Hosts on a Linux Server?
- Prerequisites
- How to Host Multiple Websites on One Server (Name-based Virtual Hosts)
- Common Apache Virtual Host Commands
- Best Practices for Hosting Multiple Websites
- Why Name-based Virtual Hosting Is Popular
- Conclusion
What Are Name-based Virtual Hosts?
Name-based virtual hosting is a technique of configuring a web server to provide multiple domain names by using the same server IP address. The web server recognizes the hostname specified in the HTTP request header and automatically provides the corresponding content of the requested website.
For example, a single server can host:
- example1.com
- example2.com
- blog.example3.com
- store.example4.com
The directories, configurations, and content are unique to each website, but they are all hosted on the same web server service and physical server.
The main reason for using name-based virtual hosts is that they lower hosting costs, make infrastructure management easier, and improve server utilization.
Why Use Virtual Hosts on a Linux Server?
There are several benefits of virtual hosts in modern web hosting. Having multiple sites on a single server reduces VPS hosting costs, simplifies server management, optimizes resource usage, and centralizes website administration. It also enables the deployment of multiple projects without needing to buy additional dedicated servers.
The following are typical uses of virtual hosts:
- Shared hosting environments
- WordPress hosting
- Development and staging servers
- SaaS applications
- Business websites
- Multi-domain hosting
- Web application testing
Name-based virtual hosting is the standard and most scalable way to configure hosting in most Linux environments.
Prerequisites
Make sure you meet the following requirements before configuring virtual hosts:
- A Linux server is installed
- The Apache web server is installed
- Root or sudo privileges are available
- Domain names are configured
- DNS records point to the server IP address
- Firewall access for HTTP and HTTPS is enabled
How to Host Multiple Websites on One Server Using Name-Based Virtual Hosts
Name-based virtual hosts enable multiple websites to be served from a single Linux server and IP address through the use of Apache or NGINX running multiple site configurations and website directories.
Step 1: Install Apache Web Server
If Apache is not installed, install Apache with the following command:
sudo dnf install httpd -y |
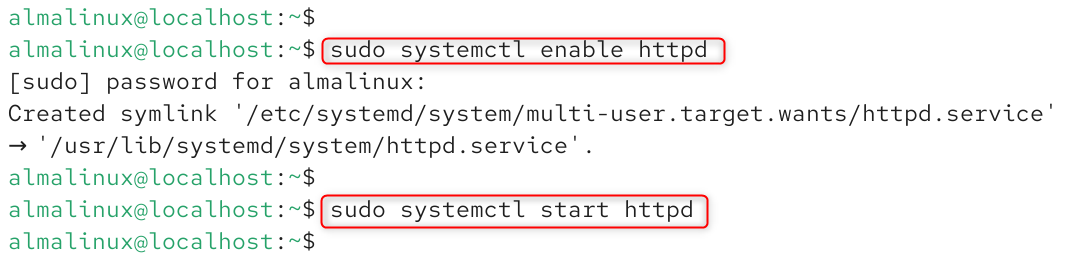
To enable the httpd service to run at boot, use the following command:
sudo systemctl enable httpd sudo systemctl start httpd |

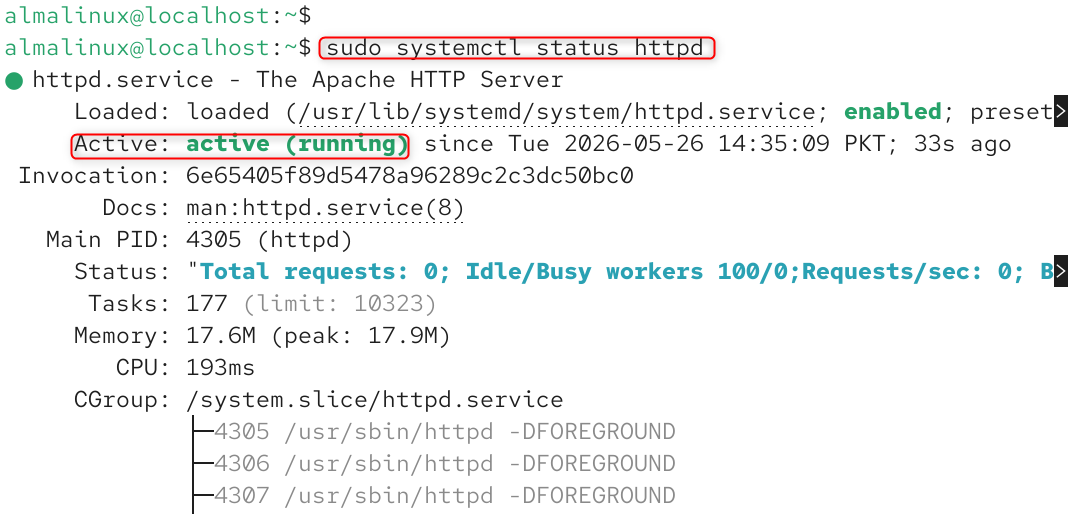
Check the status of the Apache service:
sudo systemctl status httpd |

Step 2: Configure Firewall Access
Enable HTTP & HTTPS ports on the Linux firewall.
Allow HTTP:
sudo firewall-cmd –permanent –add-service=http |


Allow HTTPS:
sudo firewall-cmd –permanent –add-service=https |


Reload the firewall:
sudo firewall-cmd –reload |


Verify firewall services:
sudo firewall-cmd –list-services |


Step 3: Create Website Directory Structures
Every website should have its own set of document root directories.
Follow the steps below to create directories for the first website:
sudo mkdir -p /var/www/example1.com/public_html |


You can create the directory in the following way:
sudo mkdir -p /var/www/example2.com/public_html |


Set proper ownership permissions:
sudo chown -R $USER:$USER /var/www/example1.com sudo chown -R $USER:$USER /var/www/example2.com |


Set directory permissions:
sudo chmod -R 755 /var/www |


Step 4: Create Sample Website Pages
Build a sample index page for website 1:
nano /var/www/example1.com/public_html/index.html |
Add the following content:
<h1>Welcome to Example1.com</h1> |


Make a sample page for the second website:
nano /var/www/example2.com/public_html/index.html |
Add the following content:
<h1>Welcome to Example2.com</h1> |


These test pages check the functionality of virtual host configurations.
Step 5: Create Apache Virtual Host Configuration Files
The final step is to write the Apache Virtual Host configuration files. The way each domain is served is determined by its virtual host file in Apache.
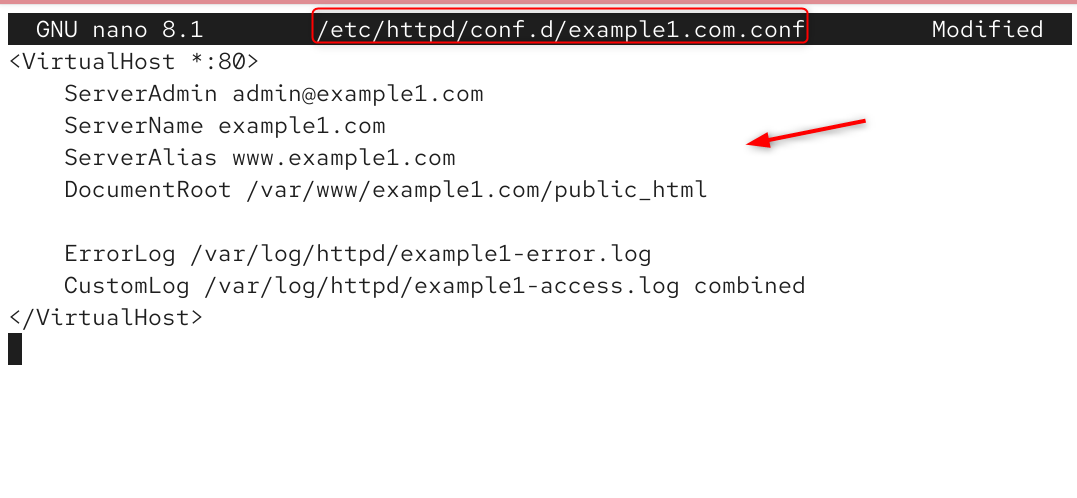
Set up the initial virtualhost configuration:
sudo nano /etc/httpd/conf.d/example1.com.conf |
Add the following configuration:
<VirtualHost *:80> ServerAdmin admin@example1.com ServerName example1.com ServerAlias www.example1.com DocumentRoot /var/www/example1.com/public_html ErrorLog /var/log/httpd/example1-error.log CustomLog /var/log/httpd/example1-access.log combined </VirtualHost> |

Create the second virtual host configuration:
sudo nano /etc/httpd/conf.d/example2.com.conf |
Add the following configuration:
<VirtualHost *:80> ServerAdmin admin@example2.com ServerName example2.com ServerAlias www.example2.com DocumentRoot /var/www/example2.com/public_html ErrorLog /var/log/httpd/example2-error.log CustomLog /var/log/httpd/example2-access.log combined </VirtualHost> |

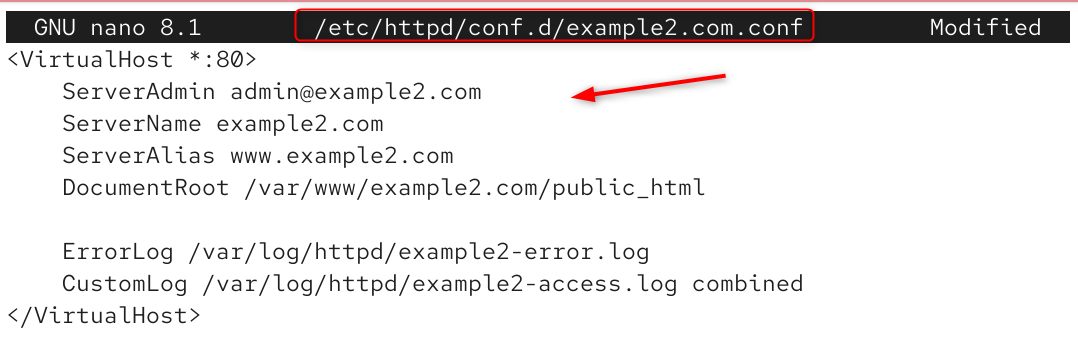
Each virtual host configuration points Apache to the correct website directory based on the requested domain name.
Step 6: Test Apache Configuration
Check the syntax of the configuration before trying to start Apache.
Run the following command:
sudo apachectl configtest |

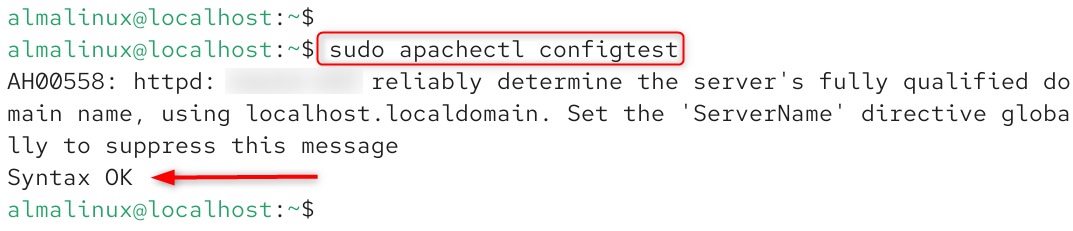
A test of the configuration can be used to avoid startup problems with Apache due to syntax errors.
Step 7: Restart the Apache Web Server
Restart Apache to apply the new virtual host configurations.
sudo systemctl restart httpd |


Verify Apache status:
sudo systemctl status httpd |

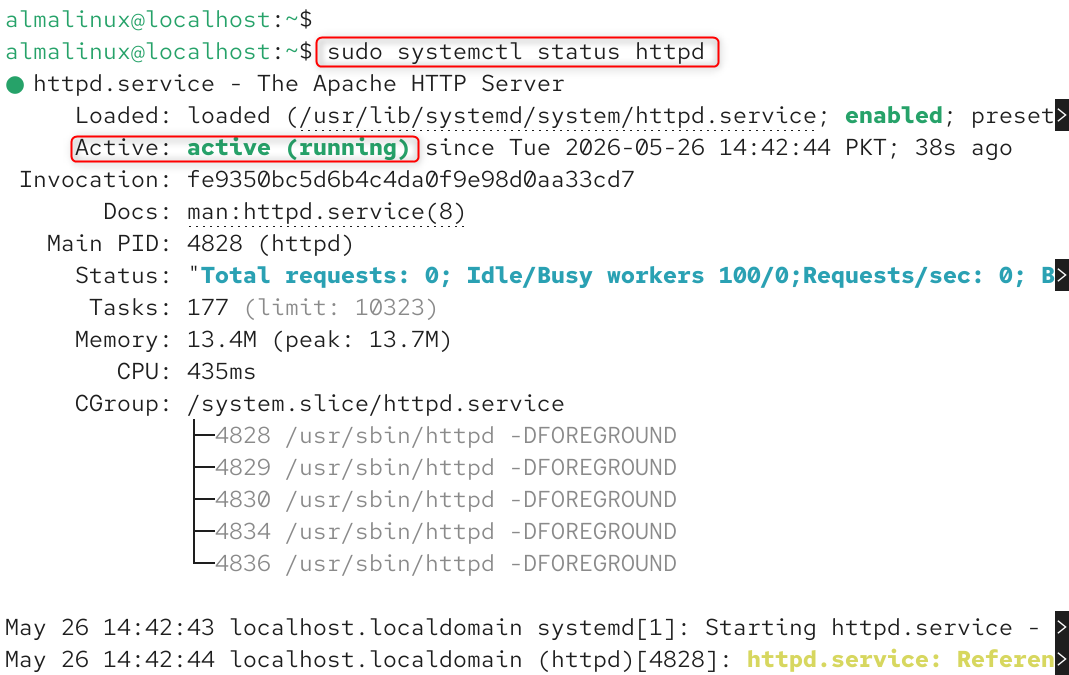
The service should remain active and running.
Step 8: Configure DNS Records
For virtual hosts to work properly, the domain DNS records must point to the server’s IP address.
Make the following DNS records with your domain provider:
- A record for example1.com
- A record for www.example1.com
- A record for example2.com
- A record for www.example2.com
All records should be pointing towards the same server IP address. The DNS propagation usually takes a few minutes to hours, depending on the DNS provider.
Step 9: Test Multiple Websites on the Server
Open each domain in a web browser:
http://example1.com http://example2.com |

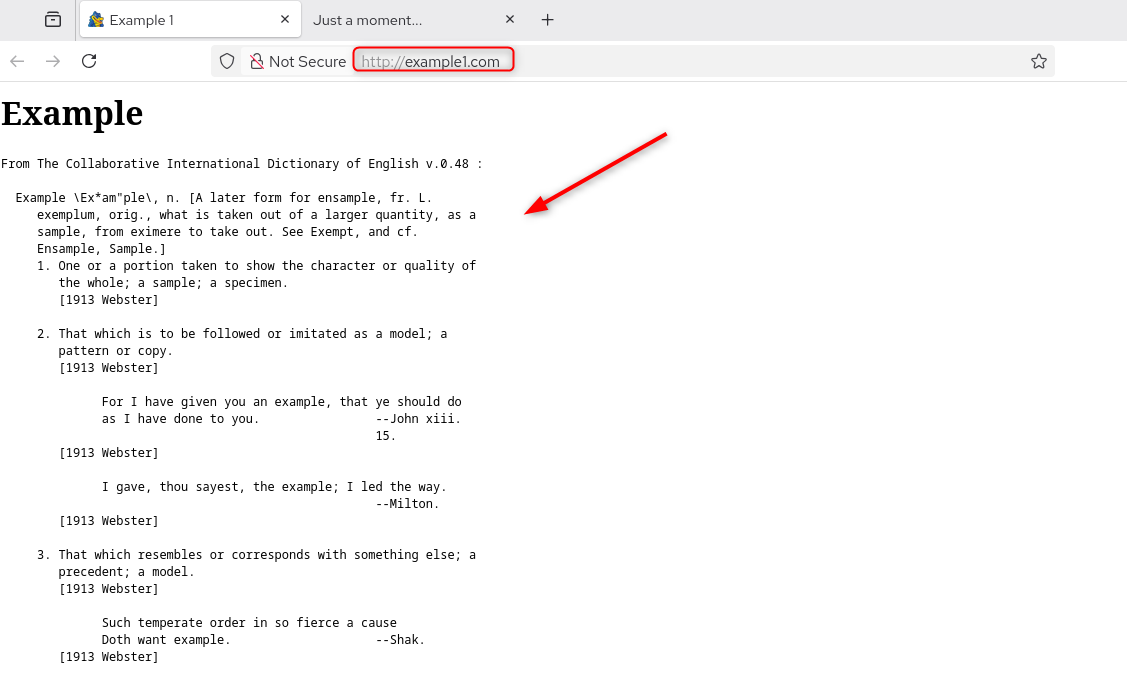
Each domain should display its respective website content. If both websites load correctly, the name-based virtual host configuration is working successfully.
Common Apache Virtual Host Commands
Task | Command |
Install Apache | sudo dnf install httpd -y |
Start Apache | sudo systemctl start httpd |
Enable Apache | sudo systemctl enable httpd |
Restart Apache | sudo systemctl restart httpd |
Test Apache config | sudo apachectl configtest |
Reload firewall | sudo firewall-cmd –reload |
Check Apache status | sudo systemctl status httpd |
Best Practices for Hosting Multiple Websites
Each website should use separate directories, log files, and configuration files to improve organization and security. Administrators should also use SSL certificates, enable firewall protection, keep Apache updated, and monitor server logs regularly.
Using HTTPS encryption with Let’s Encrypt certificates improves browser trust and helps websites perform better in search engine rankings.
For production hosting environments, administrators should also implement regular backups, malware scanning, and server monitoring.
Why Name-based Virtual Hosting Is Popular
Name-based virtual hosting is widely used because it allows businesses and developers to host multiple domains efficiently on a single server. This approach reduces infrastructure costs while maintaining flexibility, scalability, and centralized administration.
Modern Linux hosting environments rely heavily on virtual hosts because they simplify multi-domain deployments for WordPress hosting, SaaS applications, development environments, and enterprise websites.
Conclusion
Name-based virtual hosts are an effective and scalable solution for today’s web hosting needs when multiple sites are running on a single Linux server. Apache virtual host configurations enable administrators to handle multiple domains effectively, while ensuring secure resource sharing.
Hosting multiple websites on one server (name-based virtual hosting) lets your web server check the incoming domain name and route visitors to the correct site files.
By creating separate website directories, configuring Apache virtual hosts, enabling HTTPS encryption, and securing the server with a firewall, administrators can build a reliable, production-ready hosting environment.