3CX, a powerful software-based VoIP system, allows businesses to manage video conferencing, SIP trunks, and live chat from a single platform. 3CX running on Debian 13 offers you full control, flexibility, and performance over your PBX, making it perfect for self-hosting. Debian 13 is a solid foundation for 3CX deployments, whether you are running a small-office PBX system or a large VoIP environment.
3CX depends on network stability and specific ports for SIP, media traffic, and web management.
This guide will walk you through how to install 3CX for Debian 13, from system preparation all the way to the 3CX dashboard.
Table of Content
- What Is 3CX and Why Use It on Debian 13?
- How to Install 3CX on Debian 13
- How to Uninstall 3CX Completely on Debian 13
- Best Practices for Running 3CX on Debian 13
- Conclusion
What Is 3CX and Why Use It on Debian 13?
3CX, a software PBX solution (Private Branch Exchange), replaces the traditional phone system with a modern IP-based one. It supports SIP phones, softphones, and mobile apps.
Why Debian 13?
- A Linux Distribution that is stable and secure
- Outstanding performance for VoIP workloads
- Support for a long time and regular security updates
- Ideal for VPS deployments
How to Install 3CX on Debian 13
Installing 3CX with Debian 13 allows you to deploy an enterprise-grade, modern VoIP phone system. 3CX is capable of handling business communications securely and efficiently with the right system configuration, network configuration, and security hardening.
Step 1: Update Debian 13 System
Before installing 3CX, make sure your system is up-to-date to ensure compatibility and safety.
|
sudo apt update |
|---|

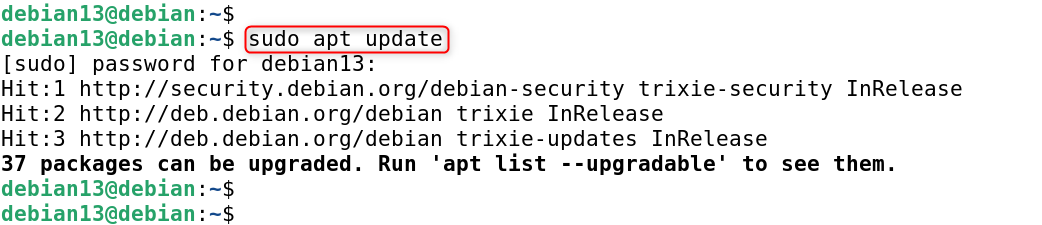
This prevents conflicts between dependencies and installs the latest security updates.
Step 2: Set Hostname and Fully Qualified Domain Name
3CX needs a valid hostname or FQDN to communicate over SIP and SSL.
|
sudo hostnamectl set-hostname pbx.example.com |
|---|


Edit the hosts file:
|
sudo nano /etc/hosts |
|---|
Add:
|
your_server_ip pbx.example.com |
|---|

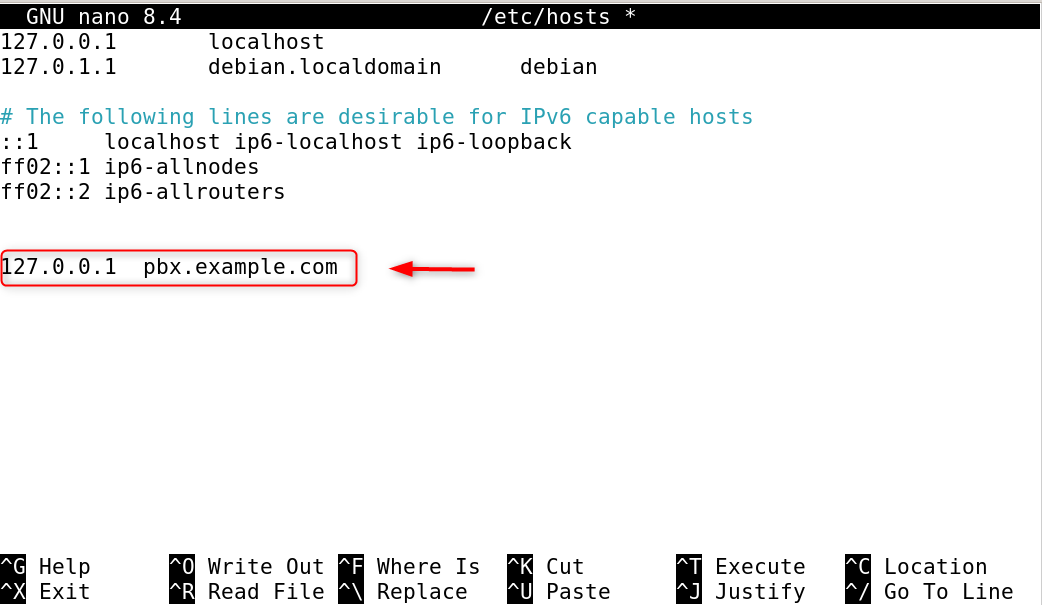
Let’s Encrypt SSL requires a valid FQDN for remote client provisioning.
Step 3: Disable Conflicting Services
3CX only uses its own ports and services, so any VoIP or web services that conflict with 3CX must be removed.
|
sudo apt remove apache2 nginx ufw -y |
|---|


Web servers and firewalls that are already installed can block SIP or HTTPS ports.
Step 4: Configure Firewall Rules (If Using External Firewall)
Make sure the following ports are opened:
- TCP 5000 (3CX Management Console)
- TCP/UDP 5060 (SIP)
- UDP 9000–10999 (RTP media)
|
sudo iptables -A INPUT -p tcp –dport 5000 -j ACCEPT sudo iptables -A INPUT -p tcp –dport 5060 -j ACCEPT sudo iptables -A INPUT -p udp –dport 5060 -j ACCEPT sudo iptables -A INPUT -p udp –dport 9000:10999 -j ACCEPT |
|---|

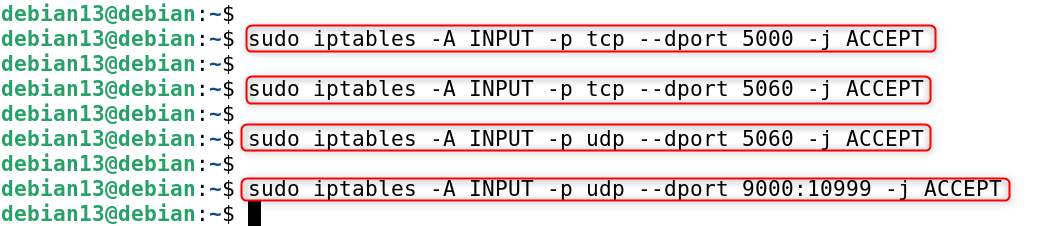
The ports are needed for media transmission, web access, and call signaling.
Step 5: Add 3CX Repository and GPG Key
3CX offers its own repository to support Debian-based systems.
|
sudo wget -O- https://repo.3cx.com/key.pub | gpg –dearmor | sudo tee /usr/share/keyrings/3cx-archive-keyring.gpg > /dev/null |
|---|


This will allow Debian 13 packages to be updated and downloaded from the official 3CX website.
|
sudo echo “deb [arch=amd64 by-hash=yes signed-by=/usr/share/keyrings/3cx-archive-keyring.gpg] http://repo.3cx.com/3cx bookworm main” | sudo tee /etc/apt/sources.list.d/3cxpbx.list |
|---|

![sudo echo "deb [arch=amd64 by-hash=yes signed-by=/usr/share/keyrings/3cx-archive-keyring.gpg] http://repo.3cx.com/3cx bookworm main" | sudo tee /etc/apt/sources.list.d/3cxpbx.list](http://greenwebpage.com/community/wp-content/uploads/2026/01/word-image-16079-7.png)
Step 6: Update Package Index
This will update the package list with the 3CX repository.
|
sudo apt update |
|---|


Step 7: Install 3CX on Debian 13
This installation includes the 3CX PBX, services, database, and web interface. Start the 3CX installation:
|
sudo apt install 3cxpbx -y |
|---|

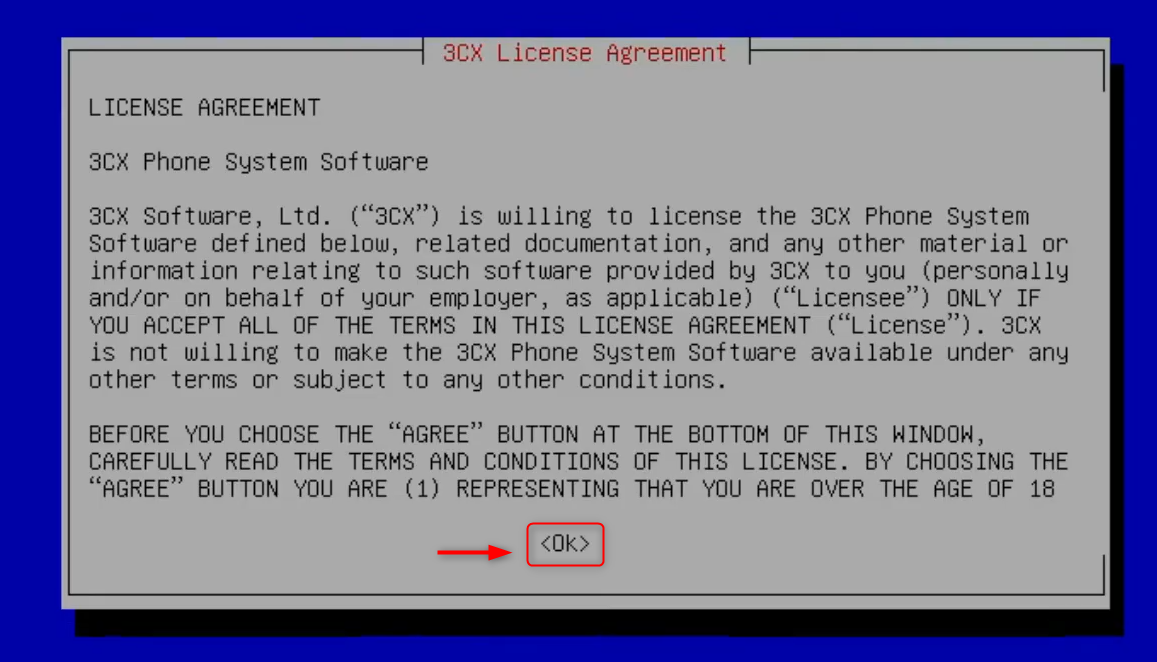
Step 8: Choose Installation Type
The correct network selection is essential for proper SIP and Media routing. During installation, you’ll be prompted to select:


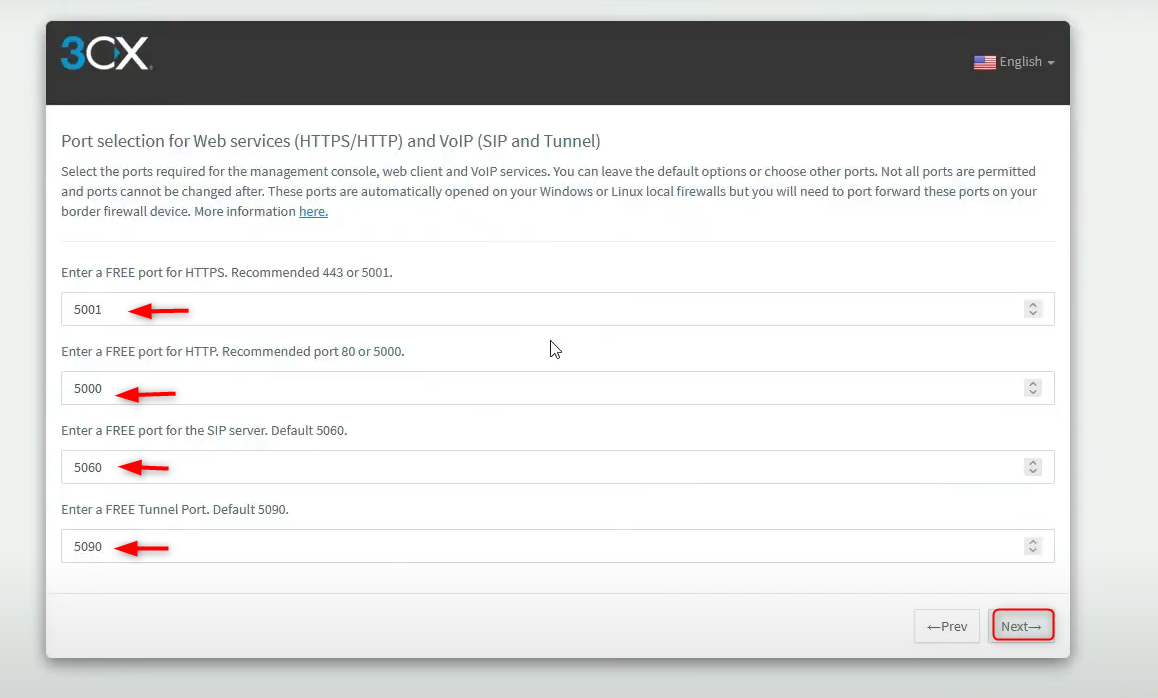
Step 9: Select Web Port and HTTPS Configuration
HTTPS is used to ensure secure access. The management console runs at port 5000.

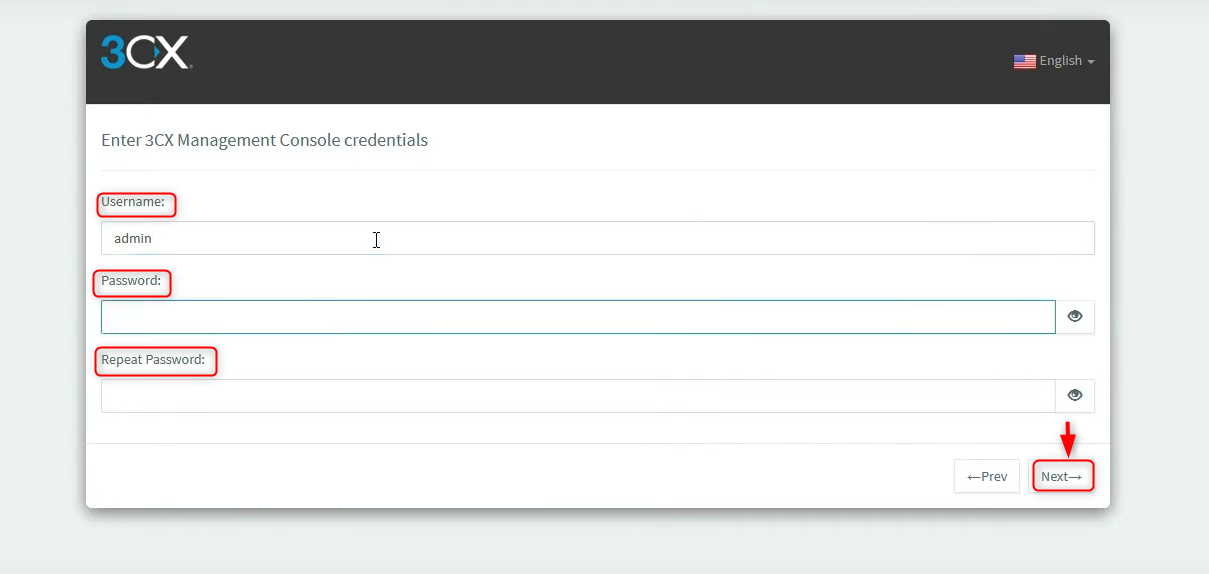
Step 10: Run the Initial 3CX Setup Wizard
The setup wizard allows you to configure:
- Admin email
- Country and timezone
- Extension length
- SIP trunk details
It simplifies the initial PBX configuration of new users.

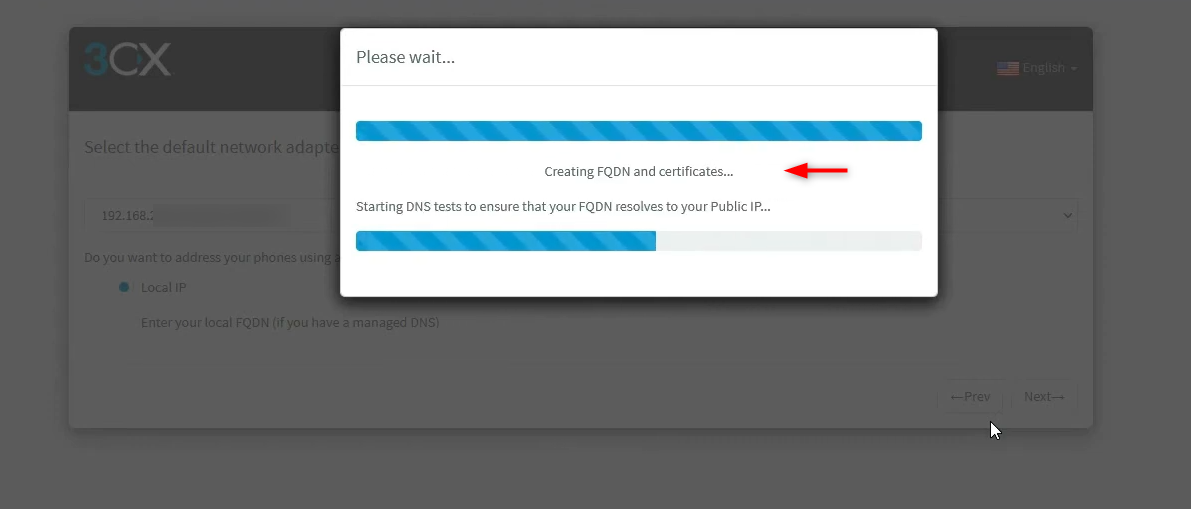
Step 10: Complete Installation and Note Access URL
You’ll receive a message that looks like this:

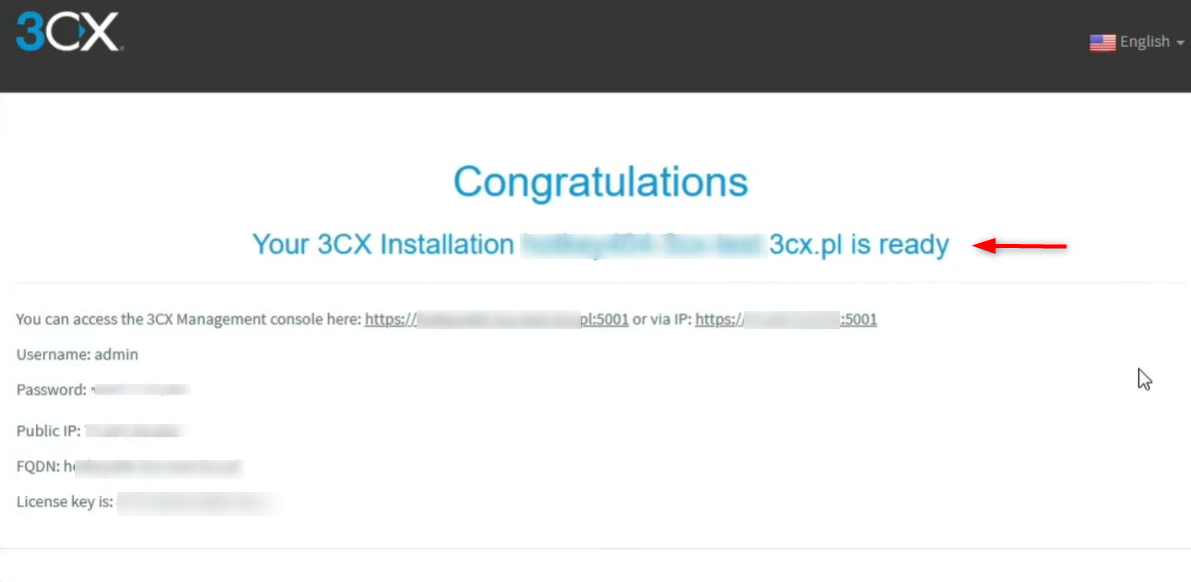
The URL used for the 3CX Web Client and Management Console.
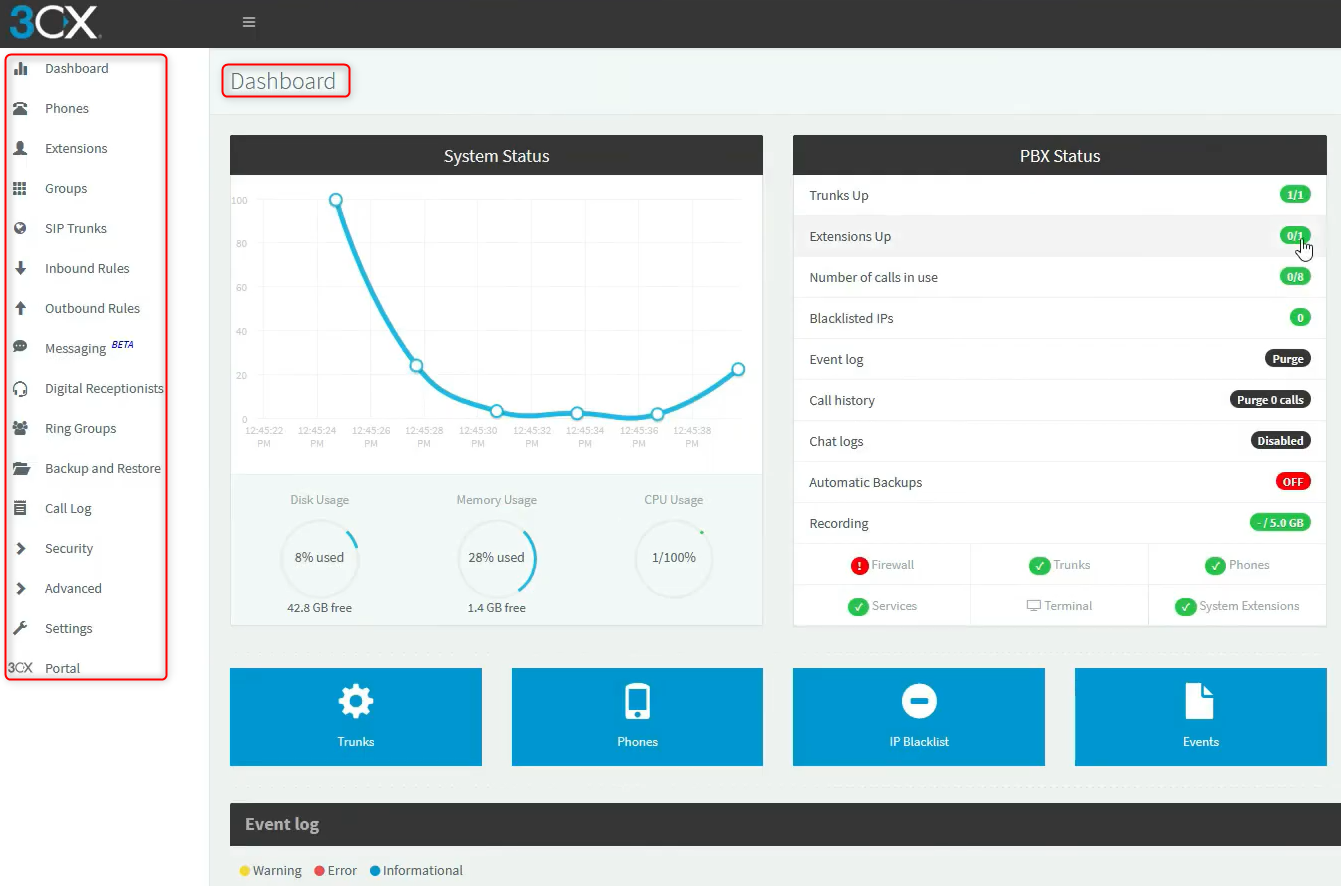
Step 11: Access 3CX Web Management Console
Log in with the administrator credentials that were displayed during installation.

You can configure extensions, trunks, and call routing using the web console.

Security measures can reduce the risk of VoIP servers being attacked.
How to Uninstall 3CX Completely on Debian 13
If you do not need 3CX anymore or wish to reinstall the software from scratch, it is possible to remove it entirely from your Debian 13 installation. This stops all 3CX Services, removes the installed packages, and cleans related configuration files.
Let’s delete any configuration, logs, and data directories that remain:
|
sudo rm -rf /var/lib/3cxpbx /var/log/3cxpbx /etc/3cxpbx |
|---|


Remove the 3CX repository and then refresh the cache of the packages:
|
sudo rm -f /etc/apt/sources.list.d/3cxpbx.list |
|---|


These steps will completely uninstall 3CX on Debian 13. Your system is now clean and ready to be reinstalled or for an alternative VoIP solution.
Best Practices for Running 3CX on Debian 13
- Use a VPS or dedicated server
- Installing other services
- Monitor CPU and RAM usage
- Back up your configuration regularly
- Update Debian and 3CX
Conclusion
To install 3CX on Debian 13, update the system, set a proper hostname and FQDN, add the official 3CX repository, and install the 3CX PBX package using APT. During installation, select the correct network interface, configure web and SIP ports, and complete the setup wizard through the web management console. Once installed, 3CX provides a full-featured VoIP phone system for managing calls, extensions, and SIP trunks on Debian 13.