phpMyAdmin is one of the most popular web-based database administration interfaces in the world, and one of the most common attack points on Linux servers. By scanning any server’s access logs, you will see bots constantly probing the server for /phpmyadmin, /pma, /myadmin, and many other default phpMyAdmin paths that are known for being scanned by bots looking to exploit known CVEs, brute force, and credential stuffing.
In this tutorial, you’ll install phpMyAdmin with the full LAMP stack (Apache, MariaDB, PHP) on AlmaLinux 10, and apply all the essential security measures: change the default root directory, implement HTTP Basic authentication, restrict access by IP, set security headers, and tighten file permissions.
What is phpMyAdmin, and When Should You Use It?
phpMyAdmin is an open-source PHP application that provides a Web interface for managing MySQL and MariaDB databases. It provides the ability to create and modify databases, execute SQL queries, import and export data, manage users and permissions, and monitor the status of the databases, without needing to access the database with a command line.
phpMyAdmin is suitable for development environments, for staging servers, and production servers where the administrator requires occasional GUI access to the database. It is not a substitute for a good database management procedure, and it should not be stored permanently on a server that is openly accessible on the internet, unprotected by multiple layers of authentication.
How to Securely Install phpMyAdmin on AlmaLinux 10 with Apache and MariaDB
To install and secure phpMyAdmin on AlmaLinux 10, set up a LAMP stack, install EPEL/Remi repositories to get the latest PHP packages, and configure Apache .htaccess rules. Installing and securing phpMyAdmin on AlmaLinux 10 contains real terminal output, file permissions, MariaDB user hardening, security headers, and a custom URL alias.
Let’s try to install phpMyAdmin and secure it using AlmaLinux 10.
Step 1: Update AlmaLinux 10 and Install EPEL and Remi Repositories
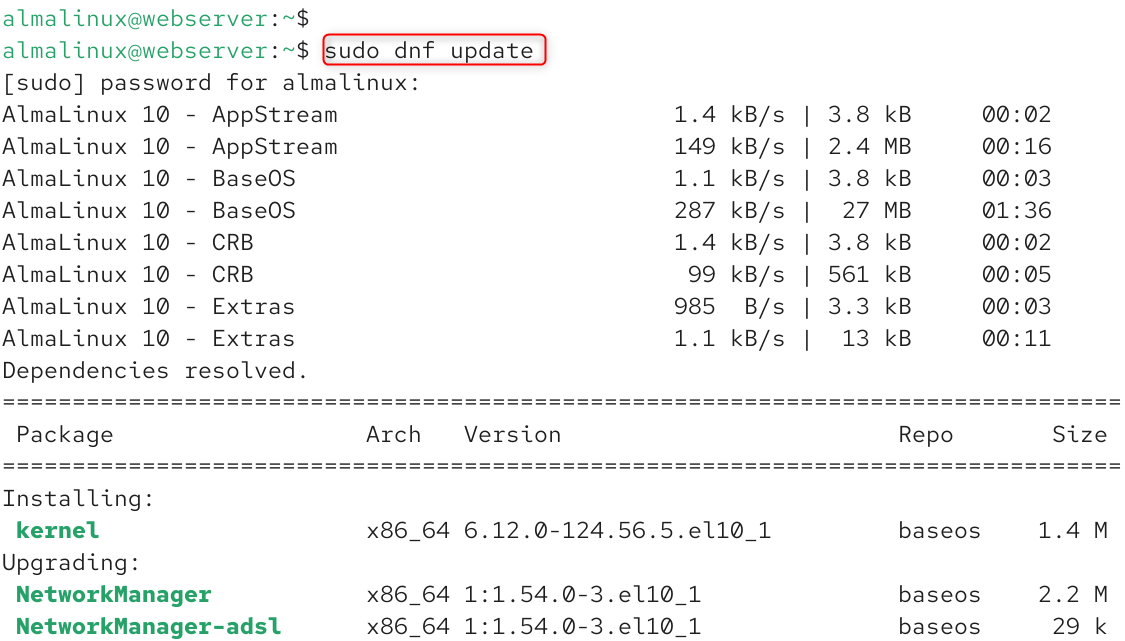
Before installing any software that is exposed to the Internet, always run the update system package index and apply pending security updates:
|
sudo dnf update |
|---|

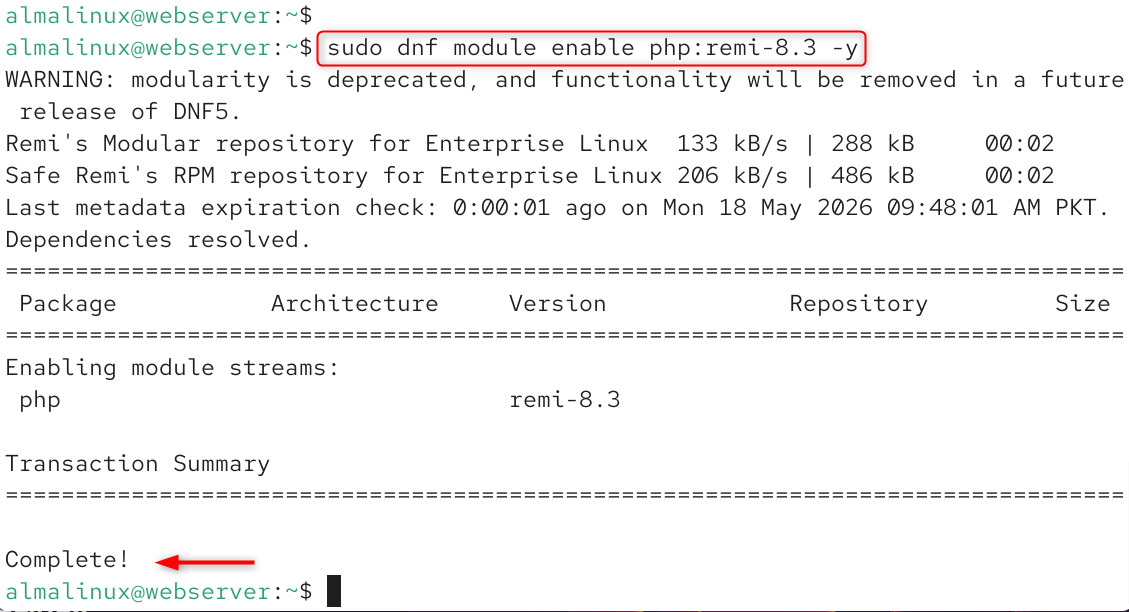
Installing the Apache web server and all the PHP modules that are needed by phpMyAdmin 5.2. x. For AlmaLinux 10, the EPEL and Remi repositories offer the latest PHP versions. Enable them first:
|
sudo dnf install epel-release -y sudo dnf install https://rpms.remirepo.net/enterprise/remi-release-10.rpm -y sudo dnf module enable php:remi-8.3 -y |
|---|

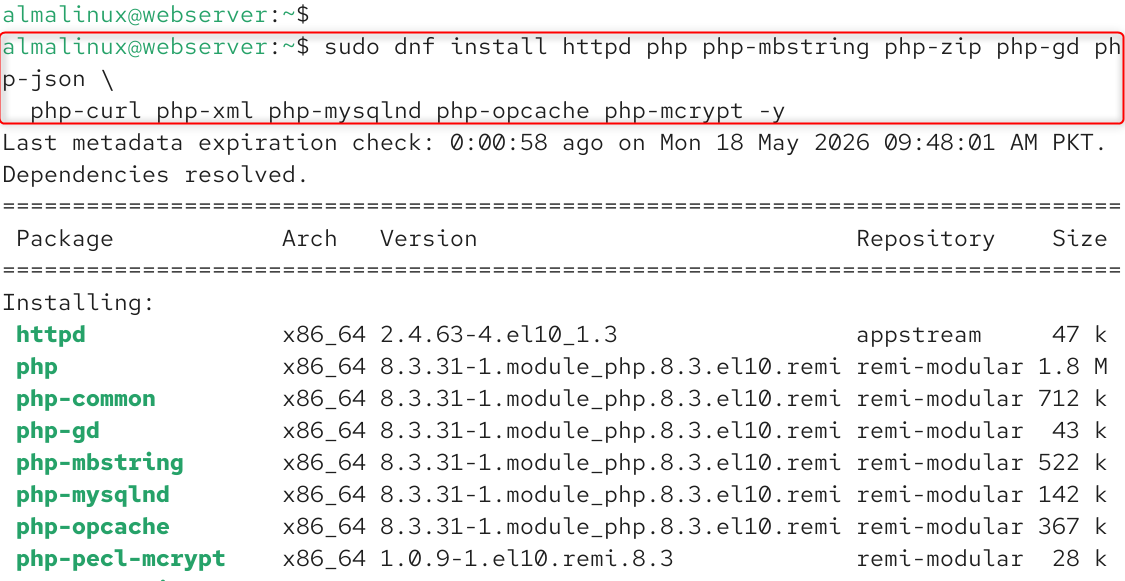
Install Apache, then all of the necessary PHP extensions:
|
sudo dnf install httpd php php-mbstring php-zip php-gd php-json \ php-curl php-xml php-mysqlnd php-opcache php-mcrypt -y |
|---|

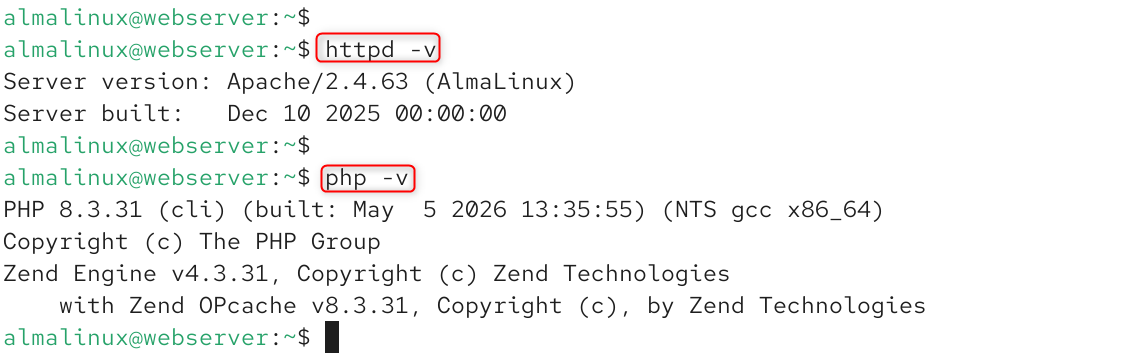
Check Apache and PHP versions:
|
httpd -v php -v |
|---|

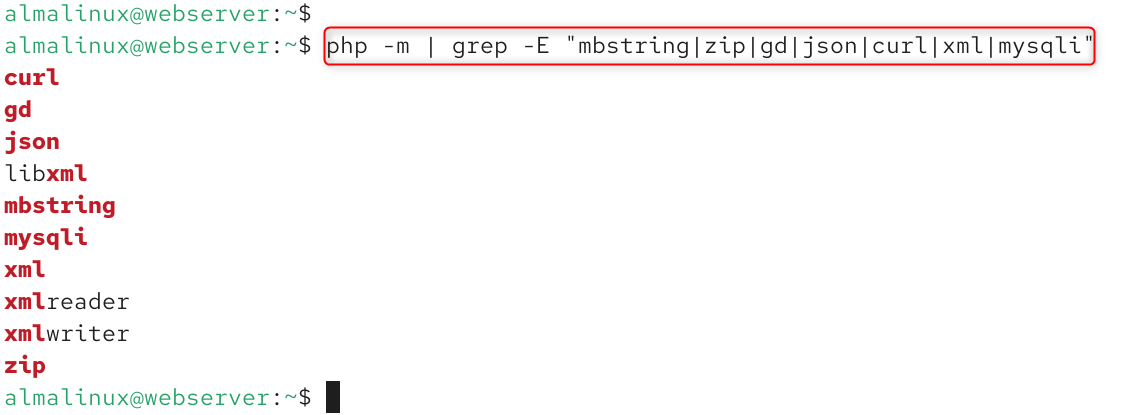
Check that all of the necessary PHP modules are installed:
|
php -m | grep -E “mbstring|zip|gd|json|curl|xml|mysqli” |
|---|

Step 2: Start and Enable Apache
Start the Apache HTTP server; make it auto-start when booting the system:
|
sudo systemctl enable httpd –now sudo systemctl status httpd |
|---|

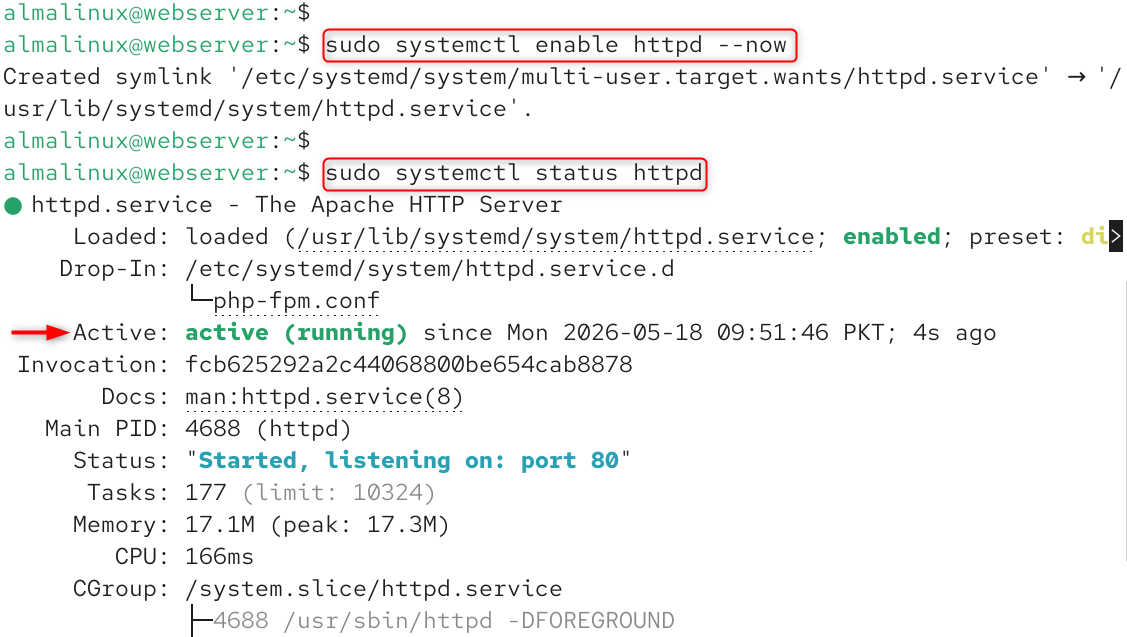
Check to see if Apache is listening on port 80:
|
ss -tlnp | grep :80 |
|---|


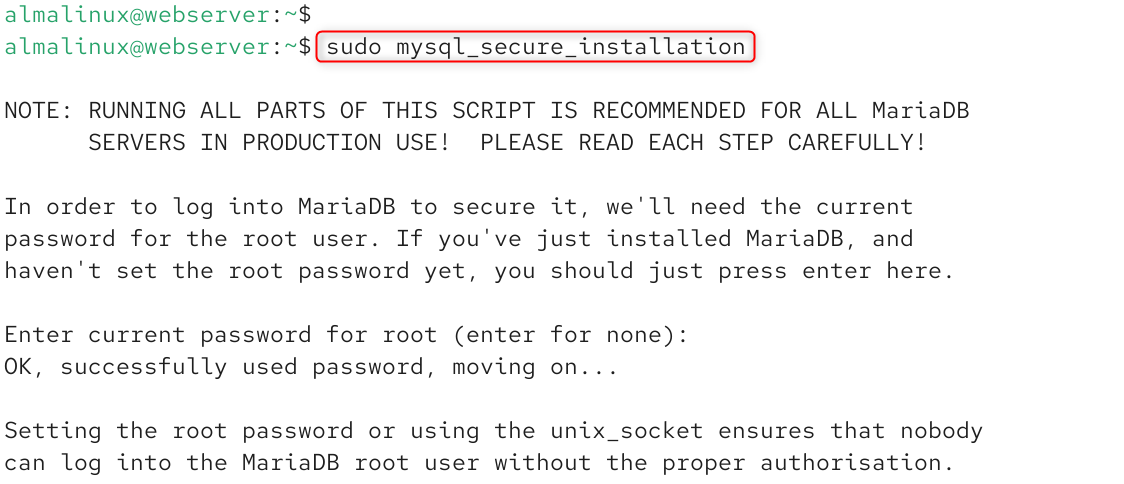
Step 3: Install MariaDB (If Not Already Installed)
Install and secure MariaDB on your AlmaLinux 10 server if you haven’t done so yet:
|
sudo dnf install mariadb-server mariadb -y sudo systemctl enable mariadb –now sudo mysql_secure_installation |
|---|

Check if MariaDB is running:
|
mariadb –version |
|---|


To get more details about the MariaDB installation and all the hardening, please read our companion article on how to secure MariaDB on AlmaLinux 10.
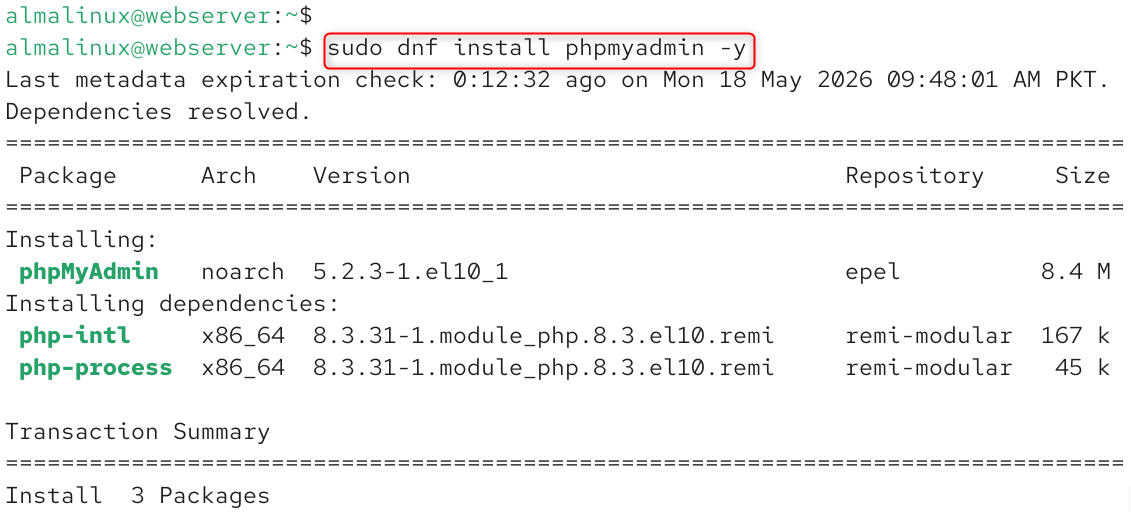
Step 4: Install phpMyAdmin on AlmaLinux 10
On AlmaLinux 10, you can install phpMyAdmin from the EPEL repository. Install it with:
|
sudo dnf install phpmyadmin -y |
|---|

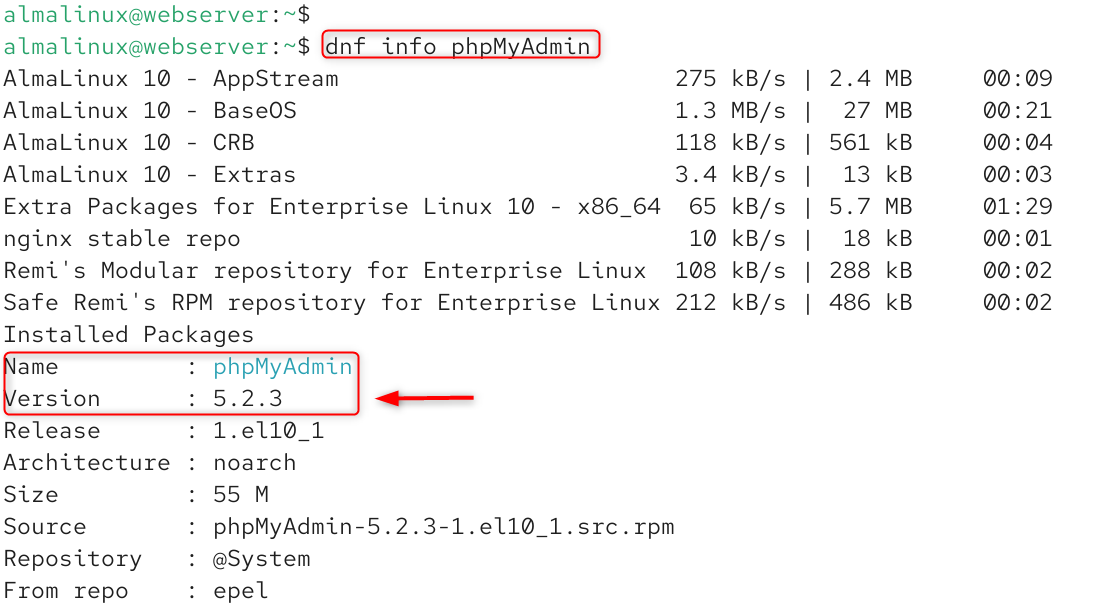
Check the version of phpMyAdmin that has been installed:
|
dnf info phpMyAdmin |
|---|

See if phpMyAdmin is installed in the install directory:

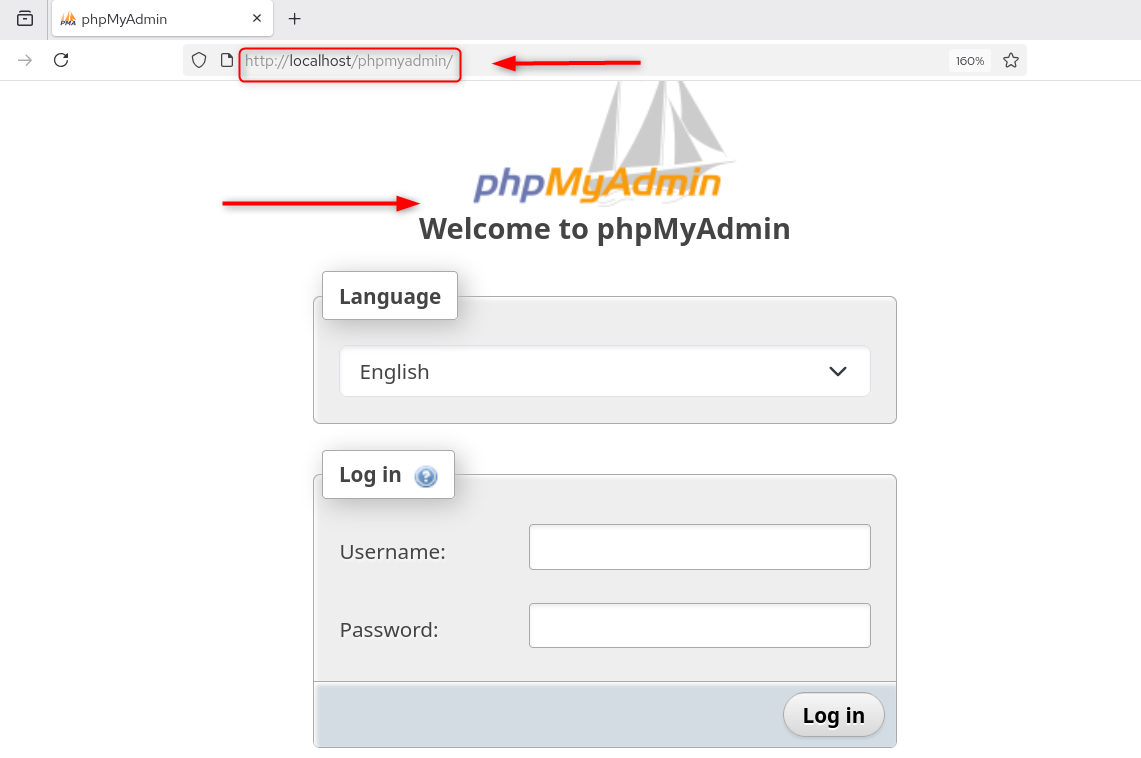
Step 5: Review the Default Apache Configuration
Allow the default config for a short time period only to see if phpMyAdmin can be accessed before hardening it:
|
sudo ln -sf /etc/phpmyadmin/apache.conf /etc/httpd/conf.d/phpmyadmin.conf sudo systemctl reload httpd |
|---|


Test access:
|
curl -s -o /dev/null -w “%{http_code}” http://localhost/phpmyadmin/ |
|---|


As we have just established that phpMyAdmin works, we will now completely secure it.
Step 6: Change the Default URL Alias (Security Layer 1)
The quickest return on investment for security is the ability to change the well-known phpMyAdmin URL to something random. This one change prevents almost all automated scanning bots, as they only scan standard paths.
Make a new Apache configuration file that is hardened:
|
sudo nano /etc/httpd/conf.d/phpmyadmin-secure.conf |
|---|
Include the following configuration, changing /dbadmin_secure with your own random path:
|
# Custom URL alias — unpredictable path replaces /phpmyadmin Alias /dbadmin_secure /usr/share/phpmyadmin <Directory /usr/share/phpmyadmin> Options SymLinksIfOwnerMatch DirectoryIndex index.php AllowOverride All # PHP 8+ settings <IfModule mod_php.c> php_admin_value upload_tmp_dir /var/lib/phpmyadmin/tmp php_admin_value open_basedir /usr/share/phpmyadmin/:/usr/share/doc/phpmyadmin/:/etc/phpmyadmin/:/var/lib/phpmyadmin/:/usr/share/php/:/usr/share/javascript/ </IfModule> # HTTP Basic Authentication (configured in Step 7) AuthType Basic AuthName “Restricted Database Administration” AuthUserFile /etc/httpd/.htpasswd-phpmyadmin Require valid-user # IP Restriction — uncomment and set your admin IP # Require ip 192.168.1.100 </Directory> # Block access to sensitive directories absolutely <Directory /usr/share/phpmyadmin/templates> Require all denied </Directory> <Directory /usr/share/phpmyadmin/libraries> Require all denied </Directory> <Directory /usr/share/phpmyadmin/setup> Require all denied </Directory> |
|---|


Remove the default path to phpMyAdmin:
|
sudo rm -f /etc/httpd/conf.d/phpmyadmin.conf |
|---|


Enable the following Apache modules and then restart it:
|
sudo systemctl reload httpd |
|---|


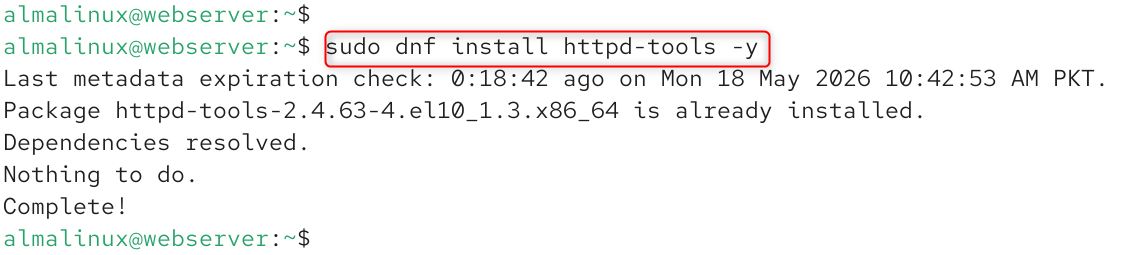
Step 7: Add HTTP Basic Authentication (Security Layer 2)
HTTP Basic Authentication displays another login dialog before the normal phpMyAdmin login screen, giving the user a second chance to log in, even if your custom URL is discovered by brute force bots.
Install the package httpd-tools that contains the htpasswd command:
|
sudo dnf install httpd-tools -y |
|---|

Use your admin username to create the password file:
|
sudo htpasswd -c /etc/httpd/.htpasswd-phpmyadmin dbadmin |
|---|


You will be asked for a password and then confirm it. Use a strong, unique password different from your database password.
Check if the password file has been properly created:
|
cat /etc/httpd/.htpasswd-phpmyadmin ls -la /etc/httpd/.htpasswd-phpmyadmin |
|---|

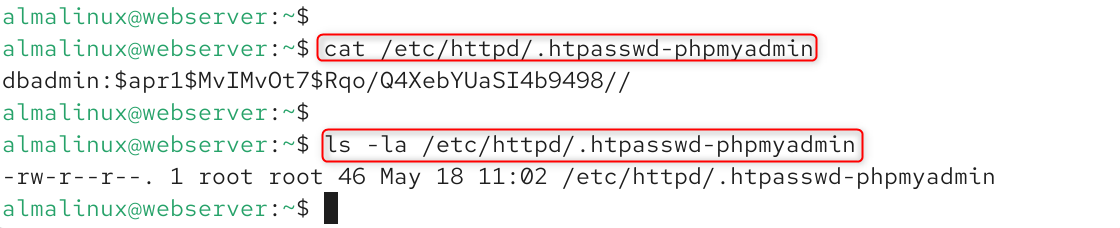
The password is not stored anywhere on the server, as the plain-text password “Str0ngAdminP@ss!” is not stored, but rather the hash of it is.
To use the authentication, reload Apache:
|
sudo systemctl reload httpd |
|---|


Step 8: Test All Three URL Security Scenarios
Test three different access scenarios using the security layers to ensure that they are functioning properly:
A successful test should return 200 (access granted) when a new custom URL is used with the correct credentials.
|
curl -s -o /dev/null -w “%{http_code}” http://localhost/phpmyadmin/ |
|---|


Set up a new custom URL without credentials and ensure that it returns 403 (auth required).
|
curl -s -o /dev/null -w “%{http_code}” http://localhost/dbadmin_secure/ |
|---|


Test 3 should return 403 (auth required) if a new custom URL is used with the correct credentials.
|
curl -s -o /dev/null -w “%{http_code}” \ -u dbadmin:’Str0ngAdminP@ss!’ http://localhost/dbadmin_secure/ |
|---|


All three results show that the URL change and HTTP Basic authentication are all happening as expected, the old attack surface is removed, and the new one requires proper credentials to access.
Troubleshooting Common Issues on AlmaLinux 10
- HTTP 403 Forbidden after modifying URL alias: This indicates that your AllowOverride All directive isn’t included in the configuration of your Apache web server, and so .htaccess files are not being processed. Make sure that AllowOverride All is there within the <Directory /usr/share/phpmyadmin> section of your configuration file, and restart Apache.
- Correct credentials, but still gets HTTP 401: This typically happens because the AuthUserFile path in your Apache configuration file is not the same as the .htpasswd username and password file. Check the path against the AuthUserFile directive: ls -la /etc/httpd/.htpasswd-phpmyadmin.
- phpMyAdmin shows “The blowfish_secret is too short” warning: Generate a new 32-character secret with python3 -c “import secrets; print(secrets.token_hex(32))” and update the value in /var/lib/phpmyadmin/blowfish_secret.inc.php.
- “Cannot connect: invalid settings” after login: This means phpMyAdmin cannot reach MariaDB. Verify MariaDB is running with systemctl status mariadb, confirm the socket path in /etc/phpmyadmin/config.inc.php matches ss -lx | grep mysql, and ensure the user you are logging in with has valid MariaDB credentials.
- Security headers not appearing in curl output: Confirm that mod_headers is enabled with httpd -M | grep headers_module. If it is not listed, enable it with a2enmod headers (on systems using a2enmod) or by adding LoadModule headers_module modules/mod_headers.so to your Apache configuration, then restart Apache.
Conclusion
Installing and securing phpMyAdmin on AlmaLinux 10 requires installing the full LAMP stack with sudo dnf install httpd php php-mbstring php-mysqlnd phpmyadmin -y, then immediately hardening it by renaming the default /phpmyadmin URL to an unpredictable custom alias, adding HTTP Basic Authentication with htpasswd, and applying security headers including X-Frame-Options: DENY and Content-Security-Policy to block clickjacking and script injection attacks.